Did you know that properly thinning paint before using it in an airless sprayer can significantly improve the results of your painting projects?
In fact, using the right thinning techniques can help you achieve a smoother finish, improve sprayability, and prevent clogging in your equipment. As someone who has encountered my fair share of painting mishaps, I understand the importance of knowing how to thin paint effectively.
In this article, I will guide you through the process of thinning paint for an airless sprayer step by step. We will explore the necessary materials and tools, determine the recommended thinners for different paint types, and follow the manufacturer’s guidelines for mixing ratios.
I will also provide tips on how to test the consistency of thinned paint and make adjustments as needed. By the end, you will be equipped with the knowledge to properly thin paint and achieve professional-looking results with your airless sprayer.
So, let’s dive in and learn the art of thinning paint for an airless sprayer!
Key Takeaways
- Thinning paint is essential for optimal performance of an airless sprayer.
- Gradually add water or paint thinner to thick paint to achieve the desired consistency.
- Add small amounts of paint to thin it if it is too thin.
- Properly thinning the paint helps prevent clogging, spitting, and ensures consistent spray pattern.
Understanding the Importance of Thinning Paint for an Airless Sprayer
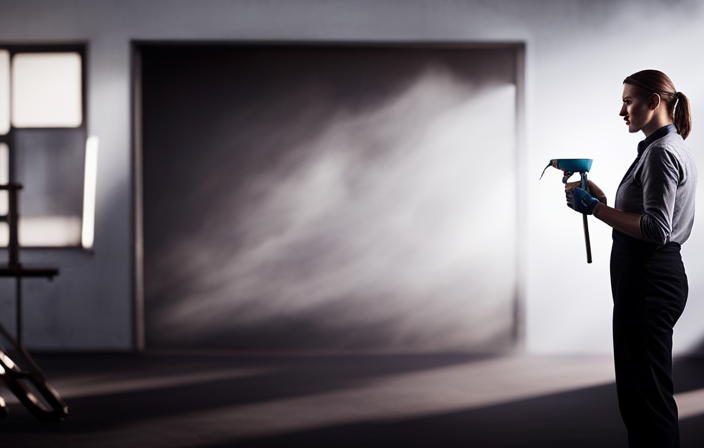
If you want to achieve professional-looking results with your airless sprayer, you need to understand the importance of thinning paint. Thinning paint is crucial because it allows the sprayer to work efficiently and effectively.
When paint is too thick, it can clog the nozzle and result in uneven application. Thinning the paint helps to improve the flow and atomization of the paint, ensuring a smooth and even finish.
To thin paint for an airless sprayer, you need the best thinners specifically designed for this purpose. There are various options available, such as water-based thinners or solvent-based thinners. Water-based thinners are environmentally friendly and easy to clean up, while solvent-based thinners are more effective for certain types of paint.
Once you understand the importance of thinning paint and have chosen the appropriate thinners, you can move on to gathering the necessary materials and tools for the job.
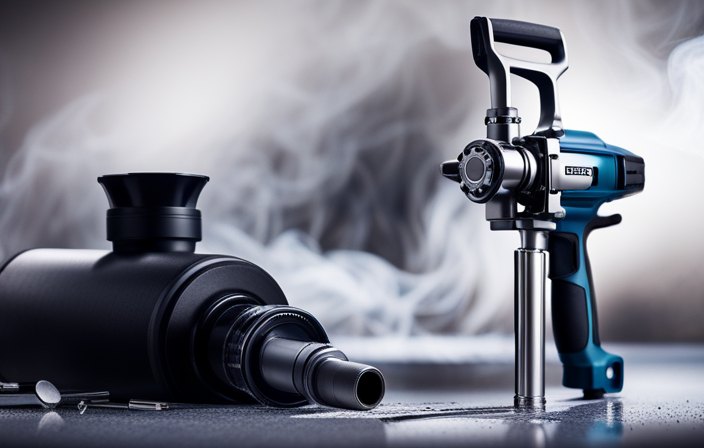
Gather the Necessary Materials and Tools
Before you begin, make sure you have all the essential items and equipment required. You’ll need a high-quality nozzle for your sprayer, a stir stick to mix the solution, and a paint strainer to remove any impurities that could clog the machine. It’s just like a chef assembling their ingredients before cooking a gourmet meal.
When choosing the right paint brand for your airless sprayer, it’s crucial to opt for a high-quality and compatible product. Different paint brands may have different thicknesses, so it’s important to determine the appropriate thinning ratio for your specific paint brand. The thinning ratio refers to the amount of thinner that needs to be added to achieve the desired consistency for spraying. This information can typically be found on the paint can or in the manufacturer’s instructions.
Once you have gathered all the necessary materials and determined the appropriate thinning ratio, the next step is to determine the recommended thinners for your paint type. I’ll discuss this in the subsequent section.
Determine the Recommended Thinners for Your Paint Type
Once you’ve gathered all the necessary materials and equipment, it’s essential to determine the appropriate solvent to use for your specific type of paint. Different paints require different thinners to achieve the right consistency for airless spraying.
Here are four recommended thinners based on paint compatibility:
- Mineral spirits: Ideal for oil-based paints and enamels.
- Water: Suitable for water-based latex paints.
- Lacquer thinner: Effective for lacquer-based paints.
- Denatured alcohol: Used for shellac and some types of varnishes.
Choosing the correct thinner ensures proper atomization and smooth application through the airless sprayer. It’s crucial to follow the manufacturer’s guidelines for mixing ratios to achieve the best results. This will be discussed further in the next section about following the manufacturer’s guidelines for mixing ratios.
Follow the Manufacturer’s Guidelines for Mixing Ratios
To ensure the best results, make sure you follow the manufacturer’s guidelines for mixing ratios when using your chosen solvent with the paint. It’s important to follow these guidelines because they’re specifically designed for the paint you’re using.
Deviating from the recommended ratios can lead to issues such as improper paint application, poor coverage, or even damage to your equipment. By following the guidelines, you can avoid common mistakes in paint thinning and achieve the desired consistency for your airless sprayer.
It’s crucial to carefully measure and mix the paint and solvent in the correct proportions to ensure a smooth and even application. Using a graduated container for accurate measurements is a key step in achieving the right mixing ratio.
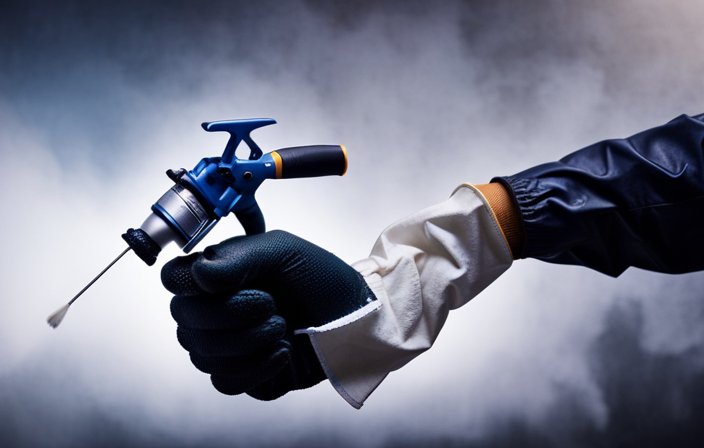
Use a Graduated Container for Accurate Measurements
Using a graduated container ensures precise measurement, allowing me to achieve the perfect consistency for my paint mixture. Accurate measurements are crucial when thinning paint for an airless sprayer, as it ensures that the paint flows smoothly through the sprayer without clogging or splattering.
By following the manufacturer’s guidelines for mixing ratios and using a graduated container, I can ensure that I’m adding the correct amount of thinner to my paint. This helps me achieve a precise mixing ratio, resulting in a well-thinned paint that’s ideal for spraying.
Once I’ve measured the correct amount of thinner, I can slowly add it to the paint, stirring continuously. This gradual addition of the thinner helps me achieve a smooth and consistent paint mixture without any lumps or clumps.
Slowly Add the Thinner to the Paint, Stirring Continuously
Gently blend the thinner into the mixture, stirring nonstop to ensure a smooth and seamless solution. Here are some discussion ideas to consider when thinning paint for an airless sprayer:
-
Thinning techniques for different types of paint: Each type of paint may require a different thinning technique. For example, latex paint may need water as a thinner, while oil-based paint may require mineral spirits.
-
Common mistakes to avoid when thinning paint for an airless sprayer: It’s important to avoid adding too much thinner, as this can affect the quality and coverage of the paint. Additionally, not stirring continuously during the thinning process can result in an uneven consistency.
Now, let’s move on to the next step and test the consistency of the thinned paint on a test surface.
Test the Consistency of the Thinned Paint on a Test Surface
Now, it’s time to see if your thinned paint is ready for action by testing its consistency on a trial surface. Testing the consistency of the thinned paint is crucial to ensure that it will spray evenly and smoothly through the airless sprayer. There are several testing methods you can use to evaluate the paint’s consistency. One effective method is to apply a small amount of the thinned paint onto a test surface, such as a piece of cardboard or scrap wood. Observe how the paint flows and spreads on the surface. Ideally, the thinned paint should have a creamy and uniform consistency, allowing it to be easily sprayed without clogging the sprayer nozzle. If the paint appears too thick or thin, you may need to make adjustments by adding more paint or thinner accordingly.
| Consistency | Evaluation | Desired Outcome |
|---|---|---|
| Too Thick | Clogs nozzle and produces uneven spray pattern | Add more thinner |
| Too Thin | Runs and drips excessively | Add more paint |
| Creamy and Uniform | Smooth and even spray | Ready for spraying |
By using these testing methods and alternative thinning agents, you can ensure that your paint is properly thinned for the airless sprayer. Make adjustments as needed to achieve the desired sprayability in the subsequent section about making adjustments for the desired sprayability.
Make Adjustments as Needed to Achieve the Desired Sprayability
To achieve the desired sprayability, you’ll need to make adjustments as necessary, ensuring a flawless application that’ll leave you feeling satisfied with your final result.
One important adjustment to consider is the spray pattern. By adjusting the nozzle or tip size on your airless sprayer, you can control the width and shape of the spray pattern. This allows you to achieve even coverage on different surfaces. Whether it’s a narrow pattern for detailed work or a wide pattern for larger areas.
Additionally, you may need to adjust the pressure settings on your sprayer to fine-tune the spray pattern and achieve the desired coverage. By making these adjustments, you can ensure that your paint is evenly distributed and avoid any streaks or patches. Properly adjusting the spray pattern is crucial for a professional finish.
Moving forward, it’s important to clean and maintain your airless sprayer properly to prolong its lifespan and ensure consistent performance.
Clean and Maintain Your Airless Sprayer Properly
Regular maintenance is key to keeping your paint sprayer in top shape and ensuring it continues to deliver flawless results. Proper cleaning techniques are essential for maintaining spray gun performance. By following a few simple steps, you can extend the lifespan of your airless sprayer and avoid costly repairs.
One important aspect of maintenance is cleaning the sprayer after each use. This involves flushing out any remaining paint and debris from the system. It is also crucial to regularly inspect and replace worn or damaged parts to prevent any issues that may affect the spray pattern or cause clogs.
To help you visualize the process, here is a table outlining the proper cleaning techniques for your airless sprayer:
| Step | Cleaning Technique |
|---|---|
| Step 1 | Disassemble the spray gun |
| Step 2 | Rinse all parts with water |
| Step 3 | Use a brush to remove any stubborn paint residue |
| Step 4 | Reassemble the spray gun |
By following these proper cleaning techniques, you can maintain the performance of your spray gun and ensure it operates smoothly. Coming up next, we will discuss troubleshooting common issues with thinning paint for an airless sprayer.
Troubleshooting Common Issues with Thinning Paint for an Airless Sprayer
Properly troubleshooting issues with thinning your paint is essential for optimal performance of your airless sprayer. When it comes to paint viscosity, here are some common issues you may encounter and tips for achieving an optimal spray pattern:
-
The paint is too thick: If the paint isn’t flowing smoothly through the sprayer, it may be too thick. Add a small amount of water or paint thinner to thin it out gradually until it reaches the desired consistency.
-
The paint is too thin: On the other hand, if the paint is too thin, it may result in a runny spray pattern. To fix this, add small amounts of paint to thicken it until it sprays evenly.
-
Inconsistent spray pattern: If the spray pattern is uneven or sputters, check the paint viscosity again. Adjust it accordingly, ensuring it is uniform throughout.
-
Clogging or spitting: If the sprayer is clogging or spitting, it could be due to paint particles or debris. Strain the paint before pouring it into the sprayer to prevent clogs.
-
Improper spray fan shape: If the spray fan shape isn’t even, it may be due to incorrect pressure settings. Adjust the pressure to achieve a consistent fan shape for optimal spraying.
By troubleshooting these common issues and following these tips, you can achieve an optimal spray pattern and make the most out of your airless sprayer.
Frequently Asked Questions
Can I use any type of paint with an airless sprayer?
Yes, you can use various types of paint with an airless sprayer. It’s important to consider paint compatibility, as some paints may require thinning. However, there are alternative methods to thinning paint for an airless sprayer.
How long does it usually take to thin paint for an airless sprayer?
To achieve the right consistency for an airless sprayer, it’s important to know how long it usually takes to thin paint properly. Follow these tips and you’ll be able to thin paint in no time.
Can I use water as a thinner for all types of paint?
Using water as a thinner for all types of paint in an airless sprayer has its pros and cons. While water is readily available and economical, it may affect the paint’s durability and adhesion.
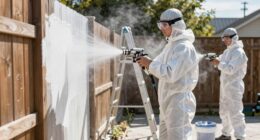
Is it necessary to wear protective equipment when thinning paint for an airless sprayer?
Oh, yes, of course, wearing protective equipment when thinning paint for an airless sprayer is completely optional. Who needs goggles, gloves, and a mask? Just dive right in and let those fumes embrace your lungs. Safety first, right? But seriously, always wear protective equipment when working with paint thinners. It’s not worth risking your health. And if you’re looking for alternatives, there are eco-friendly options available that are less harmful to both you and the environment. Stay safe, my friends.
What should I do if the thinned paint clogs the nozzle of the airless sprayer?
If the thinned paint clogs the nozzle of the airless sprayer, I can try a few clogged nozzle solutions. First, I’ll clean the nozzle with a brush or needle. If that doesn’t work, I can try adjusting the pressure or using a different nozzle size.
Conclusion
In conclusion, thinning paint for an airless sprayer is a crucial step in achieving the perfect sprayability. By following the manufacturer’s guidelines and using the recommended thinners, you can ensure accurate measurements and consistent results.
Remember to test the thinned paint on a test surface and make adjustments as needed. Properly cleaning and maintaining your airless sprayer will also prevent any issues.
So, next time you’re ready to tackle a painting project, remember these tips to achieve a flawless finish. Happy painting!