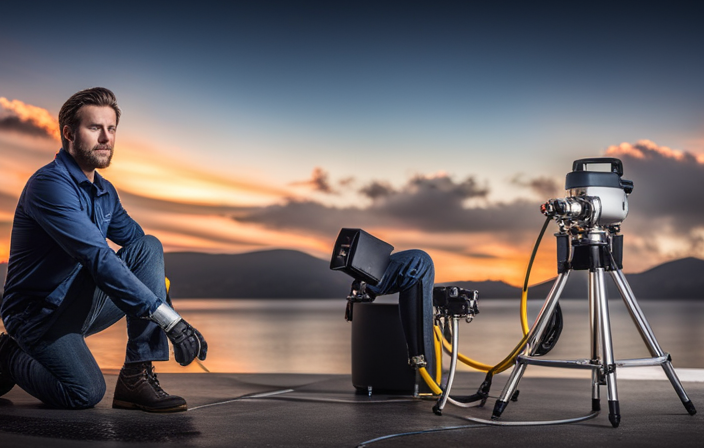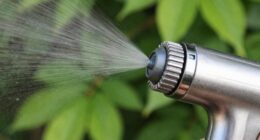
I have always been fascinated by the efficiency of airless paint sprayers. It is truly remarkable how they effortlessly transform a dull surface into a vibrant masterpiece.
If you’re like me and love the idea of achieving professional-looking results without breaking a sweat, then you’re in the right place. In this article, I will guide you through the ins and outs of using an airless paint sprayer effectively and efficiently.
Using my firsthand experience and technical knowledge, I will walk you through each step of the process, from familiarizing yourself with the airless paint sprayer to troubleshooting common issues that may arise.
We’ll cover everything from choosing the right paint and preparing the surface, to setting up the sprayer and practicing proper technique. I’ll even share some safety precautions and tips for maintenance to ensure your sprayer lasts for years to come.
So, whether you’re a seasoned DIY enthusiast or a beginner looking to tackle your first painting project, let’s dive in and unlock the potential of the airless paint sprayer together.
Key Takeaways
- Troubleshooting and preventing clogs is crucial for successful airless paint spraying.
- Adjusting spray settings, such as pressure, paint type, fan width, and spray tip size, is necessary for optimal results.
- Safety precautions, including wearing a respirator, maintaining proper ventilation, and using protective clothing, are essential.
- Regular cleaning and maintenance, such as cleaning the sprayer, flushing out leftover paint, inspecting hoses and fittings, and lubricating the pump, are important for increasing the sprayer’s lifespan and achieving optimal results.
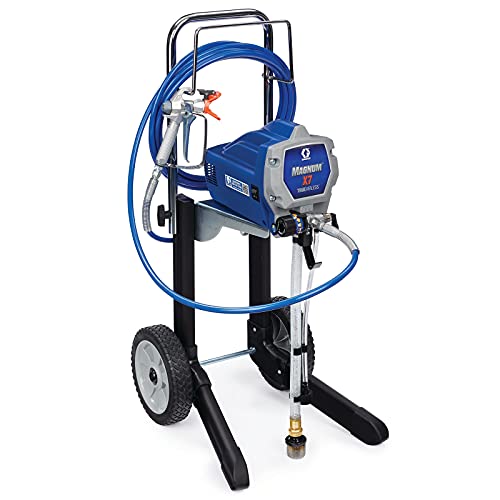
Graco Magnum 262805 X7 Cart Airless Paint Sprayer, Gray
CONTROL PAINT FLOW: Fully adjustable pressure to give you ultimate control of paint flow for any project size;...
As an affiliate, we earn on qualifying purchases.
Familiarize Yourself with the Airless Paint Sprayer
Now that you’ve got your airless paint sprayer in hand, take a moment to familiarize yourself with its components and how they work together to create a seamless painting experience.
The airless paint sprayer consists of a motor, pump, hose, and spray gun. To ensure optimal performance, regular airless paint sprayer maintenance is crucial. This includes cleaning the filters, checking for any clogs or leaks, and lubricating the moving parts.
Troubleshooting tips for common issues such as uneven spray patterns or loss of pressure can also be found in the user manual.
Once you’ve familiarized yourself with the airless paint sprayer, it’s time to choose the right paint and preparation. This will ensure a smooth transition from familiarizing yourself with the sprayer to achieving a professional finish.

Wagner Spraytech 2435698 Control Pro 130 Paint Sprayer with T2 Gun, High Efficiency Airless Sprayer with Low Overspray, Yellow
WAGNER AIRLESS PAINT SPRAYER: The Control Pro 130 Power Tank applies coatings 3X faster than a roller with...
As an affiliate, we earn on qualifying purchases.
Choose the Right Paint and Preparation
First things first, make sure you’ve got the perfect paint and prepped everything just right.
When it comes to choosing paint colors, consider the type of surface you’ll be painting and the desired finish. Opt for paint that’s specifically formulated for use with an airless paint sprayer to ensure optimal results.
Additionally, preparing the surface is crucial for a successful paint job. Clean the surface thoroughly by removing any dirt, dust, or grease. Repair any cracks or imperfections and sand the surface to create a smooth and even base. Finally, apply a primer if necessary to promote adhesion and ensure the paint adheres properly.
Now that you’ve chosen the right paint and prepared the surface, it’s time to move on to setting up the airless paint sprayer.

VEVOR 750W Stand Airless Paint Sprayer, 3000PSI High Efficiency Electric Airless Sprayer, Fine and Even Painting Effect, Handheld Paint Sprayers for Home Interior and Exterior Furniture and Fences
Efficient Painting: Our stand airless paint sprayer is equipped with a powerful 750W motor, capable of delivering up...
As an affiliate, we earn on qualifying purchases.
Set Up the Airless Paint Sprayer
Once you’ve gathered all your materials, it’s time to get your airless paint sprayer up and running so you can unleash your creativity on those walls.
Before you start, it’s essential to familiarize yourself with some airless paint sprayer troubleshooting techniques and maintenance tips to ensure a smooth painting process.
First, make sure the sprayer is clean and free from any debris or dried paint. Check the filters and replace them if necessary.
Next, inspect the spray tip for any clogs or damage and replace if needed.
Adjust the pressure settings to match the type of paint you’re using and test the spray pattern on a piece of cardboard before starting.
Remember to wear protective gear and practice proper technique to achieve the best results without overspray or drips.
Transitioning to the next section, it’s important to know how to practice proper technique for a flawless finish.

MaXpray M1 Airless Paint Sprayer, Highly Efficient Thinning-Free Minimal Overspray for Up to 10 Gallon DIY Painting Projects Home Interior & House Exterior, Comes with Sprayer Accessories
Your DIY Partner - All DIY Homeowners, upgrade your DIY game with the MaXpray M1 airless paint sprayer—far...
As an affiliate, we earn on qualifying purchases.
Practice Proper Technique
Mastering the art of achieving a flawless finish requires honing your skills and employing proper technique when using an airless paint sprayer. Proper technique is crucial to ensure an even and smooth application of paint.
One common mistake is holding the sprayer too close to the surface, which can result in uneven coverage and drips. It’s important to maintain a consistent distance of around 12-18 inches from the surface.
Another mistake is moving the sprayer too quickly or too slowly. Moving too quickly can lead to overspray, while moving too slowly can cause paint to accumulate and create drips. Practice moving the sprayer at a steady pace to achieve optimal results.
With these proper techniques in mind, you’re now ready to transition into the subsequent section about starting the painting process.
Start Painting
Begin by grabbing your trusty tool and diving into the world of painting with confidence, because a fresh coat of color can transform any space from drab to fab.
As a beginner, it’s important to keep in mind a few tips to ensure a smooth painting process. Here are some common mistakes to avoid and helpful pointers to keep in mind:
- Hold the sprayer at a consistent distance from the surface.
- Keep the sprayer moving in a steady, side-to-side motion to achieve even coverage.
- Start painting from the top and work your way down to prevent drips.
- Overlap each pass by about 50% to avoid streaks or missed spots.
- Maintain a constant speed to ensure consistent application.
By following these tips for beginners, you can avoid common mistakes and achieve a professional-looking paint job.
Now, let’s move on to the next section about overlap and coverage, where we’ll delve deeper into these concepts.
Overlap and Coverage
To achieve a flawless finish, it’s crucial to maintain a consistent distance and keep the sprayer in a steady, side-to-side motion for even coverage when painting.
When using an airless paint sprayer, overlap techniques are essential to ensure that every inch of the surface is evenly coated. As you move the sprayer across the surface, overlap each pass by about 50% to prevent any gaps or streaks. This technique ensures that the paint is evenly distributed and provides a consistent finish.
Remember to adjust your speed accordingly to maintain a steady flow and avoid any pooling or drips. By mastering these overlap techniques, you can achieve a smooth and uniform appearance.
Now, let’s move on to the next section about clean up and maintenance.
Clean Up
Cleaning up after painting is a breeze with the right tools and a little elbow grease. During the cleanup process, it’s important to remove paint residue thoroughly to ensure the longevity of your airless paint sprayer. Here are three sub-lists that will guide you through the cleanup process:
-
Start by disconnecting the sprayer from the power source and relieving the pressure by triggering the gun into a waste container. This’ll prevent any accidental spraying during cleanup.
-
Next, disassemble the spray gun, nozzle, and filter. Rinse them with warm water to remove any remaining paint. Use a soft brush to remove any stubborn residue.
-
Once the gun and accessories are clean, clean the sprayer itself by flushing it with water or a recommended cleaning solution. Pay close attention to the pump, hoses, and connections.
By following these steps, you can ensure a thorough cleanup and prevent any clogs or damage to your airless paint sprayer.
Now, let’s move on to troubleshooting common issues during the painting process.
Troubleshooting Common Issues
When using an airless paint sprayer, it’s important to know how to troubleshoot common issues that may arise.
One common issue is clogs or blockages in the sprayer’s nozzle or hose. To address this, I recommend thoroughly cleaning the nozzle and checking for any obstructions.
Another common issue is uneven spray patterns, which can be caused by a variety of factors. To handle this, I suggest checking the spray tip for wear or damage, adjusting the pressure settings, and ensuring proper paint viscosity.
Address clogs or blockages
First, make sure you’re using the correct size tip to prevent clogs or blockages in your airless paint sprayer. Using the wrong tip size can cause paint to build up and create clogs in the system. If you notice a decrease in spray pattern or pressure, it’s likely due to a clog.
To prevent clogs, it’s essential to strain your paint before pouring it into the sprayer, removing any debris or lumps. Additionally, regularly cleaning and flushing the sprayer with a cleaning solution can help prevent clogs.
In case you encounter a blockage, you can try using a cleaning brush or a small piece of wire to remove it.
By following these clog prevention and troubleshooting solutions, you can ensure smooth and uninterrupted paint spraying.
Now, let’s move on to how to handle uneven spray patterns.
Handle uneven spray patterns
To achieve a flawless finish, it’s important to address any issues with uneven spray patterns in order to ensure professional-looking results.
To fix uneven spray patterns, start by adjusting the spray settings on your airless paint sprayer. Begin by checking the pressure setting and making sure it’s appropriate for the type of paint you’re using.
If the pattern is still uneven, try adjusting the fan width and the spray tip size. A narrower fan width can help concentrate the spray in a specific area, while a larger spray tip can provide a wider coverage. It may take some trial and error to find the right combination of settings for your specific project.
Once you’ve achieved an even spray pattern, you can proceed to the next section on safety precautions by ensuring that all necessary protective gear is worn.
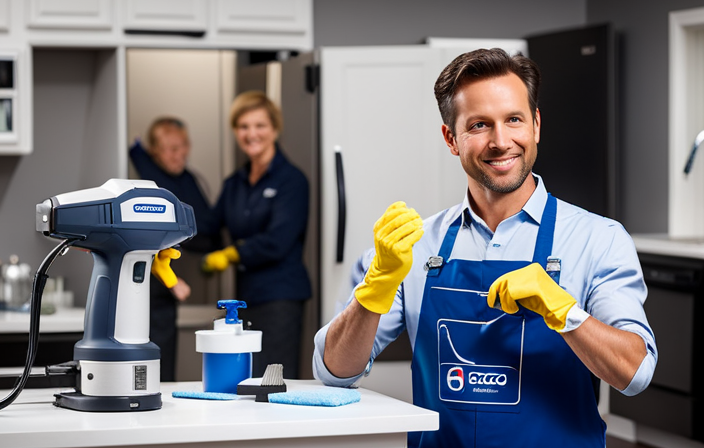
Safety Precautions
Before you start using an airless paint sprayer, it’s crucial to prioritize safety precautions for your own well-being.
Respiratory protection is essential when working with paint sprayers, as the fine particles and fumes can be harmful if inhaled. Always wear a respirator that’s specifically designed for use with paints and solvents.
Proper ventilation is necessary to ensure that the air is constantly circulating and reducing the concentration of paint fumes in the area. Open windows or use fans to create a draft while spraying.
It’s also important to wear protective clothing, such as gloves and goggles, to prevent any accidental contact with the paint.
Following these safety measures will help protect your health and ensure a safe working environment.
Now, let’s move on to some tips for maintenance and longevity of your airless paint sprayer.
Tips for Maintenance and Longevity
Taking good care of your airless paint sprayer is like giving it a daily spa treatment to keep it in top-notch condition for years to come. Proper maintenance is essential for increasing the lifespan of your sprayer and ensuring it continues to perform at its best.
To start, always clean your sprayer thoroughly after each use. This includes flushing out any leftover paint and debris from the system, as well as cleaning the filters and nozzles. Regularly inspect the hoses and fittings for any signs of wear or damage, and replace them if necessary. Additionally, lubricate the pump regularly to prevent any friction or damage.
Storing your sprayer in a clean and dry environment will also help prolong its lifespan. By following these maintenance tips, you can ensure your airless paint sprayer stays in excellent condition for many years to come.
Frequently Asked Questions
Can an airless paint sprayer be used for all types of paint?
An airless paint sprayer can be used for most types of paint, including latex, oil-based, and acrylic. However, there are pros and cons to consider. Tips for achieving a smooth finish include adjusting the pressure, using the correct tip size, and practicing proper technique.
What safety precautions should I take when using an airless paint sprayer?
When using an airless paint sprayer, it’s crucial to prioritize safety. To protect myself, I wear proper safety gear, ensure sufficient ventilation, and use respiratory protection. These precautions are essential to prevent any potential harm.
How often should I clean the airless paint sprayer to maintain its performance?
To maintain the performance of an airless paint sprayer, it is important to clean it regularly. Cleaning the sprayer removes paint buildup and prevents clogs, ensuring smooth and consistent spray patterns. Regular cleaning also extends the lifespan of the sprayer and reduces the risk of malfunctions.
What are some common troubleshooting issues with an airless paint sprayer and how can I fix them?
Some common troubleshooting issues with an airless paint sprayer include clogging, uneven spray pattern, and low pressure. To fix them, I recommend cleaning the sprayer, checking the nozzle, and adjusting the pressure settings accordingly. Regular maintenance and troubleshooting will ensure optimal performance.
Can an airless paint sprayer be used on textured surfaces?
Yes, an airless paint sprayer can be used on textured surfaces. For example, I recently used one to paint a stucco wall. However, alternative painting methods like roller or brush may be more suitable for highly textured surfaces.
Conclusion
In conclusion, using an airless paint sprayer is like wielding a magical paintbrush that transforms spaces with efficiency and precision.
Just like a skilled artist, mastering the technique and choosing the right paint is crucial for a flawless finish.
With proper setup, practice, and attention to safety, this powerful tool can unleash your creative potential.
Remember to clean up and troubleshoot any issues to ensure its longevity.
Treat your airless paint sprayer with care, and it’ll continue to bring color and life to your world.