To use an airless paint sprayer for interior painting, start by setting up your workspace safely. Wear protective gear and guarantee good ventilation. Connect the sprayer properly, then flush it with water or solvent. Clean your walls thoroughly and repair any imperfections. Maintain a distance of 6 to 12 inches from the surface while spraying, using long, smooth strokes and overlapping each pass by 50%. After you finish painting, clean the sprayer and store it properly. Following these steps will lead to a great finish, and there's more to discover about optimizing your technique for the best results.
Key Takeaways
- Ensure proper safety precautions by wearing protective gear and ensuring good ventilation in the workspace before starting to paint.
- Set up the sprayer by securely connecting the hose, attaching the spray gun, and flushing it with water or solvent for optimal performance.
- Prepare surfaces by cleaning walls, repairing imperfections, and removing any old caulk or baseboards to ensure smooth paint application.
- Use correct spraying technique, maintaining a distance of 6 to 12 inches, employing long strokes, and overlapping passes for even coverage.
- Clean the sprayer thoroughly after use, flushing it with the appropriate solvent and allowing all parts to dry before storage.

VEVOR 750W Stand Airless Paint Sprayer, 3000PSI High Efficiency Electric Airless Sprayer, Fine and Even Painting Effect, Handheld Paint Sprayers for Home Interior and Exterior Furniture and Fences
Efficient Painting: Our stand airless paint sprayer is equipped with a powerful 750W motor, capable of delivering up…
As an affiliate, we earn on qualifying purchases.
As an affiliate, we earn on qualifying purchases.
Safety Precautions
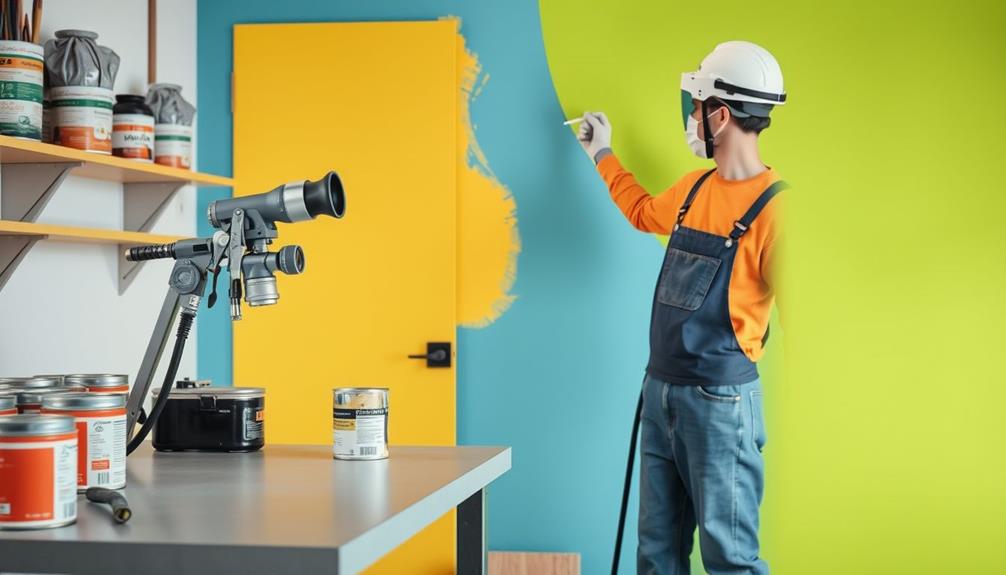
When using an airless paint sprayer, it's vital to prioritize safety to protect yourself from potential hazards. Start by wearing protective clothing, goggles, and a painter's mask to shield yourself from paint fumes and overspray. These safety precautions help minimize your exposure to harmful substances while you work.
Additionally, make certain you understand the airless paint sprayer basics to familiarize yourself with its operation and potential risks.
Verify your working area is well-ventilated by opening windows and using exhaust fans. This reduces the inhalation of harmful vapors, keeping you safer as you paint. Always read the manufacturer's manual for specific safety procedures and operational guidelines related to your airless paint sprayer; this knowledge is fundamental for safe usage.
When the spray gun isn't in use, engage the safety lock to prevent accidental spraying. This simple step can help avoid injuries and unintended messes.
Additionally, keep flammable materials away from your painting area. Avoid smoking or using open flames nearby, as paint solvents can be highly flammable.

Andes Safety Hazmat Suit, Heavy Duty Full Body Disposable Paint Suit, Coverall with Hood, Elastic Wrists and Ankles (XXL)
Inherent Protection: The Microporous PE Film Coverall, designed to provide unparalleled protection, comfort, and durability. Enhanced Seam Strength:…
As an affiliate, we earn on qualifying purchases.
As an affiliate, we earn on qualifying purchases.
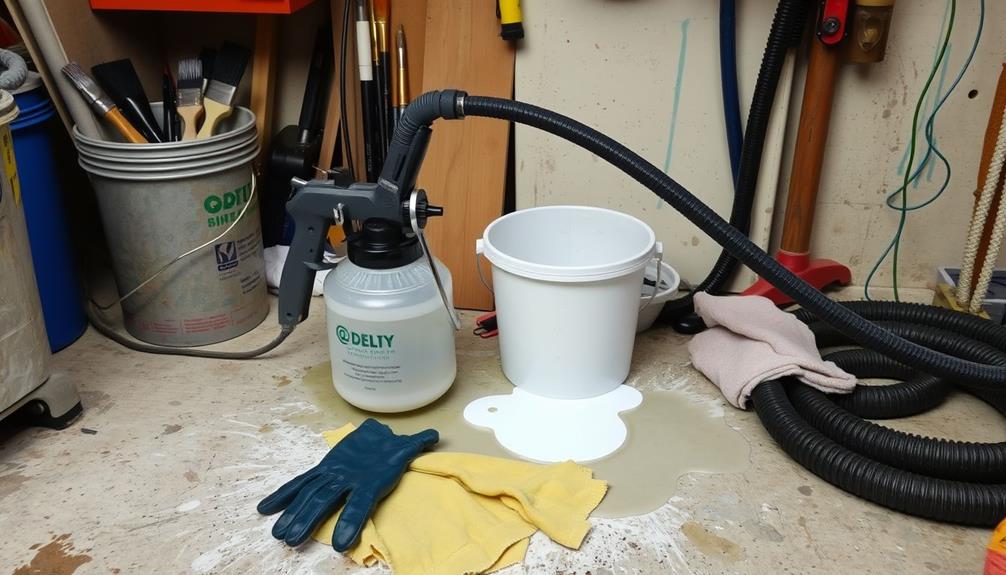
Sprayer Setup
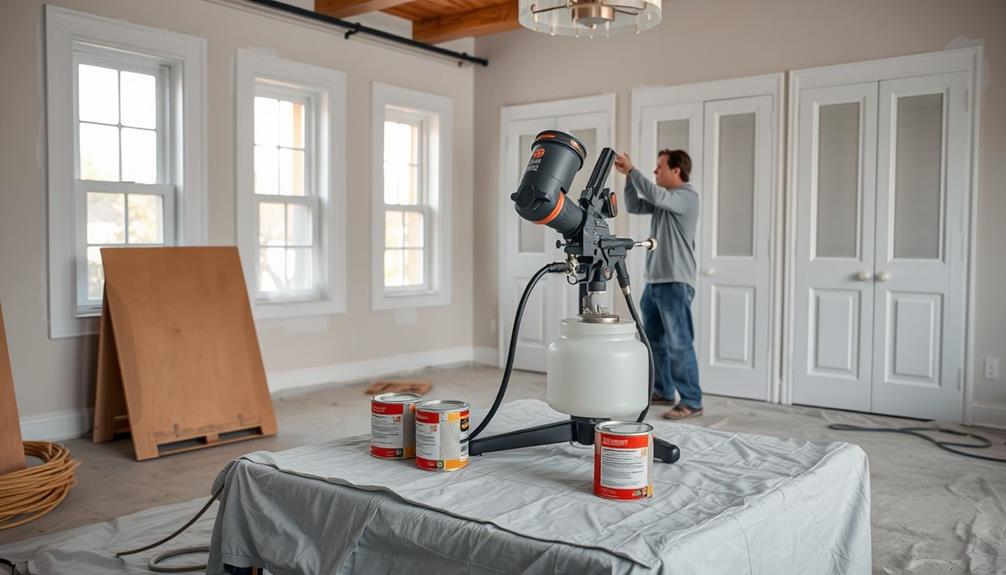
To get your airless paint sprayer ready, start by securely connecting the spray gun and hose to prevent leaks.
It's crucial to verify that your workspace is well-ventilated, especially if you're using solvent-based paints, as proper ventilation helps maintain indoor air quality, similar to the importance of HVAC maintenance in homes.
Next, flush and prime the sprayer with the right solvent or paint, making sure you eliminate any air bubbles.
Equipment Connection Process
Setting up your airless paint sprayer correctly is vital for a successful painting project. Start by securely connecting the spray gun to the hose, verifying all fittings are tight to prevent leaks during operation. Next, attach the high-pressure hose to the sprayer unit, following the manufacturer's guidelines for proper assembly.
Choose and install the appropriate spray tip and guard based on the type of paint and the desired finish for your project. This step is significant for achieving peak performance.
Before starting, flush the sprayer with water or solvent to remove any residue. This priming process prepares the system for peak performance during use. Always consult the sprayer's instruction manual for specific setup steps and safety precautions tailored to your model.
Here's a quick reference table:
| Step | Action | Notes |
|---|---|---|
| 1. Connect Spray Gun | Securely attach to hose | Check for tightness to prevent leaks |
| 2. Attach Hose | Connect to sprayer unit | Follow manufacturer's guidelines |
| 3. Install Spray Tip | Choose based on paint type | Consider desired finish |
| 4. Flush Sprayer | Use water or solvent | Verifies peak performance |
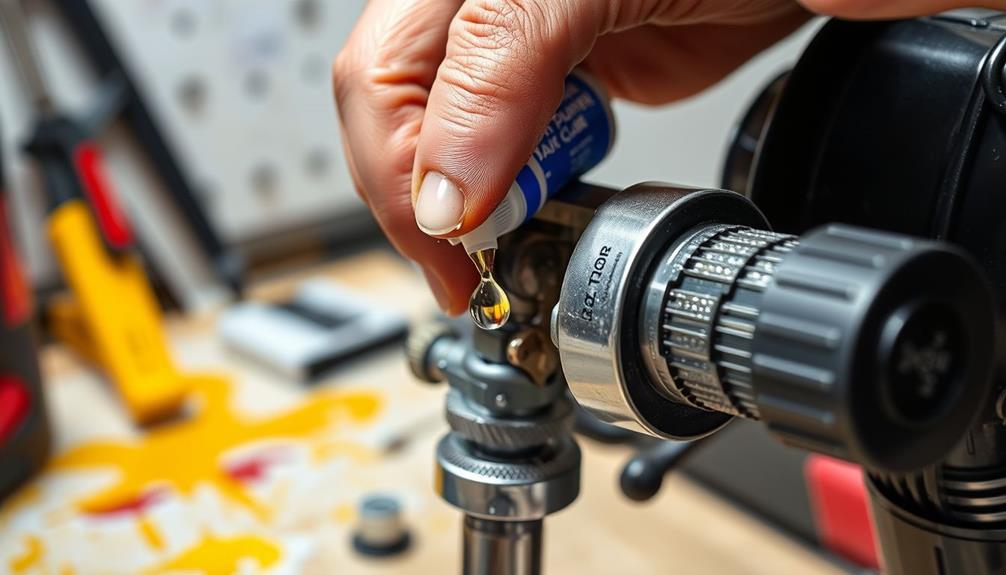
Priming the Sprayer
After confirming your airless paint sprayer is properly assembled, it's time to prime the sprayer for peak performance.
Start by flushing the sprayer with water or an appropriate solvent to remove any residual materials. This step is vital to avoid contamination and guarantee a clean start. Proper dilution guidelines can greatly impact the sprayability and finish quality, so be sure to mix your paint accordingly.
Next, fill the paint reservoir with the desired paint, following the manufacturer's instructions for the best results.
Choose the right spray tip and guard for your specific project, as different tips can greatly affect the spray pattern and finish quality.
Once you've selected the appropriate tip, it's important to test the spray. Aim the sprayer at a piece of scrap material and adjust the pressure and flow rate as needed. This allows you to check if the sprayer is primed correctly and that the spray pattern meets your expectations.
If you encounter any issues during this process, consult the sprayer's instruction manual for specific priming procedures or troubleshooting tips.
Taking these steps guarantees your airless paint sprayer is ready to deliver a smooth, even finish for your interior painting project.
Tip Installation Steps
Installing the spray tip correctly is vital for achieving the best results with your airless paint sprayer. First, make certain the sprayer is turned off and disconnected from the power source to prevent accidental activation. Additionally, consider implementing safety measures similar to those used in home security systems to guarantee a secure working environment.
Next, select the appropriate spray tip size based on the type of paint and the surface to be sprayed. Different tips allow for varying paint flow rates, which can greatly impact your project.
Align the spray tip with the guard and push it into place until it clicks securely. This guarantees proper attachment for peak performance.
After installation, check for any gaps or misalignments to confirm that the tip is seated correctly and tightly within the guard. Misalignments can lead to uneven paint application, so it's vital to get this right.
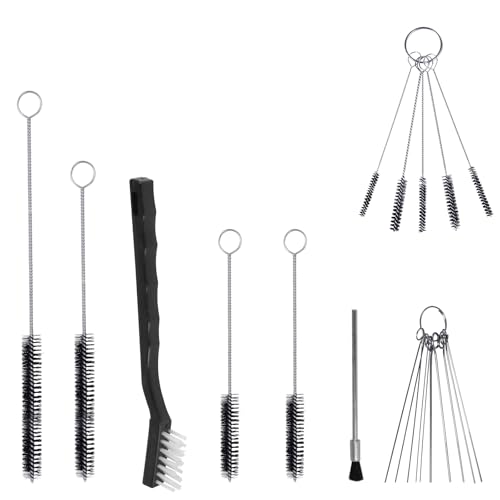
17pcs Multi-Purpose Spray Gun Cleaning Kit,Nylon Brushes Paint Gun Cleaning Kit Mini Brushes & Needles for Clean Airbrush Nozzles Spray Guns Tattoo Equipment (17)
★ This handy spray guns cleaning kit is all you need to keep your spray guns clean and…
As an affiliate, we earn on qualifying purchases.
As an affiliate, we earn on qualifying purchases.
Surface Preparation
Before you start painting, you'll need to clean the walls thoroughly to guarantee a smooth application. This is essential as a well-prepared surface can greatly enhance the overall finish of your work.
Use a TSP solution and a flat mop, then patch any holes or cracks to create an even surface. It's also beneficial to reflect on key factors in choosing a home cleaning service if you need assistance with thorough cleaning.
Don't forget to sand rough areas and remove dust to avoid any imperfections in your final finish.
Cleaning Walls Effectively
Cleaning walls effectively is essential for achieving a flawless paint finish. Start by using a solution of trisodium phosphate (TSP) mixed with water to clean interior walls. This mixture will help remove grease, dirt, and grime, providing a smooth surface for painting. For larger areas, a flat mop lets you cover more ground efficiently and guarantees even coverage.
| Step | Action |
|---|---|
| Clean Walls | Use TSP solution to remove grease |
| Dry Completely | Allow walls to dry to avoid moisture |
| Patch Holes | Use drywall putty for any imperfections |
| Wipe Down | Finish with a damp cloth to prevent contamination |
After cleaning, let your walls dry entirely before you patch any holes, cracks, or chips. Wider patches help blend seamlessly with the wall, preparing it for the airless paint sprayer. Finally, wipe down the walls with a damp cloth and vacuum any drywall dust. This guarantees a clean surface and prevents contamination during your painting process.
Repairing Surface Imperfections
Once your walls are clean and dry, it's time to tackle any surface imperfections. Start by using drywall putty to repair holes and cracks. To create a serene atmosphere, consider how the color and texture of the putty will influence your overall design aesthetic, as seen in modern farmhouse bedrooms.
Opt for wider patches to guarantee a smoother finish once you start sanding. After applying the putty, allow it to dry completely before moving on.
Next, grab your sandpaper and smooth out any rough areas or dried putty. This step is essential for creating an even surface, which greatly enhances paint adhesion during spraying. If you've removed baseboards, don't forget to use a flat putty knife to remove any existing caulk lines, guaranteeing a cleaner edge for your paint.
Once you've sanded the surface, vacuum up any drywall dust and wipe down the area with a damp cloth. This prevents contamination that could negatively affect your paint finish.
Properly repairing these surface imperfections not only improves the appearance but also helps your paint adhere better, giving you a professional-looking result. With a well-prepared surface, you're ready to move on to the fun part—using your airless paint sprayer!

Gyfent 50Ft x 1/4" NPT Airless Paint Sprayer Hose, 8500PSI High Pressure Airless Paint Spray Hose with 5Ft Whip Hose & 1/4" Hose Connector & Sprayer Swivel Joint for Airless Spraying Machine
Wide Compatible: The airless paint sprayer hose can be adapted to most airless paint sprayer, 50ft hose can…
As an affiliate, we earn on qualifying purchases.
As an affiliate, we earn on qualifying purchases.
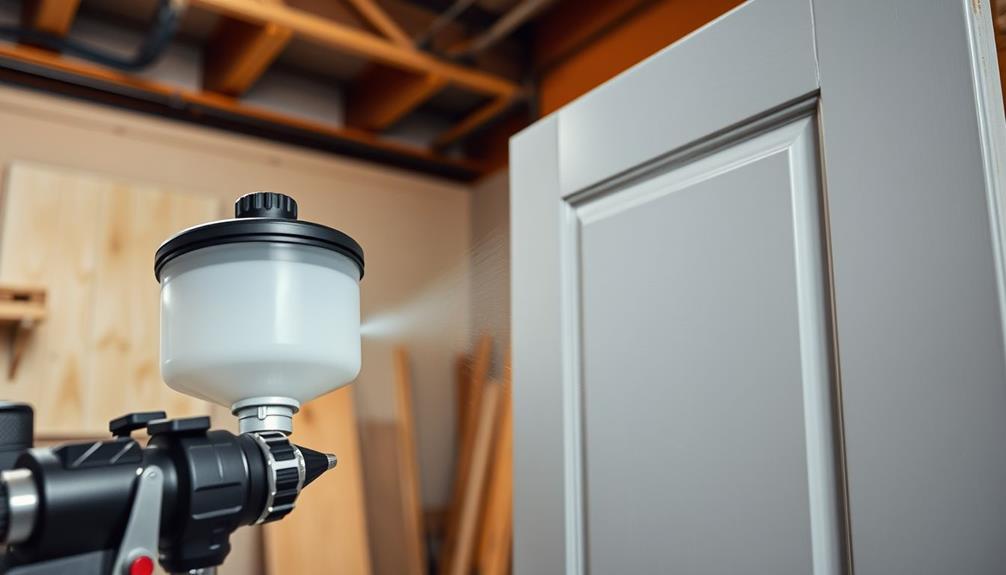
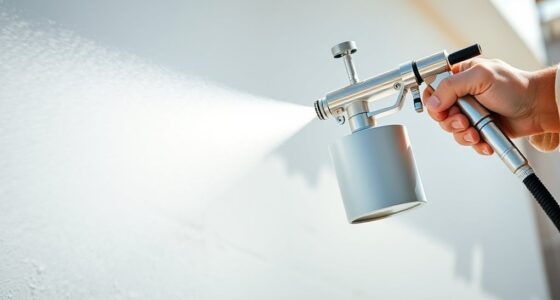
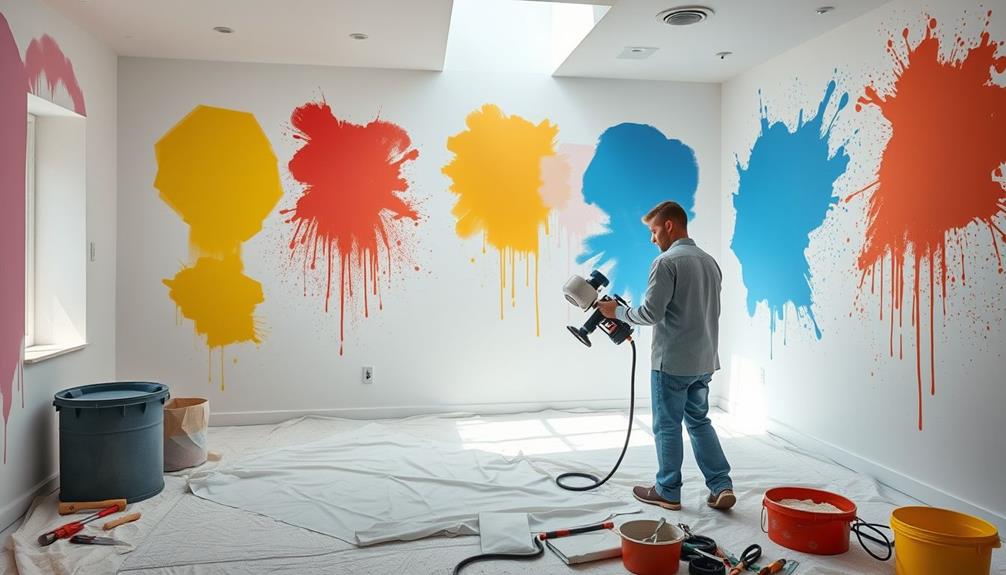
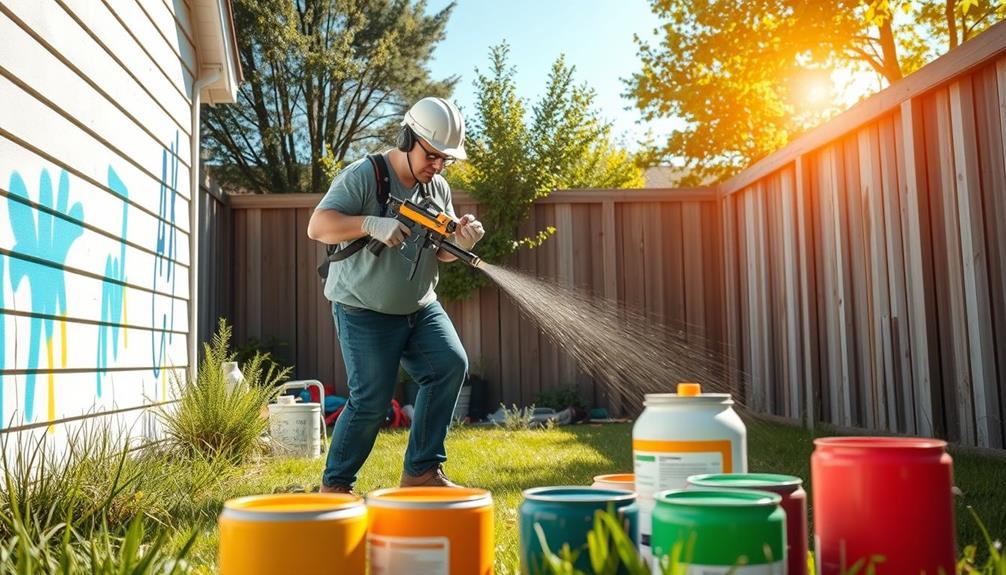
Spray Technique
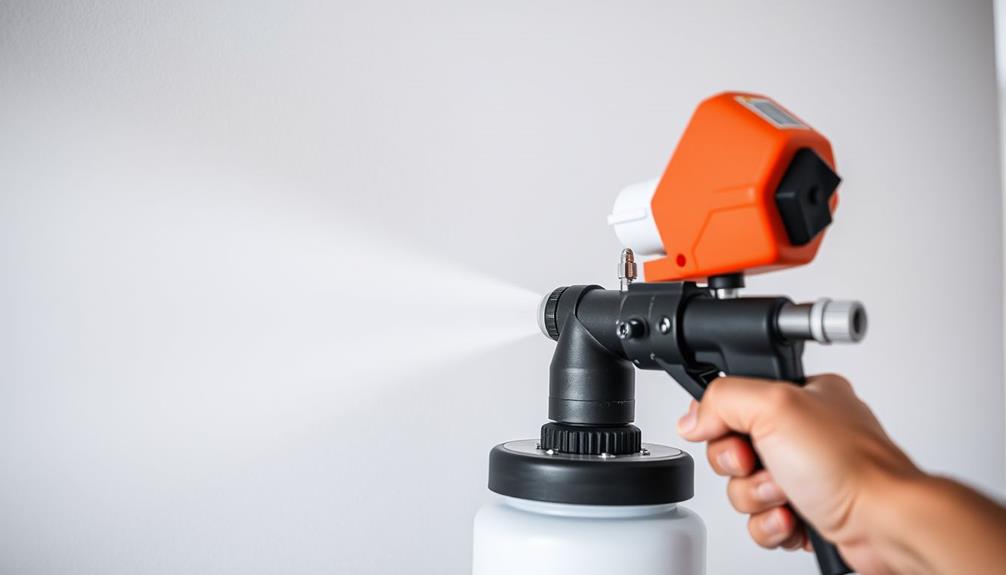
Consistently applying the right spray technique is essential for achieving a smooth, professional finish with your airless paint sprayer. To start, maintain a distance of 6 to 12 inches from the surface. This helps guarantee even paint coverage and prevents drips. Use long strokes, moving back and forth across the surface, and always begin and end your spray motion off the edge to minimize overspray. Overlapping each pass by about 50% guarantees uniform paint application, avoiding streaks.
Before diving into your project, practice on scrap materials. This allows you to refine your technique and adjust pressure settings and spray patterns based on the paint type and surface texture. Here's a handy reference table for your spray technique:
| Step | Action | Purpose |
|---|---|---|
| Maintain Distance | 6-12 inches from the surface | Achieve even coverage |
| Use Long Strokes | Back and forth motion | Minimize overspray |
| Overlap Passes | 50% overlap | Guarantee uniform application |
| Adjust Settings | Based on paint and texture | Optimize results |
| Practice | On scrap materials | Refine technique |
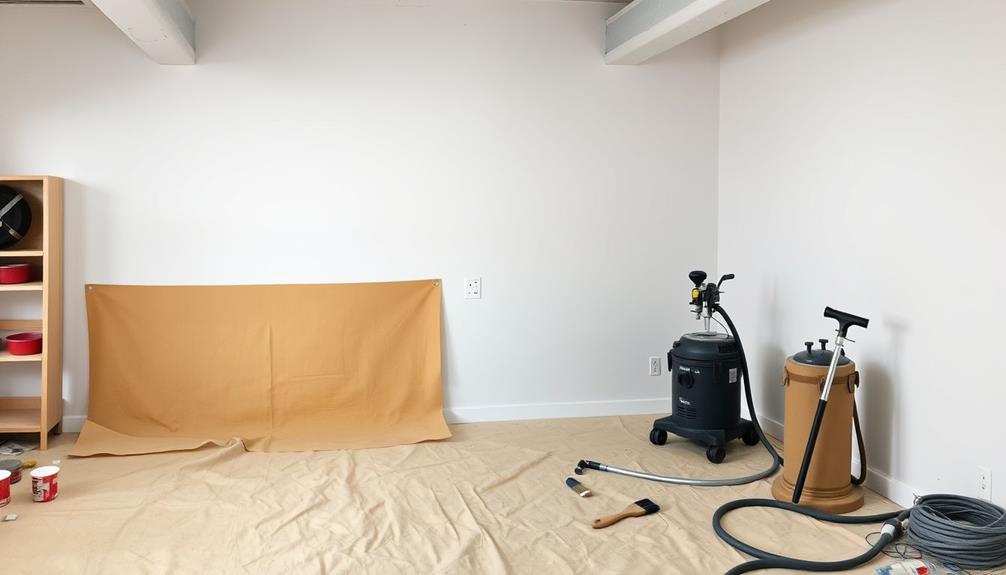
Cleanup Process
Completing your painting project is just the beginning; the cleanup process is equally important for maintaining your airless paint sprayer and making sure it's ready for future use. Start by dumping any remaining paint back into the original can to minimize waste. Additionally, it's beneficial to make certain your workspace is well-organized and free from distractions, as a tidy environment can streamline the cleanup process.
Next, it's essential to flush the airless paint sprayer with an appropriate solvent—use water for latex paints or mineral spirits for oil-based paints. This step helps remove any leftover paint particles and prevents clogs.
After flushing, disassemble the sprayer according to the manufacturer's instructions. Thoroughly clean the reservoir, hoses, and nozzle to maintain peak performance. Don't forget to remove masking tape once the paint has dried; this guarantees clean edges and prevents peeling on your freshly painted surfaces.
Allow all components to dry completely before reassembling or storing the sprayer. This helps prevent moisture-related issues, ultimately extending the life of your equipment.
Tips for Success
Before diving into your painting project, it's important to equip yourself with some key tips for success when using an airless paint sprayer. First, always read the instruction manual thoroughly to understand your specific spray equipment. This knowledge is significant for a smooth operation.
Additionally, consider wearing safety glasses to protect your eyes from any paint splatters and guarantee you're working safely. Next, practice on scrap material to get familiar with the spray pattern and adjust settings for best coverage.
When you start spraying, maintain a consistent distance of about 6-12 inches from the surface. This helps achieve an even finish and prevents drips. It's also important to overlap each spray pass by approximately 50% to guarantee uniform coverage and avoid missed spots.
Don't forget to take breaks as needed to adjust your grip and technique. A steady hand is key to a professional-looking paint job.
Additionally, always wear protective gear, including masks and goggles, to follow safety procedures and protect yourself from paint fumes and splatters.
Frequently Asked Questions
What Pressure Do I Run My Airless Sprayer for Interior Painting?
You should run your airless sprayer between 1500 to 3000 PSI for interior painting. Use higher pressure for thicker paints and lower pressure for thinner ones to guarantee a smooth, even application without overspray.
Is an Airless Paint Sprayer Good for Interior Walls?
Yes, an airless paint sprayer's perfect for interior walls. You'll achieve a smooth finish quickly, cover large areas efficiently, and adjust settings for different textures, making it a versatile tool for your painting projects.
Do I Need to Thin Paint for an Airless Sprayer?
About 70% of paint failures stem from improper thinning. You'll need to thin paint for an airless sprayer if it's too thick. Always check the manufacturer's guidelines to avoid coverage issues and guarantee peak performance.
How Hard Is It to Use an Airless Paint Sprayer?
Using an airless paint sprayer isn't too hard once you practice. You'll need to master the distance and motion to avoid drips. With a bit of experience, you'll find it speeds up your painting considerably.
Conclusion
With your airless paint sprayer in hand and the room transformed by vibrant colors, you've turned a simple task into an artful journey. The fresh coat glistens, filling the space with a renewed energy, while the scent of paint lingers in the air like a promise of creativity. Remember, each stroke brings your vision to life, so embrace the process. Now, step back and admire your masterpiece—your walls are no longer mere surfaces, but a canvas of your own design.