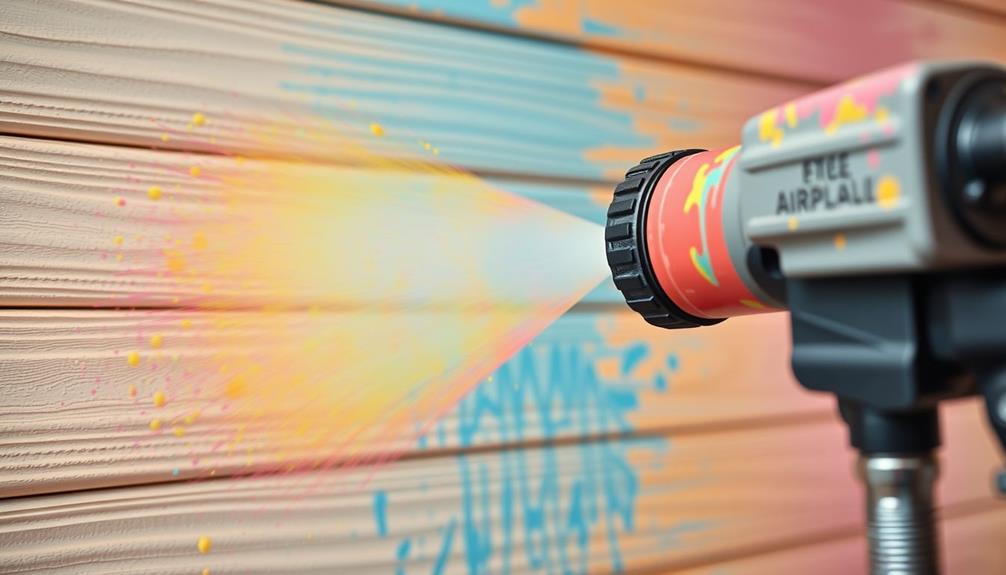
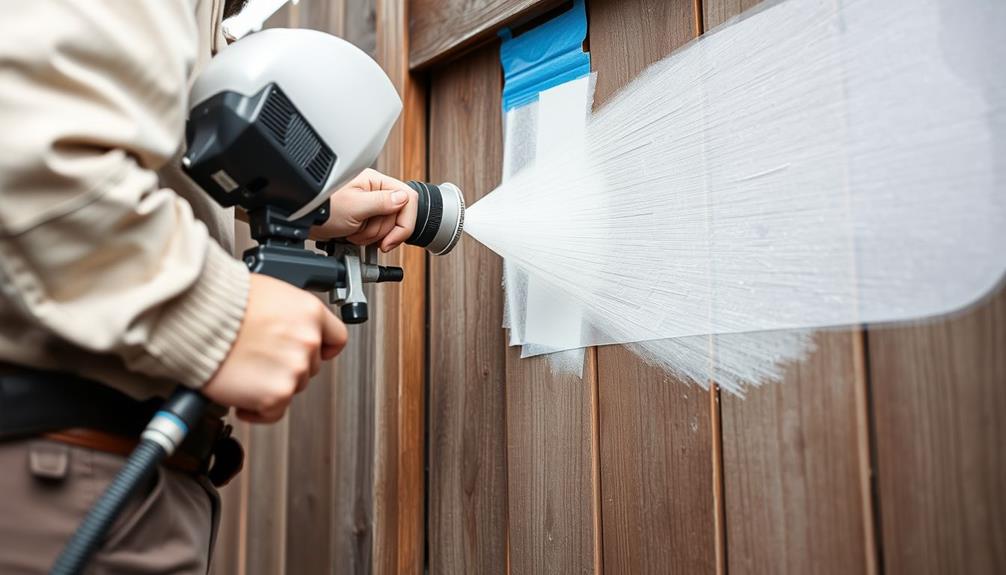
To use an airless paint sprayer for painting beadboard, start by cleaning your surface thoroughly and filling any nail holes. Choose a high-quality, self-leveling latex or acrylic paint in a satin or semi-gloss finish. Set up your sprayer according to manufacturer guidelines, making sure to protect surrounding areas with tape and drop cloths. Hold the sprayer 6 to 12 inches from the surface, spraying in 3-foot horizontal strips and overlapping each one. Finally, inspect for missed spots or uneven coverage and touch up with a brush as needed. There's more to perfecting your technique ahead.
Key Takeaways
- Prepare the beadboard by cleaning, filling nail holes, and sanding for a smooth surface before painting.
- Choose high-quality, self-leveling latex or acrylic paint with a satin or semi-gloss finish for durability.
- Set up the sprayer by masking off areas, ensuring ventilation, and wearing protective gear to prevent overspray and exposure.
- Maintain a distance of 6 to 12 inches from the surface, spraying in overlapping horizontal strips for even coverage.
- Clean the sprayer thoroughly after use and inspect for missed spots, applying touch-ups with a brush as needed.
Understanding Airless Paint Sprayers
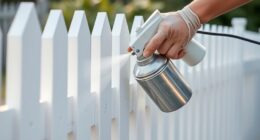
When considering how to achieve a flawless finish on your next painting project, have you thought about using an airless paint sprayer? These powerful tools utilize hydraulic pumps to deliver paint at high pressures, allowing you to cover large areas quickly and efficiently.
Instead of relying on air to atomize the paint, the airless sprayer forces the paint through a small tip in the spray gun, creating a fine mist that results in a smooth finish—perfect for surfaces like beadboard. Best Airless Paint Sprayer options can greatly enhance your painting experience.
However, operating an airless sprayer requires some caution. With pressures reaching up to 3,000 psi, you'll need to handle the sprayer carefully to avoid overspray and maintain safety.
Before you start, proper preparation is key. Make sure to mask off areas you don't want to paint and filter your paint to prevent clogs.
While airless sprayers are ideal for larger jobs, mastering their use takes practice. It's a good idea to start on scrap material to refine your technique before diving into your main project.
This way, you'll be better equipped to achieve that flawless finish you desire.
Preparing the Beadboard Surface

Before you start painting, make certain to clean the beadboard surface thoroughly to remove any dust and debris.
Regular maintenance of surfaces, much like proper toilet upkeep, guarantees a better finish; for instance, clogging remedies can be effective in maintaining plumbing systems.
Next, fill in any nail holes or imperfections with putty, and let it dry completely before sanding for a smooth finish.
This preparation is essential for achieving a flawless paint application.
Cleaning the Beadboard Surface
To guarantee a successful painting project, start by thoroughly cleaning the beadboard surface to eliminate dust, dirt, and debris. This step is vital for ensuring ideal adhesion of the paint and a smooth finish.
Regular maintenance of your cleaning tools is essential for achieving the best results, as noted in essential items for a home cleaning kit.
Here's how you can effectively clean the beadboard:
- Brush with a Soft Bristle Brush: Use a soft bristle or large dry paint brush to sweep out any dust from the grooves of the beadboard. This helps prevent contamination during painting.
- Avoid Air Compressors: Don't use an air compressor for cleaning, as it can cause dust to settle on the wet paint, compromising your finish.
- Inspect for Excess Paint: Check for any excess paint or imperfections on the surface. If you find any, make a note to address those areas later.
- Prepare for Filling Holes: While it's not part of cleaning, be ready to fill any nail holes and imperfections. Allow the putty to dry fully before sanding to achieve a smooth surface.
Filling Nail Holes
Often, filling nail holes and dings in the beadboard is an important step that shouldn't be overlooked. Start by selecting a suitable putty specifically designed for wood surfaces. Applying putty not only guarantees a smooth surface for painting but also enhances the overall durability of your finish, making your project last longer.
This approach is similar to creating a serene atmosphere in a Modern Farmhouse Bedroom by focusing on the details. Apply the putty into each hole and ding, making sure it's filled to the surface level. This will create a smooth surface, which is essential for better paint adhesion.
Once you've filled the holes, allow the putty to dry completely according to the manufacturer's instructions. After it's dried, take fine-grit sandpaper and gently sand the filled areas. Your goal is to blend the filled holes seamlessly with the surrounding beadboard.
After sanding, clean the beadboard thoroughly to remove any dust or debris. This step is critical, as any particles left behind can interfere with your coat of paint.
If you want to guarantee uniformity in both texture and color, consider applying a primer over the filled areas. This will help create a consistent base before you start applying your final coat of paint. Following these steps will set you up for a smooth, professional-looking finish when you finally use your airless paint sprayer.
Choosing the Right Paint
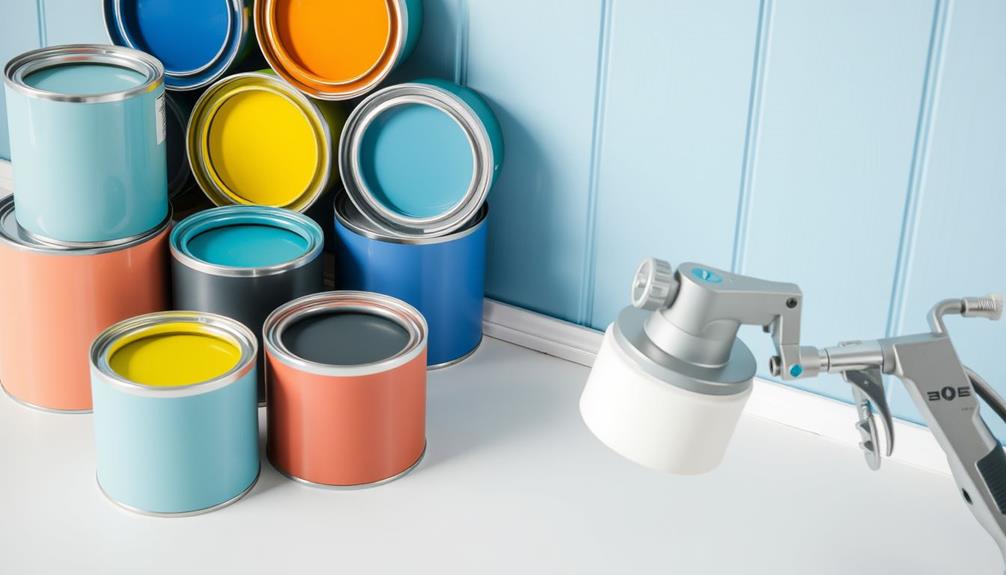
Choosing the right paint is essential for achieving a flawless finish with your airless paint sprayer.
You'll want to select high-quality, self-leveling paint that matches the beadboard material, whether it's wood or MDF, to guarantee durability and proper adhesion.
Additionally, consider the energy consumption of your tools during this process, as many appliances draw power even when not in use, contributing to unnecessary energy waste energy consumption patterns.
Don't forget to test the color on a small section first to confirm it fits your vision before going all in.
Paint Type Selection
Selecting the right paint is essential for achieving a beautiful finish on beadboard. For the best results, consider the following points when choosing your paint:
1. Type: Opt for high-quality latex or acrylic paint. These options offer durability and a smooth finish, minimizing chipping and fading.
Additionally, using specialty beans for espresso can enhance the flavor profile of your coffee, much like selecting the right paint can elevate your beadboard project.
2. Self-Leveling: Use self-leveling paint to reduce texture and guarantee a professional appearance, especially when using an airless sprayer.
3. Finish: A satin or semi-gloss finish is ideal for beadboard. These finishes resist moisture and are easier to clean, making them perfect for areas like kitchens and bathrooms.
4. Thinning: Follow the manufacturer's recommendations for thinning your paint. This step enhances application with your airless sprayer, promoting even coverage and reducing overspray.
Before diving into your project, be certain to test the paint on a scrap piece of beadboard. This way, you can evaluate the color and finish to guarantee it meets your expectations.
Color Compatibility Considerations
When you're ready to choose the right paint color for your beadboard, consider how it harmonizes with the existing colors in the room. Color compatibility is essential for achieving a cohesive aesthetic, much like how butter enhances flavor in cooking.
Grab some color swatches and test them in the space before making your final decision. This will help you see how different hues interact with your furniture and decor.
For a farmhouse aesthetic, soft, muted colors or classic whites work well. These shades complement the beadboard texture without overwhelming the space, allowing the natural grain of the wood to shine through.
High-quality latex or acrylic paints are ideal for beadboard, as they offer durability and a smooth finish.
Don't forget about self-leveling paints, which help minimize visible brush or roller marks, ensuring a professional-looking result.
Once you've selected a paint, always test it on a small, inconspicuous area of the beadboard. This step allows you to assess the color under various lighting conditions, ensuring it meets your expectations before you proceed with the entire project.
Taking these steps will guarantee a beautiful, harmonious finish that enhances your beadboard.
Setting Up the Sprayer
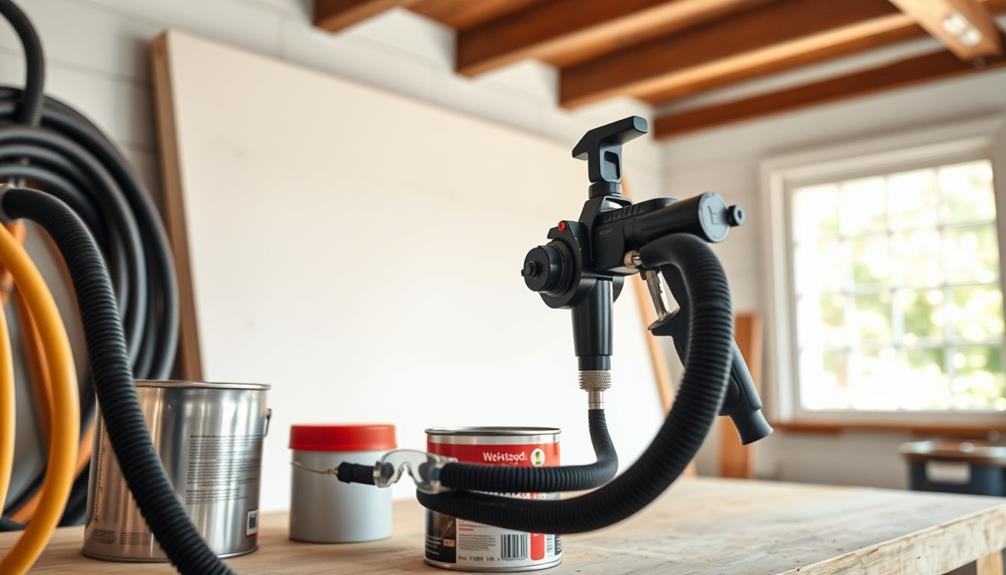
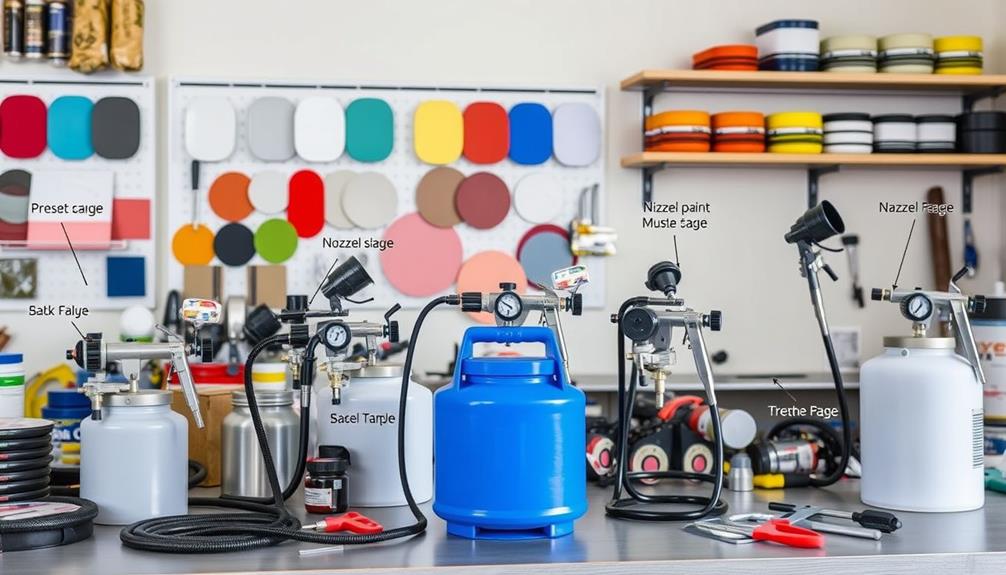
How do you guarantee a smooth painting experience with an airless paint sprayer? Setting up your sprayer correctly is key to making certain everything goes off without a hitch. Follow these steps to make the process much easier:
1. Mask Off Areas: Use tape and drop cloths to protect windows, floors, and hardware from overspray. This will save you a lot of cleanup time later.
Additionally, make sure that your workspace is free of any audio distractions, as a well-organized environment enhances focus and efficiency during the painting process. Consider using a headphone amplifier to enjoy your favorite tunes while working.
2. Ventilation: Keep at least one window open and set up exhaust fans. Proper ventilation is vital for your safety and comfort during the spraying process.
3. Wear Protective Gear: Don a mask, hat, long sleeves, and old clothes. This helps safeguard you against paint particles and overspray.
4. Filter the Paint: Before using the sprayer, filter your paint through a nylon stocking or a paint filter. This prevents clogs in the sprayer and guarantees a smooth application.
Lastly, familiarize yourself with the manufacturer's guidelines for pressure settings and paint thickness adjustments. This attention to detail will lead to ideal results and a smoother painting experience.
Application Techniques
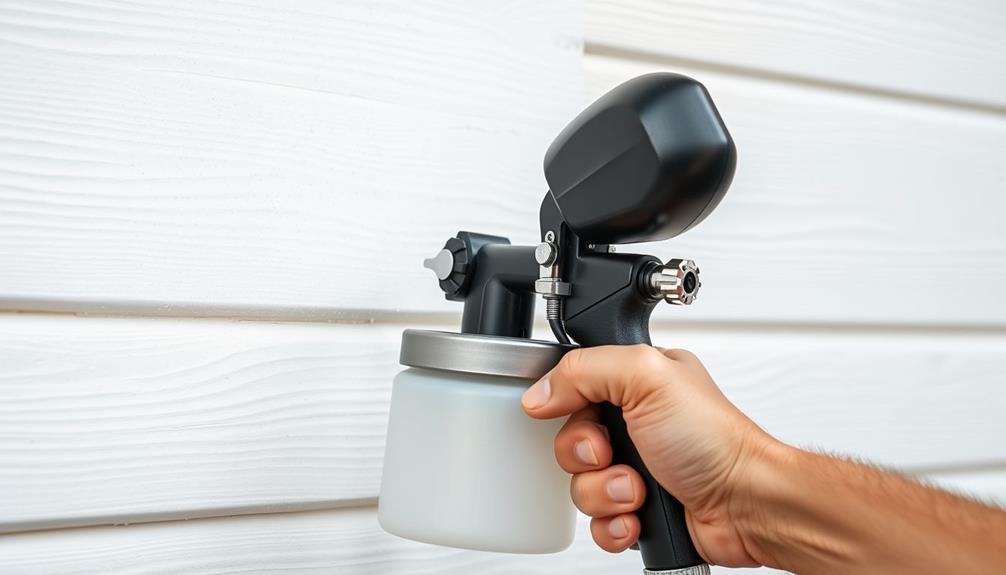
Achieving a flawless finish with an airless paint sprayer hinges on mastering effective application techniques. First, maintain a distance of 6 to 12 inches from the beadboard surface while spraying. This distance guarantees even coverage without excessive overspray.
Additionally, using the right garage door openers can enhance the security of your workspace, allowing you to focus on your painting project without worry. Next, paint in 3-foot horizontal strips, overlapping each strip by one-third to one-half. This overlap is critical for achieving a uniform finish across the beadboard panels.
To avoid paint buildup and potential drips, always release the trigger before stopping movement. This technique promotes a smooth application and prevents unsightly marks on your work.
Additionally, adjust the paint thickness and pressure settings according to the manufacturer's guidelines. This adjustment is especially important when working with textured surfaces like beadboard.
Before diving into the actual project, practice on scrap material. This practice helps you gain confidence and control over the airless sprayer.
If you need to touch up areas later, consider using a nap roller for a seamless blend. By following these application techniques, you'll guarantee a professional-looking finish that enhances the beauty of your beadboard.
Safety Precautions
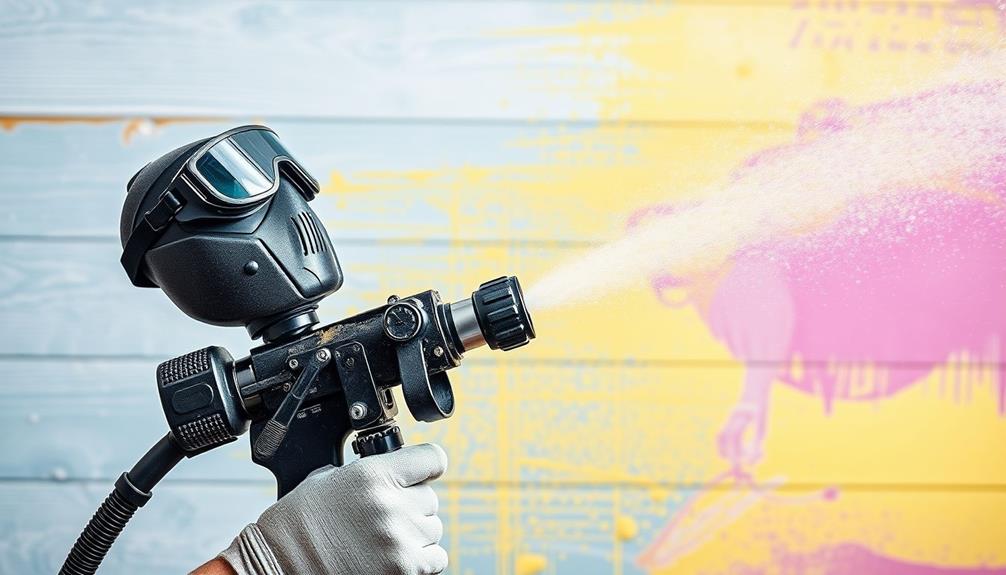
Using an airless paint sprayer can considerably enhance your painting project, but it also comes with safety responsibilities that shouldn't be overlooked.
Since these sprayers operate at high pressures—up to 3,000 psi—it's essential to follow specific safety precautions to prevent injuries. Additionally, ensuring good indoor air quality is important during painting, as volatile organic compounds (VOCs) can be released.
Consider using an air purifier to help mitigate these harmful particles in your workspace.
Here are four essential safety tips to keep in mind:
- Engage the Safety Lock: Always engage the spray gun's safety lock when not in use to avoid any accidental discharge of paint.
- Maintain Distance: Keep a safe distance from the spray tip while clearing clogs. Never use your fingers or hands while spraying to prevent serious injuries.
- Ensure Ventilation: Make sure your workspace is well-ventilated. Keep at least one window open and set up exhaust fans to disperse potentially harmful fumes.
- Disconnect Power: Before performing any cleaning or maintenance, always disconnect the sprayer from the power source. This step is essential for ensuring your safety during these procedures.
Maintenance and Cleanup
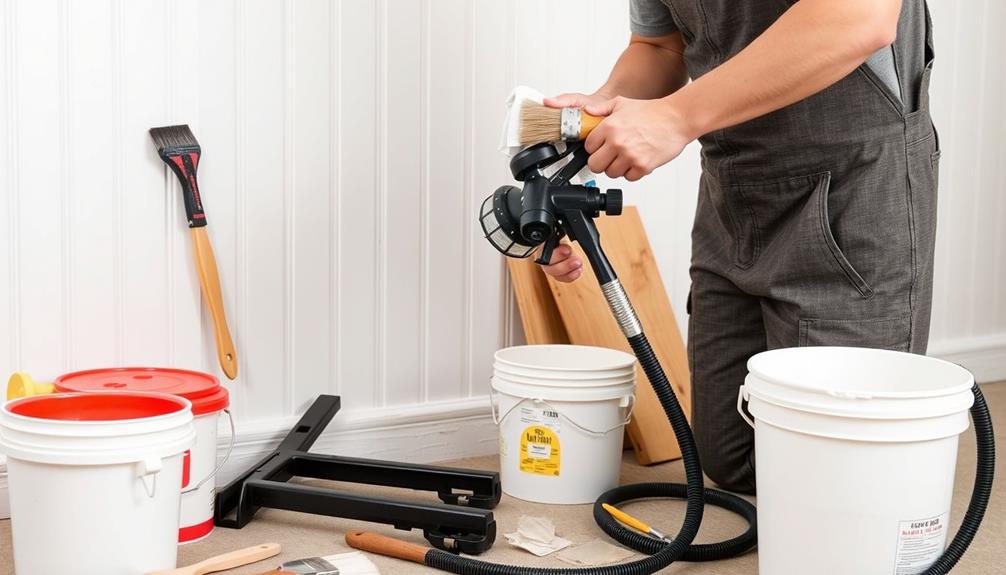
Proper maintenance and cleanup of your airless paint sprayer are vital for its longevity and best performance.
To clean your sprayer, start by reversing the paint pumping process and flushing the system with the appropriate solvent. This will help remove any residual paint that could clog the system later. Always release all pressure from the sprayer before disassembling any parts to avoid accidents during maintenance.
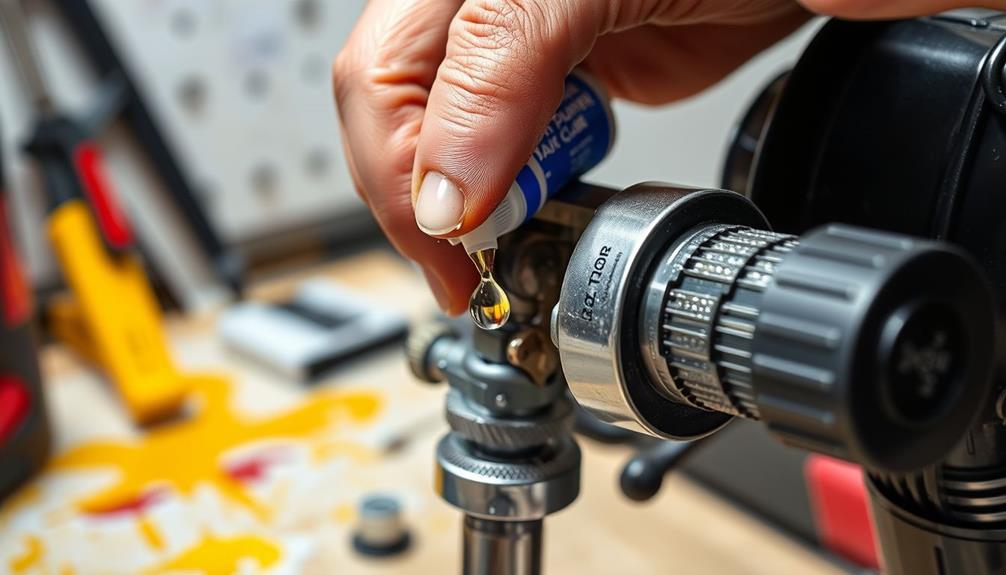
Regularly inspect and clean the filters to guarantee consistent paint flow while you're working. Clogged filters can lead to uneven application, so it's important to keep them in top shape.
When storing solvents, make sure to keep them in shaded areas, away from direct sunlight, to maintain their effectiveness and prevent degradation.
For safety, always keep all equipment, including sprayers and solvents, out of reach of children and pets to avoid accidental spills or misuse.
Final Touches and Tips
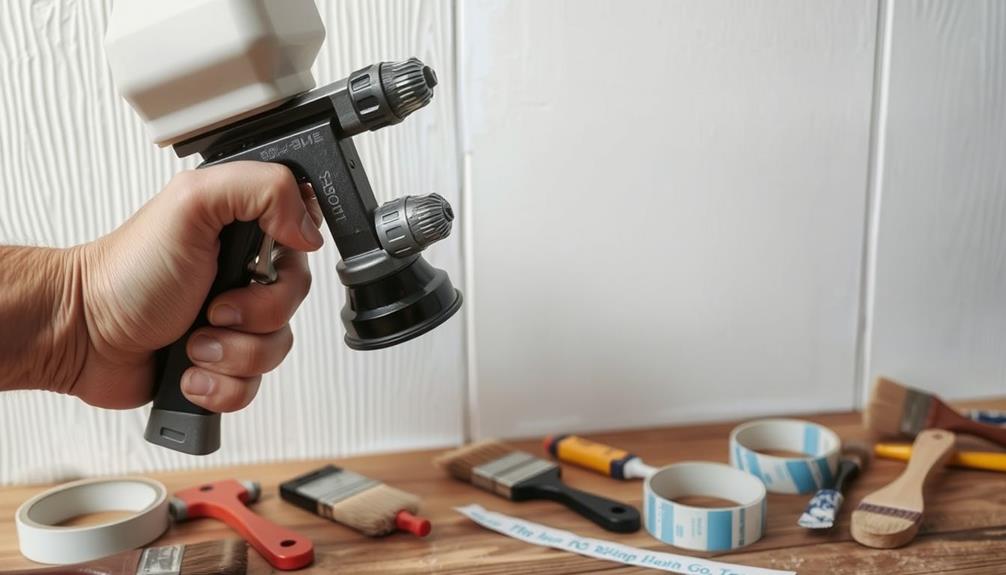
After you've cleaned and maintained your airless paint sprayer, it's time to focus on the final touches for your painting project. Ensuring your beadboard looks its best is essential, so follow these tips:
- Inspect Thoroughly: Check the beadboard for any missed spots or uneven coverage. Use a brush for precise touch-ups wherever needed.
- Drying Time: Allow the paint on the beadboard to dry completely between coats. This step is critical for achieving a smooth, durable finish. Always follow the manufacturer's recommended drying times.
- Quality Matters: For the final coat, use a high-quality paint. This choice not only enhances appearance but also increases the longevity of your finish. Remember, much paint is wasted on poor-quality products.
- Seal for Protection: Consider applying a clear topcoat or sealant, especially in high-traffic areas or spots prone to moisture. This extra layer protects your work and keeps it looking fresh.
With these final touches, your project won't only look great but also stand the test of time. Happy painting!
Frequently Asked Questions
Can You Paint Beadboard With a Sprayer?
Yes, you can definitely paint beadboard with a sprayer. It provides quick coverage and a smooth finish. Just make sure to mask off areas, maintain the right distance, and practice on scrap materials first.
Do You Have to Prime Beadboard Before Painting?
Yes, you should definitely prime beadboard before painting. Priming seals the surface, prevents discoloration, and improves paint adhesion. It guarantees a smooth, even finish and helps hide knots or imperfections in the wood.
What Is the Best Paint Finish for Beadboard?
Choosing the perfect finish for beadboard is like selecting the right outfit for an occasion. You'll want a matte or satin finish for charm and durability, ensuring your beadboard shines beautifully in any room.
How Do You Get a Smooth Finish With an Airless Sprayer?
To get a smooth finish with an airless sprayer, maintain 6 to 12 inches from the surface, spray in overlapping strips, and adjust paint thickness and pressure according to the manufacturer's guidelines to guarantee even application.
Conclusion
With your newly painted beadboard gleaming like fresh snow under a winter sun, take a moment to admire your work. The smooth, even finish showcases the beauty of your space, transforming it into a cozy retreat. Remember, the right prep and technique make all the difference. So, as you step back and enjoy the fruits of your labor, keep these tips in mind for your next project—your walls will thank you, and your creativity will soar.
