To use an airless paint sprayer for wainscoting, start by masking off areas to prevent overspray. Thin your paint for ideal atomization and choose the right nozzle size. Maintain a consistent distance of 6-12 inches from the surface while spraying. Use light pressure and keep the gun in motion to avoid drips. Overlap each pass by one-third for smooth coverage. Confirm proper ventilation and wear protective gear throughout the process. After painting, flush the sprayer with solvent to clean it thoroughly. There's so much more to discover about achieving a perfect finish, so keep exploring!
Key Takeaways
- Prepare your workspace by masking off surrounding areas to prevent overspray and ensure clean edges for the wainscoting.
- Select the appropriate nozzle size for the paint viscosity to achieve a smooth finish without excessive overspray.
- Maintain a consistent distance of 6-12 inches from the surface while spraying for even application and coverage.
- Use light, fluid motions while keeping the spray gun parallel to the wainscoting, overlapping each pass by one-third to one-half.
- Ensure proper ventilation and wear protective gear to safeguard against fumes and overspray during the painting process.
Understanding Airless Sprayers
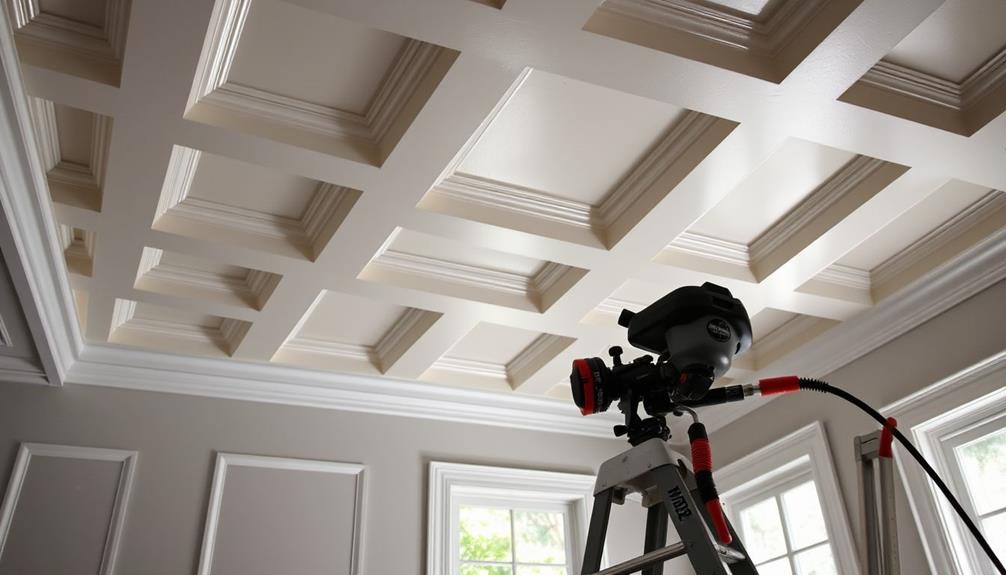
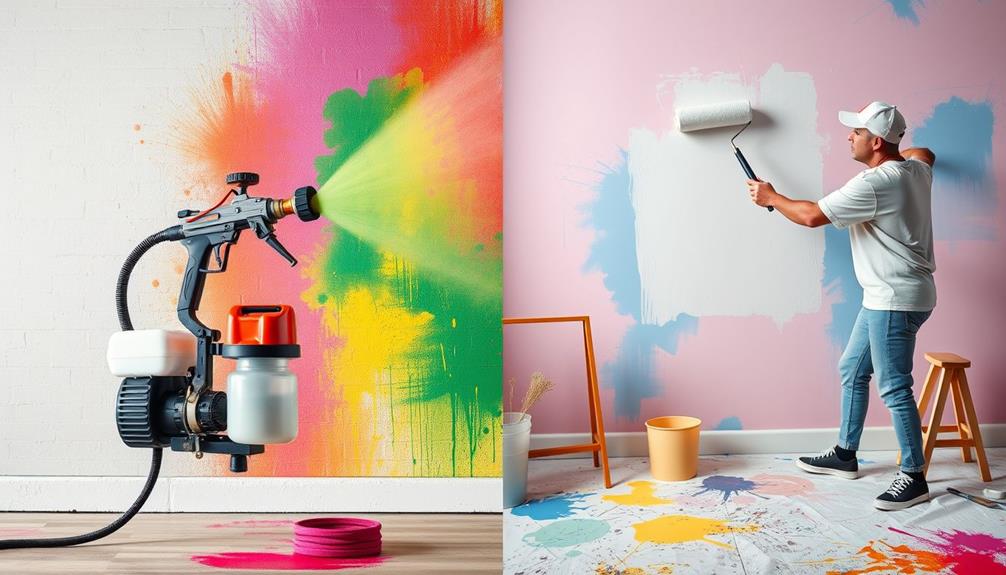
Airless sprayers are a game-changer for achieving a flawless finish on various surfaces, including intricate wainscoting. Understanding airless sprayers is vital to get the most out of your painting project. These sprayers utilize an electrically powered hydraulic pump to deliver paint at high pressure. This high-pressure application allows for smooth, even coverage, making them perfect for detailed work.
To achieve ideal results, it's important to take into account the right sprayer features based on your specific project needs. Additionally, evaluating nozzle sizes will help you achieve the desired finish.
To use the sprayer effectively, you'll need to make sure that you've thinned the paint appropriately. Thinning helps the sprayer atomize the paint, resulting in a fine distribution that reduces the chances of drips or runs. The paint is drawn from a container, passed through a tube, and delivered through a high-pressure hose to the spray gun.
Before you start painting, remember to flush the system with solvent to prevent any residue from clogging the components. Also, proper masking of areas not intended for painting is vital, especially in intricate designs.
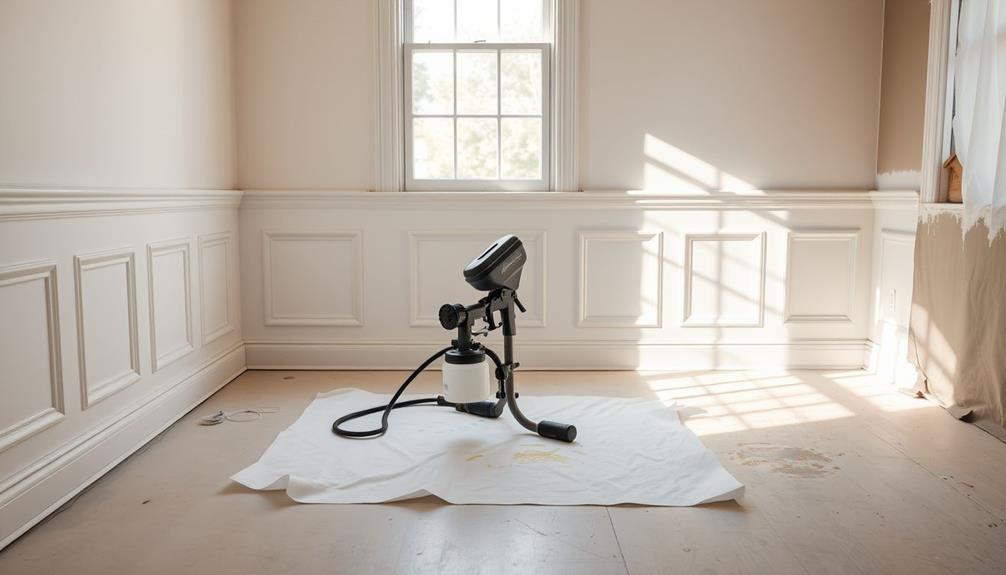
Preparing Your Workspace
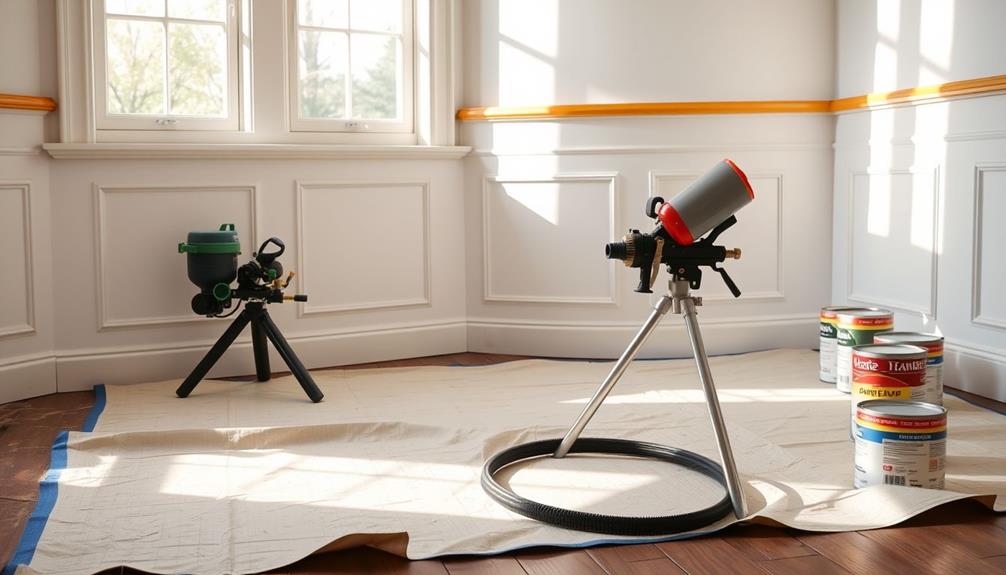
Creating a clean and organized workspace is essential for a successful painting project. To get started, you'll need to mask off all areas surrounding the wainscoting. This includes floors, adjacent walls, and any hardware to prevent overspray and guarantee a clean finish.
Additionally, guaranteeing good indoor air quality is important during painting, as indoor air can be up to five times more polluted than outdoor air. Consider using an air purifier to help reduce allergens and harmful particles in the air while you work, particularly if you have sensitivities to paint fumes or dust air purifiers improve indoor air quality.
Here's how you can prepare effectively:
- Use high-quality masking tape to secure edges and protect surfaces.
- Open windows and turn on exhaust fans to guarantee proper ventilation and disperse paint fumes.
- Wear protective gear, including a painter's mask, hat, and long sleeves to keep yourself safe from paint particles.
- Filter the paint before use to avoid clogging the sprayer and guarantee a smooth application.
- Maintain a consistent distance of 6-12 inches from the wainscoting while spraying to achieve an even coat and prevent drips.
Essential Safety Measures

When using an airless paint sprayer, your safety comes first. Make certain you wear protective gear like a mask and goggles, and always work in a well-ventilated area.
It's also wise to ascertain that your workspace is free from dust and clutter to prevent accidents. By following proper ventilation and fire safety precautions, you can create a safer painting environment.
Additionally, consider reviewing essential items for a home cleaning kit to maintain a clean and organized space before you start your project.
Protective Gear Requirements
Using the right protective gear is essential for staying safe while operating an airless paint sprayer. Ignoring protective gear requirements can expose you to harmful fumes, paint particles, and potential injuries.
To enhance your safety and overall experience, consider incorporating relaxation techniques to manage stress during the painting process, as yoga for back pain management can help ease any physical tension you may encounter.
Here's a checklist to guarantee you're well-protected:
- Painter's mask or respirator: This protects your lungs from harmful fumes and paint particles.
- Goggles or safety glasses: Shield your eyes from overspray and debris that can cause irritation or injury.
- Long sleeves and gloves: Wear suitable materials to prevent skin contact with paint and solvents, keeping your skin safe.
- Slip-resistant footwear: This helps maintain stability and safety, especially in potentially slippery areas.
- Hat: A hat can keep paint from dripping onto your hair and provide extra protection from overhead overspray.
Ventilation and Fire Safety
Proper ventilation and fire safety measures are vital as you prepare to use an airless paint sprayer. Always work in well-ventilated areas by opening windows and using an exhaust fan to promote air circulation. This helps mitigate the accumulation of harmful fumes that can arise during the painting process.
Additionally, make certain that any gas appliances in the vicinity are operating safely, as they can contribute to air quality concerns if not properly maintained (importance of HVAC maintenance).
Avoid open flames and smoking near your work area, as the solvents in your paint sprayer can be highly flammable and create a dangerous environment.
Additionally, store all solvents and paint products in shaded, cool areas to prevent overheating, which can also pose fire risks.
It's important to wear protective gear, including a painter's mask, to shield yourself from inhaling harmful vapors and particulates while you spray.
Before starting, make certain that your spray gun has a safety lock and trigger guard in place. This precaution will help prevent accidental discharge when the gun isn't in use, further enhancing your safety.
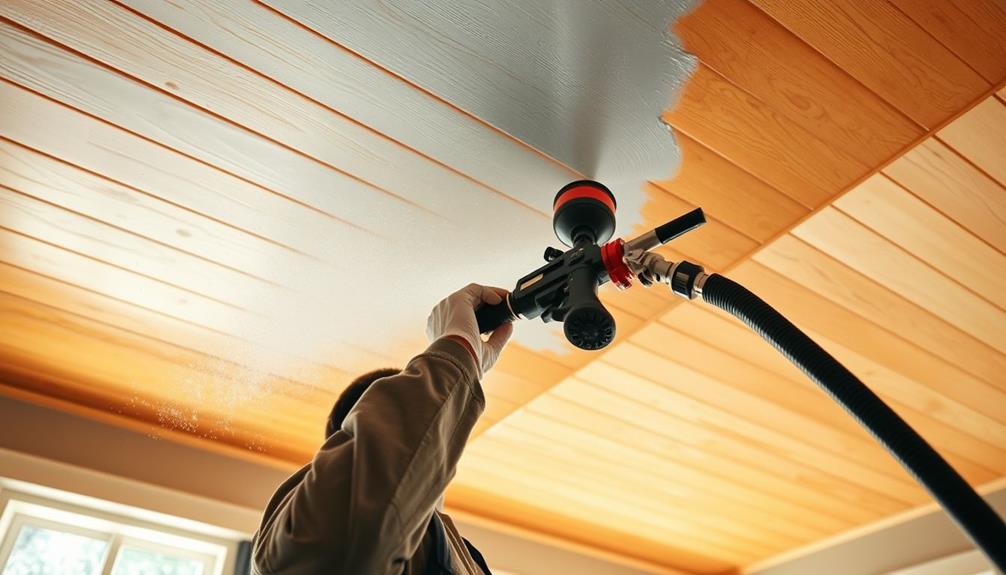
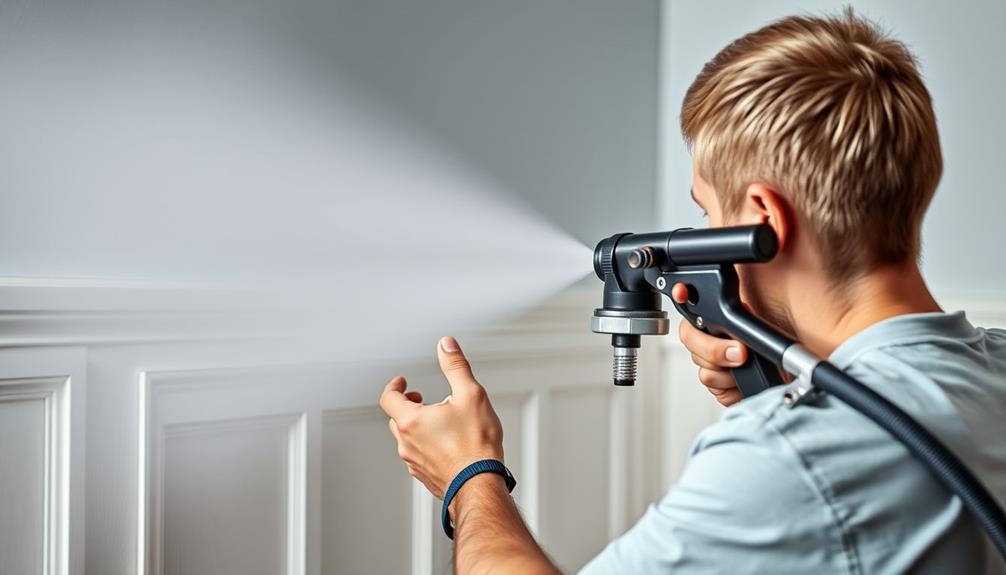
Mastering Painting Techniques

To master painting techniques with an airless paint sprayer, you need to focus on maintaining a consistent distance while applying paint. Keeping your sprayer 6-12 inches from the wainscoting guarantees even coverage without excessive buildup.
Additionally, it's important to be mindful of your cleanup methods afterward to avoid any accidental messes, similar to how proper disposal practices can prevent plumbing issues, as mentioned in flushing improper items.
Here are some essential tips to help you achieve a uniform finish:
- Use light pressure: This helps prevent heavy spots, guaranteeing a smooth, even coat across the panels.
- Keep the gun in motion: This technique avoids drips and guarantees a balanced finish.
- Start at the edge of the tape: This creates clean lines and keeps your work neat.
- Overlap each pass: Make sure to overlap by one-third to one-half for seamless shifts between sections.
- Practice on scrap materials: Refining your technique on scrap helps you maintain a slight upward angle, avoiding heavy lines.
Gun Handling Best Practices
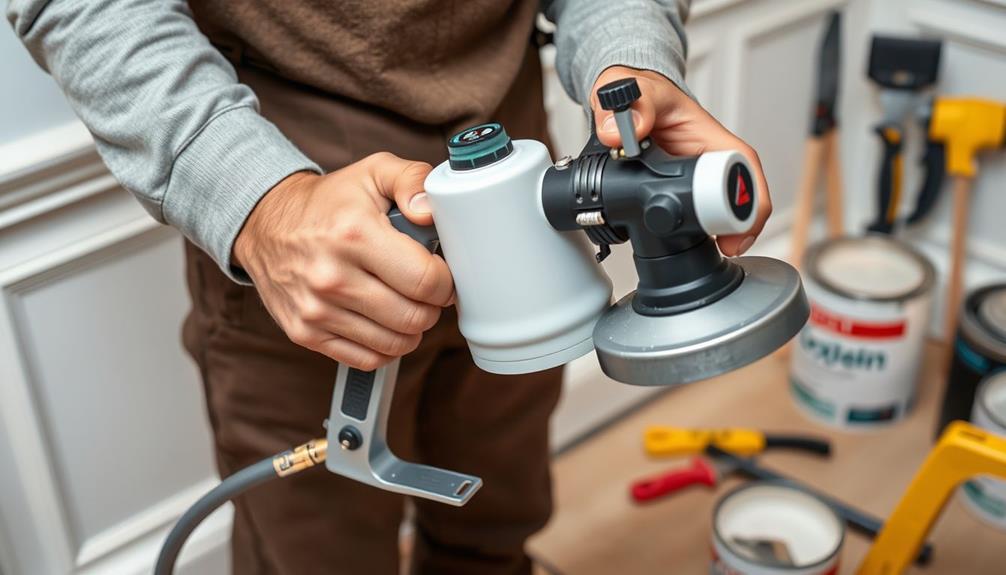
Getting a grip on gun handling is essential for achieving a flawless finish with your airless paint sprayer. First, maintain a straight wrist position while holding the spray gun. This guarantees precision and control during application.
Before you pull the trigger, always move the spray gun into position. This technique helps you achieve a smoother application and prevents paint buildup at the start of each stroke. Proper site conditions can also enhance your overall painting experience by guaranteeing a clean and suitable environment for your project.
Avoid swinging the gun; instead, focus on consistent control throughout your spraying movement. A steady motion is key, so develop a habit of either moving from bottom to top or top to bottom. This approach enhances coverage and helps you avoid uneven spots.
Practice engaging the trigger at the right moment. Timing is everything; if you start and stop too abruptly, you risk creating drips or heavy spots.
Ensuring Spray Pattern Control
To guarantee you get a smooth and even finish, you'll need to focus on adjusting your spray patterns.
Utilizing the right tip size is essential for achieving the desired results, as it directly influences the spray pattern and finish quality.
Maintaining consistent coverage is vital, so pay attention to your distance from the surface and the angle of your spray.
By mastering these elements, you can achieve a professional-quality result with your airless paint sprayer.
Additionally, consider implementing effective filtration and pump protection to enhance your sprayer's performance and longevity.
Adjusting Spray Patterns
Achieving a precise spray pattern is essential for a flawless finish when using an airless paint sprayer. When adjusting spray patterns, you'll want to take into account several factors to optimize your results.
For instance, regular maintenance of your equipment can greatly improve performance, similar to guaranteeing the longevity of pool heaters through routine check-ups safety features include auto-reverse.
- Nozzle Size: Change the nozzle size based on the paint viscosity and desired finish to minimize overspray.
- Distance: Maintain a consistent distance of 6-12 inches from the wainscoting to guarantee an even spray pattern.
- Angle: Use a slight upward angle while spraying to avoid heavy lines and achieve a smooth finish on vertical surfaces.
- Motion: Practice moving the sprayer in a steady, fluid motion, focusing on one pass at a time for better control.
- Inspection: Regularly inspect the spray pattern on a test surface and adjust your gun movement and pressure settings as necessary.
Maintaining Consistent Coverage
Adjusting your spray patterns lays the groundwork for maintaining consistent coverage when painting wainscoting. It's a good idea to position your spray gun at a slight upward angle. This technique helps prevent heavy lines and drips, ensuring a smooth finish.
Additionally, using the right tools like a kitchen scale can help you measure and mix your paint for ideal consistency. Focus on applying paint in 3-foot horizontal strips, overlapping by one-third to one-half. This overlap is essential for achieving an even application without noticeable gaps.
Keep your spray gun parallel to the wainscoting surface and maintain a distance of 6-12 inches. This distance is important to ensuring uniform coverage throughout your project. As you paint, monitor your technique for any heavy spots. If you notice uneven application, adjust your speed and pressure control accordingly.
Additionally, practice your start and stop movements. Engaging the trigger at the right moment allows for a smooth shift, which is critical for consistent coverage without buildup.
Effective Cleanup Procedures
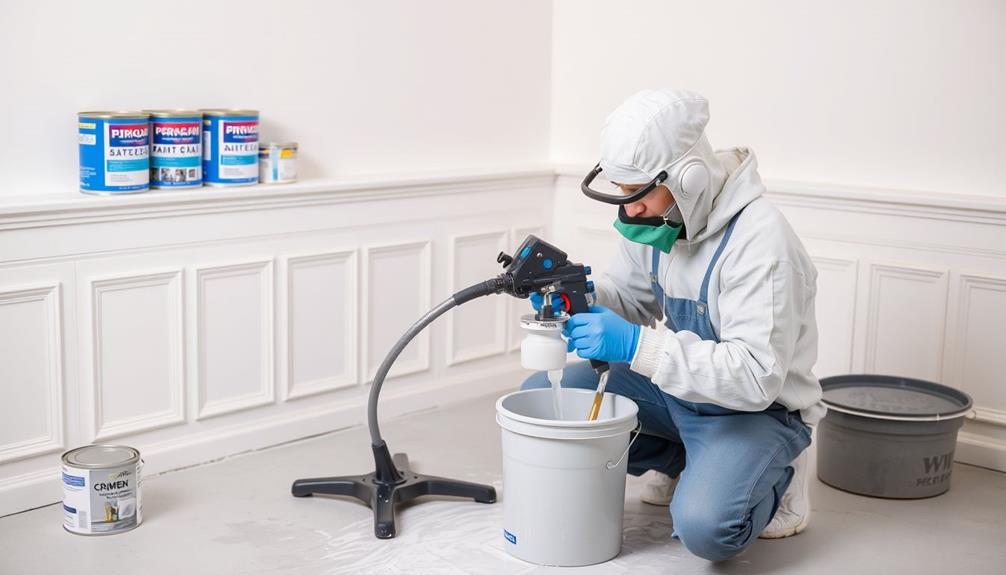
Effective cleanup procedures are essential for maintaining the longevity and performance of your airless paint sprayer. After you're finished painting, take a moment to guarantee you properly clean your equipment, especially to remove any excess paint.
Start by turning off and disconnecting the sprayer. This guarantees your safety and prevents any accidental spraying.
Next, follow these steps for effective cleanup:
- Flush the system with an appropriate solvent to remove leftover paint.
- Squeeze the trigger of the spray gun to release any built-up pressure.
- Clean the spray tip carefully to avoid any paint splatter.
- Regularly maintain and clean the filters to keep them free of debris.
- Store all equipment, including solvents, in a safe, shaded area out of reach of children and pets.
Maintenance for Longevity

Proper cleanup sets the stage for maintaining your airless paint sprayer in top condition. After each use, take a little bit of time to clean the filters and spray tip thoroughly. This helps prevent clogs and guarantees peak performance for your next project.
Immediately flush the entire system with an appropriate solvent to remove leftover paint, avoiding any drying in the lines.
When you're done, store your sprayer in a cool, dry place. Extreme temperatures can damage your equipment and shorten its lifespan.
Regularly inspect hoses and connections for any signs of wear or damage; replacing faulty components is essential for safety and functionality.
Don't overlook routine maintenance checks on the hydraulic pump and motor. Keep an eye out for any issues and address them promptly to prevent bigger problems down the line.
By giving your sprayer just a little bit of attention after each use and during storage, you can greatly extend its life and keep it performing at its best.
Following these maintenance tips will guarantee you're always ready for your next painting project without unnecessary interruptions.
Frequently Asked Questions
What Is the Best Way to Paint Wainscoting?
To paint wainscoting effectively, start with thorough surface preparation. Clean, sand, and prime the wood. Then, apply paint evenly, using consistent strokes to guarantee a smooth, professional finish without drips or heavy spots.
Do You Dilute Paint When Using an Airless Sprayer?
Yes, you might need to dilute paint when using an airless sprayer. Always check the manufacturer's recommendations and test the diluted paint for consistency before starting your project to guarantee a smooth application.
How Do You Get a Smooth Finish With an Airless Sprayer?
Want a smooth finish with your airless sprayer? Keep a 6-12 inch distance, adjust the pressure, and spray in overlapping strips. Guarantee your wrist's straight for even application, and inspect for uniformity regularly!
Can You Use a Paint Sprayer on Paneling?
Yes, you can use a paint sprayer on paneling. Just remember to clean and sand the surface, mask off areas, use suitable paint, and maintain a consistent distance for an even finish. Practice beforehand, too!
Conclusion
In wrapping up your wainscoting project, remember that using an airless paint sprayer can be a game-changer. With a little practice and the right techniques, you'll transform your space without breaking a sweat. Don't forget to embrace the cleanup process—it's just a necessary step to keep your sprayer in tip-top shape. So, get ready to admire your handiwork, and enjoy the fresh look that'll have your wainscoting shining like new!

Whether it’s a step-by-step tutorial on achieving flawless finishes or an in-depth analysis of the latest airless paint sprayer models, Joe’s ability to articulate complex ideas in a simple and engaging manner resonates with our diverse audience. His practical tips and techniques empower readers to tackle their projects with confidence.