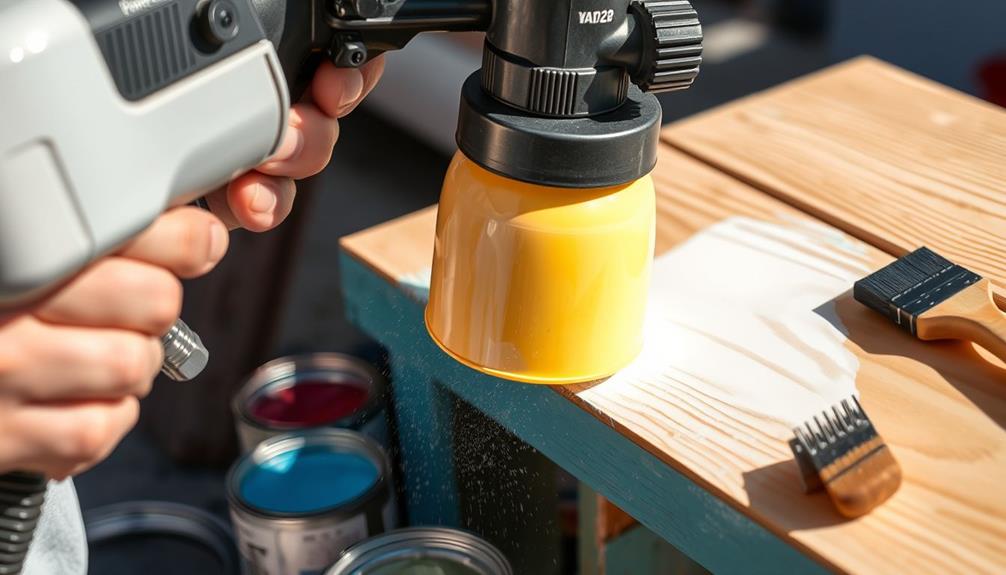
Using an airless paint sprayer for priming can make your project quicker and more efficient. First, verify you're wearing safety gear like a respirator and goggles. Set up the sprayer by connecting the gun and adjusting the pressure to the lowest setting. Clean and prepare your surface, removing any dirt or old paint. Remove the tip and guard, place the hoses in your paint and waste pails, then set the sprayer to the PRIME position. Once you get a steady flow, switch to spray mode, maintaining about 12 inches from the surface. More tips on mastering your sprayer are just ahead!
Key Takeaways
- Always wear safety gear, including a respirator mask, gloves, and goggles, to protect yourself from paint fumes and splatters.
- Properly prepare surfaces by cleaning, repairing, and sanding to ensure smooth primer application and good adhesion.
- Prime the sprayer by removing the tip, setting the valve to PRIME, and confirming a steady paint flow before switching to spray mode.
- Maintain a consistent distance of about 12 inches from the surface, using long, smooth strokes and overlapping passes for even coverage.
- Clean the sprayer immediately after use by flushing it with water or solvent until clear, and store components in a dry place.

HomeRight Super Finish Max HVLP Paint Sprayer - 450 Watts, Model# C800971.M
PAINT SPRAYER FOR COUNTLESS DIY PROJECTS: The HomeRight Super Finish Max paint sprayer offers the ultimate DIYing experience....
As an affiliate, we earn on qualifying purchases.
Safety Precautions
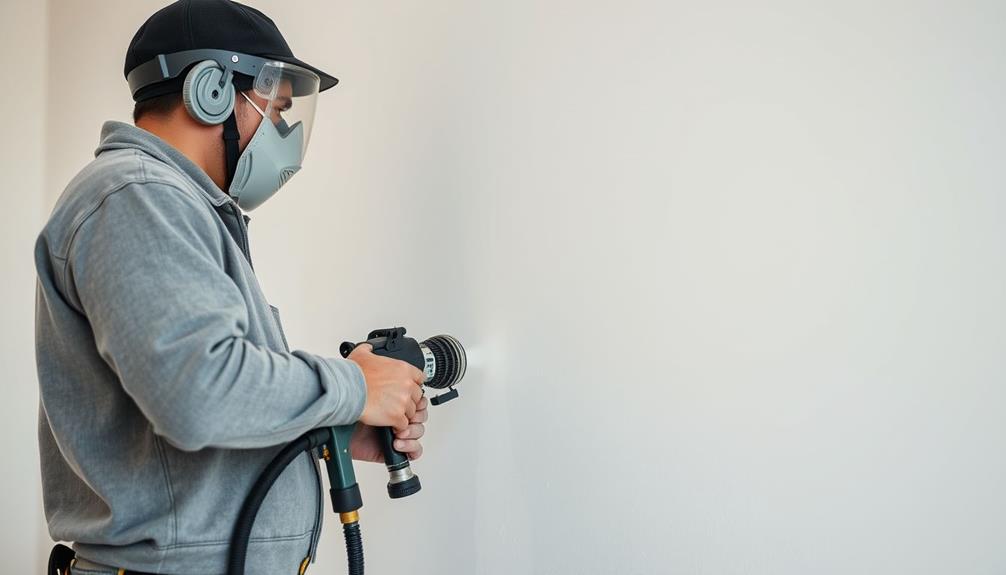
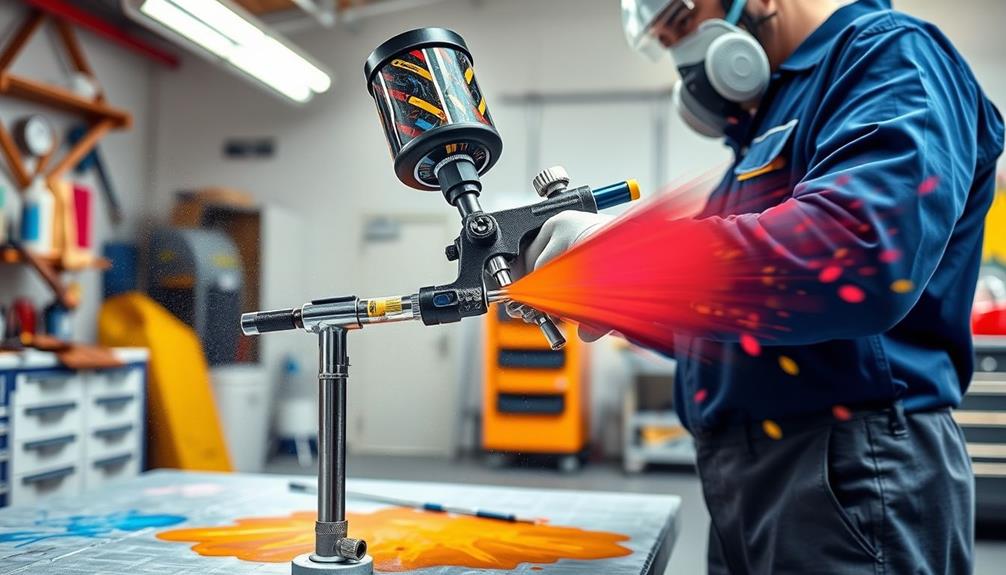
Before you start using your airless paint sprayer, it's vital to prioritize safety precautions. First and foremost, you should always wear a respirator mask with vapor filters. This will protect you from inhaling aerosolized paint particles that can be harmful to your health.
In addition to the mask, put on safety goggles to shield your eyes from paint mist and potential splatters. Paint can be unpredictable, and you don't want to risk an accident. Additionally, verify your workspace is equipped with proper sound system configuration to enhance focus while you work, as distractions can lead to safety hazards.
Don't forget to wear gloves to prevent skin contact with paint and guarantee safe handling of all equipment and materials. This simple step can save you from unnecessary irritation or allergic reactions.
Proper ventilation is vital for maintaining a safe workspace. Open windows and use fans to help reduce inhalation of fumes and improve air circulation. This not only keeps the air fresh but also helps you work more comfortably.
Finally, familiarize yourself with the specific safety procedures outlined in your equipment manual. Understanding how to operate the high-pressure sprayer safely will further mitigate any risks while you work.
Following these safety precautions will guarantee a safer and more efficient painting experience.

VEVOR 750W Stand Airless Paint Sprayer, 3000PSI High Efficiency Electric Airless Sprayer, Fine and Even Painting Effect, Handheld Paint Sprayers for Home Interior and Exterior Furniture and Fences
Efficient Painting: Our stand airless paint sprayer is equipped with a powerful 750W motor, capable of delivering up...
As an affiliate, we earn on qualifying purchases.
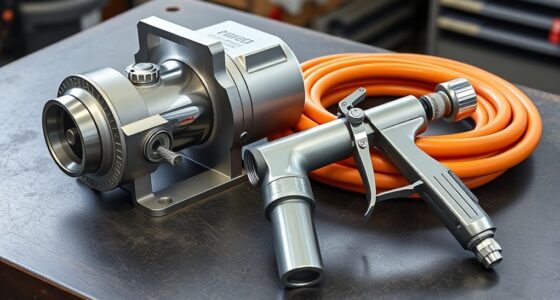
Equipment Setup
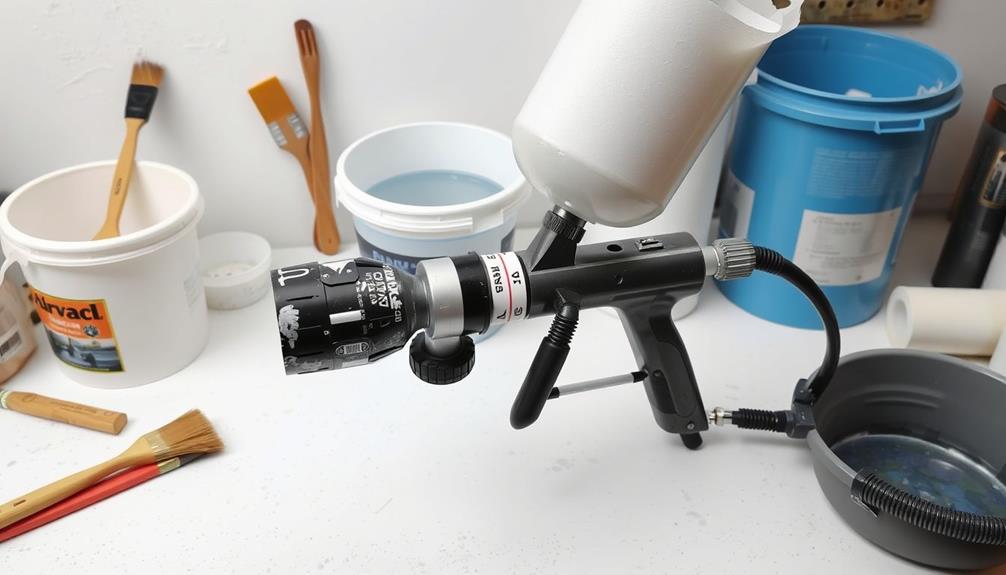
Setting up your airless paint sprayer correctly is essential for a smooth painting process. Start by verifying the sprayer is clean and free of excess water. Check all components for tightness to prevent leaks.
Here's a quick checklist to help you with the equipment setup:
- Attach the Spray Gun and Hose: Securely connect the spray gun to the hose, making sure the manifold and gun connections are tightly fitted.
- Set the Pressure Control: Before priming, set the pressure control to the lowest setting to avoid excessive pressure buildup. This verifies that paint flows smoothly during the initial setup.
- Position Hoses Correctly: Place the fluid intake hose into the paint pail and the drain tube into an empty bucket. This setup enables proper fluid circulation during priming.
- Activate the Sprayer: Turn on the sprayer and adjust the prime valve to the PRIME position. Wait for bubbles to stop before switching to the paint setting.

Graco Magnum 257025 Project Painter Plus Paint Sprayer
Ideal for projects up to 5 gallons in size, allowing you to tackle a range of projects every...
As an affiliate, we earn on qualifying purchases.
Surface Preparation
Preparing your surfaces is essential for achieving a flawless paint job with an airless paint sprayer. Start by thoroughly cleaning the surfaces to remove dirt, grease, and old paint using a suitable cleaning solution, like TSP. Let them dry completely before priming.
Next, repair any cracks, chips, or holes to guarantee a smooth application of primer. Sand rough areas with sandpaper to create an even surface, which helps the primer adhere better. Don't forget to use painter's tape to mask off edges and trim to prevent overspray.
Finally, lay down drop cloths to protect your floors and furniture from paint splatters. This step is vital for maintaining a clean work area.
Here's a quick checklist for effective surface preparation:
| Task | Description |
|---|---|
| Clean the surface | Remove dirt, grease, and old paint |
| Repair imperfections | Fix cracks, chips, or holes |
| Sand rough areas | Guarantee an even surface for better adhesion |
| Protect the area | Use drop cloths to cover floors and furniture |

Graco Magnum 262800 X5 Stand Airless Paint Sprayer, Blue
Just right for DIY Homeowners and Remodelers looking for more power and mobility when tackling larger projects
As an affiliate, we earn on qualifying purchases.
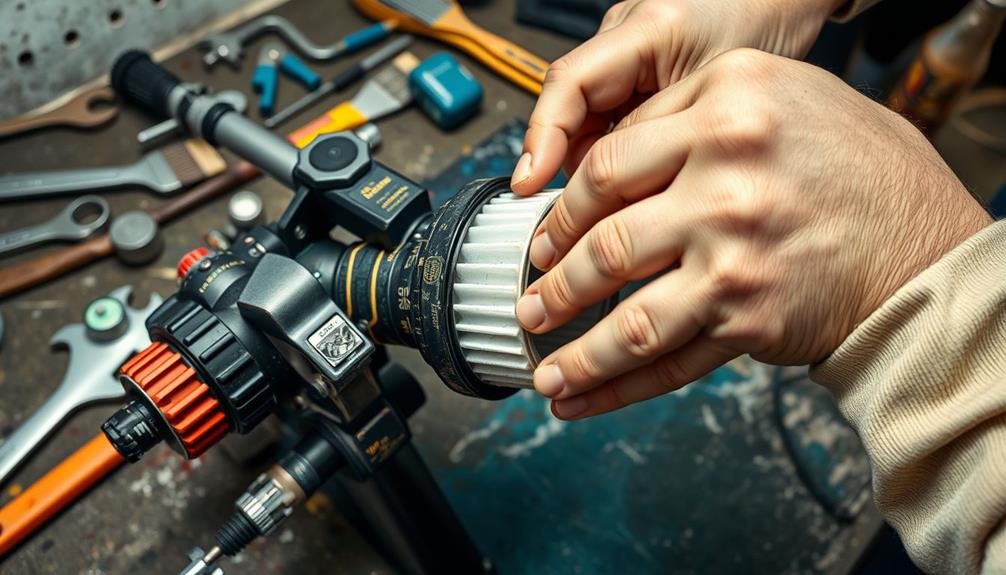
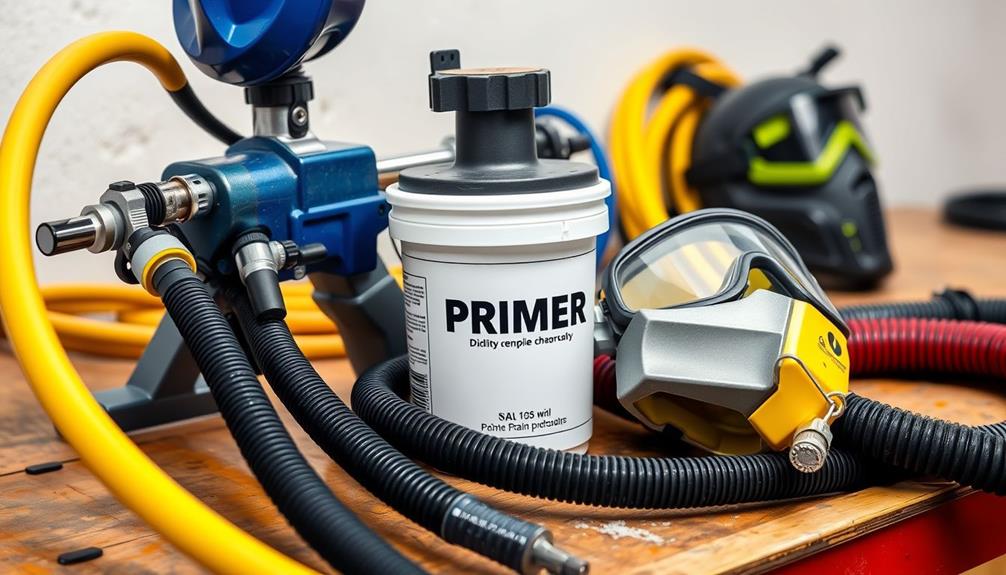
Priming the Sprayer
With your surfaces prepped and ready, it's time to prime the airless paint sprayer for a smooth application. Start by confirming the trigger lock is engaged to prevent any accidental spraying while you set up.
Follow these steps for effective priming the sprayer:
- Remove the tip and guard from the spray gun. This allows for a clear path for the paint, making priming more efficient.
- Place the fluid intake hose into the paint pail and the drain tube into a waste pail. This directs any excess paint properly during the priming process.
- Set the prime valve to the PRIME position and turn the on/off switch to ON. Gradually increase the pressure until the paint circulates smoothly through the system.
- Test the paint flow by holding the gun against a grounded metal waste pail. Disengage the trigger lock and pull the gun trigger to confirm a steady flow before switching to spray mode.
This process is essential for achieving a consistent spray pattern and preventing unwanted clogs.
Now you're ready to start painting!
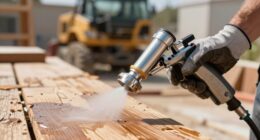
Spray Techniques

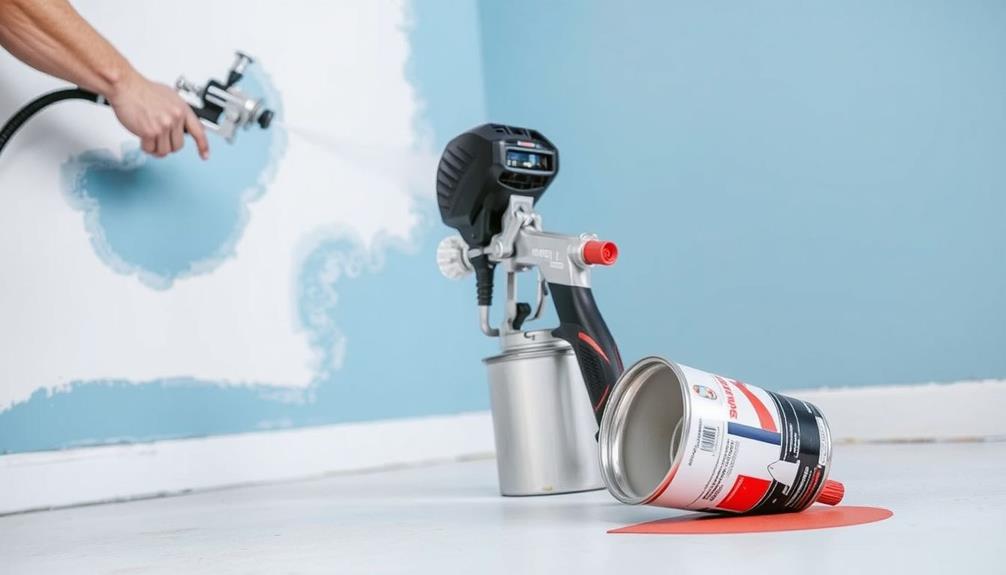
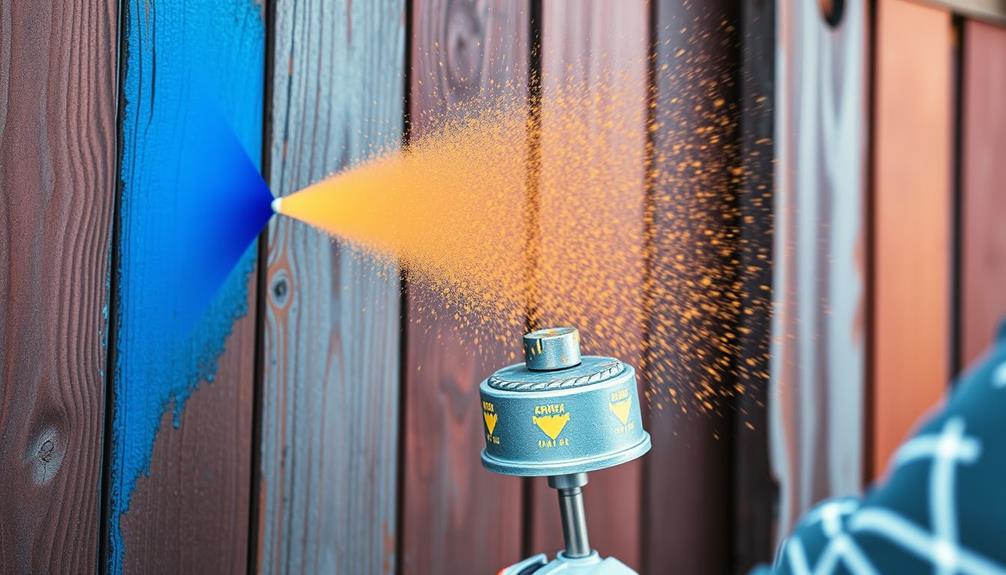
To achieve the best results when using an airless paint sprayer, mastering your spray techniques is vital. Start by maintaining a consistent distance of about 12 inches from the surface. This distance helps guarantee even coverage and minimizes drips.
Proper spraying distance is essential for effective application. Use long, smooth strokes, overlapping each pass by roughly 50% to assure a uniform application of primer.
Before you begin spraying, test the spray pattern on a piece of cardboard. This step allows you to fine-tune your settings and guarantees a consistent spray when you move to the actual surface.
Remember to begin moving the spray gun before pulling the trigger and continue moving after releasing it. This technique prevents excessive buildup of primer in one spot.
Lastly, adjust the pressure control knob depending on the thickness of the primer you're using. Lighter primers generally require lower pressure for ideal atomization.
Common Mistakes
When using an airless paint sprayer, you might find yourself making some common mistakes that can ruin your finish.
Holding the sprayer too close or moving it too slowly are key issues that can lead to drips and uneven coverage. Additionally, selecting the wrong tip size can greatly affect the spray pattern and finish quality, potentially compounding these issues.
Improper Distance Maintenance
One of the most common mistakes you can make while using an airless paint sprayer is letting your distance slip. Maintaining about 12 inches from the surface is vital; being too close can lead to drips and paint buildup.
Conversely, spraying from too far away results in uneven coverage and overspray, wasting paint and causing touch-ups. To achieve the best outcomes, consider the importance of flexibility in scheduling and customization options when planning your painting project.
To help you maintain the right distance, keep these tips in mind:
- Aim for Consistency: Keep a steady distance throughout your spraying process to guarantee an even spray pattern.
- Watch for Build-Up: If you notice a heavy edge or paint build-up, you're likely too close. Adjust to achieve a softer spray with low pressure.
- Practice First: Before tackling your project, practice on cardboard or waste material. This helps you find the ideal distance for a fine finish.
- Stay Mindful: Be conscious of your distance as you move. Varying it can lead to inconsistent results.
Inconsistent Speed Control
Often, beginners struggle with inconsistent speed control while using an airless paint sprayer. This issue can lead to uneven coverage or excessive paint buildup. To avoid these problems, aim for a steady hand and a uniform pace. Ideally, keep the spray gun moving at a speed that allows for a 50% overlap of your spray patterns, similar to the techniques needed for achieving an ideal finish with a Graco FFLP Fine Finish Low Pressure Reversible Tip. This guarantees an even application across the surface.
Before tackling your actual project, practice on cardboard or waste material to find your rhythm. Long, smooth strokes are essential; begin your motion before pulling the trigger and continue after releasing it. This technique helps prevent abrupt stops that can create heavy spots or inconsistencies in the finish.
Throughout your project, regularly monitor your spraying technique. Fatigue or distractions can easily lead to changes in speed, resulting in inconsistent results. By staying focused and maintaining a consistent pace, you'll achieve a professional-looking finish.
Cleanup Process
After you're done painting, start the cleanup process right away to avoid dried paint clogging your sprayer.
Regular maintenance guarantees peak performance, similar to how air purifiers improve indoor air quality by eliminating pollutants.
Replace the paint container with a bucket of clean water or solvent and flush the system until it runs clear.
Proper storage is just as important, so make certain to keep your sprayer in a clean, dry place.
Immediate Cleaning Steps
When you finish using an airless paint sprayer, immediate cleanup is essential to maintain its performance and longevity. Neglecting this step can lead to clogs and diminished functionality.
Proper maintenance, much like guaranteeing your home has reliable garage door openers, keeps your equipment in top shape. Follow these steps for effective immediate cleaning:
- Flush the airless paint sprayer: Start by running clean water or an appropriate solvent through the system to eliminate any leftover paint. This usually takes about 5-10 minutes.
- Disassemble the spray gun: Remove the spray gun and take apart the tip, filter, and any other removable parts. Clean these components in warm, soapy water to remove any paint residue effectively.
- Run clean water through the sprayer: Verify you continue flushing until the water runs clear, which indicates that all paint has been removed from the system.
- Dispose of cleaning materials: Properly dispose of any leftover paint and cleaning materials according to local regulations to prevent environmental contamination.
Proper Storage Techniques
Proper storage techniques are essential for extending the life of your airless paint sprayer. After you've finished spray painting, make sure to clean the sprayer promptly to prevent paint from drying inside, which can lead to clogs and damage.
Start by flushing the pump with water or the appropriate solvent until the paint runs clear. Engaging in breathtaking destinations can provide the perfect backdrop for your creative projects, enhancing your inspiration.
Next, disassemble the gun and clean all components thoroughly with a brush and solvent.
Once you've completed the cleaning, it's time for proper storage. Store your sprayer in a cool, dry place, ensuring all parts are free of paint and moisture to avoid corrosion.
Before storing for an extended period, run a small amount of pump protector or oil through the system. This helps maintain seals and prevents them from drying out, which is vital for the longevity of your equipment.
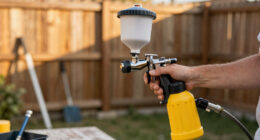
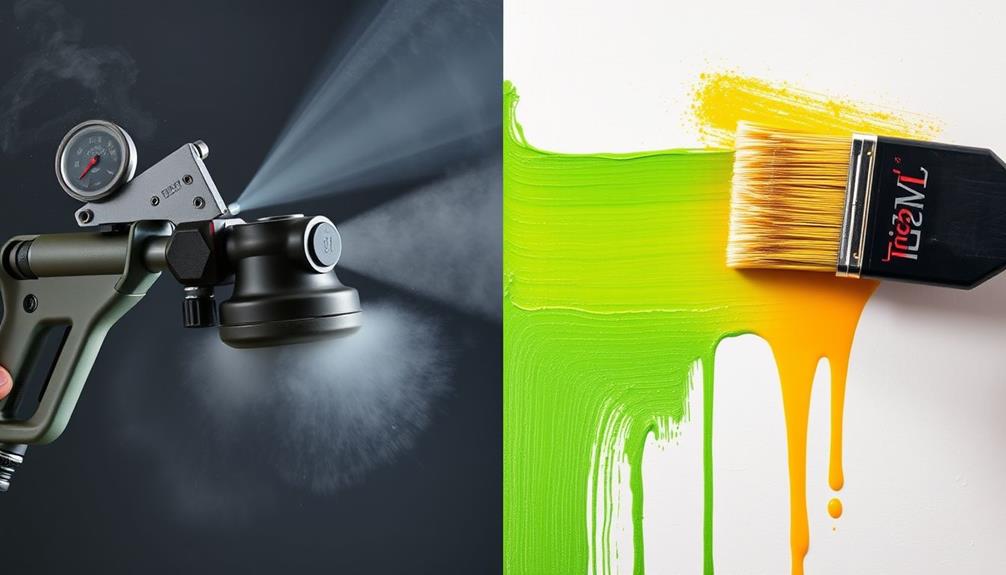
Benefits of Using a Sprayer
One of the greatest advantages of using an airless paint sprayer is its ability to deliver a flawless finish on various surfaces. With an airless sprayer, you can achieve a smooth and even coverage, considerably reducing the likelihood of brush marks or roller texture.
This efficiency translates into a better working environment, allowing you to focus on the quality of your work rather than the application method. Additionally, just like with candles, proper maintenance is key for peak performance; keeping your sprayer clean can guarantee longevity and consistent results candle maintenance tips.
Here are some key benefits of using an airless paint sprayer:
- Speed: It drastically decreases application time, enabling you to cover large areas quickly and complete jobs in a fraction of the time compared to brushes or rollers.
- Thick Application: Airless sprayers handle thicker paints and primers without the need for thinning, making them perfect for heavy-duty coatings.
- Versatility: You can use them for various finishes, including stains and sealants, accommodating a wide range of project needs.
- Minimized Overspray: They reduce overspray, resulting in less wasted paint and a cleaner work area, especially beneficial for intricate details and large surfaces.
Using an airless paint sprayer can truly enhance your painting experience.
Frequently Asked Questions
Can You Use Airless Sprayer for Primer?
Yes, you can definitely use an airless sprayer for primer. It efficiently handles thick materials, ensuring smooth application. Just choose the right spray tip and pressure settings for ideal coverage, and you'll achieve fantastic results.
How Do I Prime an Airless Paint Sprayer?
To prime an airless paint sprayer, engage the trigger lock, set low pressure, remove the tip, and prepare hoses. Turn it on, adjust pressure, and guarantee smooth paint flow before switching to spray mode.
Do You Dilute Paint When Using an Airless Sprayer?
Why wouldn't you dilute paint for an airless sprayer? You should, especially with thicker latex. Typically, a 10-20% water mix helps achieve a smoother application and prevents clogs. Always check your manufacturer's guidelines first.
What Causes Airless Sprayer Not to Prime?
If your airless sprayer won't prime, check for trapped air, clogged filters, insufficient pressure settings, or thick paint. Confirm all components are securely attached and the fluid intake hose is submerged in the paint.
Conclusion
In the end, using an airless paint sprayer for priming can transform your project from drab to fab in no time. By following the steps outlined, you'll guarantee a smooth and even application, avoiding the pitfalls that often trip up beginners. Remember, practice makes perfect, so don't be afraid to refine your technique. With a little patience and the right approach, you'll be painting like a pro, turning walls into works of art.