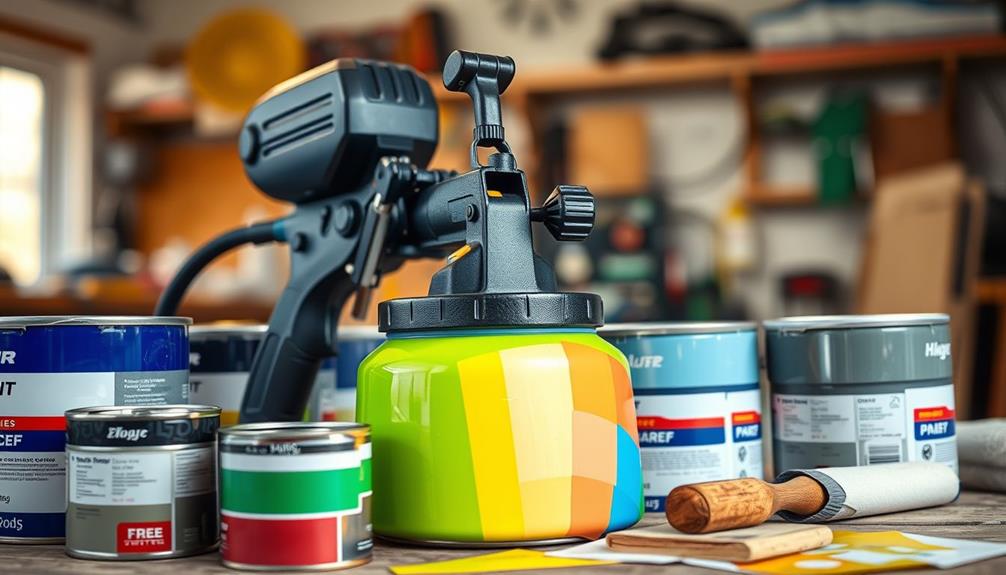
To use an airless paint sprayer for touch-ups, start by preparing the surface. Clean it thoroughly and sand around the spots for smoothness. Choose the right nozzle size, typically between 0.011 and 0.017 inches, depending on your paint's thickness. Set the pressure around 15-30 PSI for ideal spray performance. Maintain a distance of about 12 inches from the surface while spraying in long, even strokes, overlapping by 50% to blend seamlessly. Finish by cleaning the sprayer immediately after use to keep it in top shape. Discover more tips to enhance your touch-up technique and achieve a perfect finish.
Key Takeaways
- Clean and prepare the surface by removing dust and lightly sanding for better paint adhesion before touch-ups.
- Choose the appropriate nozzle size (0.011 to 0.019 inches) based on paint thickness for optimal spray quality.
- Adjust pressure settings, starting at 15 PSI, and modify for consistent spray patterns without spitting or misting.
- Maintain a distance of 12 inches while spraying, using long motions and overlapping patterns for even coverage.
- Clean the sprayer immediately after use to prevent clogs and ensure its longevity and performance.

14 Pieces Airless Paint Sprayer Tips Set, Anglecai 6 Reversible Spray Nozzles, 6 Airless Paint Spray Gun Filters, 2 Nozzle Tip Guards for Guns House Painting
- Compatible Nozzle Sizes: Six models with various diameters
- Durable Material: Made of sturdy plastic and metal
- Leak-Proof Design: Stable and wear-resistant construction
As an affiliate, we earn on qualifying purchases.
As an affiliate, we earn on qualifying purchases.
Preparing the Surface
Preparing the surface is vital for a successful paint job. Start by cleaning the surface thoroughly to remove any dust, dirt, or grease. Utilizing an effective grout cleaner can help guarantee proper paint adhesion, especially if you're working in areas with tiled surfaces that may contain grime.
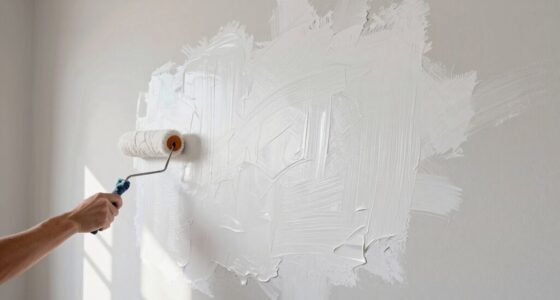
This step is important for guaranteeing proper paint adhesion. Grab a damp cloth and wipe the area, confirming it's clean and dry before moving on. If you're tackling spot repairs, lightly sand the area around the touch-up spot with fine-grit sandpaper. This creates a smooth surface that promotes better paint bonding.
Next, inspect the surrounding paint condition. If you notice any minor imperfections or chips, take the time to patch them up.
Once you're satisfied with the surface, it's time to protect adjacent areas from overspray. Use high-quality masking tape and paper to cover them, making sure you achieve clean lines and prevent unwanted paint coverage.
Selecting the Right Nozzle
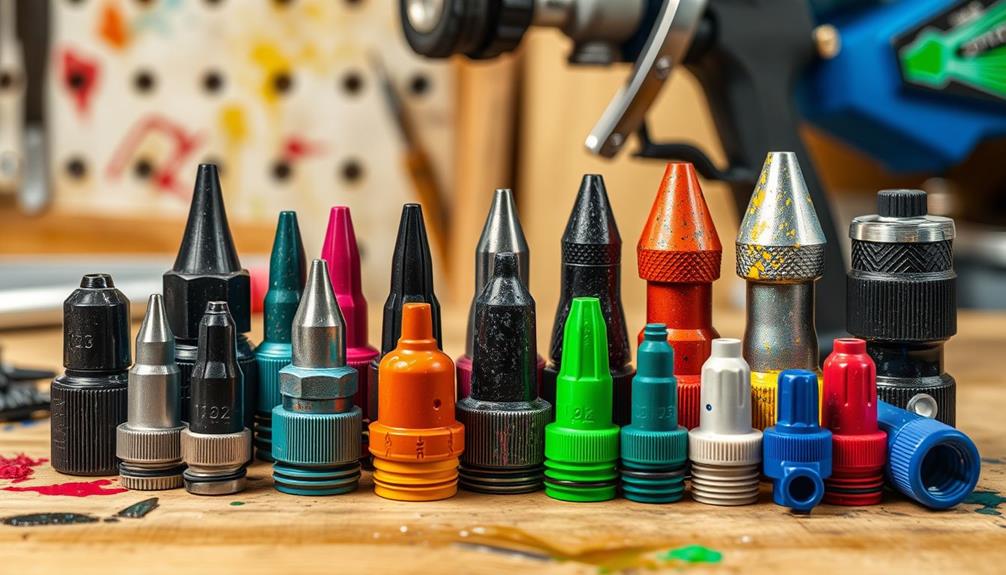
When selecting the right nozzle for your airless paint sprayer, you need to take into account both the size and type of tip.
For latex paints, a nozzle size between 0.015 and 0.019 inches works best to guarantee smooth flow and coverage.
Additionally, make certain the nozzle is compatible with your specific sprayer model to avoid any issues during application.
Choosing the right nozzle sizes can greatly influence the finish quality of your project.
It's also important to experiment with different sizes to find what works best for your specific painting needs.
Nozzle Size Considerations
Selecting the right nozzle size for your airless paint sprayer is essential to achieving the best results for your project. The nozzle size directly impacts the quality of touch-ups, so consider the following factors when making your selection:
- Nozzle Size Range: Typically between 0.011 and 0.017 inches. The right nozzle size can greatly enhance the finish quality, ensuring a smooth application.
- Paint Viscosity: Match the nozzle size to your paint's thickness. Thicker paints require larger nozzles (0.015 to 0.017 inches).
- Fine Finish: Smaller nozzles (0.011 to 0.013 inches) are ideal for smooth surfaces, ensuring minimal spray patterns.
- Fan Width: A 0.015-inch nozzle typically provides a fan width of 8 to 10 inches, perfect for moderate areas.
- Manufacturer Recommendations: Always check the paint manufacturer's guidelines for best performance and finish quality.
Tip Type Selection
Choosing the right tip type for your airless paint sprayer is vital for achieving a flawless finish. The tip size you select can make a considerable difference in your results. For most touch-up applications, a tip size ranging from 0.011 to 0.017 inches is recommended to guarantee a smooth finish.
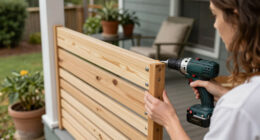
If you're working with thicker paints like latex, opt for a larger tip size of 0.015 to 0.017 inches to allow for adequate paint flow and proper atomization. Incorporating natural materials in your decor, such as reclaimed wood, can also enhance the overall aesthetic of your space while you work on these touch-ups, creating a cohesive look in line with modern farmhouse decor trends.
On the other hand, if you need to do detailed work on thin materials, a smaller tip size of 0.011 to 0.013 inches is ideal. This size gives you finer control and helps reduce overspray, which is vital for precision tasks.
Additionally, consider the type of tip you're using. A fine-finish tip can greatly enhance the look of your project, providing a smoother finish that's perfect for touch-ups.
Always remember to match the tip size to the material being sprayed and the desired finish. Check your sprayer's specifications for guidance on best tip selection to achieve the finest results.
Adjusting Pressure Settings

Adjusting pressure settings on your airless paint sprayer is essential for achieving a smooth, even finish. Proper pressure guarantees effective atomization and ideal paint flow, which directly influences your spray results. Here are some tips to help you adjust your pressure settings:
- Start testing at 15 PSI for a baseline. The right pressure adjustment can greatly enhance your painting experience, similar to how a self-cleaning mechanism reduces maintenance in pet hair vacuums.
- Increase pressure if you notice spitting in your spray pattern.
- Decrease pressure if the misting becomes too heavy.
- Consider the paint viscosity; thicker paints may need higher pressure.
- Remember that longer hoses might require more pressure to maintain consistency.
Monitor the pressure throughout your project, making adjustments as needed. The ideal PSI range for touch-ups typically falls between 15-30 PSI.
Finding the right balance is essential, as different paint viscosities may require varied settings. Regularly check to guarantee ideal paint flow and atomization.
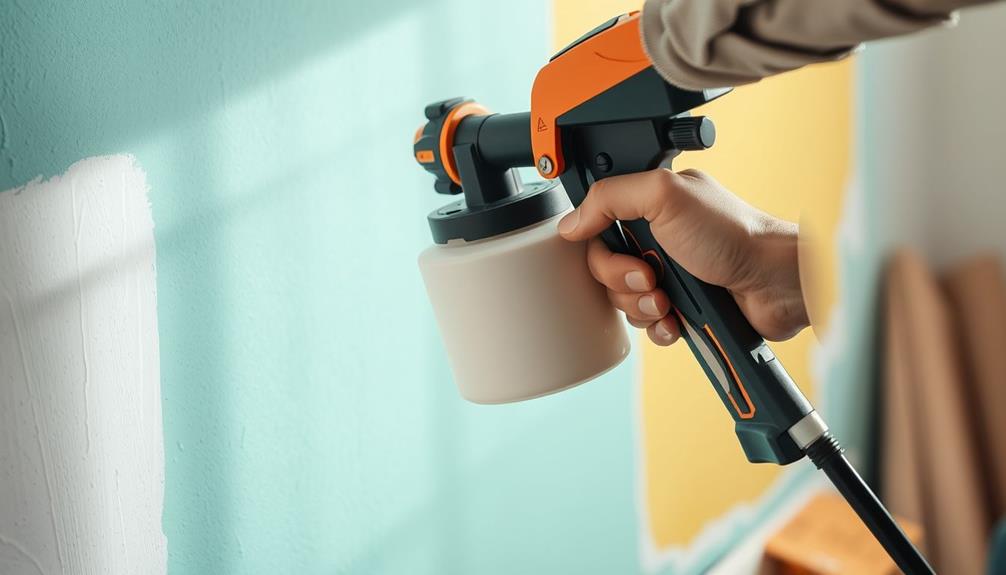
Mastering Spray Technique
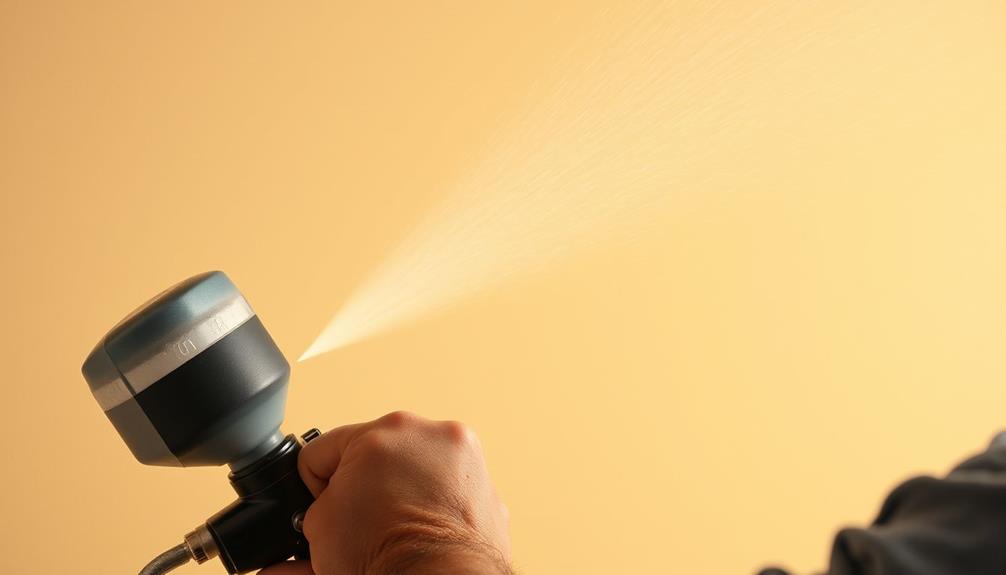
Mastering spray technique is essential for achieving a flawless finish with your airless paint sprayer. Start by maintaining a distance of about 12 inches from the surface. This distance helps you achieve even coverage while minimizing overspray.
To enhance your painting environment, consider investing in a Home Theater Setup to enjoy music or films as you work, providing a motivating atmosphere. Use long, continuous motions when spraying; begin moving the gun before you trigger it and continue after releasing to create a smooth application.
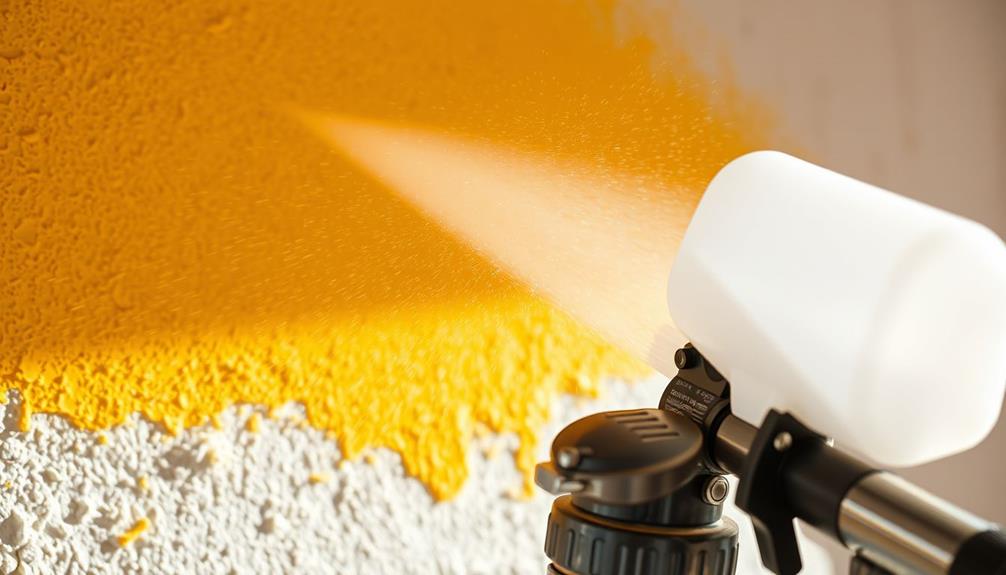
Overlap your spray patterns by about 50% to guarantee consistent coverage and effective blending with the existing paint. When testing your spray technique, start at a lower PSI around 15. Gradually adjust upwards to 30 PSI, making sure you achieve ideal atomization without spitting, which can mar your finish.
For spot repairs, adjust the fan pattern width to between 4-6 inches. This setting facilitates seamless blending and prevents hard lines between the new and old paint.
Keep practicing these techniques, and you'll find your confidence growing with each touch-up. A good spray technique not only enhances the quality of your work but also saves you time and materials in the long run.
Blending Touch-Ups Seamlessly
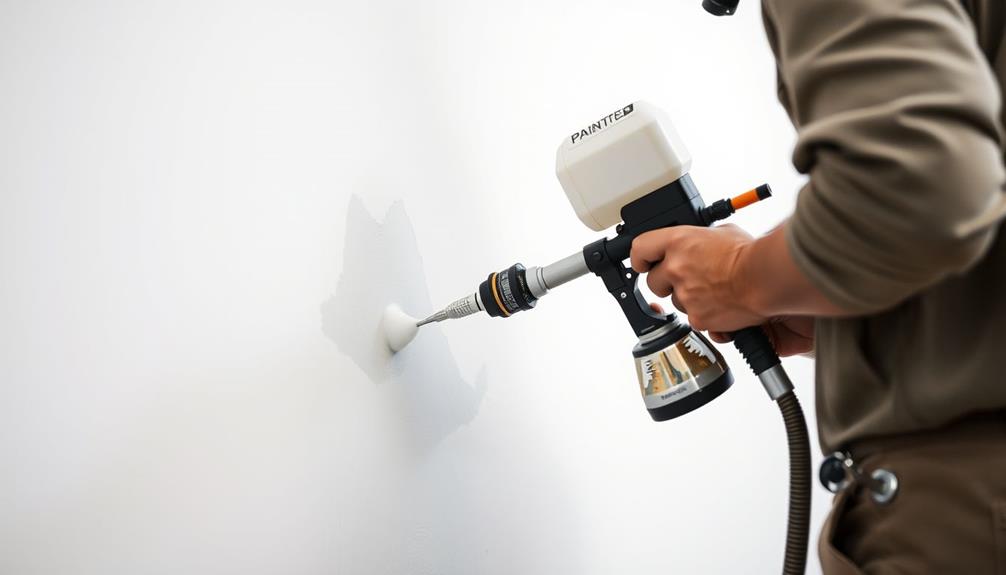
After honing your spray technique, you're ready to tackle blending touch-ups seamlessly.
When using an airless sprayer, achieving a smooth shift between new and existing paint is essential. Consider incorporating techniques from Island Getaways to create a serene atmosphere that complements your home.
Here are some tips to help you blend effectively:
- Use the feathering technique by lightly spraying around the edges of the touched-up area.
- Maintain a consistent distance of about 12 inches from the surface for even application.
- Start with a light coat and allow it to dry before evaluating coverage.
- Overlap your spray patterns by approximately 50% to integrate the new paint with the existing surface.
- Test the spray pattern on cardboard to adjust fan width and pressure.
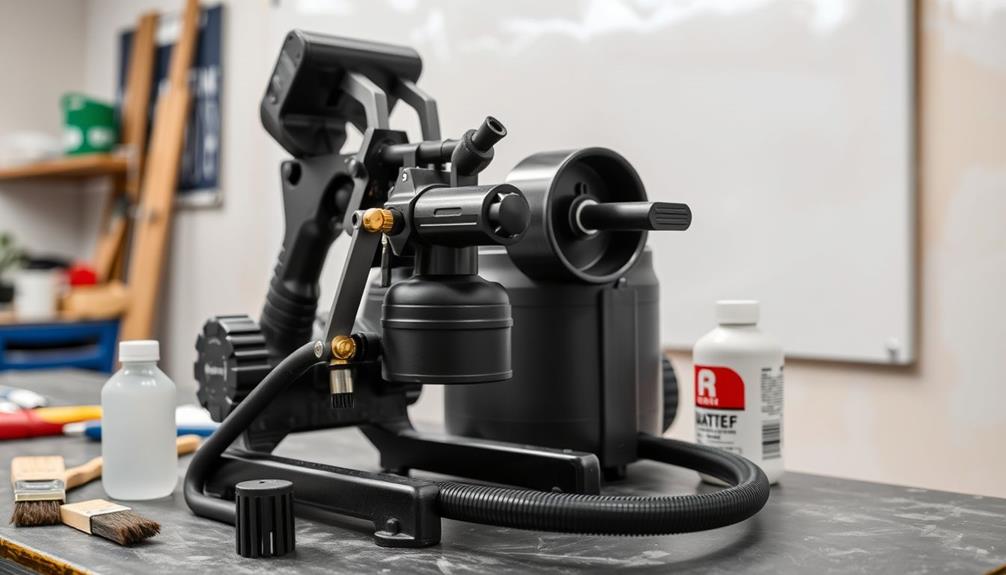
Cleaning the Sprayer

Cleaning your airless paint sprayer is essential for its longevity and performance.
Regular maintenance, much like with air purifier usage, can prevent clogs and guarantee a smooth application.
Before you start, gather your cleaning supplies and review the manufacturer's instructions for disassembly.
Once you're prepared, you can jump into the cleaning process to make sure your sprayer stays in top shape for your next project.
Pre-Cleaning Preparation Steps
Before you start painting, it's crucial to make certain your airless paint sprayer is clean and ready for use. A clean sprayer promotes peak performance, preventing any moisture-related issues that could affect your painting process.
Additionally, a well-maintained sprayer can prolong the life of your equipment, much like how a reputable home cleaning service can keep your living space in great condition.
Here are some key steps to take before you plunge into your project:
- Flush the sprayer with water or solvent to remove any leftover paint.
- Disassemble the sprayer, including the spray gun and tip.
- Soak components in a cleaning solution to break down paint residue.
- Scrub stubborn paint buildup on the filters and screens with a brush or rag.
- Rinse all parts thoroughly with clean water or solvent.
Taking these pre-cleaning preparation steps will help you avoid complications during touch-ups.
After you've cleaned everything, remember to let all components dry completely before you reassemble the sprayer. This prevents moisture-related issues that can compromise your paint job.
Cleaning Process Overview
To guarantee your airless paint sprayer operates at its best, follow a straightforward cleaning process. Start by flushing the sprayer with the appropriate solvent or water, depending on whether you used oil-based or latex paint. This step helps prevent clogs and guarantees a clean system.
Regular cleaning is essential, much like maintaining budget-friendly vacuum cleaners for peak performance.
Next, disassemble the spray gun and remove the tip and guard for thorough cleaning. You may need to soak these parts in solvent to dissolve any dried paint.
Don't forget to clean the paint suction tube and filter by rinsing them in solvent to remove any residual paint and debris. This guarantees peak performance for future use.
After you've cleaned everything, run a small amount of clean solvent through the sprayer. This lubricates the internal components and helps prevent rust or damage during storage.
Finally, reassemble the sprayer carefully, and store it in a cool, dry place. Make sure to follow the manufacturer's guidelines for long-term maintenance.
Maintenance After Use
After you've wrapped up your painting project and completed the cleaning process, it's time to focus on maintenance. Proper maintenance is essential to extend the life of your airless paint sprayer.
Follow these steps to keep your equipment in top shape:
- Flush the sprayer with water or the appropriate solvent immediately to prevent paint residue from drying inside.
- Disassemble the sprayer components, including the spray gun, nozzle, and filter. Soak them in a cleaning solution for thorough removal of any paint residue.
- Run clean water or solvent through the sprayer until it runs clear, guaranteeing no leftover paint remains in the pump, hose, or spray gun.
- Clean the spray gun's tip and guard with a brush to prevent any clogs in the nozzle during future use.
- Always refer to the manufacturer's instructions for your specific airless sprayer model to guarantee proper maintenance.
Maintenance Tips for Longevity
Maintaining your airless paint sprayer is vital for guaranteeing its longevity and ideal performance. Start by following the manufacturer's maintenance schedule, which typically includes cleaning the airless paint sprayer after each use. This prevents paint buildup that can hinder performance.
Store your sprayer in a dry, temperature-controlled environment to avoid damage from extreme conditions. Regularly inspect and replace worn or damaged seals and filters to guarantee peak operation and prevent leaks. Using the appropriate type of paint and thinner recommended by the manufacturer is essential; this helps avoid clogging and assures smooth operation.
Additionally, don't forget to lubricate moving parts as specified in the maintenance schedule. This simple step can greatly enhance the lifespan of your sprayer.
Make it a habit to check for air leaks regularly, as they can substantially affect performance. By incorporating these maintenance tips into your routine, you'll keep your airless paint sprayer running smoothly and efficiently for years to come.
Taking these proactive measures will save you time and money in the long run, guaranteeing that your sprayer remains a reliable tool for all your painting projects.
Frequently Asked Questions
How Do You Use Spray Paint for Touch Up?
Before you start, clean the area and sand lightly. Use a quality spray paint, applying several thin coats. Feather the edges for a seamless blend, and check for uniformity after drying before touching up again.
How Do You Get a Smooth Finish With an Airless Sprayer?
Imagine a flawless canvas; to achieve that smooth finish with an airless sprayer, maintain a 12-inch distance, overlap your passes, fine-tune pressure settings, and prep surfaces thoroughly for the best results.
Do You Dilute Paint When Using an Airless Sprayer?
You don't need to dilute latex paint for an airless sprayer, but oil-based paints might require 5-10% solvent. Always check the manufacturer's guidelines for specific recommendations to guarantee peak performance and finish quality.
Can You Leave Paint in an Airless Sprayer Between Coats?
Imagine a garden left untended; weeds sprout, choking the flowers. Similarly, leaving paint in an airless sprayer invites clogs and complications. You shouldn't leave paint in it; clean it thoroughly after use to guarantee smooth operation.
Conclusion
Using an airless paint sprayer for touch-ups can feel intimidating, but it's easier than you think! With the right prep and technique, you'll achieve a flawless finish that blends seamlessly with your existing paint. Don't worry if you're not a pro; even beginners can get great results with a bit of practice. So grab your sprayer, follow these tips, and watch how quickly you can transform those pesky imperfections into a smooth, fresh look!