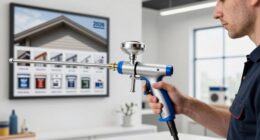

I remember my first encounter with the Avanti Airless Paint Sprayer. It was like using a magical tool, effortlessly transforming a dull, uninteresting surface into a vibrant work of art. The power and precision of this tool amazed me, showing me that I had found something truly extraordinary.
Now, I want to share my knowledge and experience with you, so you too can unlock the potential of the Avanti Airless Paint Sprayer.
In this article, I will guide you through the step-by-step process of using this incredible tool. From understanding its components to adjusting spray settings, I will provide concise and informative instructions to ensure you achieve professional-quality results.
Whether you are a seasoned painter or a DIY enthusiast, this article will equip you with the knowledge and techniques needed to master the Avanti Airless Paint Sprayer.
So, let’s dive in and unleash your inner artist!
Key Takeaways
- Practice on a test surface before starting painting
- Adjust pressure setting for the type of paint being used
- Maintain a consistent speed and distance from the surface
- Clean the Avanti airless paint sprayer immediately after each use
Understand the Components of the Avanti Airless Paint Sprayer
Now that you’ve got your hands on the Avanti Airless Paint Sprayer, let’s dive right in and understand its components!
Understanding airless paint sprayers is essential to maximize the benefits of using them. The Avanti Airless Paint Sprayer consists of a motor, a pump, a hose, and a spray gun.
The motor powers the pump, which creates pressure to push the paint through the hose and out of the gun nozzle. This allows for a smooth and even application of paint, saving time and effort.
The spray gun also features controls for adjusting the spray pattern and flow rate, giving you complete control over your painting project.
Now, let’s move on to the next section and prepare the surface for painting.
Prepare the Surface for Painting
Before using the Avanti Airless Paint Sprayer, it’s important to properly prepare the surface for painting.
First, clean the surface to remove any dirt, dust, or grease that could affect the paint’s adhesion.
Next, sand the surface to create a smooth and even texture for the paint to adhere to.
Finally, mask off any areas that shouldn’t be painted, such as windows, trim, or fixtures, using painter’s tape or plastic sheeting.
Clean and Sand the Surface
To get the best results with the Avanti airless paint sprayer, make sure to give the surface a thorough cleaning and sanding, so that it’s smooth as a baby’s bottom before you start painting. Surface preparation is crucial for a flawless finish. Here’s what you need to do:
Begin by cleaning the surface using a mild detergent and water. Remove any dirt, grease, or grime that may affect paint adhesion.
Next, inspect the surface for any imperfections such as cracks, holes, or peeling paint. Repair these areas using the appropriate filler or putty.
Now, it’s time to sand the surface. Use a medium-grit sandpaper to smooth out any rough patches or uneven surfaces. Sand in a circular motion until the surface feels even and free of imperfections.
After sanding, wipe the surface with a clean cloth to remove any dust or debris.
By properly cleaning and sanding the surface, you ensure that the paint adheres evenly and creates a long-lasting finish.
Now, let’s move on to the next step and mask off any areas that shouldn’t be painted.
Mask Off any Areas that Shouldn’t be Painted
Make sure you protect any areas that you don’t want to be painted by properly masking them off. Surface preparation is crucial for achieving a smooth and even paint job. Before you start masking, clean the surface thoroughly and sand it to remove any imperfections. This will ensure better adhesion and a professional finish.
To mask off the areas, use painter’s tape and plastic sheeting. Painter’s tape is designed to be easily applied and removed without leaving any residue. Use it to create clean lines and protect edges. Plastic sheeting can be used to cover larger areas and furniture. It is important to create a tight seal between the sheeting and the surface to prevent any paint from seeping through.
Remember to also consider the importance of ventilation during this process. Proper ventilation helps in drying the paint faster and prevents the buildup of harmful fumes. Open windows and doors or use fans to ensure good airflow in the area.
Now that you have properly masked off the areas, let’s move on to setting up the Avanti airless paint sprayer.
Set Up the Avanti Airless Paint Sprayer
First, grab the Avanti Airless Paint Sprayer and get ready to experience a hassle-free setup process. Before you start, make sure to read the instruction manual to familiarize yourself with the sprayer’s features and safety precautions.
Begin by connecting the sprayer to a power source and make sure the power switch is turned off.
Next, attach the paint hose to the sprayer and secure it tightly. Then, attach the spray gun to the other end of the paint hose and tighten the connection.
Once everything is securely connected, turn on the power switch and test the sprayer by spraying a small amount of paint onto a scrap surface. This will help you identify any issues and perform Avanti airless paint sprayer troubleshooting if needed.
After ensuring the sprayer is working properly, you can then proceed to adjust the spray settings for your desired application.
Adjust the Spray Settings
When adjusting the spray settings on the Avanti Airless Paint Sprayer, there are a couple of key points to keep in mind.
First, it’s important to adjust the pressure to achieve the desired coverage and finish. This can be done by turning the pressure control knob clockwise to increase the pressure or counterclockwise to decrease it.
Additionally, choosing the right spray tip is crucial for achieving the best results. The tip size will depend on the type of paint being used and the surface being painted, so it’s important to refer to the manufacturer’s recommendations for guidance.
Adjust the Pressure
To achieve a flawless paint finish with the Avanti airless paint sprayer, you’ll want to envision the pressure adjustment knob as your control panel for creating a smooth and even coat of paint. Adjusting the pressure is crucial to ensure optimal performance and avoid common issues. Here are three key points to keep in mind when adjusting the pressure:
- Start with a lower pressure setting and gradually increase it until you achieve the desired results.
- Monitor the spray pattern and adjust the pressure accordingly to avoid over-spraying or uneven coverage.
- Troubleshoot common issues like clogging or inconsistent spray by adjusting the pressure to find the sweet spot.
By mastering the pressure adjustment, you’ll be well on your way to achieving professional-looking paint results.
Now, let’s move on to the next step and learn how to choose the right spray tip for your project.
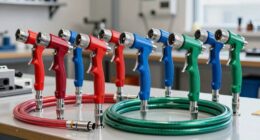
Choose the Right Spray Tip
After adjusting the pressure on the Avanti airless paint sprayer, the next crucial step is to choose the right spray tip. This is essential for achieving a flawless finish and ensuring optimal paint adhesion.
When selecting a spray tip, it’s important to consider the type of paint being used and the desired pattern width. Proper technique is crucial when attaching the spray tip, ensuring it’s securely fastened to the sprayer gun. Additionally, it’s important to regularly inspect the spray tip for any signs of wear or damage, as this can affect the spray pattern.
Troubleshooting tips for spray tip issues include unclogging the tip with a cleaning solution or replacing it if necessary.
Now, let’s move on to the next section where we’ll discuss the importance of practicing on a test surface.
Practice on a Test Surface
First, grab a piece of cardboard and position it on a table or against a wall to serve as your test surface. This is an important step when using the Avanti airless paint sprayer because it allows you to practice your techniques and troubleshoot any issues before starting your actual painting project.
By practicing on a test surface, you can get a feel for the sprayer’s settings and adjust them accordingly. It also gives you the opportunity to test different spray patterns and determine the best technique for achieving the desired results.
Once you feel confident in your skills and have resolved any troubleshooting issues, you can seamlessly transition into the subsequent section about starting the painting process.
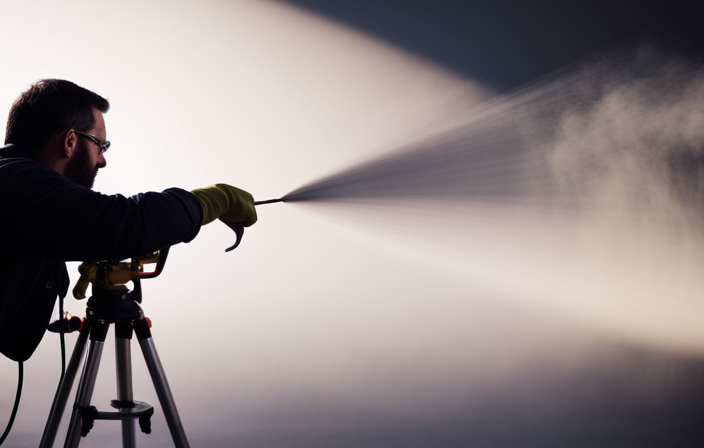
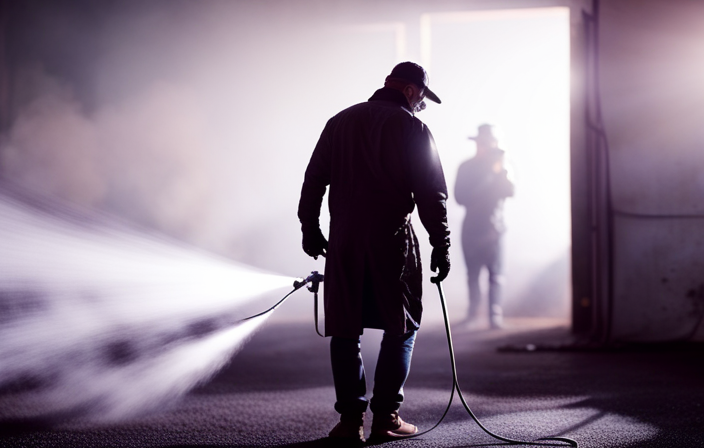
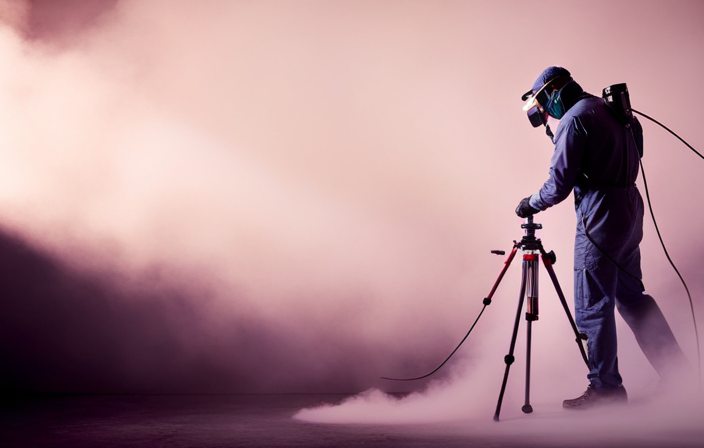
Start Painting
After practicing on a test surface to get comfortable with the Avanti airless paint sprayer, it’s time to start painting. This is where the real fun begins!
To achieve a smooth finish, there are a few tips to keep in mind. First, make sure you have the right pressure setting for the type of paint you’re using. Adjust the pressure accordingly to avoid overspray or uneven coverage.
Next, maintain a consistent speed and distance from the surface being painted. This will help prevent any blotchy or streaky areas.
Lastly, troubleshoot common painting problems such as clogging or dripping by checking the nozzle for any debris and ensuring the paint is properly mixed.
Now, let’s move on to the next step and learn how to maintain a consistent speed and distance for flawless results.
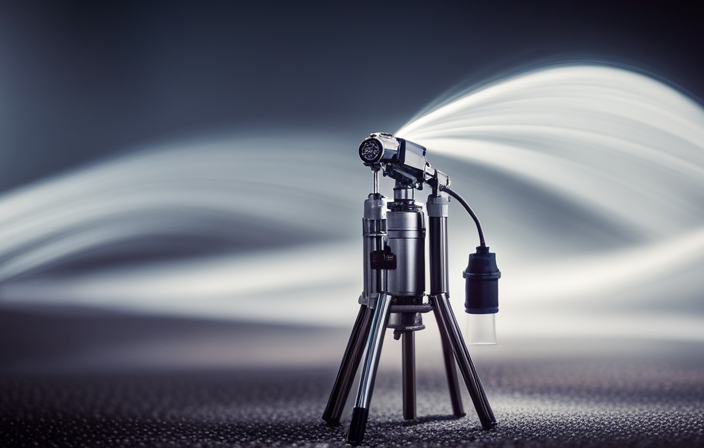
Maintain a Consistent Speed and Distance
To achieve a flawless finish, it’s important to keep a steady pace and maintain a consistent distance from the surface while painting. This ensures that the paint is applied evenly and prevents any overspray or drips. To help you maintain the correct speed and distance, refer to the table below:
| Speed | Distance | Result |
|---|---|---|
| Slow | Close | Thick coat, possible drips |
| Medium | Medium | Even coat, minimal overspray |
| Fast | Far | Thin coat, potential patchiness |
By maintaining proper paint consistency and following the guidelines in the table, you can avoid common painting mistakes. It’s crucial to find the right balance between speed and distance to achieve the desired outcome. Once you have mastered this technique, you can move on to applying multiple coats if necessary, ensuring a professional-looking finish.
Apply Multiple Coats if Necessary
You’ll want to make sure you’ve achieved a flawless finish by applying multiple coats if necessary, ensuring a professional-looking result that will leave you feeling accomplished and proud of your work.
When applying additional coats, keep in mind the drying time between each coat to allow for proper adhesion and a smooth finish. Here are some key points to consider:
- Apply the first coat evenly, making sure to cover the entire surface.
- Allow the first coat to dry completely before applying the second coat.
- If needed, sand the surface lightly between coats to remove any imperfections.
By following these steps, you can build up a solid and consistent paint coverage, ensuring a high-quality result.
Now that you have achieved the desired number of coats, it’s time to move on to the next step: cleaning the Avanti airless paint sprayer.
Clean the Avanti Airless Paint Sprayer
Maintaining a clean and efficient painting tool is essential for achieving professional results that’ll leave you feeling satisfied and accomplished. When it comes to cleaning your Avanti Airless Paint Sprayer, there are a few tips and best practices to keep in mind.
Firstly, make sure to clean the sprayer immediately after each use to prevent paint from drying and clogging the system. Start by removing the spray tip and filter, and then flush the system with water or an appropriate cleaning solution. Scrub any remaining paint off the sprayer components using a brush or rag. Pay close attention to the intake valve, piston, and hose as these areas tend to accumulate paint residue.
Once everything is clean and dry, reassemble the sprayer and store it properly to maintain its longevity and performance.
Transitioning into the next section, let’s learn how to store the Avanti Airless Paint Sprayer properly to ensure its longevity and continued functionality.
Store the Avanti Airless Paint Sprayer Properly
When storing your Avanti Airless Paint Sprayer, it’s crucial to ensure proper maintenance and longevity. Proper paint storage is essential to prevent clogging issues and ensure the sprayer is ready for future use.
To store the Avanti Airless Paint Sprayer properly, start by cleaning the machine thoroughly as mentioned in the previous subtopic. Next, remove any remaining paint from the sprayer and its components. Make sure to release any pressure in the system before storing it.
Once cleaned, store the sprayer in a cool, dry place to prevent any moisture from damaging the machine. It’s also recommended to cover the sprayer with a protective cloth or plastic bag to prevent dust or debris from accumulating.
By following these steps, you can maintain your Avanti Airless Paint Sprayer and avoid any clogging issues in the future.
Frequently Asked Questions
How long does it take for the paint to dry when using the Avanti Airless Paint Sprayer?
When using the Avanti airless paint sprayer, the drying time for the paint depends on factors like temperature and humidity. Generally, it takes about 1-2 hours for the paint to dry completely. The pros of using this sprayer include faster application and a smoother finish, while the cons include the need for proper ventilation and possible overspray.
Can I use the Avanti Airless Paint Sprayer to paint outdoor surfaces?
Yes, you can use the Avanti airless paint sprayer for both interior and exterior surfaces. The benefits of using it for outdoor projects include faster coverage, even application, and the ability to reach high and hard-to-reach areas.
Is it necessary to wear protective gear while using the Avanti Airless Paint Sprayer?
Yes, it is necessary to wear protective gear while using the Avanti airless paint sprayer. Wearing protective gear reduces the risk of inhaling harmful fumes, eye injuries, and skin irritation. It ensures your safety and prevents potential health hazards.
What type of paint is best suited for the Avanti Airless Paint Sprayer?
The best paint type for the Avanti airless paint sprayer is latex paint. It is the recommended paint type due to its ability to provide smooth coverage and easy clean-up.
Can the Avanti Airless Paint Sprayer be used for small touch-up jobs or is it only suitable for large painting projects?
Yes, the Avanti airless paint sprayer is suitable for small touch-up jobs. It provides precise and even coverage, making it easy to apply paint to small areas.
Conclusion
So there you have it, folks! Now that you know how to use the Avanti Airless Paint Sprayer, you’re ready to tackle any painting project with confidence.
With its easy setup, adjustable spray settings, and simple maintenance, this paint sprayer is a game-changer. Get ready to achieve professional-looking results in no time.
But wait, there’s more! Stay tuned for our next article, where we’ll reveal some pro tips and tricks to take your painting skills to the next level. Happy painting!