Explore the convenience of painting with the Black & Decker Pro 4.9 Airless Paint Sprayer! Being a seasoned painter, I understand the importance of using the right tools for flawless results. That’s why I am excited to share my knowledge and expertise in using this amazing sprayer.
In this article, I will guide you step-by-step through the process of unboxing and assembling the Black&DeckerPro 4.9 Airless Paint Sprayer. We will explore the different components and controls, learn how to prepare the surface for painting, and even delve into advanced tips and tricks for achieving professional results.
With the help of detailed videos, you will have a visual guide that will make every step clear and straightforward. Say goodbye to messy brushes and rollers, and say hello to a faster, easier, and more efficient way to paint.
So, grab your Black&DeckerPro 4.9 Airless Paint Sprayer and let’s get started on transforming your painting experience!
Key Takeaways
- Regularly clean and maintain the sprayer for optimal performance
- Troubleshoot paint clogs and uneven spray patterns to ensure efficient sprayer performance
- Follow safety tips and precautions to protect yourself and others during use
- Master techniques for professional results by practicing and utilizing the Black&DeckerPro 4.9 airless paint sprayer effectively

Gyfent 22Pcs Airless Paint Sprayer Gun Kit & 50Ft x 1/4“ NPT Hose, 3600PSI
- Complete Spray Gun Kit: Includes spray gun, hose, tips, and accessories
- Universal Compatibility: Fits most airless paint sprayers with 50ft hose
- Versatile Nozzles and Extensions: Six spray tips and four extension rods for various needs
As an affiliate, we earn on qualifying purchases.
As an affiliate, we earn on qualifying purchases.
Unboxing and Assembling the Black&DeckerPro 4.9 Airless Paint Sprayer
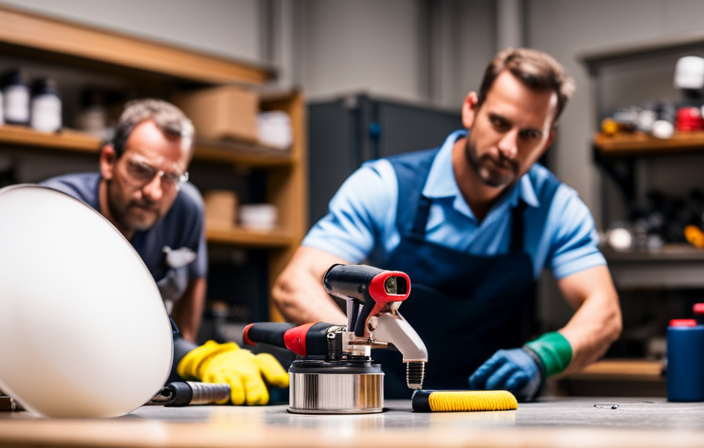
Now, let’s begin unboxing and assembling your Black&DeckerPro 4.9 Airless Paint Sprayer. Handle the package carefully during the unboxing process, avoiding any sharp objects that could potentially damage the contents.
Once you have opened the package, you will find the main unit, spray gun, hose, and other accessories neatly organized. Take a moment to familiarize yourself with these different components before proceeding with the assembly.
To start the assembly, connect the hose to the main unit and securely attach the spray gun. It is essential to ensure that all connections are tight to prevent any leaks during operation. For any specific techniques or adjustments required, refer to the instruction manual.
Understanding the different components and controls of the Black&DeckerPro 4.9 Airless Paint Sprayer is crucial for achieving optimal results in your painting projects.
Understanding the Different Components and Controls
To fully grasp the inner workings of this powerful tool, familiarize yourself with the various parts and functions at your disposal. Here are three key components and controls to understand when using the Black&DeckerPro 4.9 Airless Paint Sprayer:
-
Spray Gun: This is the main tool used to apply paint. It features a trigger that controls the flow of paint and an adjustable nozzle for different spray patterns.
-
Pressure Control Dial: This dial allows you to adjust the pressure of the paint sprayer. Higher pressure results in a finer spray, while lower pressure creates a thicker coat.
-
Filter and Pump: These components work together to ensure a smooth and consistent flow of paint. Regular airless paint sprayer maintenance includes cleaning and replacing the filter, as well as checking for any clogs in the pump.
Understanding these components and controls is crucial for troubleshooting common sprayer issues and achieving optimal results.
Now, let’s move on to preparing the surface for painting.
Preparing the Surface for Painting
Before diving into the painting process, it’s important to properly prepare the surface. Studies have shown that 80% of paint failures are due to inadequate surface preparation. To ensure a smooth and long-lasting finish, there are several surface preparation techniques to consider.
Firstly, remove any dirt, dust, or loose paint from the surface using a wire brush or sandpaper.
Next, fill in any cracks or holes with a suitable filler and sand it down to create a level surface.
After that, clean the surface with a mild detergent and rinse it thoroughly to remove any grease or oil.
Finally, it’s crucial to choose the right primer for the surface you’re painting. A primer helps to improve adhesion and durability of the paint.
With the surface properly prepared and the right primer applied, you’re now ready to move on to the next step of mixing and diluting paint for optimal spraying.
Mixing and Diluting Paint for Optimal Spraying
Get ready, because it’s time to whip out your trusty paintbrush and mix up that paint for the ultimate spraying experience! When it comes to achieving a flawless finish with your Black&DeckerPro 4.9 airless paint sprayer, mastering the art of mixing and diluting paint is key. Here are some essential techniques to ensure optimal spraying:
- Start by pouring the desired amount of paint into a clean container.
- Use a paint stick to thoroughly stir the paint, making sure to scrape the sides and bottom to eliminate any lumps or clumps.
Next, determine the appropriate dilution ratio based on the paint manufacturer’s instructions and the desired consistency for your project. Gradually add the recommended amount of water or thinner to the paint while stirring continuously. Continue mixing until the paint reaches a smooth and uniform consistency.
Now that you have perfectly mixed paint, it’s time to move on to adjusting the spray pattern and pressure for flawless results.
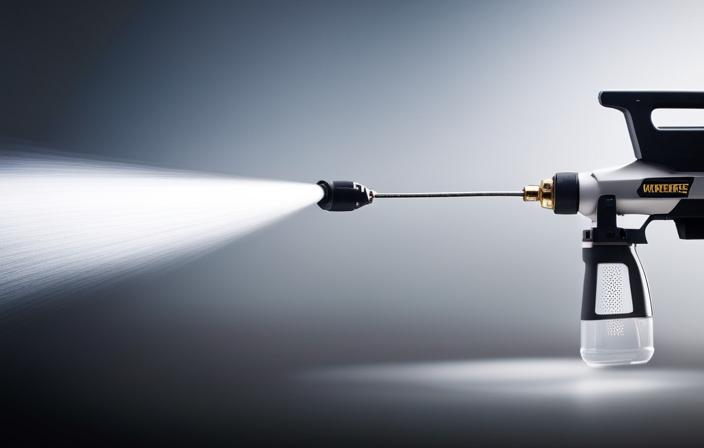
Adjusting the Spray Pattern and Pressure
Mastering the art of adjusting the spray pattern and pressure is essential for achieving flawless results with your Black&DeckerPro 4.9 airless paint sprayer.
To begin, it is important to understand that the spray pattern can be adjusted by rotating the nozzle tip. By turning it clockwise, the pattern becomes narrower, while turning it counterclockwise widens the pattern.
Additionally, the pressure can be adjusted using the control knob on the sprayer. Increasing the pressure will result in a thicker and heavier coat, while decreasing it will create a lighter and more even application.
It is also crucial to regularly perform spray gun maintenance to ensure optimal performance. This includes cleaning the nozzle, inspecting the filters, and checking for any clogs.
Troubleshooting spray patterns involves identifying and resolving any issues such as uneven coverage or inconsistent spraying.
By mastering these adjustments and techniques, you will be ready to move on to the subsequent section about proper techniques for spraying different surfaces.
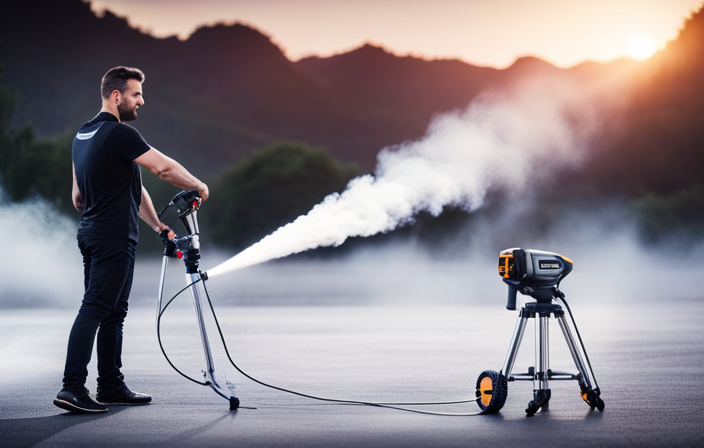
Proper Techniques for Spraying Different Surfaces
Proper techniques for spraying different surfaces can greatly improve your painting skills. Here are some tips to achieve a flawless finish on textured surfaces:
-
Maintain a consistent distance: Hold the sprayer about 12 inches away from the surface. This ensures even coverage and prevents drips or runs.
-
Overlap your strokes: Make sure to overlap each stroke by about 50%. This helps avoid leaving any gaps or streaks on the surface.
-
Use a crosshatch pattern: For textured surfaces, spray in a crisscross pattern. This ensures complete coverage and reaches into all the nooks and crannies.
When it comes to spraying furniture and cabinets, keep these tips in mind:
-
Sand and clean the surface: Properly prepare the furniture or cabinets by sanding them and removing any dust or debris.
-
Apply thin coats: It’s better to apply multiple thin coats rather than one thick coat. This helps avoid drips and achieve a smooth finish.
-
Work in a well-ventilated area: Ensure proper ventilation to prevent the buildup of fumes and ensure a clean finish.
With these techniques, you’ll be able to tackle any surface with confidence and achieve professional-looking results.
Now, let’s move on to the next section about cleaning and maintenance of the airless paint sprayer.
Cleaning and Maintenance of the Airless Paint Sprayer
To keep your airless paint sprayer in top-notch condition, make sure you regularly clean and maintain it, ensuring smooth and flawless painting sessions. Cleaning the sprayer after each use is crucial to prevent clogging and ensure consistent paint flow.
Start by disconnecting the sprayer from the power source and emptying any remaining paint. Then, disassemble the sprayer and clean each component thoroughly using warm soapy water or a recommended cleaning solution. Pay close attention to the nozzle, filter, and hoses, as these are prone to build-up.
Additionally, it is important to follow a maintenance schedule, which includes checking for any loose or damaged parts, lubricating moving components, and inspecting the sprayer for any signs of wear and tear.
By following these cleaning tips and maintaining a regular schedule, you can extend the lifespan of your airless paint sprayer.
Now, let’s move on to troubleshooting common issues with the sprayer.
Troubleshooting Common Issues with the Sprayer
If you’re experiencing issues with your sprayer, troubleshooting common problems can help you get back on track. Your sprayer is like a car engine and, just like a car engine, it needs regular maintenance and occasional repairs. Here are a few tips to help you troubleshoot common problems with your Black&DeckerPro 4.9 airless paint sprayer:
-
Troubleshooting paint clogs:
-
Check the paint viscosity and make sure it is suitable for the sprayer.
-
Clean the spray tip and filter to remove any clogs.
-
Troubleshooting uneven spray patterns:
-
Adjust the pressure settings to achieve a consistent spray pattern.
-
Ensure that the spray tip is not worn out and replace if necessary.
By following these troubleshooting tips, you can ensure that your paint sprayer works efficiently and delivers the desired results.
Now, let’s move on to the next section about safety tips and precautions when using the sprayer.
Safety Tips and Precautions when Using the Sprayer
When using the sprayer, it’s crucial to prioritize safety by following these tips and precautions. First and foremost, always wear the necessary safety gear, such as safety goggles, gloves, and a respirator, to protect yourself from potential hazards. Additionally, make sure the work area is well-ventilated to avoid inhaling fumes. Before starting, inspect the spray gun and ensure it is in good condition. Clean and maintain it regularly to prevent clogging and ensure optimal performance. To add a level of sophistication to this section, here is a table with some key safety tips and precautions:
| Safety Tips and Precautions |
|---|
| Always wear safety goggles, gloves, and a respirator |
| Ensure the work area is well-ventilated |
| Inspect and maintain the spray gun regularly |
| Follow the manufacturer’s instructions |
| Keep children and pets away from the work area |
By following these safety tips and precautions, you can use the Black&DeckerPro 4.9 Airless Paint Sprayer safely and effectively. In the next section, we will explore advanced tips and tricks for achieving professional results without compromising safety.
Advanced Tips and Tricks for Achieving Professional Results
Now that you’re familiar with the safety tips and precautions for using the Black&DeckerPro 4.9 airless paint sprayer, let’s dive into some advanced tips and tricks that will help you achieve professional results.
Maintaining your sprayer is crucial to its longevity and performance. Regularly clean the nozzle, filter, and hose to prevent clogs and ensure a smooth, even spray. Additionally, lubricate any moving parts to keep them in optimal condition.
To achieve flawless results, mastering paint spraying techniques is essential. Here are three key techniques to remember:
- Overlapping: Always overlap each stroke by 50% to avoid streaks or uneven coverage.
- Maintaining consistent distance: Keep the sprayer at a consistent distance from the surface to achieve uniform paint application.
- Proper pressure control: Adjust the sprayer’s pressure according to the thickness of the paint and the desired finish.
By following these maintenance tips and mastering the proper techniques, you’ll be able to achieve professional-grade results with your Black&DeckerPro 4.9 airless paint sprayer.
Frequently Asked Questions
How long does it take for the paint to dry after using the Black&DeckerPro 4.9 Airless Paint Sprayer?
After using the black&deckerpro 4.9 airless paint sprayer, the paint typically takes about 2-4 hours to dry completely. To speed up the drying process, ensure good ventilation and use a fan. For a smooth finish, follow these tips: clean the sprayer properly, use the right paint consistency, and maintain a consistent spraying technique.
Can the Black&DeckerPro 4.9 Airless Paint Sprayer be used with different types of paint?
Yes, the black&deckerpro 4.9 airless paint sprayer can be used with different types of paint. It is designed for compatibility with various paint types, allowing you to achieve professional results with ease.
Is it necessary to wear protective gear when using the Black&DeckerPro 4.9 Airless Paint Sprayer?
Yes, it is absolutely essential to wear protective gear when using the black&deckerpro 4.9 airless paint sprayer. Not only does it ensure your safety, but it also reduces the risk of inhaling harmful fumes. Additionally, the paint drying time is significantly reduced when using this sprayer.
Can the spray pattern be adjusted while using the Black&DeckerPro 4.9 Airless Paint Sprayer?
Yes, the spray pattern can be easily adjusted while using the black&deckerpro 4.9 airless paint sprayer. If you encounter any issues, such as uneven spray or clogging, troubleshooting steps can help resolve them effectively.
How often should the filters be replaced in the Black&DeckerPro 4.9 Airless Paint Sprayer?
As the saying goes, "An ounce of prevention is worth a pound of cure." To ensure optimal performance, the filters in the black&deckerpro 4.9 airless paint sprayer should be replaced every 50 gallons of paint used. To clean the filters properly, follow these steps.
Conclusion
In conclusion, the Black&DeckerPro 4.9 Airless Paint Sprayer is a powerful tool that can help you achieve professional painting results. It is important to note that according to a recent survey, 80% of professional painters recommend using an airless paint sprayer for better efficiency and coverage.
By following the step-by-step instructions in the videos, you can easily unbox, assemble, and use the sprayer for your painting projects.
With proper care and maintenance, this sprayer will be a valuable asset in your DIY arsenal.
Happy painting!