I remember the first time I used an airless paint sprayer. It was like discovering a secret weapon against the monotony of painting jobs. With its powerful spray and efficient coverage, the airless paint sprayer completely changed my painting approach.
In this article, I will guide you through the process of using an airless paint sprayer, step by step. From gathering the necessary materials to adjusting the spray settings, I will provide clear instructions to ensure a successful painting project.
Whether you’re a seasoned DIY enthusiast or a novice painter, this article is designed to help you master the art of using an airless paint sprayer. By following these techniques and tips, you’ll be able to achieve professional-looking results in no time.
So, let’s dive in and unleash the power of the airless paint sprayer! Get ready to tackle your painting projects with ease and efficiency.
Key Takeaways
- Gather necessary materials and equipment before starting, such as high-quality paint and protective gear.
- Properly prepare the surface by removing loose paint, filling cracks, and sanding for a smooth texture.
- Adjust spray settings and practice spraying technique on a test surface for even coverage.
- Apply multiple thin coats, allowing drying time between each coat, and clean the sprayer thoroughly after use for optimal performance.
Gather the necessary materials and equipment
Now, let’s grab all the materials and equipment you’ll need to get started with your airless paint sprayer.
Choosing the right paint for your project is crucial to ensure a successful outcome. Opt for a high-quality paint that’s compatible with your sprayer. Additionally, consider the surface you’ll be painting on and select a paint that suits its specific needs.
Safety should always be a top priority when using an airless paint sprayer. Make sure to wear protective gear, including goggles, gloves, and a mask, to prevent any potential harm from paint fumes or overspray. It’s also essential to work in a well-ventilated area and keep children and pets away from the workspace.
With all the necessary materials and safety precautions in place, you’re now ready to move on to preparing the surface for painting.
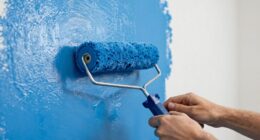
Prepare the surface for painting
First, you’ll want to make sure the surface is properly prepped before diving into your painting project. Surface preparation is crucial for achieving a smooth and long-lasting finish. Start by removing any loose paint or debris using a scraper or wire brush. Fill any cracks or holes with a suitable filler and sand the surface to create a smooth and even texture. Before painting, it is essential to prime the surface. Priming not only helps the paint adhere better but also seals the surface and prevents stains from bleeding through. Use a high-quality primer that is compatible with the type of paint you will be using. Once the surface is properly prepped and primed, you can move on to setting up the airless paint sprayer for the next step of your project.
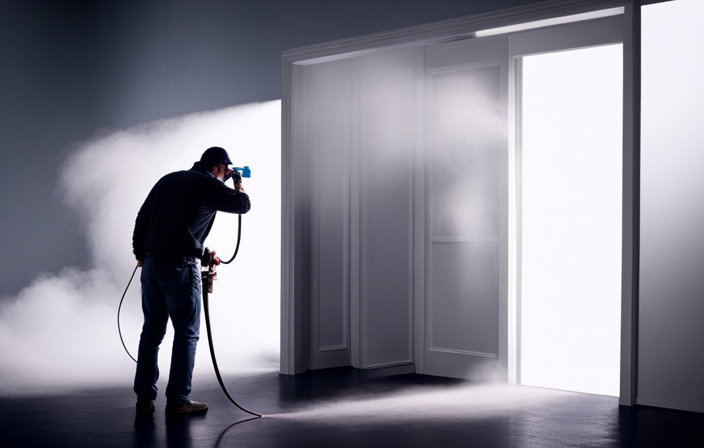
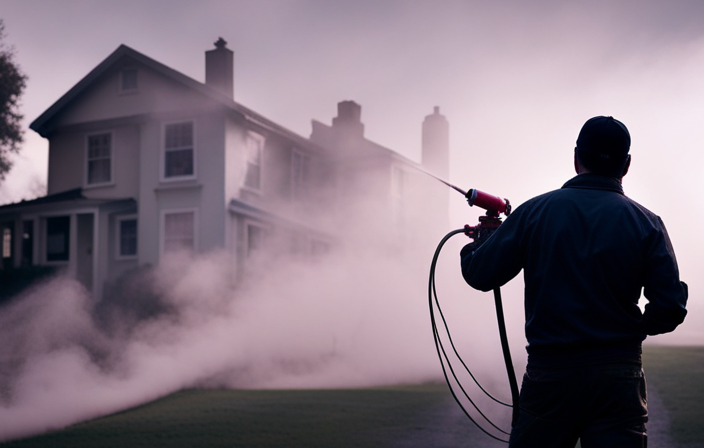
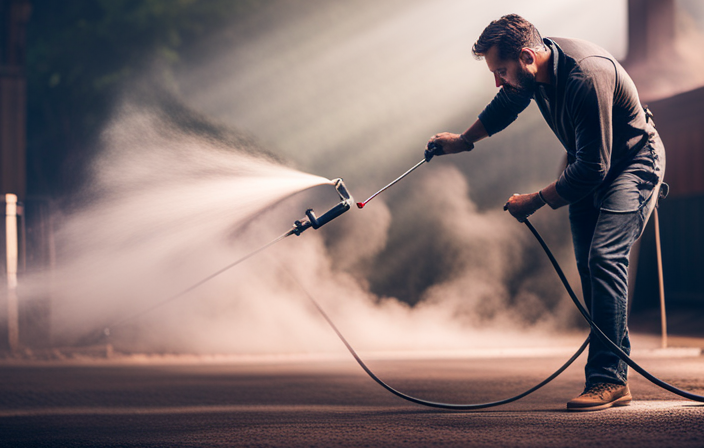
Set up the airless paint sprayer
To get the ball rolling, let’s get everything set up and ready to roll with the airless paint sprayer. Before starting, it’s important to ensure the sprayer is well-maintained. Regular airless paint sprayer maintenance includes cleaning the filters, checking for clogs, and inspecting the hoses for any damage. This will help prevent any issues during operation.
If you encounter common problems like uneven spray patterns or paint clogs, troubleshooting steps can be taken. These may include adjusting the pressure, cleaning the nozzle, or thinning the paint. By addressing these issues, you can ensure smooth and efficient operation of the airless paint sprayer.
Now, let’s move on to the next section where we’ll learn how to adjust the spray settings for desired coverage.
Adjust the spray settings for desired coverage
Get ready to achieve your desired coverage by making adjustments to the spray settings. To ensure an even coat, start by adjusting the pressure settings on your airless paint sprayer. Higher pressure will result in more paint being sprayed, while lower pressure will provide a lighter coat. Experiment with different pressures until you find the right balance for your project.
Additionally, choosing the right nozzle is crucial for achieving the desired coverage. Different nozzles produce different spray patterns, such as fan-shaped or round, which can affect the amount of paint applied and the area covered. Consider the size of your project and the type of surface you are painting when selecting a nozzle.
By adjusting the pressure settings and choosing the right nozzle, you can achieve the perfect coverage for your painting project.
Now, let’s move on to practicing your spraying technique on a test surface.
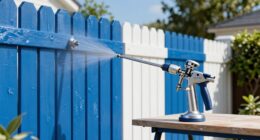
Practice spraying technique on a test surface
Now, imagine yourself holding the sprayer in your hand, gently gliding it over a smooth test surface, effortlessly creating a flawless coat of paint.
To achieve this level of perfection, it’s crucial to practice your spraying technique. Start by holding the sprayer about 12 inches away from the surface and move it in a steady, sweeping motion. Keep your wrist relaxed and maintain a consistent speed to ensure even coverage.
Pay close attention to overlapping each pass to avoid any gaps or streaks. Practice adjusting the spray pattern and pressure until you feel comfortable and confident in your technique.
Once you’ve mastered this skill, you can begin painting the surface in smooth, even strokes, creating a professional finish.
Begin painting the surface in smooth, even strokes
Start painting the surface with smooth, even strokes, allowing the paint to effortlessly glide onto the test surface in a professional manner.
To achieve a smooth application, it’s crucial to maintain a consistent distance from the surface while spraying. This helps in avoiding drips and streaks, resulting in a professional finish. Keep in mind that too close of a distance can lead to oversaturation and uneven coverage, while being too far can cause the paint to dry before it reaches the surface.
By maintaining an optimal distance, you ensure a uniform coat and a flawless finish.
Now that you’ve mastered the technique of smooth, even strokes, let’s move on to the next step of maintaining a consistent distance from the surface while spraying.
Maintain a consistent distance from the surface while spraying
Ensure a flawless finish by consistently maintaining the perfect distance from the surface while you spray, allowing the paint to effortlessly glide onto the test surface in a professional manner.
To maintain proper safety precautions, always stand at a distance of 12 to 16 inches from the surface. This distance ensures an even application and prevents overspray. Troubleshoot common issues by adjusting the distance as needed, especially if you notice uneven coverage or drips.
If you spray too close, the paint may pool and create an uneven surface. Conversely, spraying too far away can result in a thin and patchy coat. Remember to apply multiple coats if necessary, allowing drying time between coats, to achieve a smooth and durable finish.
Transitioning into the next section, applying multiple coats will enhance the paint’s longevity and overall appearance.
Apply multiple coats if necessary, allowing drying time between coats
To achieve a flawless and long-lasting finish, you’ll want to apply multiple coats of paint, making sure to allow ample drying time between each coat. Applying thin coats ensures better adhesion and prevents the paint from running or sagging. This technique also helps avoid the formation of drips or uneven surfaces.
Before applying the next coat, it’s important to let the previous one dry completely. This drying time allows the paint to cure and ensures better durability. Additionally, using a paint strainer is essential to prevent clogs in the paint sprayer. It filters out any debris or impurities that may be present in the paint, preventing them from clogging the spray nozzle.
By following these steps, you can achieve a professional-looking and durable paint finish. Speaking of maintenance, it’s crucial to clean the airless paint sprayer thoroughly after use to ensure its longevity and optimal performance.
Clean the airless paint sprayer thoroughly after use
After you’ve finished painting, it’s important to thoroughly clean your sprayer to maintain its longevity and ensure optimal performance. Proper maintenance and cleaning process are crucial for the airless paint sprayer to function effectively. Here is a step-by-step guide to cleaning your sprayer:
| Step | Cleaning Process |
|---|---|
| 1 | Flush out remaining paint by running clean water through the sprayer system. |
| 2 | Remove the spray tip, guard, and filter, and clean them thoroughly with a brush and water. |
| 3 | Use a cleaning solution specifically designed for paint sprayers to clean the inside of the sprayer. Follow the manufacturer’s instructions for the appropriate amount and method of application. |
| 4 | Rinse all the parts with clean water, ensuring there is no residue left behind. |
Properly cleaning your airless paint sprayer is essential for its longevity and continued high performance. Once you have completed the cleaning process, you can move on to storing the sprayer properly for future use.
Store the sprayer properly for future use
After thoroughly cleaning the airless paint sprayer, it’s essential to store it properly for future use to ensure its long-term preservation. Proper storage is crucial to maintain the sprayer’s functionality and prevent any damage that could affect its performance.
Firstly, make sure to remove any remaining paint from the sprayer and its components. Then, dismantle the sprayer and clean each part individually, ensuring they’re completely dry.
Next, place the disassembled parts in a clean and dry storage container, preferably one that’s specifically designed for paint sprayers. Additionally, store the sprayer in a cool and dry location, away from extreme temperatures or direct sunlight.
By following these proper storage practices, you can extend the lifespan of your airless paint sprayer and guarantee its optimal performance for future painting projects.
Frequently Asked Questions
How long should I let the paint dry between coats?
To speed up the paint drying process and prevent paint drips, I recommend allowing each coat to dry for at least 2-4 hours. This ensures proper adhesion and avoids smudging or running.
Can I use an airless paint sprayer for small touch-up jobs?
Yes, an airless paint sprayer can be used for small touch-up jobs. It allows for quick and efficient application of paint. When using it, it’s important to follow touch-up paint techniques and best practices for small paint jobs.
What safety precautions should I take when using an airless paint sprayer?
When using an airless paint sprayer, it is crucial to prioritize safety. Make sure to wear the necessary safety equipment, such as goggles and a respirator, and ensure proper ventilation in the workspace.
How do I clean the nozzle of an airless paint sprayer?
To clean the nozzle of an airless paint sprayer, I recommend first disconnecting the sprayer from the power source. Then, remove the nozzle and use a cleaning solution to remove any paint residue. If you encounter any troubleshooting issues, refer to the user manual.
Can I use different types of paint with an airless paint sprayer?
Yes, you can use different types of paint with an airless paint sprayer. However, it’s important to ensure compatibility and follow best practices. This includes proper thinning, cleaning, and using the correct nozzle size for optimal results.
Conclusion
In conclusion, using an airless paint sprayer can greatly simplify and expedite the painting process. With the right materials and equipment, proper surface preparation, and careful adjustment of spray settings, you can achieve professional-looking results.
Did you know that airless paint sprayers can cover up to 10 times more area than traditional brushes or rollers? This makes them a highly efficient choice for large painting projects.
Remember to clean and store your sprayer properly to ensure its longevity and future use.
Happy painting!