Hey there! It seems like you’ve got yourself a new Pro 210es Hi-Boy Airless Paint Sprayer, right? I just wanted to let you know, you’re in for a major upgrade in how you approach painting jobs. This tool is truly a game-changer in the realm of paint projects.
In this article, I’m going to walk you through everything you need to know about using the Pro 210es Hi-Boy. From unboxing and assembly to achieving professional-looking results, we’ve got you covered.
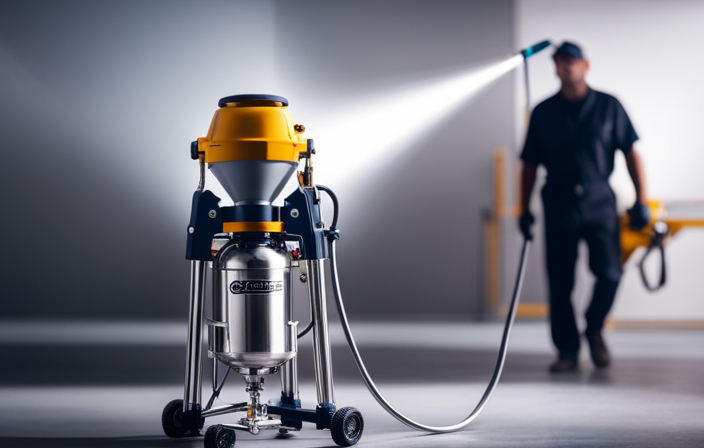
But before we dive in, let’s take a moment to appreciate the power and versatility of this paint sprayer. It’s like having your very own professional painter right at your fingertips. No more tedious brushwork or uneven coverage. With the Pro 210es Hi-Boy, you can achieve smooth, flawless results in no time.
So, if you’re ready to take your painting game to the next level, let’s get started! Trust me, you won’t be disappointed.
Key Takeaways
- Achieve professional-looking results with proper overlap and consistent coverage.
- Take precautions to prevent overspray and protect nearby objects.
- Use safety gear such as respirator masks, goggles, and gloves.
- Maintain a well-ventilated and safe working environment.
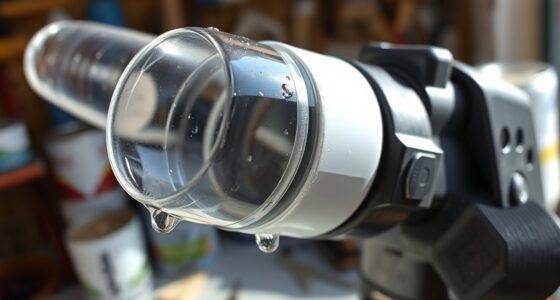
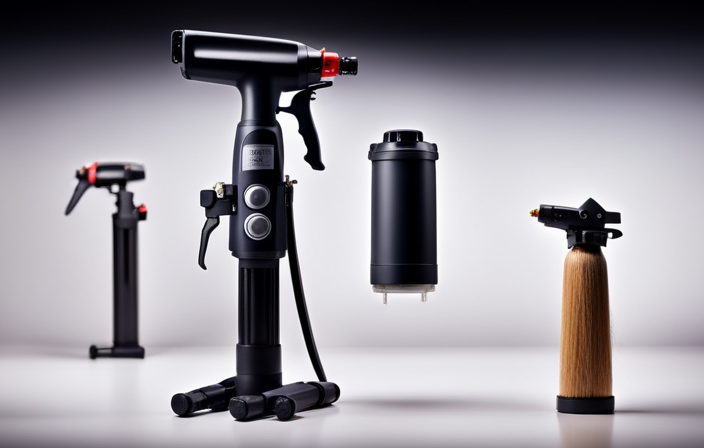
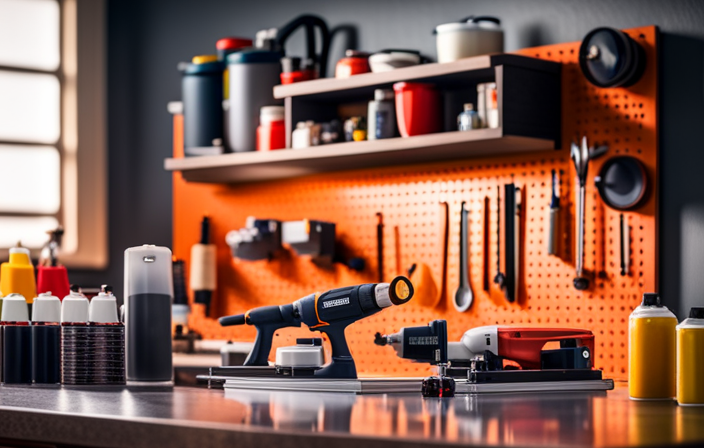
Unboxing and Assembly of the Pro 210es Hi-Boy Airless Paint Sprayer
Now, let’s get started by unboxing and assembling the Pro 210es Hi-Boy Airless Paint Sprayer!
The unboxing process is straightforward and ensures all the necessary components are included. Begin by carefully opening the box, taking care not to damage any parts.
Inside, you will find the sprayer, a spray gun, hoses, and other accessories.
Next, consult the assembly instructions provided. These instructions will guide you through the process of attaching the spray gun, connecting the hoses, and securing everything in place. Make sure to follow the instructions carefully to ensure proper assembly.
Once the sprayer is fully assembled, you can move on to the next step of preparing the surface for painting.
Preparing the Surface for Painting
Before diving into the fun part of painting, it’s important to properly prepare the surface. Surface preparation is crucial for achieving a smooth and long-lasting finish. The first step is to clean the surface thoroughly, removing any dirt, dust, or grease. Next, inspect the surface for any imperfections such as cracks, holes, or peeling paint. Use a filler or putty to repair these areas and sand them down until smooth. Once the surface is clean and repaired, it’s time to apply a primer. Priming helps the paint adhere better and provides a uniform base for the topcoat. Choose a primer suitable for the surface material and apply it evenly using a brush or roller. After the primer has dried, you’re ready to move on to the next step of mixing and diluting the paint.
| Surface Preparation | Importance of Primer |
|---|---|
| Clean the surface to remove dirt and grease. | Primer helps paint adhere better. |
| Repair imperfections with filler and sand them down. | Primer provides a uniform base for the topcoat. |
| Choose a suitable primer for the surface material. | |
| Apply primer evenly using a brush or roller. |
Mixing and Diluting the Paint
To achieve the perfect consistency, you’ll want to mix and thin out the paint before applying it to the surface. Proper paint mixing ensures that the pigments are evenly distributed, resulting in a smooth and uniform finish.
Start by stirring the paint thoroughly with a stir stick, making sure to scrape the bottom of the can to incorporate any settled particles. For larger quantities of paint, consider using a mechanical paint mixer for a more efficient and consistent mix.
After mixing, you may need to dilute the paint, especially if it’s too thick for the sprayer. Follow the manufacturer’s instructions on the paint can for the recommended ratio of paint to thinner.
Once the paint is mixed and diluted to the desired consistency, you can proceed to the next step of adjusting the spray pattern and pressure to achieve optimal results.
Adjusting the Spray Pattern and Pressure
To adjust the spray pattern, start by loosening the nozzle on the front of the sprayer and turning it to the desired position. You can choose from a horizontal, vertical, or round spray pattern depending on the type of surface you are painting. Once you have selected the desired pattern, tighten the nozzle to secure it in place.
If you are experiencing any issues with the spray pattern, such as uneven coverage or drips, try troubleshooting by adjusting the pressure. Increasing the pressure can help to atomize the paint more effectively, while decreasing the pressure can reduce overspray.
Now that you have adjusted the spray pattern and pressure, it’s time to move on to the proper technique for spraying with the pro 210es hi-boy.
Proper Technique for Spraying with the Pro 210es Hi-Boy
Master the art of unleashing a symphony of color onto your canvas by gracefully wielding the majestic power of the Pro 210es Hi-Boy. All while maintaining a steady hand and a confident stroke.
When it comes to achieving a smooth finish, proper spraying technique is essential. Start by holding the sprayer about 12-16 inches away from the surface and moving in a smooth, continuous motion. Keep your arm parallel to the surface and overlap each pass by about 50%. This ensures even coverage and minimizes streaks.
Additionally, maintain a consistent speed and pressure throughout the entire spraying process. Remember to always test the spray pattern and adjust if needed before starting the actual project.
By following these spraying technique tips, you’ll be able to achieve a flawless, professional-looking finish.
Now, let’s move on to overcoming common challenges and troubleshooting.
Overcoming Common Challenges and Troubleshooting
Overcoming common challenges and troubleshooting can be a rewarding journey towards achieving a flawless, professional-looking finish with the Pro 210es Hi-Boy. Here are some troubleshooting tips to help you overcome common paint spraying issues:
-
Clogged nozzle: If the paint is not flowing smoothly or is unevenly distributed, it may be due to a clogged nozzle. To fix this, remove the nozzle and soak it in warm, soapy water to remove any dried paint or debris.
-
Uneven spray pattern: If you’re getting an inconsistent spray pattern, check the paint viscosity. Adjust it by adding thinner or thicker paint as needed. Also, make sure the sprayer is held at the correct distance and moved at a steady pace.
-
Overspray: To prevent overspray, make sure to cover nearby surfaces and mask off any areas you don’t want to paint. Adjusting the pressure settings on the sprayer can also help reduce overspray.
By following these troubleshooting tips, you can overcome common challenges and achieve a professional finish with the Pro 210es Hi-Boy.
Now, let’s move on to the next section about cleaning and maintenance of the paint sprayer.
Cleaning and Maintenance of the Paint Sprayer
Now that we’ve discussed how to overcome common challenges and troubleshoot the Pro 210ES Hi-Boy Airless Paint Sprayer, let’s move on to the crucial topic of cleaning and maintenance.
Proper cleaning techniques and following a regular maintenance schedule are essential to keep your paint sprayer in optimal condition and ensure its longevity.
After each use, it’s important to thoroughly clean all the components of the sprayer, including the spray gun, filter, and nozzle. This will prevent clogs and ensure consistent spray patterns.
Additionally, regular maintenance such as checking for loose or damaged parts, lubricating moving components, and replacing worn-out seals will keep your sprayer performing at its best.
With a well-maintained paint sprayer, you’ll be able to achieve professional-looking results effortlessly.
So, let’s dive into some tips and tricks for achieving that flawless finish.
Tips and Tricks for Achieving Professional-Looking Results
To achieve a flawless finish, it’s important to keep your paint sprayer well-maintained and follow these tips and tricks for professional-looking results. Here are some key strategies to help you achieve a smooth finish and select the right paint color:
| Tips and Tricks |
|---|
| Use the correct nozzle size for the job. |
| Thin the paint if necessary for better flow. |
| Maintain a consistent distance from the surface. |
| Overlap each pass by 50% to avoid streaks. |
By following these tips and tricks, you can achieve a professional-looking result with your Pro 210ES Hi-Boy Airless Paint Sprayer. Remember, selecting the right paint color is crucial for achieving the desired outcome. Now that you know how to achieve a flawless finish, let’s move on to discussing the safety precautions to follow while using the paint sprayer.
Safety Precautions to Follow While Using the Paint Sprayer
Ensure your safety by following these precautions while using the paint sprayer.
- Preventing paint overspray is essential for a clean and professional finish. To achieve this, cover nearby objects and surfaces with drop cloths or plastic sheets.
- Use a paint shield or create a makeshift one using cardboard to block overspray from reaching unintended areas.
It is crucial to wear safety gear when operating the paint sprayer. This includes:
- A respirator mask to protect against fumes and airborne particles.
- Safety goggles to shield your eyes.
- Gloves to safeguard your hands.
Always work in a well-ventilated area and avoid spraying in windy conditions.
Following these safety precautions will help you operate the Pro 210ES Hi-Boy Airless Paint Sprayer with confidence and efficiency.
Moving on to frequently asked questions about the paint sprayer, let’s address common concerns and provide helpful solutions.
Frequently Asked Questions about the Pro 210es Hi-Boy Airless Paint Sprayer
For those looking for answers about the Pro 210es Hi-Boy Airless Paint Sprayer, here are some frequently asked questions and their solutions:
-
How should I maintain my paint sprayer?
Regular maintenance is crucial for optimal performance. Clean the sprayer after each use, inspect and replace worn parts, and lubricate the pump regularly. -
What should I do if the sprayer doesn’t start?
First, ensure that it is plugged into a working power source. Check the power switch and make sure it is turned on. If the motor still doesn’t start, check the circuit breaker and reset if necessary. -
What can I do if the sprayer clogs frequently?
Clogs can be caused by paint debris or improper thinning. Strain the paint before pouring it into the sprayer, and follow the manufacturer’s recommendations for thinning paint. -
How can I troubleshoot uneven spray patterns?
Uneven spray patterns can be caused by incorrect pressure settings or a worn spray tip. Adjust the pressure according to the paint manufacturer’s guidelines and replace the spray tip if necessary.
Remember, proper paint sprayer maintenance and troubleshooting can help you achieve consistent and professional results.
Frequently Asked Questions
Can the Pro 210es Hi-Boy Airless Paint Sprayer be used with oil-based paints?
Yes, the pro 210es hi-boy airless paint sprayer can be used with oil-based paints. It is designed to handle a variety of paint types, including oil-based paints, providing efficient and smooth application.
How do I adjust the spray width on the Pro 210es Hi-Boy Airless Paint Sprayer?
To adjust the spray width on the Pro 210ES Hi-Boy airless paint sprayer, simply turn the pressure control knob. This allows for precise control over the width, making it easy to achieve the desired coverage. Need more paint sprayer techniques? Keep reading.
Is it necessary to wear protective clothing while using the Pro 210es Hi-Boy Airless Paint Sprayer?
Yes, it is necessary to wear protective clothing while using the pro 210es hi-boy airless paint sprayer. Safety precautions should always be taken to prevent any potential harm or injuries.
Can the Pro 210es Hi-Boy Airless Paint Sprayer be used for exterior painting projects?
Using the pro 210es hi-boy airless paint sprayer for exterior painting projects offers numerous benefits. It provides even coverage, saves time, and allows for easy application of different coatings.
How often should I clean the filters in the Pro 210es Hi-Boy Airless Paint Sprayer?
I should clean the filters in the Pro 210ES Hi-Boy airless paint sprayer regularly to maintain optimal performance. Best practices for filter maintenance include cleaning them after every use and replacing them if they become excessively clogged.
Conclusion
Using the Pro 210es Hi-Boy Airless Paint Sprayer has been a game-changer for me. It’s been a breeze unboxing and assembling this efficient tool, and the results have been nothing short of professional.
With proper technique and adjustments, I’ve achieved flawless spray patterns and even pressure distribution. The maintenance and cleaning are hassle-free, ensuring longevity.
By following safety precautions, I’ve had a worry-free experience. Overall, this paint sprayer has elevated my painting projects to a whole new level.