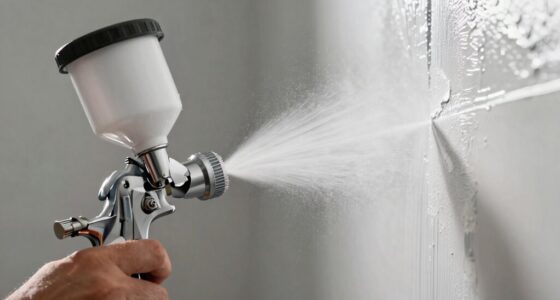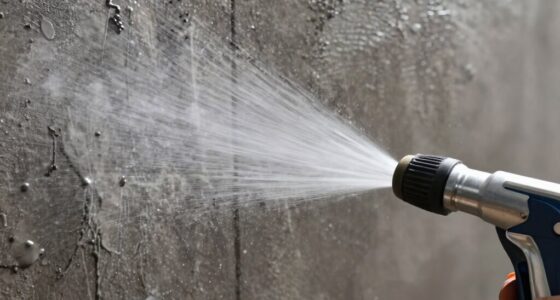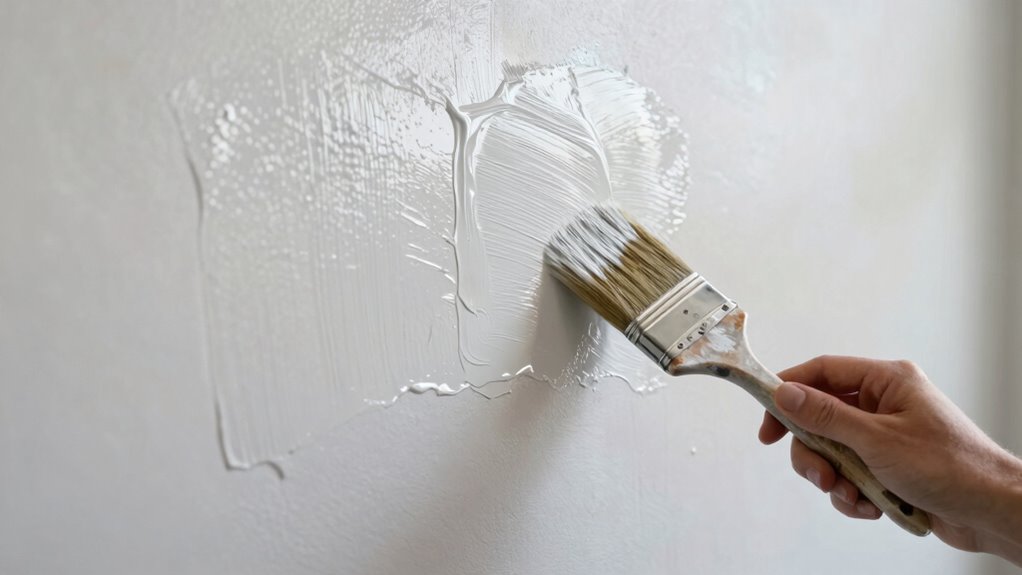

To keep a wet edge on larger wall sections, use high-quality brushes and apply paint in long, even strokes. Load your brush generously but without drips, and work quickly enough to stay within the paint’s workable time. Overlap slightly into the previous section to prevent dry lines, and mist edges with water or extender if they start to dry out. Patience and a steady rhythm guarantee a smooth finish—keep going, and you’ll master seamless blending techniques.

Get business pricing on tools and workshop supplies
- Business-only prices and quantity discounts
- Tax-exempt purchasing
- Multiple users, one account, clear invoices
Key Takeaways
- Use a high-quality brush and load it with ample, drip-free paint for smooth application.
- Apply paint in long, even strokes, keeping the brush slightly angled to avoid streaks.
- Overlap slightly into previously painted sections to maintain a wet edge.
- Work in manageable sections within the paint’s workable timeframe to prevent drying out.
- Mist or re-wet edges with water or extender to prolong wetness and facilitate blending.
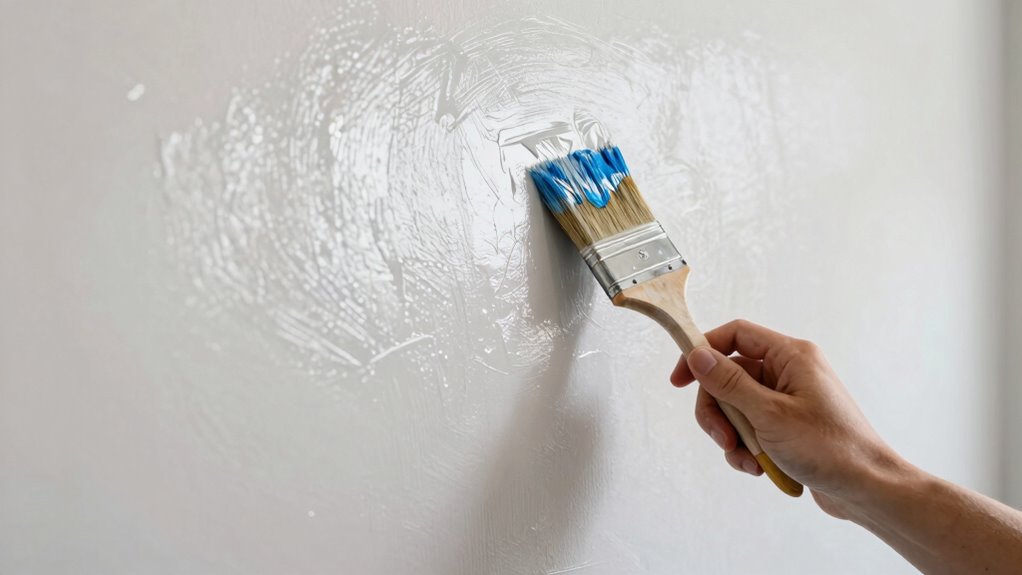
When painting larger wall sections, maintaining a wet edge is essential to achieve a smooth, professional finish. This means you need to work quickly enough so that the paint remains wet as you move from one section to the next. To do this effectively, your brush techniques play a vital role. Use a high-quality brush that holds a good amount of paint and allows you to apply it smoothly. Start by loading your brush with a generous amount of paint, but not so much that it drips. When you cut in along the edges, use long, even strokes to create a consistent line. As you work, keep your brush slightly angled to avoid streaks and to help blend the edges seamlessly. When you approach the edge of a painted section, feather the paint outward with light, sweeping strokes to blend it into the unpainted area. This technique reduces visible lines and ensures the transition stays wet and workable. Additionally, understanding the drying times of your paint helps you plan your work more effectively. Understanding drying times is crucial to maintaining a wet edge. Different paints have different drying rates, and environmental factors like temperature and humidity can speed or slow this process. Check the manufacturer’s instructions for the specific drying times—most latex paints stay workable for about 1 to 2 hours, but oil-based paints may take longer. Aim to finish each section before the paint begins to set. If the paint starts to skin over or becomes tacky, it’s time to stop and start on a new section. Working within the drying window allows your brush techniques to blend the edges smoothly without creating lap marks or ridges. Monitoring the paint’s consistency as you work can help you identify when it’s time to reload or blend further. Keep in mind that if you notice the paint is drying too quickly, you can mist it lightly with water or a paint extender to prolong the workable period. As you proceed, constantly monitor the wetness of your edges. If you see a dry line forming, go back over that area with fresh paint to re-wet the edge. This prevents harsh borders and helps your work appear seamless. It’s best to work in manageable sections, overlapping slightly into the previous area to keep the edge wet. Additionally, using a paint extender or additive can help extend the working time when painting larger sections. Paying attention to application techniques and environmental conditions will also contribute to a consistent finish. Don’t rush—patience and attention to drying times and brush techniques make a significant difference. When you develop a rhythm, you’ll find it easier to maintain a wet edge, resulting in a flawless, professional finish. Remember, the key is to stay ahead of the drying process, so your brushwork can blend effortlessly from one section to the next.
high quality paint brushes for walls
As an affiliate, we earn on qualifying purchases.
As an affiliate, we earn on qualifying purchases.
Frequently Asked Questions
What Tools Are Best for Maintaining a Wet Edge?
You should use high-quality brushes or rollers designed for large surfaces to maintain a wet edge. Keep your brushes well-maintained by cleaning them regularly to guarantee smooth application and consistent paint flow. Adjust your paint consistency if it thickens, preventing uneven edges. Using tools with good control helps you blend sections seamlessly, avoiding lap marks. Regularly re-wet the edges as you work to keep your paint fresh and your finish even.
How Do Temperature and Humidity Affect Wet Edge Painting?
You might notice how climate impact sneaks into your painting project, especially with temperature and humidity. When it’s hot and dry, paint dries quickly, making it tricky to maintain a wet edge. Conversely, high humidity slows drying, giving you more time to blend. To keep a wet edge on bigger sections, monitor weather conditions, work in moderate temperatures, and choose paints suited for your climate to guarantee smooth, even coats.
Can I Use a Roller for Large Wall Sections?
Yes, you can use a roller for large wall sections. Make sure your paint has the right consistency—not too thick or thin—to achieve smooth coverage. Use proper brush techniques to cut in edges and corners before rolling. Roll in overlapping, even strokes to maintain a wet edge, which helps prevent lap marks. This method speeds up the process and provides a uniform finish on big surfaces.
How Often Should I Re-Wet the Area?
They say, “A stitch in time saves nine,” and the same applies to paintwork. Re-wet the area every 15-20 minutes to guarantee smooth color blending and maintain consistent paint consistency. This prevents dry edges and uneven texture. Keep a damp brush or roller handy, and work steadily to match the wet edge, avoiding streaks or lap marks. Regular re-wetting helps achieve a professional, seamless finish on larger wall sections.
What Mistakes Should I Avoid When Trying to Keep a Wet Edge?
To avoid mistakes when keeping a wet edge, don’t rush the process and guarantee proper color blending by maintaining a consistent wet edge. Avoid letting paint dry too quickly, which can cause visible lines and uneven finishes. Keep your brush or roller moist, especially during shifts, and work in manageable sections. This prevents streaks and ensures a smooth, seamless look, making the paint drying process less noticeable.
Conclusion
Remember, maintaining a wet edge is key to a flawless finish on larger wall sections. Keep your brush or roller moist and work steadily, much like a skilled artisan of yore crafting a masterpiece. Don’t rush—patience guarantees your paint blends seamlessly, avoiding streaks or lap marks. With a little focus and the right technique, you’ll achieve smooth, professional results that could make even Michelangelo nod in approval. So, go forth confidently and paint like a true master!
Halloween Picks
halloween
As an affiliate, we earn on qualifying purchases.