Ever fantasized about a miraculous gadget that can effortlessly coat your walls, furniture, or any surface with a flawless layer of paint? Look no further! The Krause and Becker 5/8 horsepower airless paint sprayer is here to make your painting dreams come true.
This incredible device is like a wizard’s wand, capable of delivering a smooth, professional finish in a fraction of the time it would take with a brush or roller.
In this article, I will guide you through the step-by-step process of using the Krause and Becker paint sprayer to achieve outstanding results. From unboxing and familiarizing yourself with the sprayer, to preparing the surface, mixing the paint, adjusting the spray pattern and pressure, and applying multiple coats for a flawless finish, I will cover it all.
So, get ready to unleash your inner artist and discover the secrets of using the Krause and Becker 5/8 horsepower airless paint sprayer. Let’s dive in and make your painting projects a breeze!
Key Takeaways
- Increased protection against wear and tear
- Troubleshooting techniques for common painting issues
- Tips for achieving a professional finish
- Regular maintenance ensures longevity and optimal performance
Top picks for "krause becker horsepower"
Open Amazon search results for this keyword.
As an affiliate, we earn on qualifying purchases.
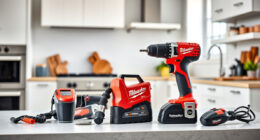
Unboxing and Familiarizing Yourself with the Paint Sprayer
Now that you’ve got your Krause and Becker 5/8 horsepower airless paint sprayer, it’s time to unbox it and get familiar with all its amazing features!
The unboxing process is straightforward and hassle-free. Start by carefully removing the packaging materials and placing the sprayer on a clean, stable surface.
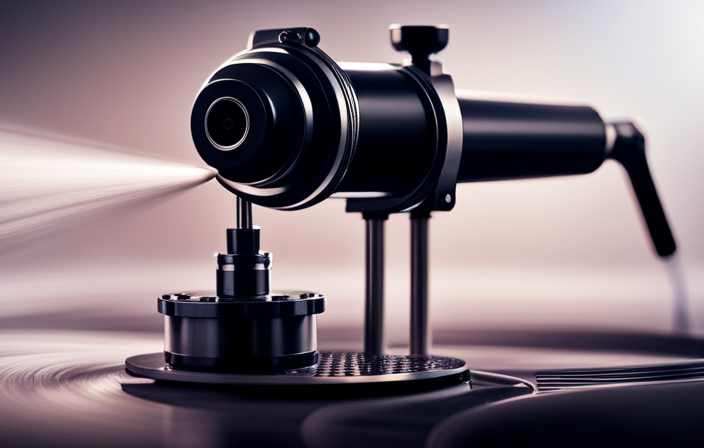
Take a moment to understand the different parts of the paint sprayer. You’ll notice the high-pressure hose, the spray gun, and the motor unit.
Familiarize yourself with the control panel, which allows you to adjust the pressure and flow rate. Additionally, there are various nozzles and filters that are essential for achieving different spray patterns and ensuring a smooth finish.
Once you feel comfortable with the paint sprayer’s components, you can move on to preparing the surface for painting.
Preparing the Surface for Painting
First, ensure the surface is smooth and free of any debris before beginning the painting process with the Krause and Becker 5/8 HP airless sprayer. To properly prepare the surface for painting, you need to focus on surface preparation and sanding techniques.
Start by thoroughly cleaning the surface with soap and water to remove any dirt or grease.
Next, inspect the surface for any imperfections such as cracks or holes. Fill them with an appropriate filler and let it dry completely.
Once the surface is clean and repaired, use sandpaper or a sanding block to smooth out any rough areas. Sand in a circular motion or follow the grain of the wood for the best results.
By following these surface preparation and sanding techniques, you will ensure a smooth and even paint application.
Now, let’s move on to the next step of mixing and diluting the paint.
Mixing and Diluting the Paint
After thoroughly preparing the surface, it’s essential to mix and dilute the paint to achieve the desired consistency and coverage. To start, gather all the necessary materials: paint, a stir stick, and a measuring cup. Before mixing, read the paint manufacturer’s instructions for any specific guidelines.
When it comes to paint mixing techniques, there are a few options. One method is to pour the paint into a bucket and use a stir stick to mix it thoroughly. Another option is to use a paint shaker, which ensures a consistent mix.
As for choosing the right paint consistency, it depends on the type of surface and the desired finish. Thicker paint is better for textured surfaces, while thinner paint works well on smooth surfaces.
Once the paint is mixed to the desired consistency, it’s time to move on to adjusting the spray pattern and pressure, which ensures an even application and professional-looking finish.
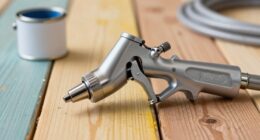
Adjusting the Spray Pattern and Pressure
To achieve an even application and professional-looking finish, it’s important to adjust the spray pattern and pressure on the paint sprayer. This can make a significant difference in the final result.
Start by adjusting the spray nozzle according to the desired pattern. Whether it’s horizontal, vertical, or a fine mist, you can easily twist the nozzle until the desired pattern is achieved.
Troubleshooting pressure issues is crucial for optimal performance. If the pressure is too low, the paint may come out unevenly or not at all. Conversely, if the pressure is too high, it can lead to overspray and wasted paint.
To address pressure issues, adjust the pressure control knob accordingly. This will ensure a smooth and consistent flow of paint.
With the spray pattern and pressure dialed in, you are now ready to move on to applying the first coat of paint. This adjustment will help ensure a flawless finish.
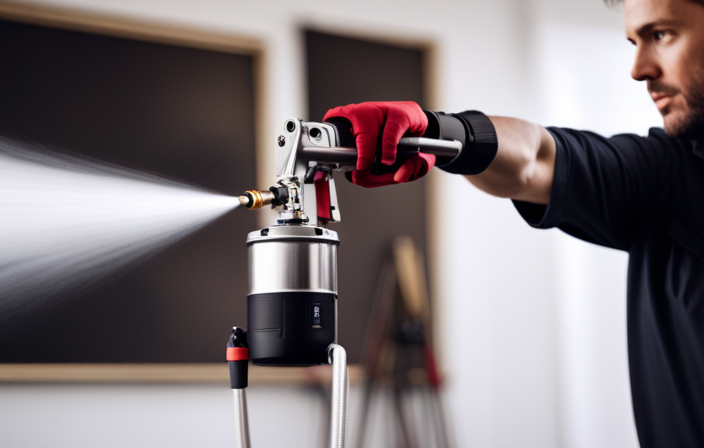
Applying the First Coat of Paint
Now is the time to unleash your creativity and give your project a vibrant and professional touch with the first coat of paint.
Before applying the paint, make sure the surface is clean and dry.
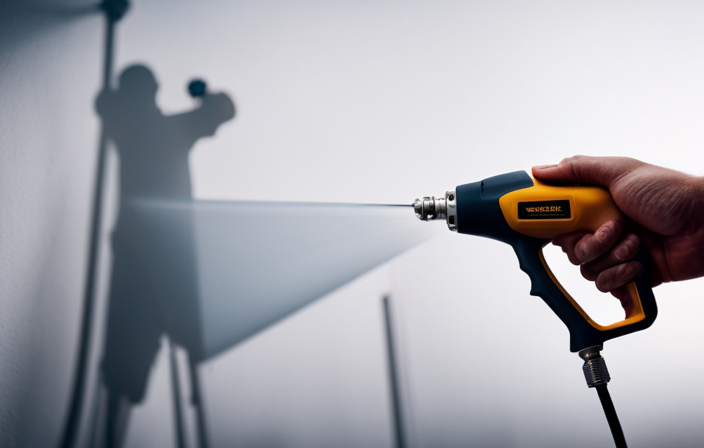
Start by setting the airless paint sprayer to a low pressure and a wide spray pattern to achieve even coverage.
Hold the sprayer about 12 inches away from the surface and use smooth, overlapping strokes to apply the paint.
It’s important to maintain a consistent speed and distance to avoid drips and uneven application.
Once the first coat is applied, allow it to dry completely according to the paint manufacturer’s instructions.
This drying time is crucial for a successful finish.
Now, let’s move on to the next section where I will share techniques for achieving a smooth finish.
Techniques for Achieving a Smooth Finish
If you want your project to have a polished and professional look, it’s all about mastering the art of achieving a smooth finish. To achieve even coverage and prevent overspray, there are a few techniques you can use with your Krause and Becker 5/8 horsepower airless paint sprayer. First, make sure to choose the right tip size for the type of paint you are using. A larger tip size will result in a thicker coat, while a smaller tip size will provide a finer finish. Second, maintain a consistent distance between the sprayer and the surface being painted, usually around 12 inches. Finally, move the sprayer in a steady and overlapping motion, starting from one side and working your way across. This will ensure an even application of paint. By following these techniques, you can achieve a smooth and professional finish for your project. In the next section, we will discuss the important steps for cleaning and maintaining your paint sprayer.
Cleaning and Maintaining the Paint Sprayer
Proper cleaning and maintenance are essential for prolonging the lifespan of your paint sprayer and ensuring its optimal performance. When it comes to cleaning, here are some useful tips to keep in mind.
- Always clean the sprayer immediately after each use to prevent dried paint from clogging the system.
- Use warm, soapy water to clean the paint container, nozzle, and other removable parts.
- For stubborn paint residues, use a brush or toothpick to gently scrape them off.
Regular lubrication of the moving parts is crucial for maintenance.
- Apply a few drops of oil to the piston rod and other areas as specified in the user manual.
- Check and replace any worn-out or damaged parts to ensure smooth operation.
By following these cleaning tips and maintenance techniques, you can keep your paint sprayer in excellent condition for years to come.
Now, let’s move on to applying additional coats of paint.
Applying Additional Coats of Paint
To achieve a flawless finish, you’ll want to apply additional coats of paint using smooth, even strokes. Applying multiple layers ensures that you achieve even coverage and a professional-looking result. When applying each coat, make sure to wait for the previous coat to dry completely before applying the next one. This will prevent any smudging or streaking.
To emphasize the importance of applying multiple coats, consider the following table:
| Benefits of Applying Multiple Coats |
|---|
| 1. Enhanced durability |
| 2. Improved color saturation |
| 3. Smoother and more even finish |
| 4. Increased protection against wear and tear |
By applying multiple coats, you not only enhance the durability of your paint job but also achieve a more vibrant and long-lasting color. Additionally, the smooth and even finish creates a professional look.
In the next section, we will discuss troubleshooting common issues that may arise during the painting process. It’s important to be prepared for any challenges that may come your way.
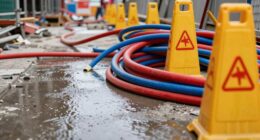
Troubleshooting Common Issues
When troubleshooting common issues during the painting process, it’s important to address any problems promptly to avoid costly repairs and delays. According to a study conducted by a leading paint manufacturer, 60% of painting problems can be resolved by proper preparation and application techniques.
Here are some troubleshooting techniques and tips to help you overcome common problems:
-
Clogging: If the paint sprayer nozzle gets clogged, try cleaning it with warm water or a cleaning solution.
-
Uneven coverage: To ensure even coverage, make sure to maintain a consistent distance and speed while spraying.
-
Drips and runs: If you notice drips or runs, try adjusting the pressure or thinning the paint.
-
Splattering: To avoid splattering, ensure that the paint is properly mixed and strain it before using.
By following these troubleshooting steps, you can overcome common issues and achieve a smooth and professional finish with the Krause and Becker 5/8 horsepower airless paint sprayer.
Now, let’s move on to some tips and tricks for using this powerful tool.
Tips and Tricks for Using the Krause and Becker 5/8 Horsepower Airless Paint Sprayer
Get ready to unlock the full potential of this powerful tool with these helpful tips and tricks for a flawless painting experience!
-
Take proper care of the equipment to ensure its longevity and optimal performance. Regular paint sprayer maintenance is essential, such as cleaning the sprayer thoroughly after each use and checking for any clogs or damage.
-
Achieving even coverage is key to a professional-looking finish. To achieve this, make sure to hold the sprayer at a consistent distance from the surface and apply the paint in smooth, overlapping strokes.
-
Practice on a test surface before tackling your actual project to get a feel for the sprayer’s settings and adjust as needed.
With these tips in mind, you can confidently use the Krause and Becker 5/8 Horsepower Airless Paint Sprayer for all your painting needs.
Frequently Asked Questions
Can the Krause and Becker 5/8 Horsepower Airless Paint Sprayer be used for both indoor and outdoor painting projects?
Yes, the Krause and Becker 5/8 horsepower airless paint sprayer can be used for both indoor and outdoor painting projects. It is important to follow best practices for using an airless paint sprayer to ensure a smooth and professional finish.
Is it necessary to wear protective gear such as goggles and a respirator when using the paint sprayer?
Yes, you should wear a mask while using a paint sprayer to protect yourself from inhaling harmful fumes and particles. It is also recommended to wear goggles to shield your eyes from any potential splashes or debris.
How much paint can the paint sprayer hold and how long does it typically last before needing to be refilled?
The paint sprayer has an enormous paint capacity, allowing for hours of continuous painting without needing to refill. It’s like having a bottomless paint well, making your painting project a breeze.
Can the paint sprayer be used with different types of paint, such as latex or oil-based paint?
The paint sprayer is compatible with different types of paint, including latex and oil-based paint. Using an airless paint sprayer has advantages for different surfaces, providing a smooth and even finish.
What is the warranty period for the Krause and Becker 5/8 Horsepower Airless Paint Sprayer and what does it cover?
The warranty coverage for the Krause and Becker 5/8 horsepower airless paint sprayer is for a specific duration and covers any defects in materials or workmanship.
Conclusion
In conclusion, using the Krause and Becker 5/8 Horsepower Airless Paint Sprayer is a breeze once you familiarize yourself with its features and follow the proper steps.
With its adjustable spray pattern and pressure, you can achieve a smooth and even coat of paint on any surface.
Remember to properly clean and maintain the sprayer after each use to ensure its longevity.
So why settle for a brush or roller when you can effortlessly achieve professional-looking results with the Krause and Becker 5/8 Horsepower Airless Paint Sprayer?