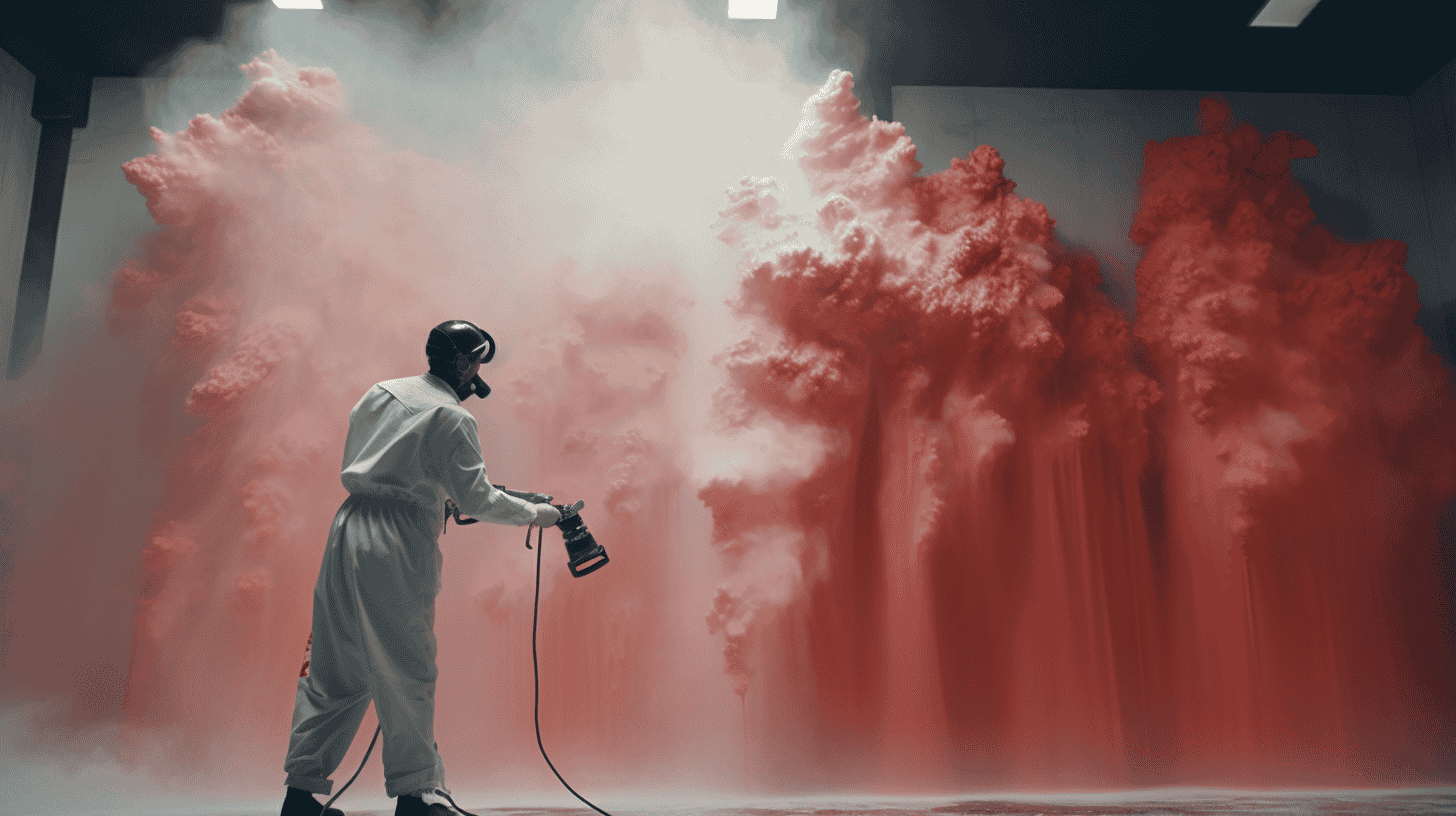
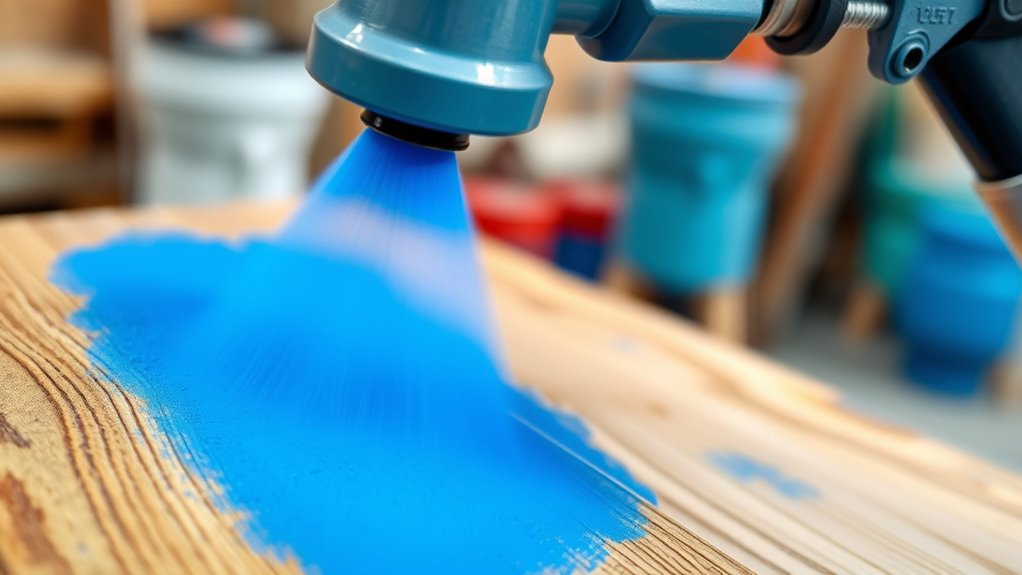
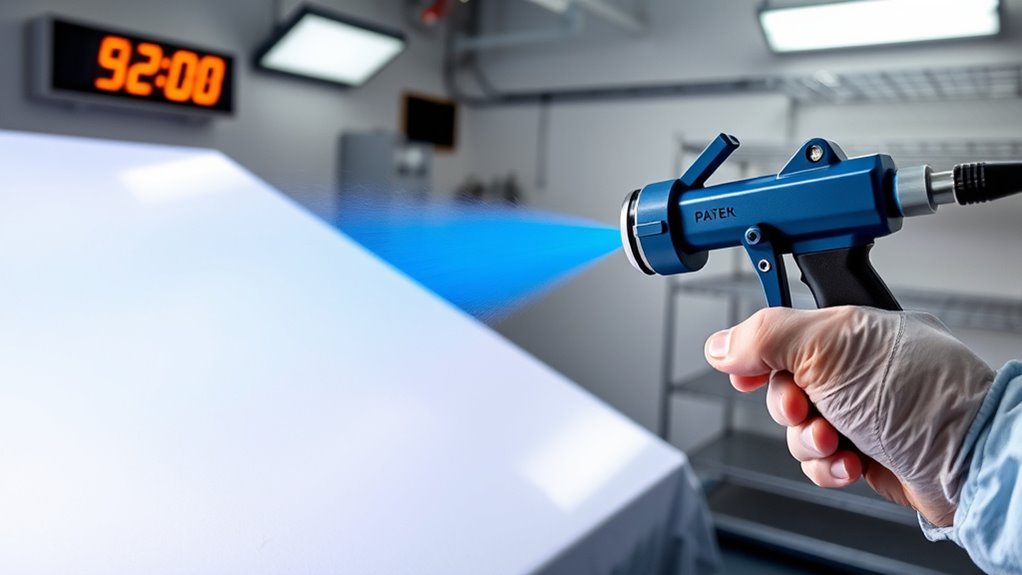
To layer colors and coatings with a sprayer, start by thoroughly preparing your surface—clean, sand, and check compatibility. Adjust your sprayer pressure and nozzle settings for even, thin coats, and apply multiple light layers rather than one heavy one. Maintain consistent distance and overlapping passes for smooth coverage, allowing each coat to dry thoroughly. Use masking for precise edges. For a flawless finish and expert tips on perfecting your layers, keep exploring these techniques.
Key Takeaways
- Apply multiple thin, even coats, allowing proper drying time between layers for smooth blending.
- Maintain consistent spray distance, overlap, and pressure to ensure seamless color transitions.
- Use masking techniques to create clean edges and prevent color bleeding during layering.
- Test spray patterns and colors on scrap material to perfect technique before working on the main surface.
- Address imperfections immediately through sanding or touch-up to ensure a flawless layered finish.
Preparing Your Surface for Layering
Before applying any layers or coatings, you need to guarantee your surface is properly prepared. Surface preparation is essential for ensuring good adhesion and a smooth finish. Start by cleaning the area thoroughly to remove dirt, grease, and debris, which can hinder paint bonding. Sand the surface to create a slightly rough texture, helping the coating adhere better. Check material compatibility—make sure your surface material works with the type of paint or coating you plan to use. For example, metal requires primer, while wood may need sanding or sealing. Proper preparation prevents peeling, bubbling, or uneven coverage down the line. Paying attention to surface texture will also enhance the longevity and appearance of your finish. Additionally, understanding cultural symbolism in colors can help you select the most effective coatings for your project. Incorporating sound healing science principles, such as choosing coatings that promote a calming environment, can further enhance the overall effect of your project. To ensure optimal adhesion, consider evaluating the suction power of your sprayer, as it influences how well coatings are distributed across the surface. Furthermore, selecting coatings with appropriate color accuracy can improve the visual impact of your finished work.
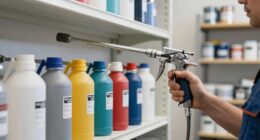
Selecting the Right Paints and Coatings for Layering
Choosing the right paints and coatings is key to achieving a durable, attractive finish when layering. You want paints that support seamless color blending and withstand wear over time. Select coatings with high paint durability to prevent chipping or fading. Consider the sheen level for your desired look—matte, satin, or gloss—and how it interacts with other layers. Use this table to compare options:
| Paint Type | Color Blending Ease | Durability |
|---|---|---|
| Acrylic Paint | High | Moderate |
| Oil-Based Coats | Moderate | Very High |
| Latex Paint | High | Good |
Choosing the right combination guarantees your layered finish is both vibrant and long-lasting. Safety and durability considerations are essential for ensuring your project remains intact over time. Additionally, understanding paint properties can help you select coatings that are compatible and promote a cohesive appearance.
Choosing the Appropriate Sprayer Settings
To get the best results, you need to set your sprayer correctly. Adjust the pressure, choose the right nozzle size, and control the spray pattern to match your project. These settings help you achieve smooth, even layers without overspray or runs. Additionally, understanding the best airless paint sprayer options can ensure you select equipment suited for your specific needs and achieve professional-quality finishes. Proper setup and knowledge of private placement memorandums can also help you understand the finer details of your investment in equipment or projects. Paying attention to sprayer maintenance ensures consistent performance and longevity of your tools. Regular cleaning and inspection are essential to maintain optimal sprayer performance and prevent clogs or malfunctions. Emphasizing technological advancements in sprayer design can further improve efficiency and application quality.
Adjust Pressure Settings
Adjusting your pressure settings correctly is essential for achieving a smooth, even coating. Proper pressure calibration ensures the spray gun delivers the right amount of material without drips or uneven coverage. Start by consulting your sprayer’s manual to determine the recommended pressure range for your coating type. Always perform spray gun maintenance before adjusting pressure to prevent clogs and ensure consistent spray patterns. Test spray on a scrap surface and fine-tune the pressure until you see a uniform, atomized spray. Too high pressure can cause overspray and runs, while too low pressure might result in poor adhesion. Regularly check and adjust your pressure settings throughout the project to maintain ideal results and achieve professional-looking layers. Using the correct pressure settings helps optimize spray pattern control and reduces material waste. Additionally, understanding the performance metrics of your sprayer can help in selecting the perfect pressure for different coatings and surfaces. Being aware of paint flow rates can further improve your spraying efficiency and finish quality. Moreover, monitoring air supply pressure is crucial for maintaining consistent spray quality during the application process.
Select Nozzle Size
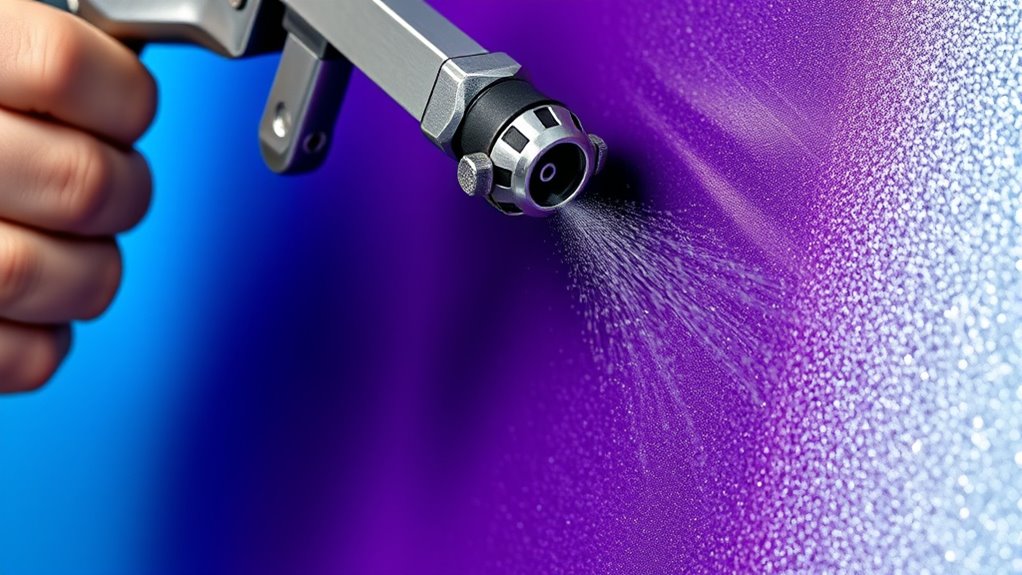
The right nozzle size plays a crucial role in achieving a smooth, even coating, so selecting the correct one is necessary for your project’s success. A smaller nozzle (e.g., 1.3mm) is great for detail work and precise color blending, while larger sizes (e.g., 2.0mm) are better for thicker coatings. Choosing the right size impacts spray pattern and material flow, affecting final results. Remember, proper nozzle maintenance guarantees consistent spray quality. Here’s a quick guide:
| Nozzle Size | Best For | Notes |
|---|---|---|
| 1.3mm | Fine detail, blending colors | Clean regularly to prevent clogging |
| 1.8mm | General coats | Check for wear for even spray |
| 2.0mm | Thick coatings | Maintain for uniform application |
Additionally, understanding the personality traits of your tools and materials can help optimize your spraying technique and achieve professional results, especially when considering market trends and insights that influence equipment choices. Recognizing the beneficial ingredients in coatings can also enhance your overall technique and outcome. Proper maintenance and selecting the appropriate authentic products from trusted sources further contribute to consistent and quality results. Maintaining the correct oil for airless sprayers is essential for optimal performance and longevity of your equipment.
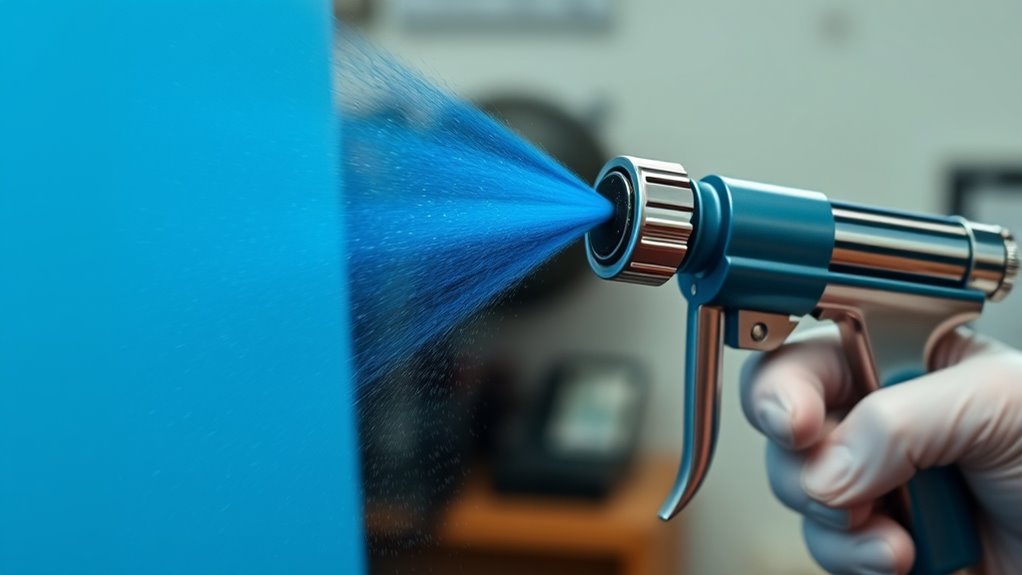
Control Spray Pattern
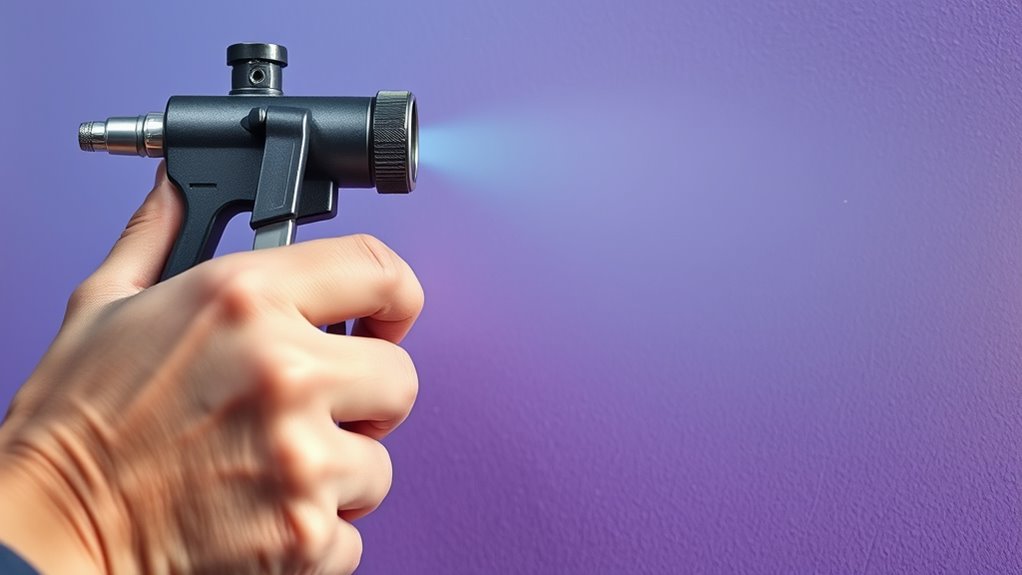
Choosing the right spray pattern setting is essential for achieving an even, professional finish. Proper control over your spray pattern ensures spray pattern consistency and helps prevent uneven coatings. Start by adjusting your nozzle calibration to match the material and surface. Keep the spray pattern wide for larger areas and narrow for detail work. Always test on a scrap piece before spraying your project to identify any inconsistencies. Maintain a steady distance from the surface to avoid drips and uneven layers. Use a consistent speed and overlap each pass slightly to ensure smooth coverage. Adjust your sprayer settings as needed based on the material flow and surface texture. Correct spray pattern control results in a flawless, layered finish without streaks or blotches. Additionally, managing paint flow is crucial for achieving a smooth, even layer. Properly controlling spray pattern can also help reduce overspray and material waste, making your project more efficient.
Techniques for Applying Multiple Coats Smoothly
To achieve smooth, even coats with a sprayer, it’s important to maintain consistent technique throughout the application process. Keep your spray distance steady and use overlapping passes to prevent streaks. To enhance color blending, apply thin, even layers and build up gradually, which also helps avoid drips. For texture effects, vary your spray speed or angle intentionally, but stay consistent enough to prevent uneven patches. Use light, multiple coats instead of heavy ones to reduce runs and achieve a more professional finish. Always keep your sprayer at a consistent pressure to ensure uniform coverage. Practicing on scrap material beforehand can help you master these techniques, resulting in a polished, layered look with smooth transitions between colors.
Managing Drying Times Between Layers
To get the best results, you need to pay attention to drying times between coats. Ensuring ideal drying conditions helps each layer adhere properly and prevents issues like smudging or peeling. Knowing the right timing keeps your project smooth and professional-looking.
Optimal Drying Conditions
Ensuring proper drying times between layers is essential for achieving a smooth, durable finish. Proper drying allows the coating to cure fully, promoting better color blending and enhancing coating durability. To optimize drying conditions, consider these factors:
- Maintain consistent temperature and humidity levels
- Use adequate ventilation to speed up evaporation
- Avoid applying layers in direct sunlight or extreme cold
- Check manufacturer’s recommended drying times
- Be patient—rushing can cause smudges or uneven coverage
Timing Between Coats
Timing between coats plays a pivotal role in achieving a professional-looking finish. If you apply a new layer too soon, the coating might not have fully dried, leading to poor coating adhesion and uneven color blending. Conversely, waiting too long can cause issues like dust settling or difficulty in achieving a seamless transition. To maximize results, follow the recommended drying times on your product labels, especially under ideal drying conditions. Proper timing ensures each coat bonds effectively, enhancing color blending and preventing peeling or cracking. Keep a consistent interval between layers, and avoid rushing the process. Managing these drying times helps you achieve a smooth, durable finish with vibrant color integration and strong adhesion, ultimately delivering a professional appearance.
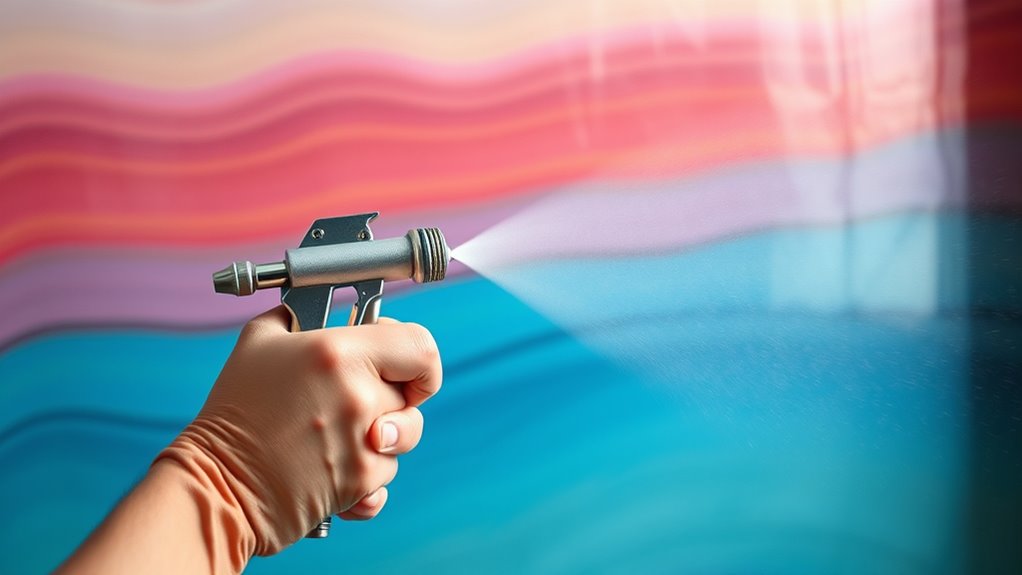
Tips for Achieving Even Color Transitions
Achieving smooth color progressions with a sprayer requires careful control and technique. To guarantee even color transitions, focus on proper color blending and maintaining paint compatibility. Use consistent spray distance and speed to prevent uneven edges. Keep your spray pattern overlapping slightly to blend colors seamlessly. Test your colors on scrap material first to check for compatibility and desired effect. Adjust your pressure for even application, avoiding drips or thin spots. Work in small sections to control transitions better. Regularly clean your spray equipment to prevent clogging and uneven spray patterns. Remember, patience is key—gradually build up layers for a natural, smooth transition. With these tips, your color blending will be more precise and professional-looking.
Troubleshooting Common Layering Issues

When layering colors with a sprayer, common issues like uneven coverage, bleeding edges, or unwanted texture can disrupt your finish. To troubleshoot, analyze your technique and environment. For example, poor coating adhesion may cause paint to peel or crack, while improper color blending can lead to harsh progressions. Here’s a visual to help:
| Issue | Solution |
|---|---|
| Uneven coverage | Maintain consistent distance and speed |
| Bleeding edges | Use proper masking and light coats |
| Texture irregularities | Adjust nozzle pressure and spray pattern |
| Poor color blending | Layer gradually, blending wet edges |
Address these problems by refining your spray technique, ensuring proper surface prep, and adjusting your spray parameters for better layering results.
Using Masking and Taping for Precise Edges

Using masking and taping is essential for creating clean, precise edges in your painting projects. Proper edge masking ensures sharp lines and prevents overspray from reaching unwanted areas. Start by applying painter’s tape carefully along the edges you want to protect. Press down firmly to prevent paint bleed. When you’re ready to remove the tape, do so at a 45-degree angle to minimize any tape removal issues. Keep in mind, patience is key to avoid damaging your work. Here are some tips to make the process easier:
- Use high-quality painter’s tape for better adhesion
- Apply tape on a clean, dry surface
- Press tape down firmly to prevent paint seepage
- Remove tape before the paint fully dries
- Always peel tape at an angle to avoid lifting paint
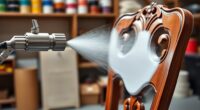
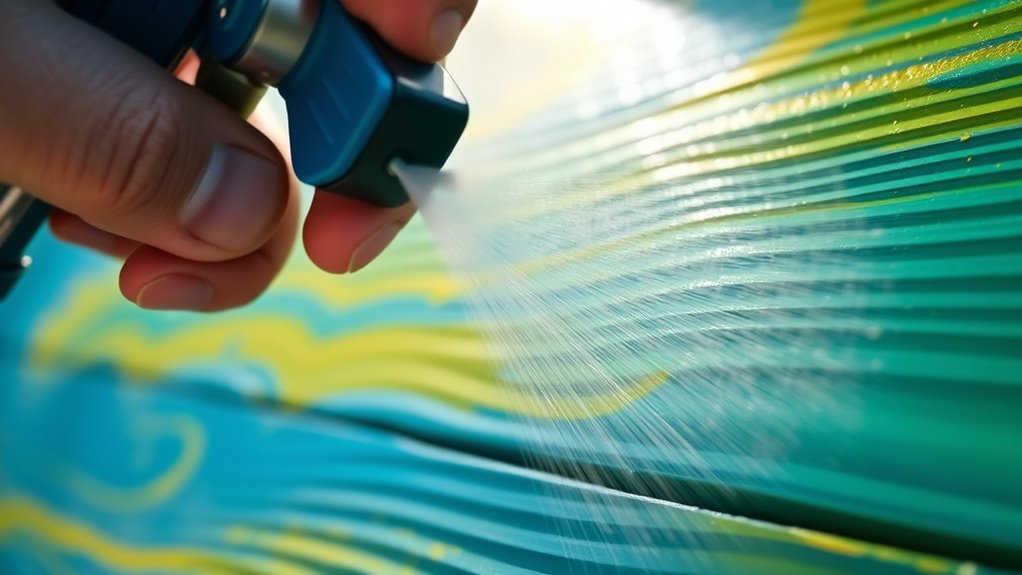
Enhancing Depth and Dimension With Layering
Layering colors and coatings adds depth and dimension to your project, making your work stand out with a more professional finish. By carefully applying multiple layers, you can achieve seamless color blending and dynamic coating textures that enhance visual interest. Use lighter shades to build up highlights and darker tones for shadows, creating a realistic sense of depth. Varying the coating textures—smooth, matte, or gloss—adds tactile richness.
| Effect | Technique |
|---|---|
| Color blending | Gradually transition between shades |
| Depth enhancement | Apply darker hues in crevices |
| Highlighting | Use lighter colors for raised areas |
| Texture variation | Mix matte and gloss layers |
| Dimension creation | Layer multiple thin coats |
Final Tips for a Flawless Finish

To achieve a flawless finish, you need to maintain a consistent spraying technique throughout the process. Make sure to carefully inspect your work for any imperfections before applying the final coat. Once everything looks perfect, don’t forget to apply a clear coat to seal and protect your work.
Maintain Consistent Technique
Maintaining a consistent technique is essential to achieving a smooth, professional finish. To do this, focus on steady brush techniques and consistent spray patterns. Keep your distance from the surface uniform and move at a steady pace to avoid drips and uneven layers. Use masking tape carefully to protect edges and ensure clean lines, avoiding gaps or overlaps that can cause uneven color application. Here are some tips to help you stay consistent:
- Maintain a steady hand and uniform speed
- Keep the spray distance consistent
- Practice controlled brush techniques for edges
- Use masking tape properly to prevent bleeding
- Avoid stopping and starting randomly; plan your strokes
Sticking to these guidelines guarantees each layer applies evenly, resulting in a flawless, professional finish.
Inspect for Imperfections
Once you’ve applied your layers, take the time to carefully inspect the surface for any imperfections. Good surface prep is essential to identify issues like runs, drips, or uneven coverage. Check for areas where the paint may have pooled or lacked adhesion, which can compromise the finish. Ensure that the layers are compatible; incompatible paints can cause bubbling or cracking. Use good lighting and a steady hand to spot tiny flaws that might be missed otherwise. Address small imperfections immediately by sanding or touch-up before proceeding. This step helps guarantee a smooth, flawless finish. Remember, thorough inspection and proper surface prep prevent issues down the line, making your final coat look professional and durable.
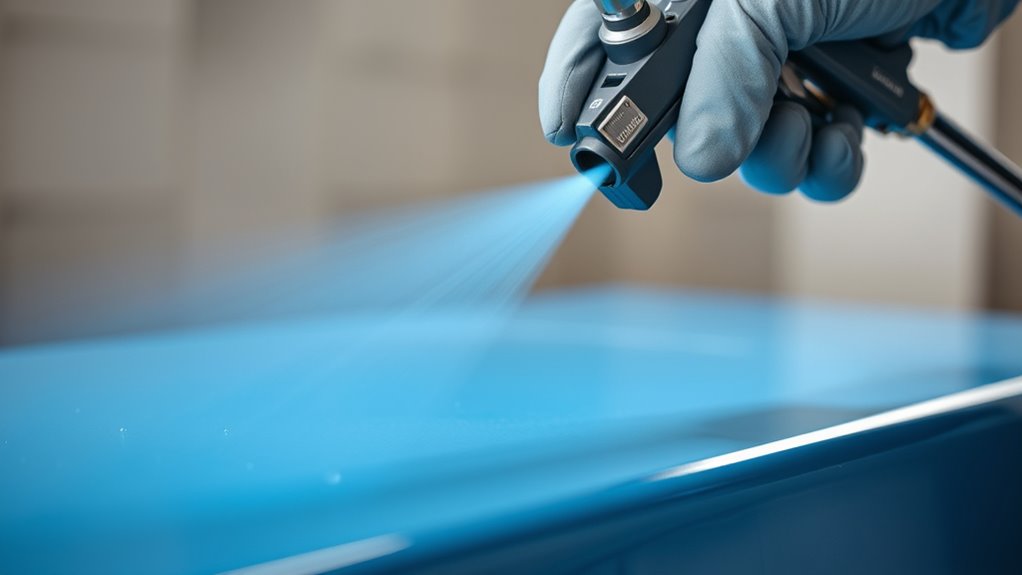
Apply Final Clear Coat
Applying a final clear coat is your last step to achieve a professional-looking finish, and doing it correctly guarantees durability and shine. To assure the best results, choose a clear coat that matches your desired metal sheen and gloss level. Keep the surface clean and dry before application. Use smooth, even passes with your sprayer to avoid drips or uneven coverage. Maintain a consistent distance from the surface to prevent overspray. Thin coats are preferable—apply multiple layers if needed for depth and protection. Be patient and allow sufficient drying time between coats. For a flawless finish, lightly sand between coats if necessary. Remember, proper technique and attention to detail will give you a durable, high-gloss surface that lasts.
Frequently Asked Questions
How Do I Prevent Paint From Bubbling During Layering?
Bubbling paint during layering happens when moisture or trapped air gets beneath the coating. To prevent this, make certain of thorough drying of each layer before applying the next, avoiding overapplication that traps air. Proper ventilation helps moisture escape and keeps the environment dry. By waiting for complete drying and maintaining good airflow, you minimize bubbling and achieve a smooth, professional finish on your project.
Can I Layer Different Types of Coatings Together?
You can layer different types of coatings together if you check for color compatibility and coating compatibility first. Make sure each layer adheres well and dries properly before applying the next. Test on a small area to see how they interact, especially with different finishes or bases. When you verify compatibility, you prevent issues like peeling or uneven textures, giving your project a professional look.
What Safety Precautions Should I Follow While Spraying?
When spraying, you should always prioritize safety. Wear protective gear like masks, goggles, and gloves to prevent inhaling fumes or getting coatings on your skin. Make certain proper ventilation systems are in place to disperse harmful vapors. Keep your workspace well-ventilated and work outdoors if possible. Always follow manufacturer instructions and safety guidelines. Staying cautious helps prevent health issues and ensures a safe, effective spraying process.
How Do I Fix Uneven Color Transitions After Spraying?
To fix uneven color progressions after spraying, focus on color blending and proper spray techniques. Feather out the edges of the uneven area with a light, overlapping spray to create a seamless transition. Keep your distance consistent and use smooth, even strokes. If needed, lightly sand the area to smooth out any imperfections before reapplying thin coats. Practice patience, as gradual blending yields the best, professional-looking results.
Is It Necessary to Sand Between Layers for Better Adhesion?
You might wonder if sanding between layers is necessary for better adhesion. It’s not always required, but proper surface prep is essential. Lightly sanding helps remove imperfections and creates a smooth surface, ensuring the coating bonds well. Also, keep your spray gun maintained to prevent issues. If you notice poor adhesion, lightly sand and clean the surface before applying the next coat for ideal results.
Conclusion
Think of your project as a masterpiece painting—each layer adds depth and vibrancy. With patience and the right techniques, you’re sculpting a work of art that reflects your vision. Every coat, like a brushstroke, builds richness and detail. So, stay steady, trust the process, and enjoy watching your creation come alive, layer by layer, until it’s flawless. Your finished piece will be a stunning affirmation to your skill and patience.