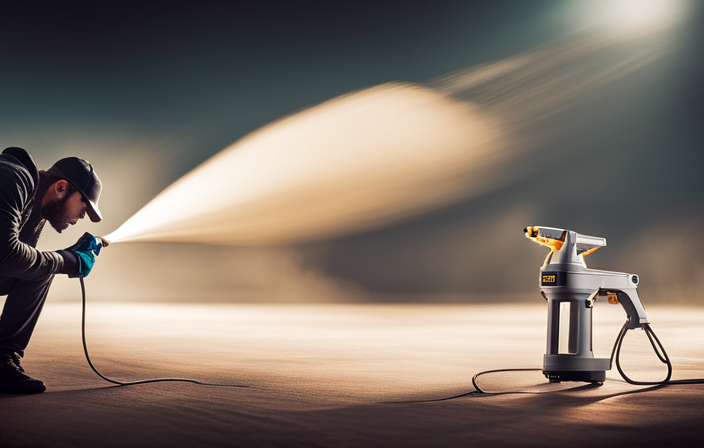
Have you ever considered giving your walls a fresh coat of paint but were deterred by the thought of spending hours using a brush or roller? Fear not! I have discovered an amazing tool that will revolutionize your painting experience – the Magnum X5 Airless Paint Sprayer.
This incredible device will have you painting like a pro in no time.
In this article, I will guide you through the step-by-step process of using the Magnum X5 Airless Paint Sprayer. From familiarizing yourself with the sprayer components to troubleshooting common issues, I will provide you with all the knowledge and tips you need to achieve a flawless finish.
So, whether you’re a seasoned DIY enthusiast or a complete novice, get ready to unleash your inner artist with the Magnum X5 Airless Paint Sprayer.
Say goodbye to tedious painting methods and say hello to a quick, efficient, and professional-looking paint job.
Let’s get started!
Key Takeaways
- Overlap strokes by 50%
- Control trigger for paint amount
- Maintain speed and distance
- Adjust pressure control knob
Familiarize Yourself with the Sprayer Components
Take a moment to get to know the different parts of your Magnum X5 airless paint sprayer, so you can confidently navigate its components like a seasoned painter. The sprayer consists of several key elements that are essential for its proper functioning.
First, familiarize yourself with the intake tube and filter, which ensure a smooth flow of paint.
Next, locate the prime/spray valve, pressure control knob, and power switch, as these allow you to control the spray pattern and pressure.
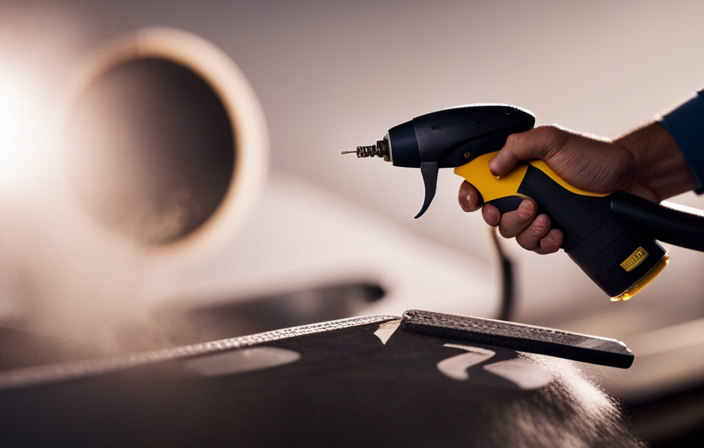
Additionally, the spray gun, equipped with a reversible tip, is where the paint is delivered.
Understanding these components will not only help you with paint sprayer maintenance and troubleshooting tips but also ensure optimal performance.
Now that you’re acquainted with the sprayer, let’s move on to preparing the surface for painting.
Prepare the Surface for Painting
Clean the surface thoroughly, removing any dirt, dust, or debris that could interfere with the smooth application of the paint, allowing for a flawless finish. To ensure proper surface preparation, there are several techniques you can employ.
Firstly, use a wire brush or sandpaper to remove loose paint or rough spots. Next, wash the surface with a mild detergent and water solution, scrubbing away any grease or grime. Rinse thoroughly and allow the surface to dry completely before moving on.
Additionally, if the surface has any cracks or holes, fill them in with a suitable filler and sand it smooth. As for primers, there are different types available depending on the surface material. For example, a primer specifically designed for wood will provide better adhesion and protection.
Now that the surface is prepped, we can move on to the next step of mixing and diluting the paint.
Mix and Dilute the Paint
Now that you’ve prepared the surface, it’s time to get creative and mix your paint to achieve the perfect color and consistency. When it comes to paint mixing techniques, it’s important to follow the instructions provided by the paint manufacturer. Different paints may require different methods of mixing. One common technique is to use a stir stick or a mixing paddle attachment on a power drill. This ensures that the pigments are evenly distributed throughout the paint. Additionally, it’s crucial to pay attention to paint dilution ratios. These ratios determine the amount of paint thinner or water that should be added to achieve the desired viscosity. Refer to the paint can or manufacturer’s guidelines for specific information. With your paint mixed and ready, the next step is to set up the sprayer.
Set Up the Sprayer
Get ready to unleash your creativity and bring your vision to life as you prepare to unleash the power of the sprayer and let your imagination run wild.
Before you begin painting, it’s important to set up the sprayer properly. Here are a few key steps to follow:
-
Adjusting Pressure: Start by adjusting the pressure on the sprayer. This will ensure that the paint flows smoothly and evenly. Too much pressure can cause overspray, while too little can result in a patchy finish. Experiment with different pressure settings until you find the right balance.
-
Choosing the Right Nozzle: The nozzle you choose will determine the spray pattern and size. Different projects require different nozzle sizes, so it’s important to select the one that suits your needs. A larger nozzle is ideal for larger surfaces, while a smaller one is better for detailed work.
-
Priming the Pump: Before you start spraying paint, it’s essential to prime the pump. This involves filling the sprayer with water or a compatible solvent and running it through the system until it sprays smoothly. This step ensures that the paint will flow properly and prevents clogs.
-
Testing on Scrap Material: Before diving into your project, it’s a good idea to test the sprayer on a scrap piece of material. This allows you to get a feel for the spray pattern and make any necessary adjustments before painting on your desired surface.
Now that you’ve set up the sprayer, it’s time to adjust the sprayer settings and fine-tune the paint flow to achieve the best results.
Adjust the Sprayer Settings
Ensure your masterpiece comes to life by fine-tuning the settings on your sprayer for that perfect finish. Properly adjusting the sprayer settings is essential for achieving optimal paint application and avoiding potential issues. Here are some key points to consider when adjusting your sprayer:
| Setting | Description |
|---|---|
| Pressure | Adjust the pressure knob to control the flow of paint. |
| Spray Pattern | Choose the desired spray pattern by rotating the spray tip. |
| Fan Width | Adjust the fan width knob to determine the width of the spray pattern. |
To ensure the longevity of your sprayer, it is crucial to perform regular maintenance, such as cleaning the filters and unclogging the nozzle. Additionally, familiarize yourself with troubleshooting techniques to address any potential issues that may arise during the painting process. By maintaining your sprayer and troubleshooting effectively, you can achieve consistent and excellent results. Now, let’s transition to the next section, where we will discuss how to practice your technique for even better outcomes.
Practice Your Technique
Once you’ve adjusted the sprayer settings, it’s time to practice your technique for flawless results. To improve efficiency and avoid overspray, here are some tips to keep in mind:
-
Maintain a consistent distance between the sprayer and the surface you’re painting. This will help ensure an even coat and prevent uneven coverage.
-
Move the sprayer in a smooth, sweeping motion, overlapping each pass by about 50%. This technique will help prevent streaks and ensure full coverage.
-
Practice on a scrap piece of material or a test area before starting on your actual project. This will allow you to familiarize yourself with the sprayer’s spray pattern and adjust your technique accordingly.
-
Keep a steady pace while spraying, neither too fast nor too slow. This will help maintain a consistent application and avoid drips or runs.
Now that you’ve practiced your technique, you’re ready to start painting and achieve professional-looking results.
Start Painting
Ready to dive into your painting project? It’s time to pick up that sprayer and unleash your creativity with smooth, flawless strokes. To ensure a professional-looking finish, it’s important to master some essential painting techniques and choose the right paint color.
When starting to paint with your Magnum X5 airless paint sprayer, it’s crucial to maintain a consistent speed and distance from the surface. This will help you achieve an even application and prevent any drips or overlaps. To assist you in your painting journey, here’s a handy table summarizing the key points:
| Painting Technique | Description |
|---|---|
| Spray pattern | Adjust the spray pattern to achieve the desired coverage and finish. |
| Overlapping strokes | Overlap each stroke by 50% to ensure an even coat. |
| Trigger control | Practice controlling the trigger to vary the amount of paint being sprayed. |
By following these techniques and selecting the perfect paint color, you’ll be well on your way to a stunning paint job. Now, let’s move on to the next section and learn how to maintain a consistent speed and distance for a flawless finish.
Maintain a Consistent Speed and Distance
Now that you’ve started painting with the Magnum X5 Airless Paint Sprayer, it’s important to maintain a consistent speed and distance to achieve professional-looking results. Here are some tips to help you achieve this:
-
Find the right speed: Adjust the sprayer’s pressure control knob to achieve the desired flow rate. Start with a lower speed and gradually increase it until you find a comfortable and efficient pace.
-
Control your distance: Hold the sprayer nozzle about 12 inches away from the surface you’re painting. This distance allows for an even application without overspray or drips.
-
Move steadily: Keep a steady hand and maintain a smooth, continuous motion while spraying. Avoid jerky movements or stopping mid-stroke, as this can result in uneven coverage.
-
Practice makes perfect: Take some time to practice your technique on a scrap surface before tackling your project. This will help you get a feel for the sprayer’s speed and distance requirements.
By maintaining a consistent speed and controlling your distance, you’ll achieve a professional finish with your Magnum X5 Airless Paint Sprayer.
Now, let’s move on to learning how to clean and store the sprayer properly.
Clean and Store the Sprayer Properly
To ensure proper maintenance, it’s essential to clean and store the sprayer correctly. Proper cleaning techniques are crucial to keeping the sprayer in good condition.
After each use, make sure to thoroughly clean the sprayer by flushing it with water or the recommended cleaning solution. Pay special attention to the nozzle and other parts that come into contact with paint.
After cleaning, it’s important to store the sprayer in a dry area to prevent any moisture damage. Find a cool, dry place where the sprayer can be stored safely until the next use.
By following these cleaning and storage guidelines, you can prolong the life of your Magnum X5 airless paint sprayer.
Now, let’s move on to troubleshooting tips for common issues.
Troubleshooting Tips for Common Issues
If you’re experiencing any hiccups with your trusty paint sprayer, these troubleshooting tips will come to the rescue!
One common issue that can occur is paint sprayer clogs. This can happen when there’s a buildup of paint or debris in the sprayer nozzle or hose. To fix this, first, turn off the sprayer and relieve the pressure. Then, remove the nozzle and clean it thoroughly with warm soapy water or a cleaning solution.
Another common issue is an uneven spray pattern. This can be caused by a few different factors, such as incorrect spray tip size or improper technique. To troubleshoot this, make sure you’re using the correct spray tip for the type of paint you’re using and adjust your technique to ensure a smooth and even spray pattern.
By following these troubleshooting tips, you can quickly solve any issues you may encounter with your paint sprayer.
Frequently Asked Questions
Can the Magnum X5 airless paint sprayer be used with different types of paint, such as latex or oil-based?
Yes, the Magnum X5 airless paint sprayer is compatible with different types of paint, such as latex or oil-based. It provides excellent coverage and allows for easy application of various paint materials.
How long does it take for the paint to dry after using the Magnum X5 airless paint sprayer?
To speed up the drying process after using an airless paint sprayer, increase airflow and reduce humidity. Common mistakes include applying thick coats and not allowing sufficient drying time between coats.
Is it necessary to wear protective gear, such as a mask or goggles, while using the Magnum X5 airless paint sprayer?
Yes, you should use a respirator while using the magnum x5 airless paint sprayer to protect yourself from harmful fumes. After use, clean the sprayer by flushing it with water and using a cleaning solution if necessary.
Can the Magnum X5 airless paint sprayer be used for both indoor and outdoor painting projects?
Yes, the Magnum X5 airless paint sprayer can be used for both indoor and outdoor painting projects. When using it indoors, it is important to use proper ventilation techniques, while outdoor projects require attention to weather conditions and surface preparation.
What is the maximum length of the hose that can be used with the Magnum X5 airless paint sprayer?
The maximum hose length for the magnum x5 airless paint sprayer is 75 feet, allowing for greater mobility while painting. Additionally, it is compatible with various paint types, making it versatile for any project.
Conclusion
In conclusion, using the Magnum X5 Airless Paint Sprayer has been a breeze! From familiarizing myself with the components to adjusting the settings, this sprayer has made my painting projects a piece of cake.
It’s like having a magic wand in my hand, effortlessly transforming surfaces with a smooth and even coat of paint. With proper maintenance and troubleshooting, this sprayer will be my go-to tool for all future painting endeavors.
So why wait? Grab your own Magnum X5 and unleash your inner Picasso today!
