To paint your fence quickly with an airless sprayer, choose a sprayer with the right capacity and nozzle size for your project. Prepare the surface by cleaning, sanding, and repairing any damage. Select the proper paint and thin it appropriately. Set up your sprayer, test it on scrap, and maintain a steady distance with overlapping passes for even coverage. Always wear safety gear and keep your equipment in top shape. Keep exploring for more tips to achieve a flawless finish.
Key Takeaways
- Choose a sprayer with an appropriate capacity and nozzle size for faster coverage and smooth finish.
- Prepare the fence surface thoroughly by cleaning, sanding, and removing debris to ensure even paint application.
- Calibrate and test the sprayer on scrap surfaces to optimize pressure, flow, and spray pattern before working on the fence.
- Maintain a steady spraying speed, keep a consistent distance (around 12 inches), and overlap each pass by 50% for uniform coverage.
- Regularly clean and maintain equipment after use to prevent clogs and ensure quick, efficient future projects.
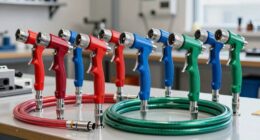
Choosing the Right Airless Sprayer for Your Fence
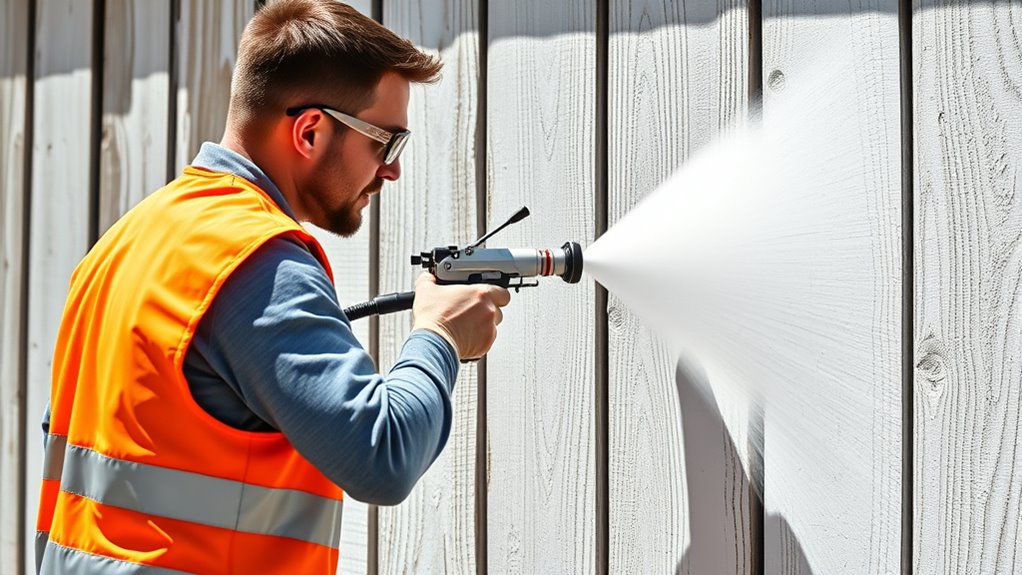
Selecting the right airless sprayer is essential for efficiently painting your fence. You need to take into account the sprayer capacity to match the size of your project; larger fences require a sprayer with a bigger tank to reduce refilling. Equally important is the nozzle size, which affects spray pattern and finish quality. A smaller nozzle, like 211 or 415, provides more control and a finer finish, ideal for detailed areas. For broader surfaces, a larger nozzle, such as 517, speeds up the process. Your choice depends on the type of paint and the level of detail you want. Picking the right combination of sprayer capacity and nozzle size ensures a smooth, even coat while saving you time and effort. Additionally, understanding professional-grade tools can help you achieve a more durable and professional-looking finish.
Preparing Your Workspace and Fence Surface

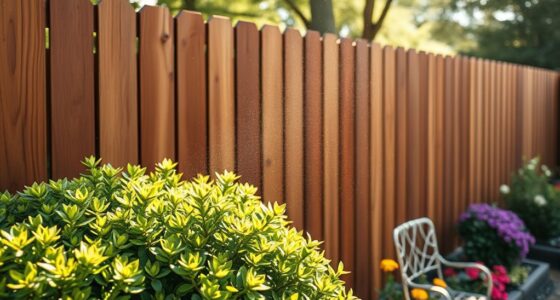
Before you start spraying, clear the area of any obstacles and debris to guarantee a smooth workflow. Next, clean your fence thoroughly to remove dirt, mold, and loose paint, then sand rough spots for a better finish. Taking these steps helps your paint adhere well and makes the job quicker and easier. Being aware of trust issues that may exist can also help you address any underlying problems before starting the project.
Clear the Area
Have you ever tried to paint a fence without clearing the area first? It’s tempting to jump right in, but clutter can get in the way and lead to uneven coverage or accidental damage. Before you start, clear the workspace of any obstacles like garden furniture, tools, or toys. This step is especially important if your landscape design includes plants or delicate features near the fence. Moving loose objects protects both your fence materials and your surroundings. Clearing the area also gives you a clear view of your fence, so you can identify any repairs needed beforehand. Plus, it creates a safe, efficient workspace, helping you finish faster. A tidy area minimizes delays and guarantees your painting process goes smoothly from start to finish. Additionally, removing nearby objects reduces the risk of damage to surrounding surfaces, ensuring a cleaner and more professional result.
Clean and Sand Surface
To guarantee a smooth and even paint finish, it’s essential to clean and sand the fence surface before starting. Proper surface preparation removes dirt, debris, and peeling paint, ensuring ideal paint adhesion. First, wash the fence thoroughly with a hose or pressure washer to eliminate grime and mold. Allow it to dry completely. Next, sand any rough or peeling areas to create a smooth surface, which helps the paint stick better and prevents uneven coverage. Use medium-grit sandpaper and follow the grain of the wood. After sanding, wipe down the surface with a damp cloth to remove dust. This preparation not only promotes better paint adhesion but also results in a cleaner, longer-lasting finish. Skipping these steps can lead to peeling, cracking, or uneven paint application. Additionally, inspecting for damage or rot before painting ensures the fence’s durability over time.
Selecting the Appropriate Paint and Thinner Mixture

Choosing the right paint and thinning mixture is essential for achieving a smooth, even coat when using an airless sprayer. You need to make certain the paint has proper consistency to flow easily without dripping or spattering. Additionally, check solvent compatibility to prevent any chemical reactions that could ruin your finish. Use these key points as a guide:
- Maintain a paint consistency that’s neither too thick nor too runny
- Match solvent compatibility with the paint type
- Use a thinner recommended by the paint manufacturer
- Avoid over-thinning, which can weaken coverage
- Test the mixture before spraying to ensure proper flow
- Consider the technological advancements in spray equipment and paint formulations to optimize your results
Getting these factors right ensures your spray job results in a professional, uniform appearance. Proper preparation of your paint and thinner mixture saves time and effort.
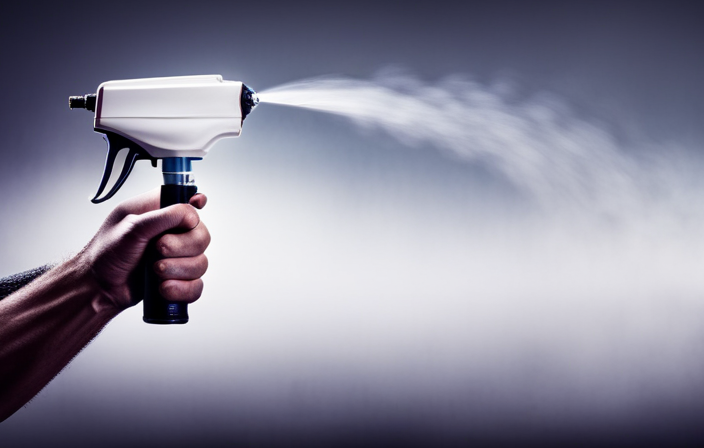
Setting Up and Testing Your Sprayer

Before you start spraying, set up your airless sprayer properly and run thorough tests to guarantee it performs at its best. Begin by checking sprayer calibration to ensure the spray pattern and flow rate match your project needs. Adjust pressure settings accordingly, based on the paint’s viscosity, which affects how smoothly it sprays. Thin the paint if necessary, following manufacturer guidelines, to optimize viscosity for a consistent, even coat. Test the sprayer on a scrap surface to verify even coverage and proper atomization. Watch for drips or uneven spray, adjusting pressure or nozzle if needed. Proper setup and testing help prevent clogs, overspray, and uneven application, saving you time and effort during your fence painting project. Additionally, understanding paint viscosity and how it influences spray performance can lead to better results and a more efficient painting process.
Techniques for Efficient and Even Application
To get the best results, focus on using a proper spray technique that keeps your coat even and smooth. Keep your spraying speed consistent to avoid drips and uneven coverage. Also, regularly maintain your equipment to guarantee it performs well and produces a flawless finish. Incorporating advanced tuning software can further refine your application process for more precise results.
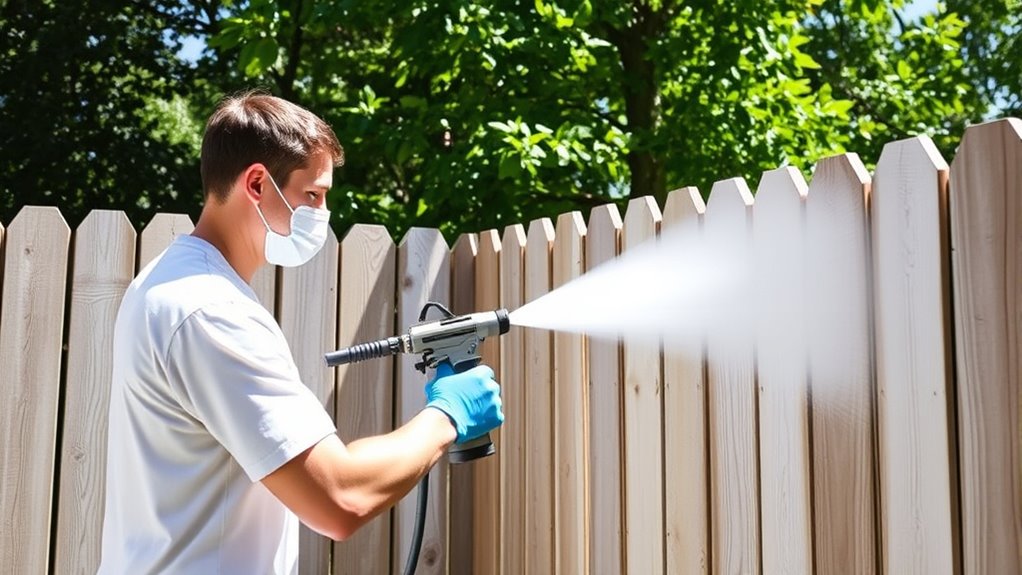
Proper Spray Technique
Using proper spray technique is essential for achieving a uniform and smooth finish when using an airless sprayer. To do this effectively, focus on maintaining a consistent spray pattern and applying even pressure. Keep your brush techniques in mind by overlapping each pass slightly to avoid streaks and missed spots. Always hold the sprayer at a steady distance—about 12 inches from the surface—and move smoothly across the fence. Remember, a controlled and steady motion ensures even coverage. Key tips include:
- Maintain a consistent spray pattern throughout each pass
- Keep your wrist steady to avoid uneven lines
- Overlap each stroke by 50% for uniform coverage
- Adjust your speed to match the spray pattern
- Practice on scrap material before starting your project
These steps help you complete the job efficiently with professional results.
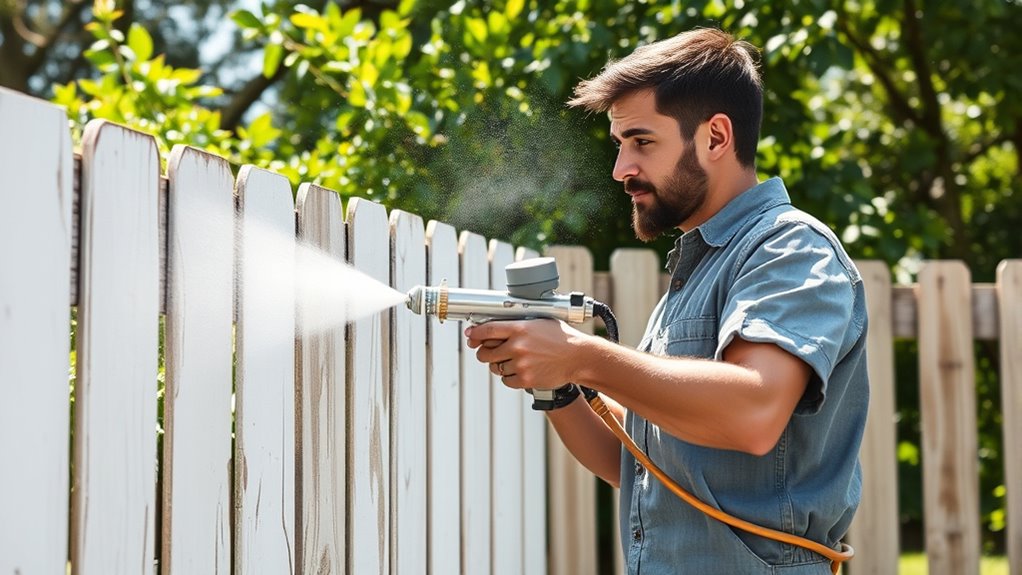
Consistent Spraying Speed
Maintaining a consistent spraying speed is key to achieving an even coat and avoiding drips or uneven coverage. When you focus on spraying consistency, you guarantee the paint is applied uniformly, reducing the need for touch-ups later. Speed optimization plays an essential role; moving too fast can lead to thin spots, while going too slow increases the risk of runs. To optimize your spraying pace, keep your arm steady and maintain a smooth, steady motion. Practice before starting on your fence to develop a natural rhythm. Keep the spray gun at a consistent distance from the surface, typically around 12 inches. Consistently adjusting your speed ensures a professional finish and saves time by minimizing overlaps and rework. Incorporating professional equipment can further enhance your control and achieve more uniform results.
Maintaining Equipment Properly
Properly maintaining your airless sprayer guarantees consistent, efficient application and helps prevent uneven coverage. Regular cleaning after each use keeps parts in top condition, extending your equipment lifespan. Check and replace filters and seals as needed to ensure smooth operation. Keep spare parts available to minimize downtime during projects. Lubricate moving components to prevent wear and tear. Inspect hoses and tips for damage, replacing them promptly. Well-maintained equipment operates more reliably, delivering even spray patterns. This reduces the need for rework and saves you time. Investing a little effort in maintenance guarantees your sprayer performs at its best, making your fence painting faster and more professional. Additionally, monitoring equipment performance can help identify potential issues before they become costly repairs. Ultimately, good upkeep prolongs your equipment’s life and guarantees consistent results.
Managing Overlaps and Avoiding Drips

To achieve a smooth, professional finish with your airless sprayer, it’s essential to carefully manage overlaps and prevent drips. Use consistent brush techniques to blend edges seamlessly and avoid thick lines or uneven spots. Keep your paint consistency ideal—thick enough to cover but not so thick that it pools or drips. When overlapping, maintain a steady distance and overlap each pass by about 50%, ensuring even coverage without excessive buildup. Watch for drips and sags, especially at edges or corners, and backbrush or feather out excess paint immediately. Proper control of spray speed and pressure helps prevent overspray and drips. Additionally, understanding contrast ratio can help you assess how well your project will handle different lighting conditions and scene details, ensuring a high-quality finish. By focusing on these details, you’ll ensure a clean, professional-looking finish without the need for extensive touch-ups.
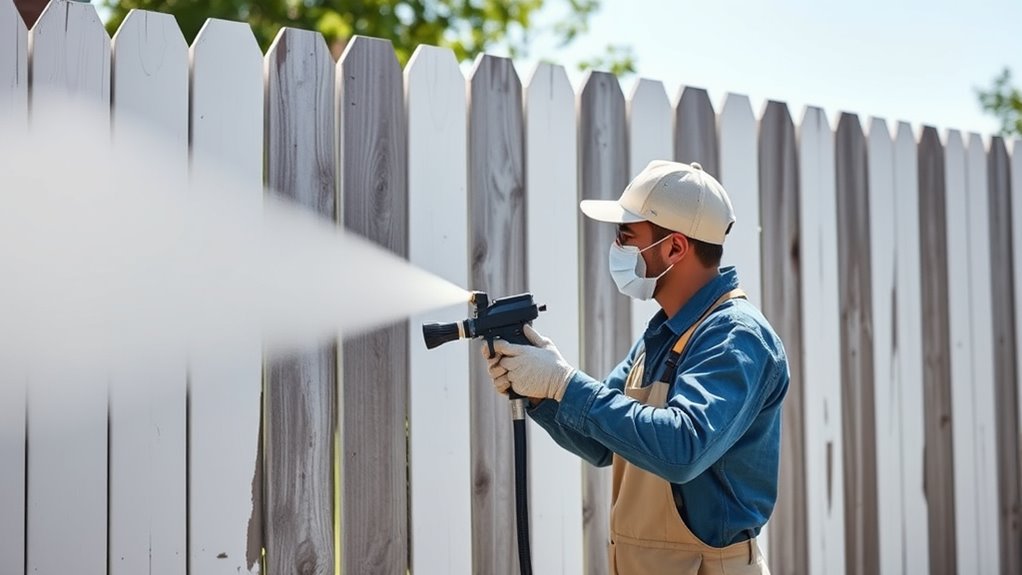
Safety Tips and Protective Gear

Using an airless sprayer demands more than just technique; your safety comes first. Always wear proper personal protective equipment, such as goggles, respirators, gloves, and coveralls, to shield yourself from paint fumes and splatters. Safe handling of the sprayer minimizes accidents and ensures efficient painting. Keep these safety tips in mind:
- Wear appropriate PPE at all times
- Read the manufacturer’s safety instructions thoroughly
- Work in well-ventilated areas to avoid inhaling fumes
- Keep a safe distance from the spray nozzle
- Turn off the sprayer when not in use or moving to a new section
Prioritizing safety helps prevent injuries and ensures your project goes smoothly. Proper protective gear and careful handling are your best defenses when working with an airless sprayer.
Cleaning and Maintaining Your Equipment

Regularly cleaning and maintaining your airless sprayer is essential to keep it working efficiently and extend its lifespan. After each use, flush out paint or stain thoroughly to prevent clogs and ensure smooth operation. Check hoses, nozzles, and filters for wear or damage, replacing parts as needed. Proper maintenance improves equipment longevity and saves you time during future projects. When storing your sprayer, follow storage best practices: drain residual liquids, clean all components, and store in a dry, sheltered area. Protecting your equipment from dirt, moisture, and extreme temperatures prevents corrosion and breakdowns. Consistent upkeep reduces downtime and costly repairs, ensuring your sprayer is always ready for quick, effective fence painting. Proper cleaning and storage keep your investment in top shape. Regular inspections can also help identify wear and tear early, preventing unexpected failures.
Tips for Achieving a Professional Finish
Achieving a professional finish with your fence paint depends on your technique and attention to detail. Proper brush techniques help smooth out edges and fill in tricky spots, ensuring a clean look. When color matching, test your chosen hue on a small area to confirm it blends seamlessly with existing paint. Consistency in your spraying speed and distance from the surface minimizes drips and uneven coverage. Additionally, maintaining a steady hand and overlapping each pass slightly prevents streaks. Using high-quality equipment can also make a significant difference in the final result. Here are some tips to elevate your finish:
- Use smooth, controlled brush strokes for edges and corners
- Mix paint thoroughly for uniform color consistency
- Adjust spray pressure for even application
- Keep the spray distance steady to avoid blotches
- Regularly check your color match before proceeding
These steps help deliver a professional, polished result.
Troubleshooting Common Spraying Issues
Even skilled painters can encounter issues when spraying, but many common problems have straightforward solutions. If your spray pattern is uneven or inconsistent, start by checking sprayer calibration to ensure proper pressure and flow. Low or thick paint viscosity can cause sputtering or clogging; thin the paint appropriately according to the manufacturer’s guidelines. If you notice overspray or paint mist, adjust your spray tip or reduce pressure. Constant clogging might mean your filter or nozzle needs cleaning. Always test spray on a scrap surface before starting your project. Regularly inspecting and maintaining your equipment helps prevent issues. Using appropriate paint viscosity is essential for a smooth application and avoiding common spraying pitfalls. By calibrating your sprayer correctly and managing paint viscosity, you’ll achieve a smooth, efficient finish while avoiding common spraying pitfalls.
Frequently Asked Questions
How Long Does It Typically Take to Paint a Standard Fence Using an Airless Sprayer?
You’ll usually spend around 2 to 4 hours painting a standard fence with an airless sprayer, depending on its size and your experience. Before starting, do proper fence prep to guarantee a smooth job. Keep in mind, sprayer maintenance is key—clean it thoroughly afterward to keep it in top shape. With efficient prep and maintenance, you’ll finish faster and get a professional look in less time.
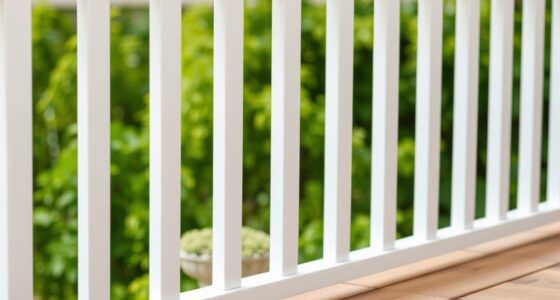
Can I Use an Airless Sprayer on Different Types of Fences, Like Wood or Vinyl?
You can definitely use an airless sprayer on different fence materials like wood or vinyl. Just check the sprayer compatibility and verify it suits each fence type. For wood, a thicker paint or stain works well, while vinyl might need a lighter coating to avoid damage. Adjust your sprayer settings accordingly, and always test on a small area first to get the best results without overspraying or mess.
What Are the Best Weather Conditions for Spraying a Fence Outdoors?
Did you know that painting outdoors is best done in mild weather? For essential results, choose days with temperatures between 50-85°F. Seasonal considerations matter, so avoid painting during extreme cold or heat. Wind impact is also vital; high winds can cause overspray and uneven coats. Opt for calm, dry days with low wind to guarantee a smooth, efficient spray job that lasts longer and looks professional.
How Often Should I Clean the Sprayer During a Long Painting Session?
During a long painting session, you should clean your sprayer regularly to guarantee optimal performance. Frequent cleaning prevents paint buildup and clogs, which can cause uneven spraying. Follow the manufacturer’s recommendations for cleaning frequency and perform sprayer maintenance at intervals based on usage. If you switch colors or finishes, clean thoroughly before changing. This keeps your sprayer in top condition and helps you achieve a smooth, professional finish efficiently.
Is It Necessary to Thin the Paint for All Types of Airless Sprayers?
Imagine your sprayer bursting at the seams without the right preparation! Not all airless sprayers need paint thinning, but it’s vital to check your sprayer compatibility first. Thinning paint can prevent clogs and ensure smooth application. For thicker paints, thinning might be necessary; for others, it’s unnecessary. Always read the manufacturer’s instructions to avoid costly mistakes. Proper paint thinning guarantees flawless coverage and a professional finish every time.
Conclusion
With the right tools and techniques, painting your fence becomes a breeze, transforming it from dull to dazzling in no time. Think of your sprayer as your trusty brush, turning a tedious task into a satisfying project. Embrace the process, stay safe, and enjoy the stunning results. Before you know it, your fence will stand proud like a guardian, its fresh coat shining like a beacon of your hard work and dedication.