To prime your airless sprayer, fill the paint container properly, connect all hoses securely, and turn on the pump to start the flow. Squeeze the trigger or open the valve to get paint flowing, guaranteeing a steady pattern. When you’re ready to unprime, flush the system with solvent, release pressure, and disconnect hoses safely. For detailed steps to ensure smooth operation, you’ll find helpful tips to keep your sprayer in top shape.
Key Takeaways
- Properly fill the paint container and ensure all connections are secure before starting.
- Turn on the pump and prime the system by squeezing the trigger or opening the valve until paint flows steadily.
- Monitor pressure and spray pattern to confirm complete priming, adjusting as needed.
- To unprime, release pressure, flush the system with solvent or water, and disconnect hoses safely.
- Clean all components thoroughly after use to prevent clogs and maintain optimal performance.
Gathering the Necessary Equipment and Materials
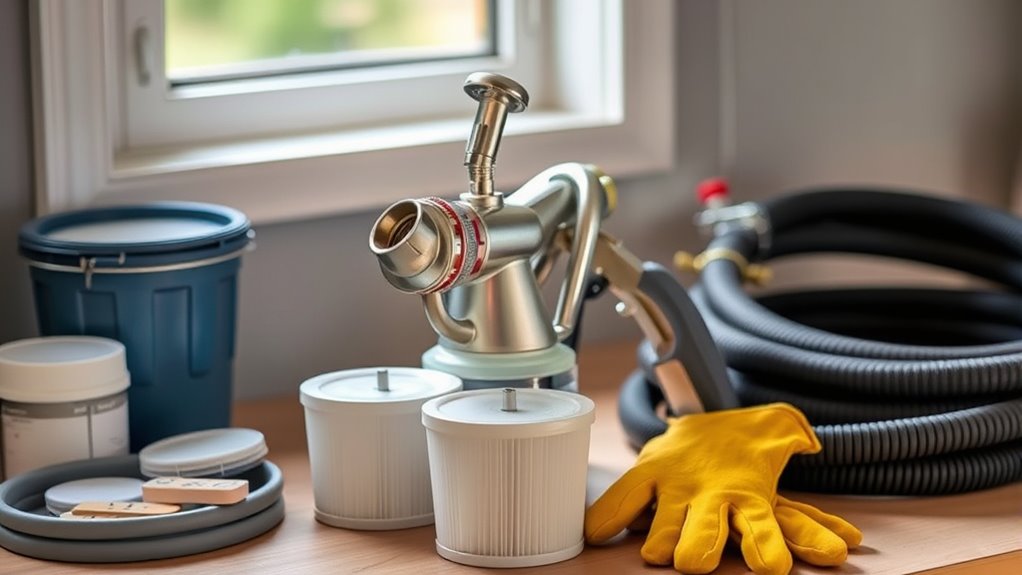
Before you begin priming or unpriming your airless sprayer, it’s essential to gather all the necessary equipment and materials. Start with your chosen paint color, making sure it’s properly mixed and ready for use. You’ll also need basic tools like a paint filter, a wrench, and a clean rag. Don’t forget to check your equipment calibration—ensuring the sprayer’s pressure settings are correct for your project. Having everything on hand prevents delays and helps you work smoothly. Confirm that the spray tip matches your paint type and desired finish. Keep safety gear nearby, like gloves and goggles, to protect yourself. Gathering these essentials beforehand guarantees that your priming process goes efficiently, and you’re fully prepared to achieve an even, professional-looking coat. Additionally, understanding the importance of color accuracy can help you select the right settings for optimal results.
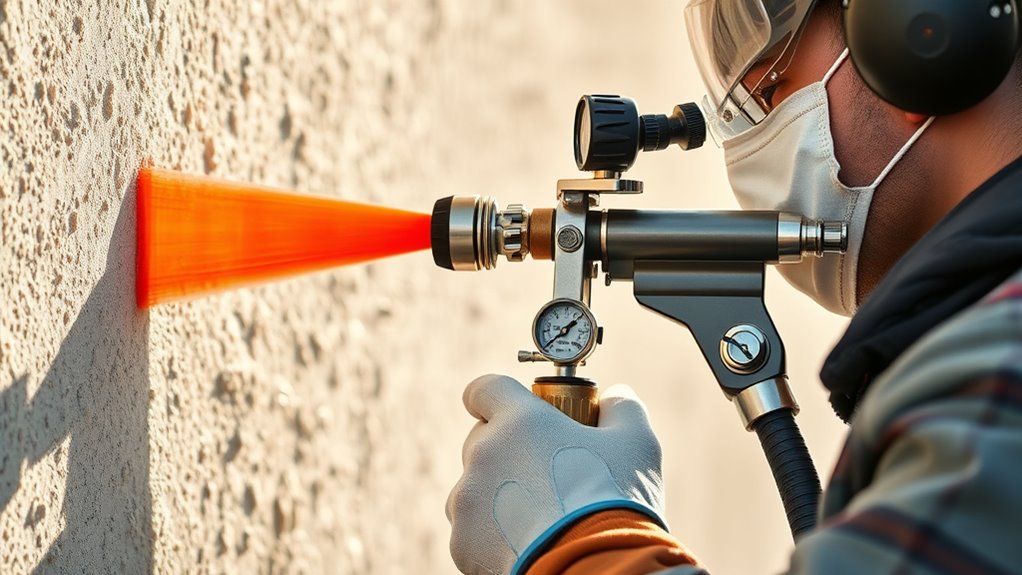
Preparing the Work Area and Safety Precautions
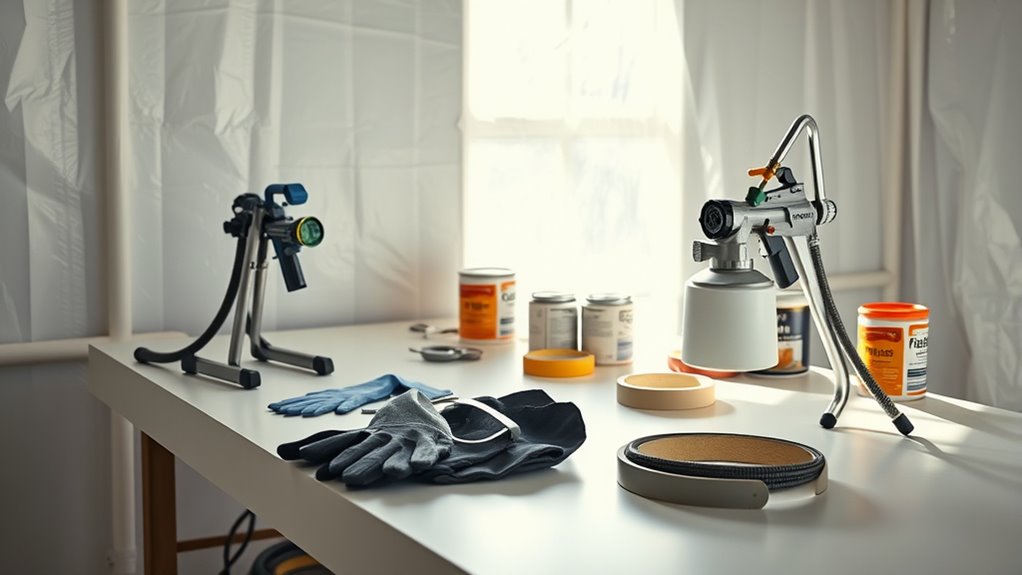
Setting up your work area properly guarantees safety and efficiency during priming and unpriming. Start by choosing a well-ventilated space free of clutter. Clear the area of any obstacles to prevent accidents. Wear protective gear such as goggles, gloves, and a mask to shield yourself from paint splatters and fumes. Make certain your workspace setup includes a sturdy surface to support the sprayer and enough room to maneuver comfortably. Keep a fire extinguisher nearby in case of emergencies. Cover nearby surfaces and floors with drop cloths to catch spills. Proper preparation minimizes hazards and streamlines your workflow, making the priming and unpriming process safer and more effective. Additionally, energy monitoring features can help you evaluate your equipment’s efficiency and ensure optimal operation during your project.
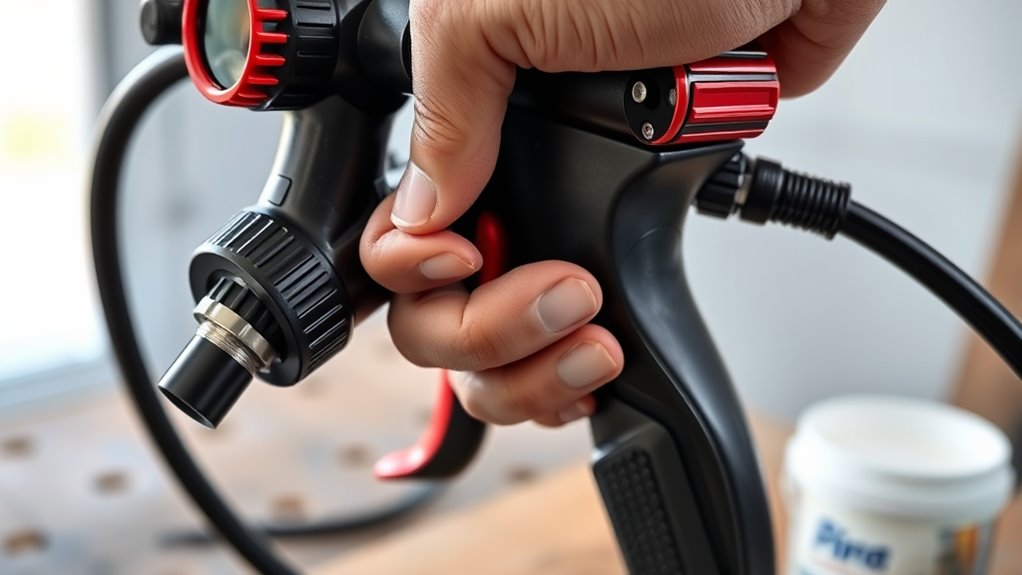
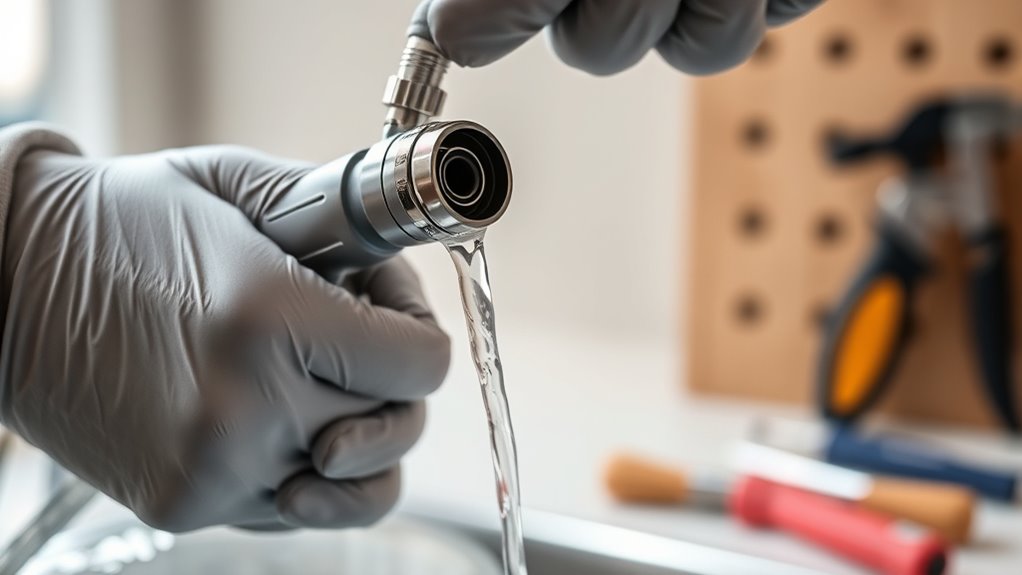
Filling the Paint Container and Checking for Proper Connections
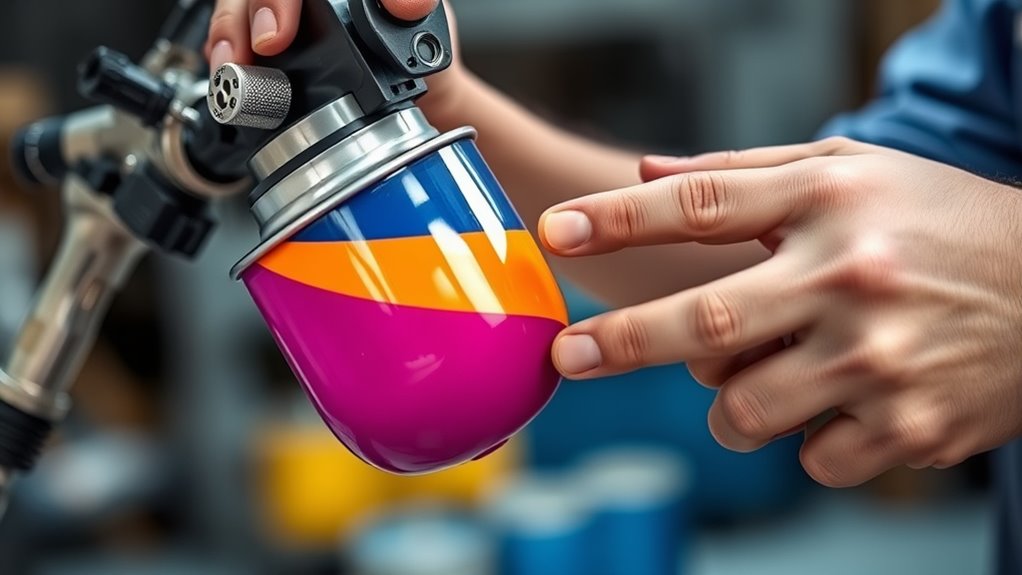
To guarantee your sprayer operates smoothly, start by filling the paint container with the appropriate material, taking care not to overfill. Ensure the paint color matches your project, and avoid spills. Next, check all connections to confirm they’re secure—loose fittings can cause leaks or inconsistent spray patterns. Use the table below to verify proper setup:
| Connection | Check for Tightness | Notes |
|---|---|---|
| Paint container lid | Tight and secure | Prevents leaks |
| Hoses and fittings | Firmly attached | Ensures proper flow |
| Spray gun nozzle | Properly connected | Maintains spray pattern |
Double-checking these connections guarantees consistent spray pattern and reliable operation. Proper filling and connection checks are vital for a smooth priming process. Additionally, understanding the importance of GMC tuning can help optimize your vehicle’s performance for better results.
Starting the Priming Process: Initial Setup
Before you start priming, make sure your paint is properly mixed and ready to go. Check that all hoses are securely connected to avoid leaks or air pockets. Once everything is set, you’re ready to begin the initial priming steps confidently. Ensuring proper soundscapes can help you monitor for any air leaks or inconsistencies during the process.
Prepare Paint and Equipment
When preparing to prime your airless sprayer, start by thoroughly mixing your paint to guarantee consistency. Check the paint’s viscosity; it should flow smoothly without being too thick. If needed, thin the paint slightly according to the manufacturer’s recommendations to ensure proper atomization. Next, select the appropriate nozzle size for your project—smaller nozzles for fine finishes, larger ones for broader coverage. Proper nozzle selection helps maintain the right paint flow and reduces clogs during priming. Preparing your paint and equipment ahead of time, ensuring everything is clean and ready to go, can make a significant difference. This preparation minimizes delays and ensures a smooth priming process, leading to a more even and efficient paint application. Additionally, assessing the paint’s compatibility with your sprayer can help prevent potential issues during spraying.
Ensure Proper Hose Connection
Ensuring a proper hose connection is crucial for a smooth priming process. Start by checking that the hose is securely attached to both the sprayer and the paint container. A loose or improperly connected hose can cause air leaks, making it difficult to prime the equipment correctly. During equipment setup, confirm all fittings are tight and free of debris. Verify that the hose is free of kinks or damage that could impede flow. Double-check the spray gun connection, ensuring it’s locked in place. Proper hose connection guarantees consistent pressure and prevents air from entering the system. Taking these steps during initial setup helps avoid priming issues later, ensuring your spray job goes smoothly and efficiently. Additionally, inspecting the hose for damage before use can prevent leaks and ensure optimal performance.
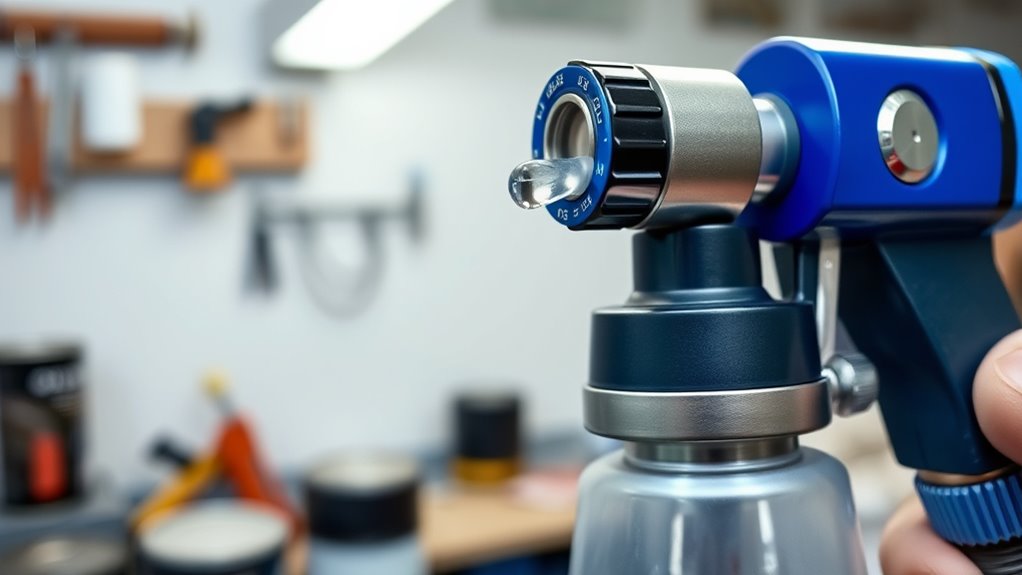
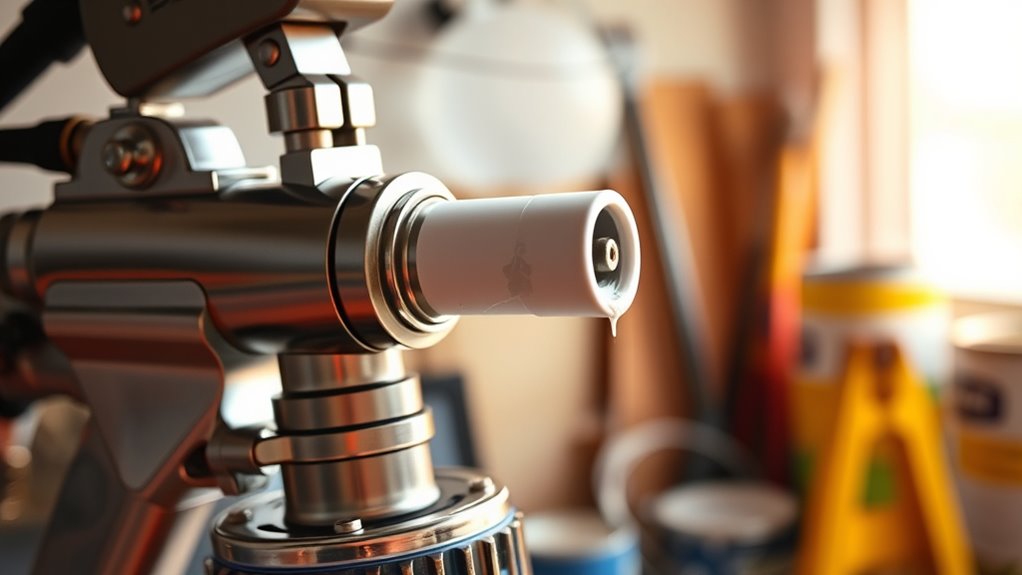
Running the Sprayer to Prime the System
Before running your sprayer, make sure your paint mix is properly prepared. Turn on the pump and let the system operate, watching closely for consistent flow. If you see smooth, steady paint moving through the lines, you’re on the right track to complete the priming process. Additionally, monitoring filtering and pump protection ensures the system remains free of clogs during operation.
Prepare the Paint Mix
To properly prime your airless sprayer, start by mixing the paint according to the manufacturer’s instructions, ensuring the consistency is suitable for spraying. Achieving the right paint consistency is essential for smooth application and preventing clogs. Also, double-check color matching to avoid surprises during your project.
Before running the sprayer, keep these tips in mind:
- Stir the paint thoroughly to maintain uniformity
- Adjust the thinning if the paint is too thick or too thin
- Use a mesh strainer to remove lumps for a smoother flow
Activate the Pump System
How do you activate the pump system to prime your airless sprayer? First, ensure the spray gun is closed and the paint container is filled with your prepared mixture. Turn on the power switch to initiate pump activation. As the pump runs, you’ll notice paint beginning to flow through the hose. Use priming techniques like gently squeezing the trigger or opening the spray valve to help draw paint into the system. Keep the pump running until a steady stream of paint flows out of the spray tip without air bubbles. This indicates the system is properly primed. Be patient during pump activation, as thorough priming ensures smooth operation and consistent spray quality. Additionally, proper storage of the sprayer after use helps maintain its readiness for future projects. Once primed, you’re ready to start your spraying job.
Observe for Proper Flow
Once you’ve started the pump, observe the flow of paint through the spray tip. Ensure the paint is flowing steadily without sputtering or interruptions. Check the paint viscosity; if it’s too thick, it may clog the nozzle, while thin paint can cause overspray. During this step, inspect the hose for leaks, kinks, or blockages that could disrupt flow. Proper flow indicates the system is primed correctly, and paint is reaching the tip efficiently. If the flow is inconsistent, pause and adjust the paint viscosity or inspect the hose connections. Remember, steady, smooth paint flow is key to a quality finish and efficient spraying. Keep a close eye on these elements to confirm your sprayer is primed and ready. Additionally, understanding airless sprayer tuning can help optimize performance and prevent issues during operation.
Monitoring and Adjusting During Priming
Monitoring and adjusting during priming is essential to guarantee your airless sprayer operates smoothly and efficiently. You should keep an eye on the pressure regulation to prevent over-pressurizing, which can cause uneven spray patterns or equipment damage. Watch the spray pattern for consistency; it should be even without drips or sputters. If you notice irregular flow, adjust the pressure or nozzle as needed. Constantly monitor the hose and connections for leaks or blockages. Use the table below to organize your adjustments:
| Issue | Adjustment Needed | Expected Result |
|---|---|---|
| Low pressure | Increase pressure setting | Smooth, consistent spray |
| Uneven spray pattern | Adjust nozzle or pressure | Even spray coverage |
| Excessive pressure | Decrease pressure setting | Prevents splattering, saves paint |
| Pulsing spray | Check for blockages | Steady spray flow |
| Leaks or drips | Tighten connections | Prevent paint wastage |
Additionally, referencing proper maintenance techniques can help prevent common issues during priming and ensure long-lasting performance.
Shutting Down and Unpriming the Sprayer
Shutting down and unpriming your airless sprayer properly is crucial to prevent paint from hardening inside the equipment and to guarantee it’s ready for future use. Properly unpriming also ensures paint safety and helps maintain accurate sprayer calibration. To do this effectively:
Proper shutdown and unpriming prevent paint hardening, ensure safety, and maintain sprayer accuracy.
- Flush the system with the appropriate solvent or water, based on your paint type.
- Release pressure from the sprayer before disconnecting hoses.
- Store the sprayer in a clean, dry place, ready for the next job.
- Regular maintenance and understanding of your equipment’s performance ratings can further extend its lifespan and efficiency.
Following these steps minimizes paint buildup and prevents clogs, extending your equipment’s lifespan. Additionally, unpriming carefully keeps your sprayer calibrated correctly, ensuring consistent spray patterns and finish quality. Proper shutdown procedures protect your investment and save time during your next project.
Cleaning the Sprayer After Use
After unpriming your sprayer, it’s important to clean it thoroughly to prevent paint from drying inside the system. Proper spray gun cleaning guarantees smooth operation on your next project and prolongs your equipment’s lifespan. Start by flushing the system with the appropriate solvent for your paint type. Use a brush or cloth to remove residual paint from the spray tip and gun. For effective paint removal, focus on all components, including filters and hoses. Additionally, ensure you use the right solvent to match your paint for optimal cleaning results.
| Tip for Cleaning | Why It Matters |
|---|---|
| Use the right solvent | Prevents clogs and ensures smooth spray flow |
| Regular maintenance | Extends sprayer lifespan and improves performance |
| Rinse thoroughly | Removes paint residue, avoiding future issues |
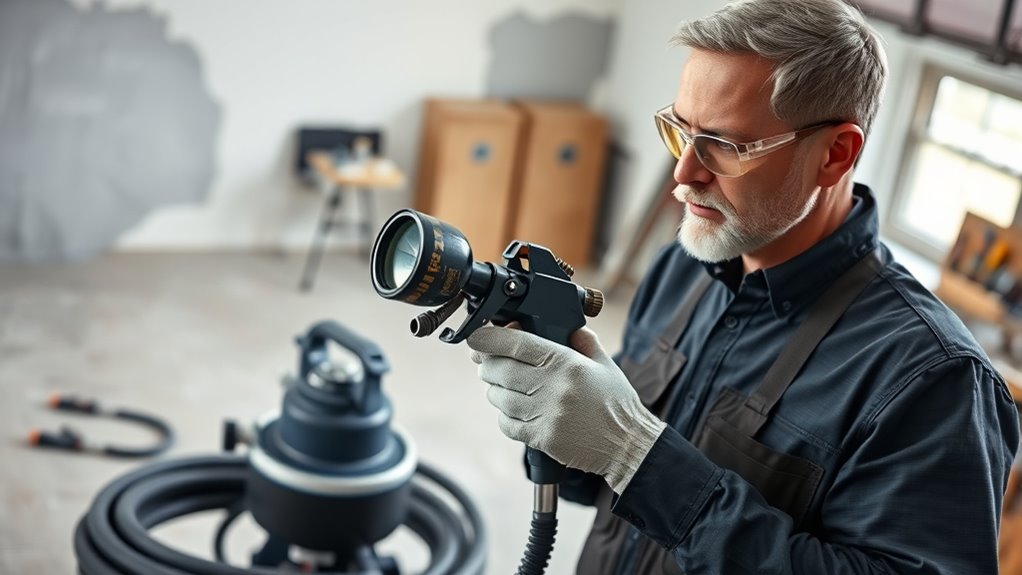
Tips for Maintaining Your Airless Sprayer for Future Projects
To keep your airless sprayer in top condition for future projects, regular maintenance is essential. Proper paint mixing ensures consistent results, so always stir your paint thoroughly before spraying. After each use, clean the equipment thoroughly to prevent clogs and damage. When you’re done, store your sprayer in a dry, dust-free place to avoid corrosion and deterioration. Additionally, inspect hoses and filters regularly to catch wear early. Proper equipment storage also involves removing any remaining paint and protecting the sprayer from extreme temperatures. This proactive approach extends your equipment’s lifespan and guarantees ideal performance for your next project. Remember, consistent maintenance saves you time and money in the long run while keeping your sprayer ready to deliver professional results. Regularly checking an essential maintenance task can further help maintain optimal spray quality and equipment longevity.
Frequently Asked Questions
How Often Should I Prime My Airless Sprayer for Different Paint Types?
You should prime your airless sprayer based on the paint viscosity and desired spray consistency. For thicker paints, prime more often to prevent clogs and guarantee smooth application. Thin paints may require less frequent priming but always check for consistent spray. Generally, prime before starting each new paint type or if you notice uneven spray. Regular priming keeps your sprayer functioning well and delivers a professional finish.
Can I Use a Different Fluid When Unpriming the Sprayer?
You can use alternative fluids when unpriming your sprayer, but it’s essential to contemplate proper cleaning methods afterward. Using water or a suitable solvent helps clear residual paint, preventing clogs. Always check the manufacturer’s recommendations for compatible fluids, and thoroughly clean your sprayer after switching to avoid damage. This guarantees your equipment stays in good condition and performs at its best during future projects.
What Signs Indicate My Sprayer Needs Re-Priming During a Project?
Imagine your sprayer as a heartbeat; if the spray pressure drops or becomes uneven, it’s signaling you need to restart the priming process. You’ll notice sputtering, inconsistent flow, or no fluid at all. These signs tell you your sprayer has lost its rhythm and needs re-priming to restore proper flow. Keep an eye on these cues, and your project stays smooth, just like a steady heartbeat.
Is It Necessary to Flush the System After Unpriming?
After unpriming your airless sprayer, you should flush the system to prevent paint buildup and guarantee smooth operation. System flushing helps clear residual paint, especially if switching colors or finishes, and maintains paint compatibility. Skipping flushing might cause clogs or uneven spraying later. Always follow manufacturer instructions and use the right cleaning materials to keep your sprayer in top shape and ready for your next project.
How Do I Troubleshoot Common Priming Problems With My Sprayer?
Ever feel like your sprayer is playing hard to get? Troubleshooting tips can help! Check your priming techniques—make sure the paint flows smoothly and the hose isn’t clogged. Confirm the pressure is correct and the filter isn’t blocked. If the spray pattern is inconsistent, clean or replace the nozzle. Remember, a little patience and these troubleshooting tips turn a stubborn sprayer into your best paint partner.
Conclusion
By following these steps, you’ll guarantee your airless sprayer stays in top shape and ready for any project. Did you know that regular priming can extend your sprayer’s lifespan by up to 30%? Properly priming and unpriming not only saves you time but also improves your painting results. Keep your equipment well-maintained, and you’ll enjoy smooth, professional finishes every time you use your sprayer. Happy painting!