To prime, purge, and set pressure like a pro, start by guaranteeing all connections are secure and power on your device. Prime the system by removing air and filling it with fluid, watching for bubbles until flow is steady. Then, purge to clear residual air with circulating fluid at low pressure. Adjust the pressure gradually to recommended levels, monitoring gauges closely. Mastering these steps ensures reliable operation—keep going to learn advanced tips for perfect setup every time.
Key Takeaways
- Verify all connections and power on the device, ensuring proper startup before proceeding.
- Prime the system by removing air and filling it with fluid until steady flow is achieved.
- Purge residual air and contaminants by circulating fluid at low pressure through all parts.
- Adjust pressure settings gradually on the control panel, monitoring gauges to prevent over-pressurization.
- Confirm the device is fully prepared and operational before active use for reliable performance.
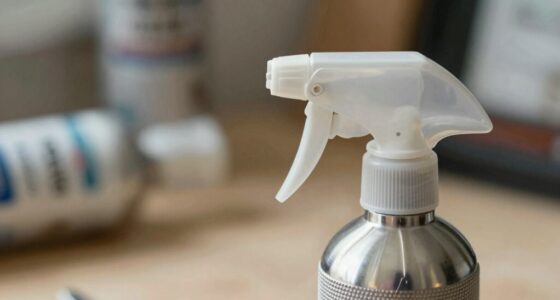
Getting started with your new device can feel overwhelming, but the first-time setup process is straightforward and designed to get you up and running quickly. Whether you’re setting up a Prime, Purge, or Pressure system, the key is to follow a clear sequence that guarantees everything functions properly from the start. First, you’ll want to verify your device is properly connected and powered on. Check all cables, hoses, and fittings to confirm they’re secure. Once powered, turn on the system and wait for the initial boot-up. Many devices will display a simple welcome or setup screen, guiding you through the next steps.
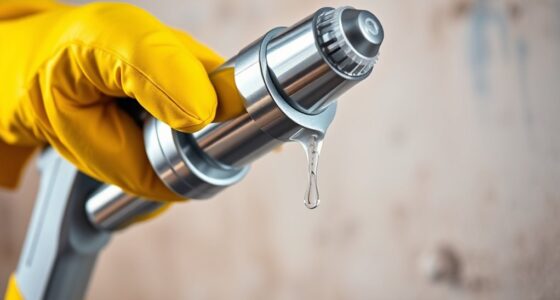
The next important step is Prime. Priming your device means removing air from the system to guarantee optimal performance. This process is vital because air pockets can cause inconsistent pressure, which affects the quality of your output. To prime, usually, you’ll need to activate the pump or fill the system with fluid, depending on your device. Follow the manufacturer’s instructions to open the appropriate valves or fill points. As you do this, watch for air bubbles escaping—these indicate that air is being expelled. Continue until a steady flow of liquid without bubbles is observed, signaling that the system is fully primed. This step prevents issues down the line, like uneven pressure or system malfunctions. Additionally, understanding the pressure regulation features of your device ensures you maintain consistent operation throughout use.
Once primed, you’ll move on to purge. Purging clears out any residual air, debris, or contaminants that might be in the system from manufacturing or storage. This step is especially important if you’ve transported the device or haven’t used it in a while. To purge, you’ll typically run the system at a low pressure or flow rate, allowing fluid to circulate through all parts. Keep an eye on pressure gauges and flow indicators—if your device has them—to confirm that air is being expelled. Some systems may have a dedicated purge cycle you can activate through the control panel. Completing this step guarantees your device operates smoothly, reducing the risk of blockages or damage caused by trapped air or debris.
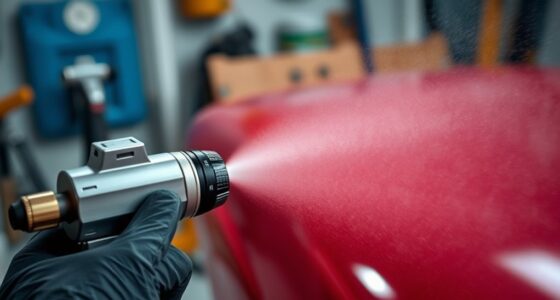
Finally, you’ll want to familiarize yourself with the pressure settings. Setting the correct pressure is essential for safe and effective operation. Use the control panel to adjust the pressure to the recommended levels specified in your user manual. Start with a low setting, then gradually increase until you reach the ideal pressure for your task. Regularly monitor the pressure gauges during operation to prevent over-pressurization, which can damage the system. By understanding how to properly prime, purge, and regulate pressure, you’re not just setting up your device—you’re guaranteeing it performs reliably and efficiently every time you use it. Once you’ve completed these steps, you’ll be ready to operate your system confidently, knowing it’s been correctly prepared from the very beginning.
Frequently Asked Questions
What Safety Precautions Should I Take During Setup?
During setup, you should wear safety goggles and gloves to protect your eyes and skin. Make sure the area is well-ventilated to avoid inhaling fumes. Always follow the manufacturer’s instructions carefully, and double-check connections for leaks. Keep a fire extinguisher nearby, and never leave the equipment unattended while it’s pressurized. Taking these precautions helps prevent accidents and guarantees a safe, smooth setup process.
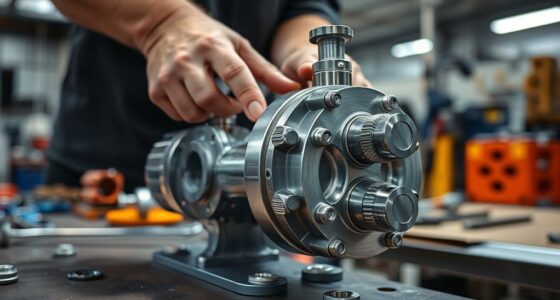
How Do I Troubleshoot Common Setup Errors?
Picture your setup as a well-oiled machine—when errors occur, it’s like a misaligned gear. To troubleshoot, double-check connections for tightness, make certain the power supply is stable, and verify all valves are correctly positioned. If pressure readings are off, recalibrate or reset the system. Consult the manual for error codes, and don’t hesitate to restart the process. Staying patient and methodical keeps your setup running smoothly.
Can I Customize Pressure Settings for Different Brews?
Yes, you can customize pressure settings for different brews. Check your machine’s manual for specific instructions, but generally, you can adjust the pressure using the control panel or a dedicated dial. Start by setting the pressure lower for lighter roasts and increase it for darker roasts to enhance flavor extraction. Experiment with small adjustments until you find the perfect pressure for each brew, ensuring ideal taste and consistency.
What Maintenance Is Required After Initial Setup?
Think of your coffee machine like a car—you need regular check-ups to keep it running smoothly. After setup, you should regularly descale it, clean the brew group, and replace water filters. These simple steps prevent buildup and guarantee great-tasting coffee every time. Just like tuning a car, routine maintenance keeps your machine performing at its best and extends its lifespan, making your mornings hassle-free.
How Do I Update Firmware or Software?
To update your firmware or software, first connect your device to a stable Wi-Fi network. Then, navigate to the settings menu and select the update option. Follow the prompts to download and install the latest version. Make sure your device stays powered on during this process. Once completed, restart your device if prompted, and you’ll be good to go with the latest features and improvements.
Conclusion
Now that you’ve mastered the first-time setup, you’re like a skilled captain ready to navigate your brewing journey. With the right prime, purge, and pressure techniques, you’ve set a strong foundation for every batch ahead. Think of this process as tuning a fine instrument — once it’s in harmony, your brewing experience will be smooth and rewarding. Keep practicing, stay confident, and soon you’ll be creating perfect brews with the finesse of a pro.