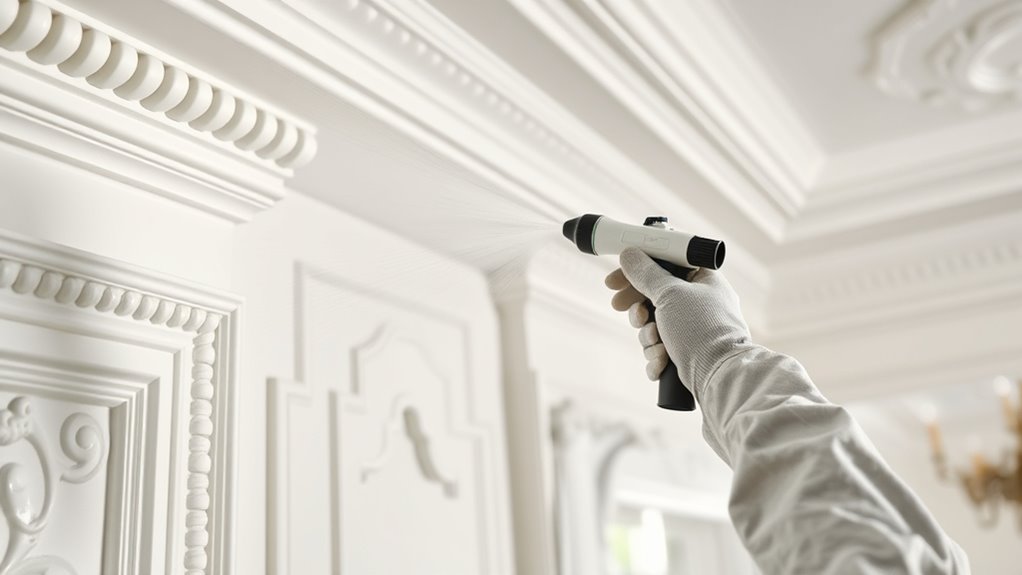
Spraying crown molding and decorative trim gives you a smooth, professional finish and even coverage that brushes can’t match. Before starting, protect nearby surfaces, mask off areas, and test your spray technique on scrap materials. Keep the spray gun 6-12 inches from the surface, apply light coats, and maintain steady movement. Adjust your equipment as needed for best results. If you want to master these steps and achieve flawless results, continue exploring these helpful tips.
Key Takeaways
- Mask surrounding areas and use drop cloths to protect surfaces before spray painting crown molding and trim.
- Hold the spray gun 6-12 inches from the surface for even, smooth coverage.
- Apply multiple light coats with overlapping strokes to prevent drips and achieve a flawless finish.
- Adjust spray gun settings and nozzle size based on paint consistency and desired detail.
- Test spray on scrap material to perfect technique and color matching before working on the actual trim.
Spraying crown molding and decorative trim is an efficient way to achieve a smooth, professional finish that enhances your space’s aesthetic. When you opt for spray application, you gain the advantage of even coverage and a seamless appearance, which is often difficult to achieve with brushes or rollers. To do this effectively, understanding the significance of color matching and mastering spray techniques is key. Proper color matching ensures your trim or molding seamlessly blends with the surrounding decor, while refined spray techniques help you apply paint or stain evenly without drips or overspray.
First, before you start spraying, you need to guarantee your color matching is spot on. If you’re working with a specific color or stain, test it on a small, inconspicuous area or a scrap piece of wood. This helps you verify that the hue matches your existing trim or desired finish. Sometimes, mixing custom colors or adjusting the shade slightly can make a big difference in achieving a cohesive look. When you’re confident with your color, you’ll avoid the frustration of redoing work or ending up with mismatched areas. Keep a record of your color formulas or mixing ratios if you’re creating custom shades, so you can replicate it consistently in the future.
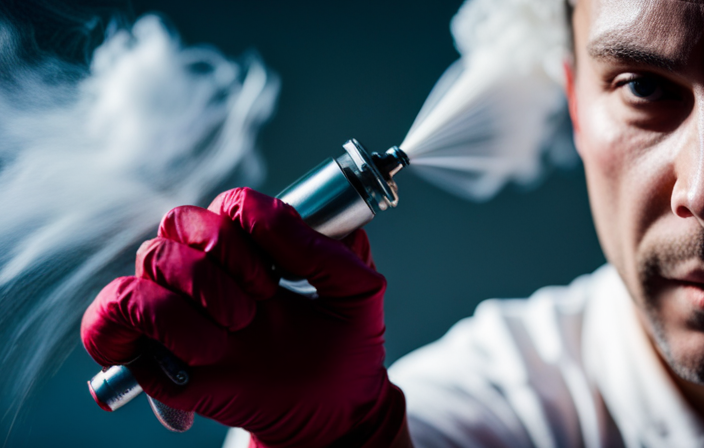
Next, mastering spray techniques is essential for a flawless finish. Start by preparing your workspace—cover nearby surfaces with drop cloths and mask off areas you don’t want to spray. Hold the sprayer about 6 to 12 inches from the surface, maintaining a consistent distance as you move in smooth, overlapping strokes. This prevents uneven coverage or streaks. Use light, multiple coats rather than heavy applications; this reduces drips and allows each layer to dry evenly. Keep your spray gun at a steady speed, and don’t linger in one spot too long, as this can cause buildup. Practice on scrap material to perfect your technique before tackling the actual crown molding or trim.
Furthermore, adjusting your spray gun’s settings—such as pressure and nozzle size—can greatly influence the outcome. A larger nozzle might be better for thicker paints or stains, while a smaller one can give you more control for fine details. Consistency in your spray pattern helps achieve that sleek, professional look you desire. Always ensure your paint or stain is well-mixed and at the right viscosity for spraying; adding thinning agents can improve flow and reduce clogging.
Frequently Asked Questions
What Types of Paint Are Best for Spraying Crown Molding?
For spraying crown molding, you should use high-quality latex or oil-based paints. Choose the right types of sprayers, like HVLP or airless, for smooth application. Before spraying, make certain proper paint preparation by thinning the paint if necessary and straining it to avoid clogs. This helps achieve a professional finish, prevents drips, and ensures even coverage. Always test spray on a small area first to perfect your technique.
How Do I Prevent Overspray on Adjacent Surfaces?
To prevent overspray on adjacent surfaces, you need to be a painting ninja! First, lay down large drop cloths to catch any stray paint and keep your workspace tidy. Then, expertly apply painter tape along edges and nearby surfaces, creating a perfect barrier. Always keep your spray gun at the right distance and use smooth, controlled strokes. This combo keeps overspray in check, leaving your project flawless and clean.
What Equipment Is Recommended for Professional Results?
You should choose a high-quality spray gun, preferably a HVLP (High Volume Low Pressure) model, for professional results. It offers better control and less overspray. Make certain to select the right spray gun based on your project size and detail level. Also, use proper paint thinning techniques to ensure smooth application, reducing drips and achieving a fine finish. Practice on scrap surfaces to perfect your technique before working on your crown molding.
How Long Should I Wait Between Coats?
Imagine the gentle hum of your sprayer as you finish a coat; now, you wonder about drying time. You should wait about 1 to 2 hours between coats, depending on coat thickness and humidity. Thicker coats take longer to dry, so verify for a smooth, tack-free surface before applying the next. Rushing this step can cause uneven finishes or drips, so patience ensures a professional-looking result.
Can I Spray Over Previously Painted Trim?
Yes, you can spray over previously painted trim if you’ve done proper prep work. First, clean the surface thoroughly and lightly sand it to make sure good adhesion. Always follow safety precautions, such as wearing a mask and working in a well-ventilated area. This prep work helps the new coat stick properly and reduces the risk of peeling or uneven finish. Proper preparation guarantees a smooth, professional-looking result.
Conclusion
Spraying crown molding and decorative trim is like giving your space a fresh breath of life. With a steady hand and the right tools, you’ll achieve a smooth, professional finish that transforms your room from ordinary to extraordinary. Think of it as painting a masterpiece—each spray adds a touch of elegance and character. So, take your time, stay patient, and enjoy the process of turning your vision into reality. Your stunning results are just a spray away.