
To properly store your airless sprayer for both short-term and long-term periods, start by cleaning and flushing the system thoroughly, removing any residual paint or solvents. Drain all liquids and protect internal parts from corrosion with lubricants or rust inhibitors. Store the equipment in a dry, temperature-controlled environment, and inspect it regularly before reuse. Following these steps guarantees your sprayer stays in top shape, and if you continue, you’ll discover more expert storage tips.
Key Takeaways
- Clean and flush the sprayer thoroughly with appropriate solutions before storage to prevent residue buildup and clogs.
- Drain all remaining paint, solvents, and water, ensuring no residual liquids remain to avoid corrosion.
- Store in a dry, temperature-controlled environment away from direct sunlight and moisture sources.
- Inspect seals, gaskets, and internal components for damage or corrosion, replacing or lubricating as needed.
- Conduct a functionality check after storage, testing for leaks, clogs, and proper operation before reusing.

Spray Gun Cleaning Kit, Universal Paint Gun Cleaner Brushes Set, Paint Sprayer Cleaning Kit
- Universal Compatibility: Fits most spray guns and airbrushes
- Multi-Material Brushes: Nylon, stainless steel, brass brushes in various sizes
- Delicate to Heavy Duty: Soft, medium, stiff bristles for different cleaning needs
As an affiliate, we earn on qualifying purchases.
As an affiliate, we earn on qualifying purchases.
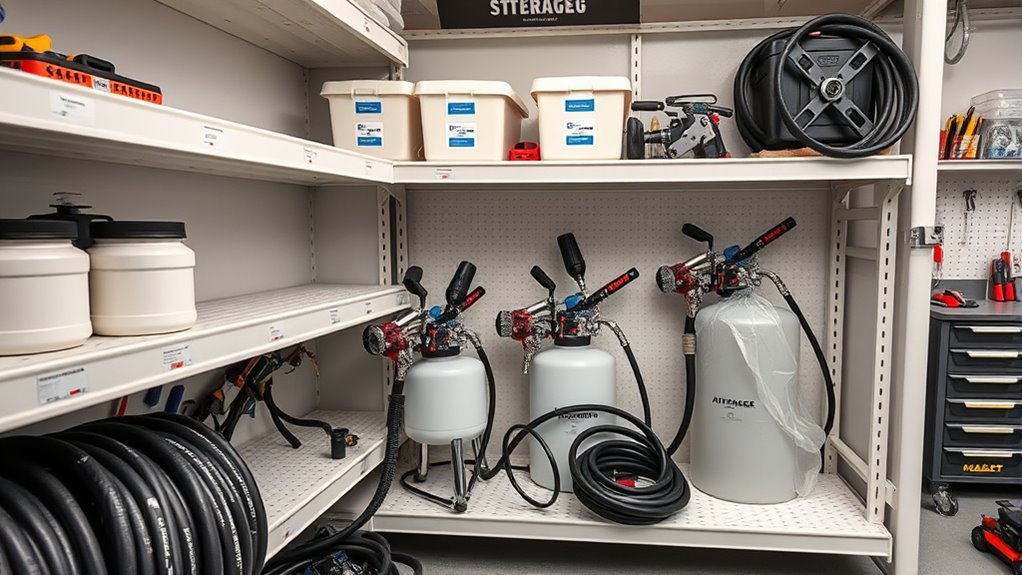
Preparing Your Airless Sprayer Before Storage
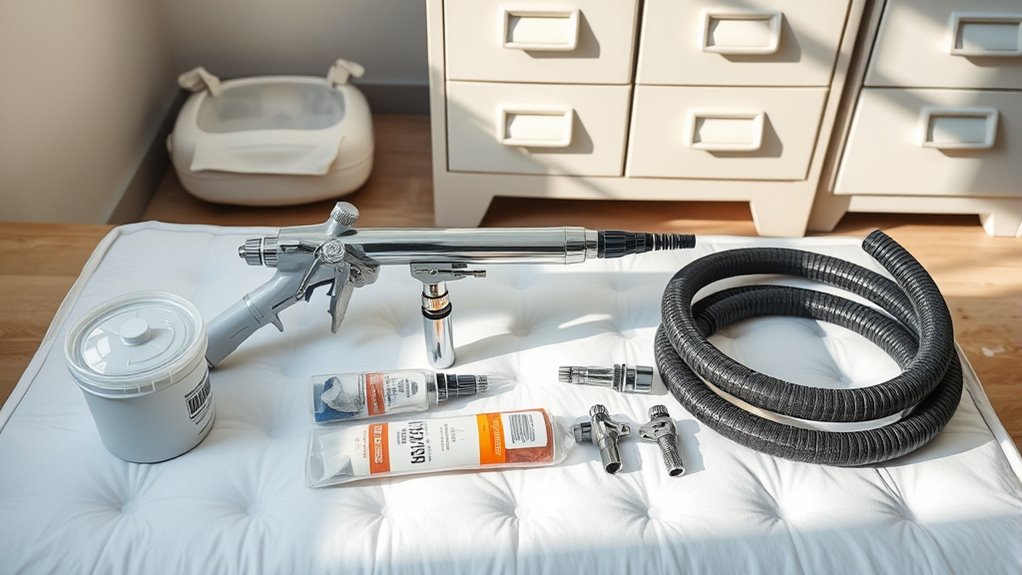
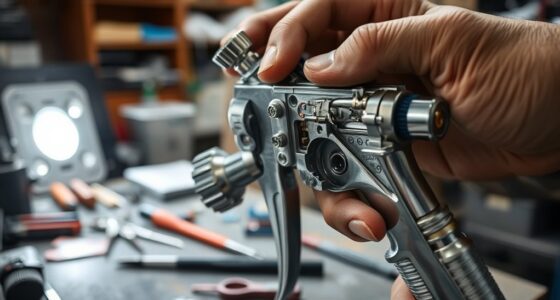
Before storing your airless sprayer, it’s essential to thoroughly clean and inspect it. Start by checking the equipment’s calibration to ensure it’s accurate for future use. Proper calibration prevents paint wastage and uneven coverage. Next, focus on equipment lubrication; lubricate moving parts like the pump and trigger to prevent rust and corrosion during storage. Confirm that all seals and gaskets are intact to avoid leaks or damage. Tighten fittings and remove any residual paint that might cause clogs or deterioration. Ensuring the sprayer is properly calibrated and lubricated reduces the risk of issues when you take it out of storage. Taking these steps helps maintain your equipment’s performance and prolongs its lifespan. Additionally, inspecting and cleaning air filters can prevent the buildup of dust and debris that might impair functionality later.
Cleaning and Flushing the System

After ensuring your airless sprayer is properly calibrated and lubricated, it’s time to focus on cleaning and flushing the system. First, select the right cleaning solution based on your paint compatibility—use water for water-based paints or a solvent for oil-based paints. Always follow safety precautions: wear gloves, goggles, and work in a well-ventilated area. Start by purging remaining paint from the system, then fill the hopper with the appropriate cleaning solution. Run the sprayer to flush out residual paint and debris, paying attention to all components, including hoses and nozzles. Proper cleaning prevents clogs, maintains performance, and extends your sprayer’s lifespan. Neglecting proper tuning can cause issues during long-term storage and future use.
Draining and Removing Water or Solvents
Make certain you properly drain any water or solvents from your sprayer before storing it. Remove all residual liquids to prevent damage or corrosion inside the equipment. Taking these steps helps ensure your sprayer stays in good condition and ready to use next time. Additionally, proper storage practices can help maintain the performance of your sprayer and extend its lifespan.
Properly Drain Equipment
Properly draining your airless sprayer is essential to prevent damage and guarantee reliable performance. You need to make certain your drain system functions correctly to remove liquids like water or solvents. First, disconnect the sprayer from power and vent the system. Then, activate the drain system to fully drain the equipment. This process removes any residual liquids that could cause corrosion or freezing during storage. Use the table below to guide your steps:
| Step | Action |
|---|---|
| Prepare | Turn off and unplug the sprayer |
| Drain | Activate drain system to remove liquids |
| Final Check | Confirm all liquids are cleared |
Following these steps helps maintain your sprayer, ensuring it’s ready for long-term storage. Additionally, proper storage practices can help prevent damage from freezing or corrosion, extending the lifespan of your equipment.
Remove Residual Liquids
To guarantee your airless sprayer stays in top condition, removing residual liquids like water and solvents is essential. Leftover liquids, including chemical residues from previous projects, can cause corrosion or clogging if left inside. You should thoroughly drain the pump and hoses to eliminate any water or solvents. Run the sprayer briefly with clean water or an appropriate cleaning solution to flush out remaining residues. Make sure to empty all residual liquids from the gun, hoses, and filters. Proper removal of leftover liquids prevents chemical buildup, reduces the risk of damage, and ensures your sprayer functions smoothly later. Always follow manufacturer instructions for flushing and draining to maintain excellent performance and extend your equipment’s lifespan.
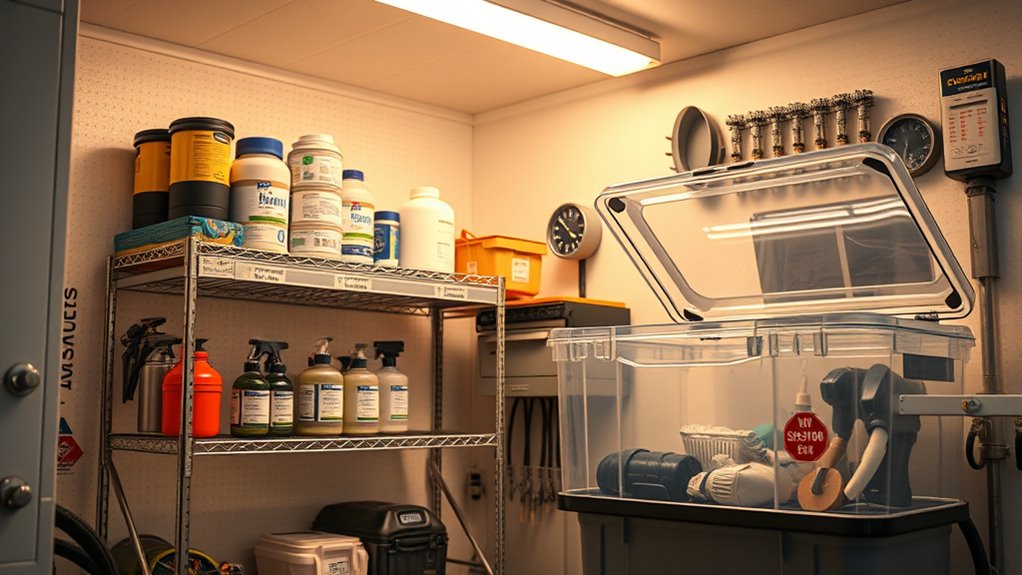
Protecting Internal Components From Corrosion

Since internal components are constantly exposed to paint and moisture, corrosion can quickly develop if they aren’t properly protected. To guarantee effective corrosion prevention, you must focus on material compatibility and proper storage practices. Use corrosion-resistant parts or coatings designed for your sprayer’s materials. Store the equipment in a dry, clean environment to minimize moisture exposure. Regularly apply rust inhibitors or protective oils to internal parts. Additionally, consider these tips:
Protect internal components with corrosion-resistant parts, proper storage, and regular maintenance to extend your sprayer’s lifespan.
- Use compatible cleaning agents to avoid damaging components
- Remove any residual moisture after cleaning
- Store in a low-humidity area
- Inspect for signs of corrosion periodically
- Follow manufacturer guidelines for long-term storage
- Understanding air purifier maintenance dos and don’ts can help prevent moisture buildup and protect internal components more effectively.
Implementing these measures helps safeguard your sprayer’s internal components against corrosion, extending its lifespan and maintaining ideal performance.
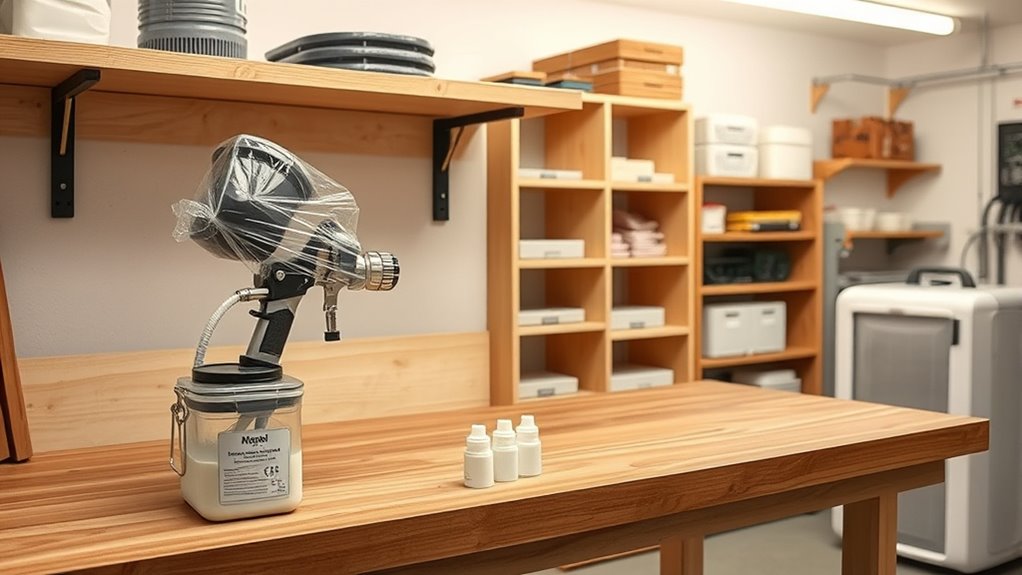
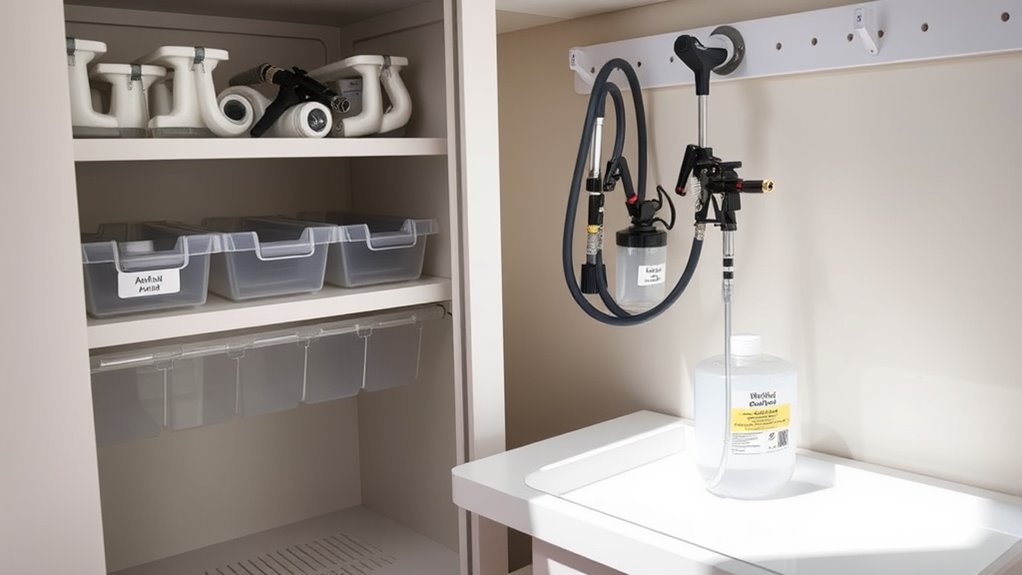
Properly Storing for Short-Term Use
When storing your airless sprayer for short periods, focus on safeguarding its components from damage and contamination. Follow simple maintenance tips like cleaning the nozzle, filters, and spray gun thoroughly to prevent clogs. Drain any remaining paint or cleaning solutions to avoid residue buildup. Store the sprayer in a dry, protected area away from extreme temperatures and humidity to guarantee storage safety. Make sure all parts are dry before storage to prevent rust and mold. Check for loose fittings or damaged hoses and secure them properly. Label the equipment if necessary, so you remember to perform maintenance before your next use. Proper short-term storage minimizes issues and keeps your sprayer ready for the next project. Additionally, understanding the importance of proper storage practices can help extend the lifespan of your equipment.
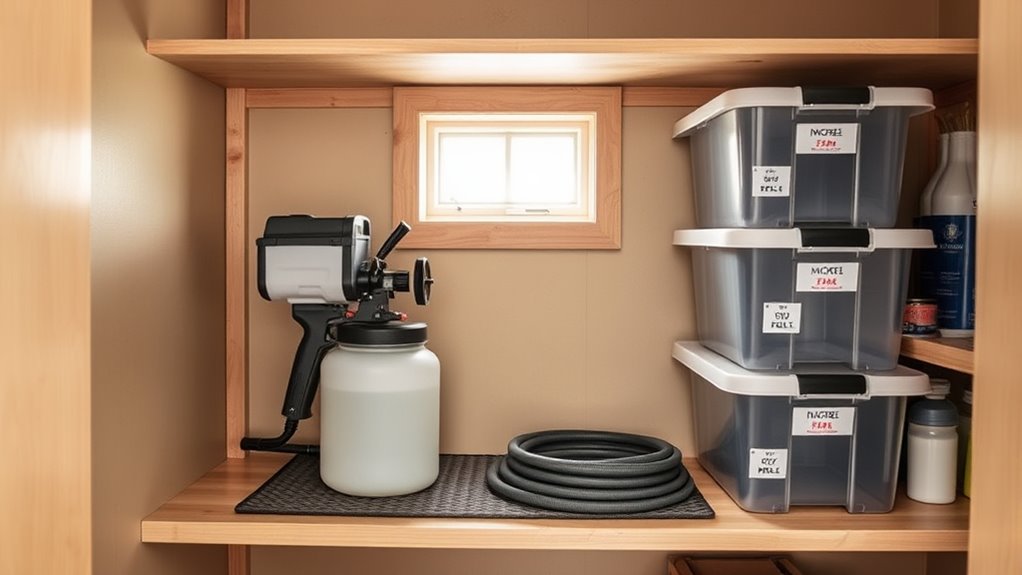
Long-Term Storage Solutions and Considerations
Long-term storage of your airless sprayer requires thorough preparation to guarantee it remains in good condition over extended periods. You must address chemical compatibility to prevent corrosion or damage, ensuring leftover paint or cleaners won’t harm internal parts. Temperature regulation is vital; store your sprayer in a cool, dry place to avoid freezing or overheating that can cause seals to crack or degrade. Additionally, consider these key points:
- Drain all remaining paint and cleaning solutions
- Clean and inspect the entire system thoroughly
- Use compatible lubricants to protect internal components
- Store in an environment with stable temperature and humidity
- Seal all openings to prevent dust and debris entry
- Regularly check for signs of spoilage or corrosion to maintain the sprayer’s longevity
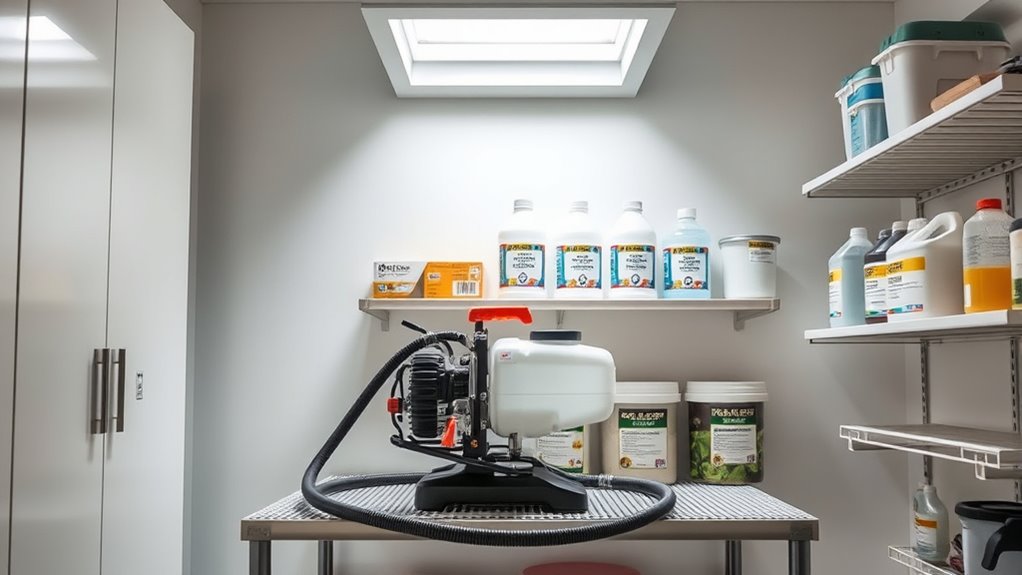
Storage Environment and Location Tips
Choosing the right storage environment and location is essential to maintaining your airless sprayer’s performance over time. Aim for a space with stable temperature and controlled humidity. Fluctuating temperatures can cause parts to expand or contract, risking damage, while high humidity may lead to rust or corrosion. Select a cool, dry area away from direct sunlight and moisture sources. Keep the sprayer off the floor to prevent exposure to water or debris. Use the table below to visualize key ideas:
| Factor | Tip |
|---|---|
| Humidity Control | Store in a dry environment, use dehumidifiers if needed |
| Temperature Stability | Keep in a consistent, cool space |
| Location | Avoid direct sunlight and moisture sources |
| Placement | Elevate off the ground to prevent water contact |
Additionally, ensure the storage area is free from moisture sources such as leaks or condensation that could compromise the equipment.
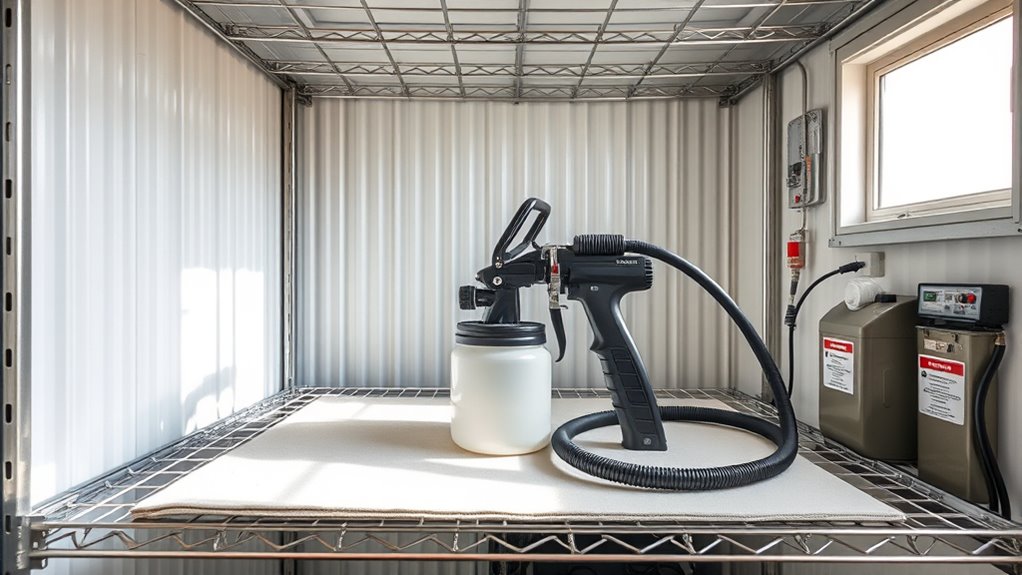
Maintenance Checks Before Reuse
Before you reuse your airless sprayer, give it a quick check to make sure it’s ready. Look for any residue buildup, and inspect seals and gaskets for damage. Finally, test its functionality to make sure everything operates smoothly before you start painting again. Additionally, ensure your sprayer’s filter system is clean and functioning properly, as a well-maintained filter is essential for optimal performance.
Check for Residue Buildup
To guarantee your airless sprayer operates smoothly and delivers a quality finish, it’s essential to check for residue buildup before reuse. Residue buildup can cause surface contamination, affecting spray pattern and finish quality. Inspect the entire system, focusing on tips, filters, and hoses. Look for hardened paint or material deposits that can clog or impair performance. Clean any visible residue thoroughly to prevent contamination in your next project. Additionally, inspecting for color accuracy ensures the sprayer applies coatings evenly and accurately, maintaining the desired finish quality.
- Ensure no dried paint remains on spray tips
- Check for hardened deposits inside filters
- Clear any blockages in hoses or nozzles
- Remove surface contamination from all components
- Verify that no residual materials are left in the paint chamber
Addressing residue buildup helps maintain optimal spray performance and prevents issues during your next use.
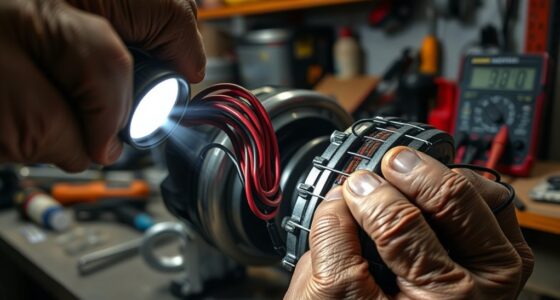
Inspect Seals and Gaskets
Have you checked the seals and gaskets lately? Ensuring seal integrity is vital before storing your airless sprayer. Examine all seals and gaskets closely for cracks, tears, or signs of wear. Damaged gaskets can compromise performance and cause leaks, so replace them if needed. Proper gasket replacement maintains a tight seal, preventing air or fluid leaks during storage or future use. Don’t overlook small issues; even minor damage can lead to bigger problems down the line. Regular inspection helps you catch potential failures early, saving time and money. By maintaining intact seals and replacing worn gaskets, you guarantee your sprayer stays in prime condition, ready for reliable operation when you need it again. Additionally, consulting dog names can provide inspiration for naming your tools or equipment, adding a touch of personality to your workspace.
Test Functionality Before Use
Testing your airless sprayer’s functionality before reuse is essential to guarantee it operates correctly and safely. This step ensures that your equipment is properly calibrated and ready for peak performance. To do this effectively, you should:
- Check for leaks or loose connections
- Run a test spray on a scrap surface
- Confirm the pressure is within the recommended range
- Inspect the nozzle for clogs or damage
- Verify that the equipment calibration is accurate
- Automation’s role in business can help monitor and optimize your sprayer’s performance through automated diagnostics and alerts.
Performing these checks helps identify issues early, preventing uneven spraying or equipment failure. Regularly testing functionality not only extends your sprayer’s lifespan but also guarantees consistent, professional results. Always prioritize these maintenance checks before starting your project to ensure safety and efficiency.
Troubleshooting Common Storage-Related Issues
If you neglect proper storage practices, common issues such as clogged nozzles, pump failures, or paint separation can arise in your airless sprayer. To troubleshoot, start with airless sprayer calibration—incorrect calibration can cause uneven paint flow or nozzle clogging. Check that your spray pattern matches the manufacturer’s specifications. Also, ensure paint compatibility; storing incompatible paints can lead to separation or hardened residues that clog the system. If paint has separated, thoroughly clean the filters and replace any hardened components. Regularly inspect hoses and seals for cracks or leaks, especially after long-term storage. Proper cleaning and maintenance prevent many storage-related problems, helping your sprayer perform reliably when you’re ready to use it again.
Frequently Asked Questions
How Often Should I Perform Maintenance on My Stored Airless Sprayer?
You should perform maintenance on your stored airless sprayer regularly, ideally every 1 to 3 months, depending on usage. Check your maintenance schedule based on the storage location; if it’s in a humid area, inspect more often for rust or buildup. Clean filters, lubricate moving parts, and drain residual paint to keep your sprayer in top condition. Consistent maintenance guarantees longevity and peak performance when you need it.
What Are the Signs of Internal Corrosion After Storage?
Coincidences often reveal hidden issues, and spotting internal corrosion is no different. After storage, look for corrosion indicators like internal rust or flaky deposits inside the sprayer. You might notice decreased spray quality or strange noises during operation, which can also signal corrosion. Regularly inspecting your equipment guarantees you catch internal rust early, preventing costly repairs and extending your sprayer’s lifespan.
Can I Store My Sprayer Outdoors Long-Term?
Storing your sprayer outdoors long-term isn’t ideal unless you take proper measures. Outdoor storage exposes your equipment to weatherproofing challenges like rain, snow, and sun, which can cause damage. If you must leave it outside, make certain it’s stored in a weatherproof shed or covered area, and protect it with a durable cover. Regularly check for signs of wear and keep it dry to prolong its lifespan.
How Do Temperature Fluctuations Affect Stored Airless Sprayers?
Temperature fluctuations can cause your stored airless sprayer to expand and contract, leading to potential damage. When it gets warmer, temperature expansion may loosen seals and create gaps, allowing moisture intrusion. Conversely, cold temperatures can make parts brittle or cause condensation inside. To prevent these issues, store your sprayer in a stable environment, ideally indoors, where temperature changes are minimized, protecting it from moisture intrusion and mechanical stress.
Are There Specific Storage Practices for Different Sprayer Brands or Models?
You should follow brand-specific storage and model-dependent guidelines for your airless sprayer to guarantee peak performance. Different brands may have unique recommendations for cleaning, draining, or protecting components during storage. Always consult your user manual or manufacturer’s instructions, as improper storage can cause damage or reduce lifespan. By adhering to these tailored practices, you’ll maintain your sprayer’s efficiency and prolong its usability, no matter the brand or model.
Conclusion
Properly storing your airless sprayer guarantees it stays in top shape and ready to use when you need it. Did you know that regular maintenance can extend your sprayer’s lifespan by up to 50%? Taking a little time to clean, drain, and protect your equipment not only saves you money but also improves your project results. Stay diligent with storage practices, and your sprayer will serve you well for years to come.