If your tip shows signs of roughness, cracks, or discoloration, it’s likely worn out. You might notice a decrease in performance, such as longer heating times, uneven heat distribution, or poor work quality. Dull tips also cause irregular finishes and require more effort, making your tasks harder. If you observe any of these issues, it’s time to inspect further. Keep going, and you’ll discover how to pinpoint additional signs of tip wear and extend its lifespan.
Key Takeaways
- Visual signs like rough, pitted, or corroded surfaces indicate tip wear and deterioration.
- Reduced performance, such as longer processing times or poor solder joints, suggests wear.
- Accumulated residue, corrosion, or discoloration on the tip points to aging and shape loss.
- Uneven heat distribution, hot spots, or warping signal degraded heat transfer capability.
- Increased effort or pressure needed for tasks indicates a dulled or worn tip.
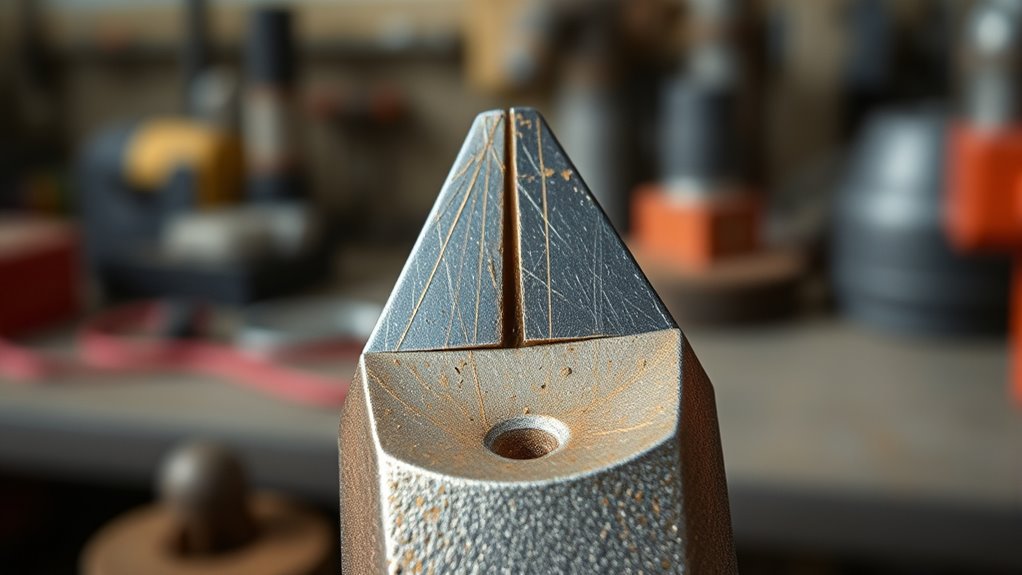
Changes in Tip Appearance and Surface Condition
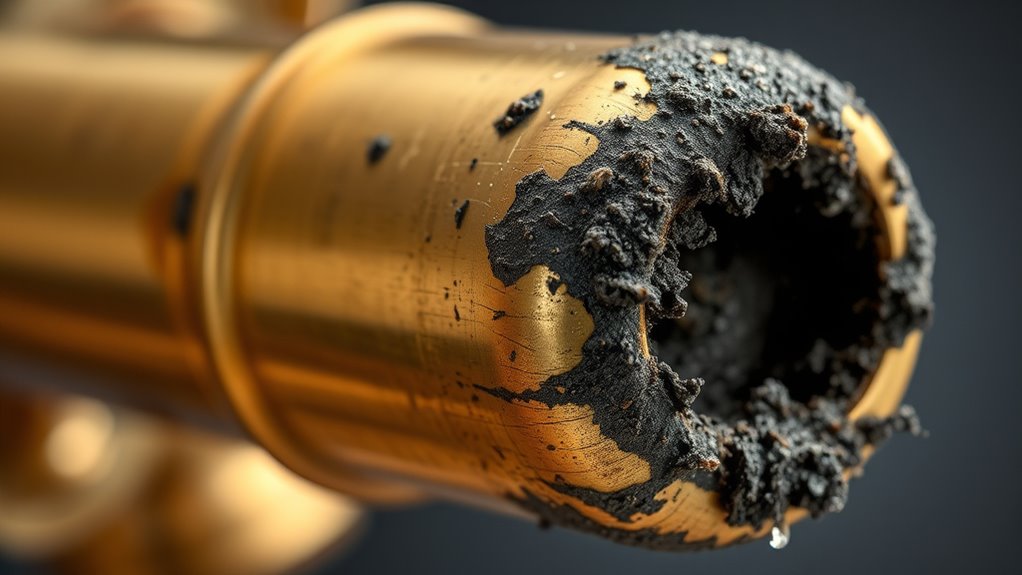
As your tip begins to wear out, you’ll notice visible changes in its appearance and surface condition. Tip material degradation becomes evident as the surface looks rougher or uneven, indicating the material is breaking down. You might see tiny cracks or chips forming along the edges, which signal wear. Surface corrosion can also develop, especially if the tip has been exposed to moisture or corrosive substances. Corrosion appears as discoloration, rust, or pitting on the surface, weakening the tip’s integrity. These visual signs are clear indicators that your tip is aging and losing its original shape and smoothness. Recognizing these changes early helps you determine when it’s time to replace or service the tip to maintain ideal performance. Additionally, inspecting for filter indicators or monitoring performance changes can help identify when maintenance or replacement is necessary. Regularly checking the tip size and condition ensures consistent spray quality and prevents issues caused by worn tips. Being attentive to wear patterns can also help you better predict when the tip might need replacement.
Decreased Performance and Efficiency
When your tip wears out, you’ll notice a drop in cutting power and efficiency. Materials may become harder to process, and tasks will take longer than usual. These signs indicate it might be time to replace your tip for better performance. Additionally, if you notice a decrease in overall engine performance, it could be related to your vehicle’s tuning adjustments and component wear. Recognizing the importance of proper maintenance can help prevent premature wear and ensure optimal operation. Regular inspections and understanding the signs of wear can extend the lifespan of your equipment and improve overall efficiency. Being aware of wear indicators can help you schedule timely replacements and avoid costly repairs. Understanding component wear is essential for maintaining peak performance and avoiding unnecessary downtime.
Reduced Cutting Power
Reduced cutting power is often the first sign that your tip is worn out. When you notice it takes more effort to cut or the process slows down, your tip’s material may be losing its edge. Surface corrosion can weaken the tip, decreasing its effectiveness. Additionally, a worn tip may struggle with different materials, especially harder surfaces. To understand why, consider this table:
| Tip Material | Surface Condition | Cutting Performance |
|---|---|---|
| Hard steel | Clean, smooth | Efficient, sharp cuts |
| Worn steel | Corroded, pitted | Reduced power, slower cuts |
| Coated tips | Damaged, scratched | Decreased performance |
Maintaining tip material and preventing surface corrosion are *vital* to preserving cutting power.
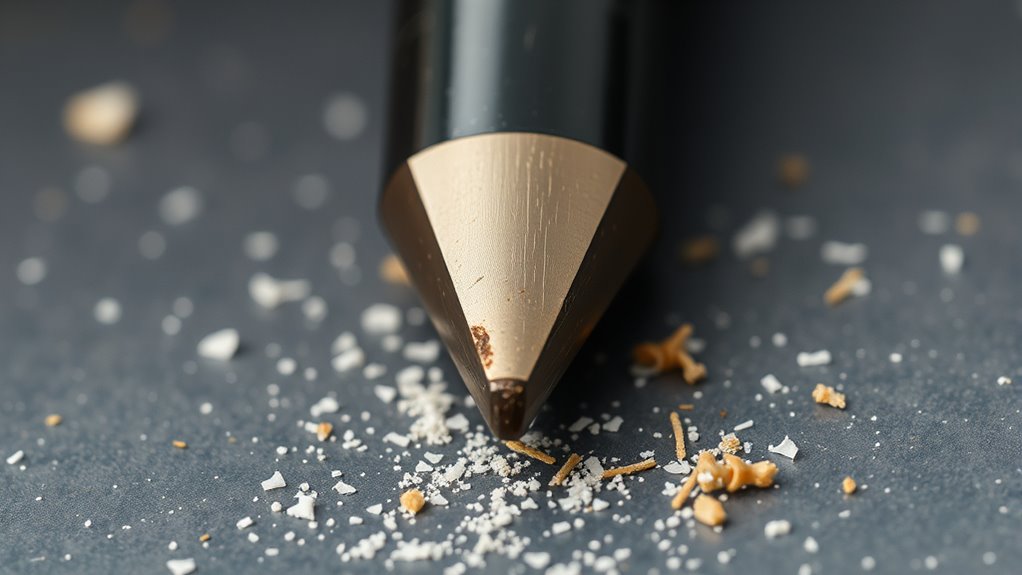
Increased Material Wear
Increased material wear directly impacts your tool’s performance, causing it to become less efficient over time. As the tip deteriorates, you’ll notice a decline in cutting quality and speed. This wear results from ongoing material deterioration and tip corrosion, which weaken the tip’s structure. To recognize this, look for:
- Reduced cutting accuracy, leading to uneven results
- Increased force required to operate, indicating resistance from worn material
- Visible signs of tip corrosion or chipping, which compromise the tip’s integrity
- The rise of cyber threats underscores the importance of AI security in maintaining reliable tool performance and safeguarding sensitive data. Additionally, material fatigue can accelerate tip deterioration, making regular inspection even more critical, especially since cultural heritage and upbringing influence how tools are maintained and cared for. These issues signal that your tip is experiencing increased material wear. When wear becomes significant, it hampers performance and can lead to further damage, so regular inspection and timely replacement are essential to maintain efficiency.
Longer Processing Time
As your tool’s tip wears down, you’ll notice that processing tasks take longer than usual. This longer processing time results from material fatigue weakening the tip’s structure, making it less efficient at cutting or shaping. Corrosion effects can also contribute by degrading the tip’s surface, increasing resistance and reducing performance. Over time, these factors cause increased friction and less precise results, forcing you to spend more time to complete each task. If you find yourself needing to apply extra pressure or redo work, it’s a clear sign your tip is compromised. Regular inspection for signs of fatigue and corrosion can help you catch these issues early, ensuring you replace the tip before it markedly hampers your productivity. Additionally, proper maintenance of your tools can extend the lifespan of the tips and maintain optimal performance. Understanding the importance of tool wear and how it impacts efficiency can motivate timely replacements and care. Recognizing the role of local resources, such as professional service providers, can also assist in maintaining your tools effectively. Being aware of headphone compatibility issues can prevent unnecessary wear caused by improper connections or usage. Moreover, considering performance upgrades, like replacing worn tips with high-quality alternatives, can restore your tool’s optimal function and reduce downtime.
Irregularities in the Workpiece Finish
Irregularities in the workpiece finish often indicate that your tip isn’t performing ideally. When you notice uneven or rough surfaces, it could be due to worn tip material affecting heat transfer. This results in inconsistent melting or cutting, compromising the workpiece finish. To diagnose, consider these factors:
- Uneven or rough surface on the workpiece, suggesting poor heat distribution.
- Excessive solder or material buildup, indicating the tip isn’t transferring heat effectively.
- Visible wear or corrosion on the tip, which impacts its ability to produce a smooth finish.
- Proper maintenance of the tip can prevent premature wear and ensure consistent performance.
These issues point to the need for a fresh tip to restore proper tip material performance, ensuring a clean, smooth workpiece finish every time.
Increased Difficulty in Soldering or Cutting
If you notice your soldering or cutting becoming more difficult, your tip might be worn out. A dull tip reduces heat transfer, making your work less efficient. Increased resistance during soldering is a clear sign it’s time to replace or clean your tip. Additionally, proper maintenance techniques can be used to communicate the importance of maintaining your equipment effectively. Regularly inspecting and cleaning your tips ensures optimal performance and prolongs their lifespan, especially when working in a remote work setup where efficiency is key. As automation and technological advancements continue to evolve, maintaining your tools becomes even more crucial for achieving precise and effective results.
Dull Tip Performance
A dull tip can considerably hinder your ability to solder or cut effectively, making tasks more challenging and frustrating. When your tip material or tip coating wears down, it loses its sharpness and heat transfer capabilities. This results in longer soldering times and poor cuts.
To identify dull tip performance issues, consider these signs:
- The tip struggles to transfer heat efficiently, causing poor solder joints or rough cuts.
- Solder or material sticks to the tip unevenly, indicating worn tip coating.
- You need to apply excessive pressure, which can damage your work surface or components.
Regularly inspect your tip’s material and coating; if they show signs of wear, it’s time for a replacement or cleaning to restore best possible performance.
Increased Soldering Resistance
When your soldering or cutting tasks become noticeably more difficult, it often signals increased resistance in your tip. This resistance hampers heat transfer, making it harder to melt solder or cut effectively. Poor soldering technique can exacerbate this issue, but a worn-out tip with diminished material durability is usually the culprit. As the tip material wears down, it develops a rough or pitted surface, increasing the effort needed to maintain a steady temperature. You might notice longer heating times or inconsistent results. If you’re struggling with these issues, it’s time to inspect your tip. Replacing a tip that has lost its material durability will restore proper heat transfer, improve your soldering technique, and make your tasks much easier. Additionally, proper storage and maintenance can help prolong the lifespan of your soldering tips.
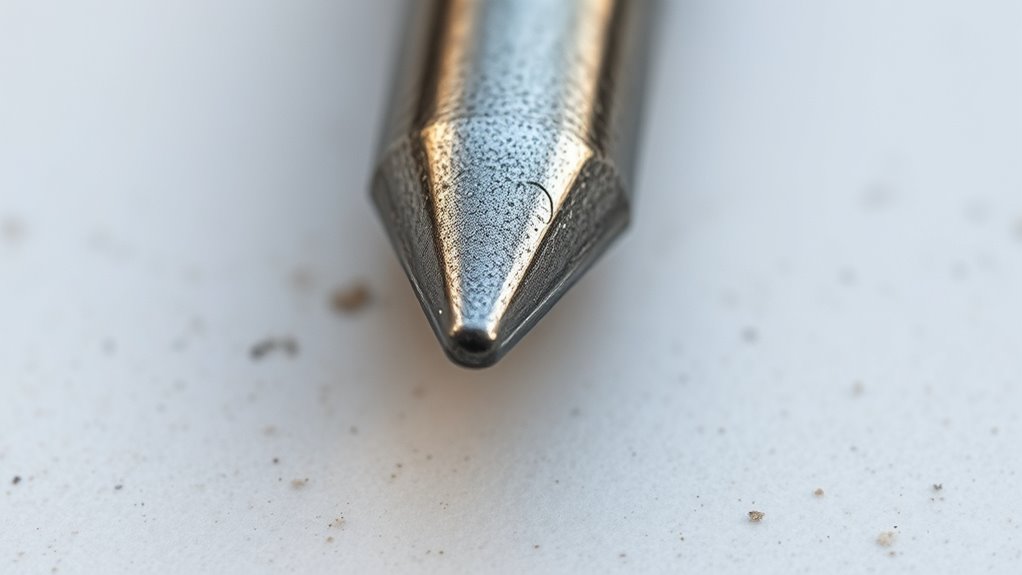
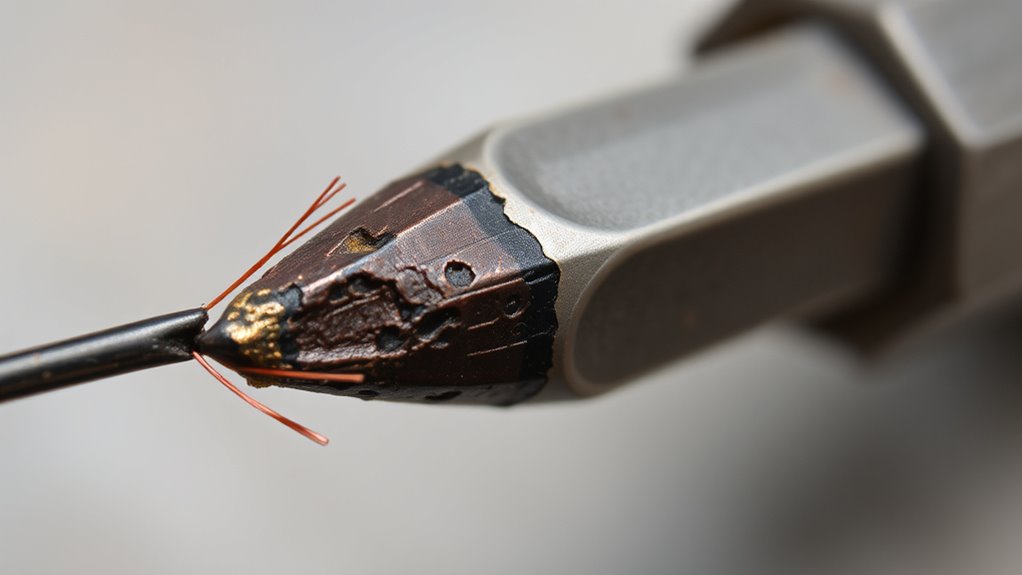
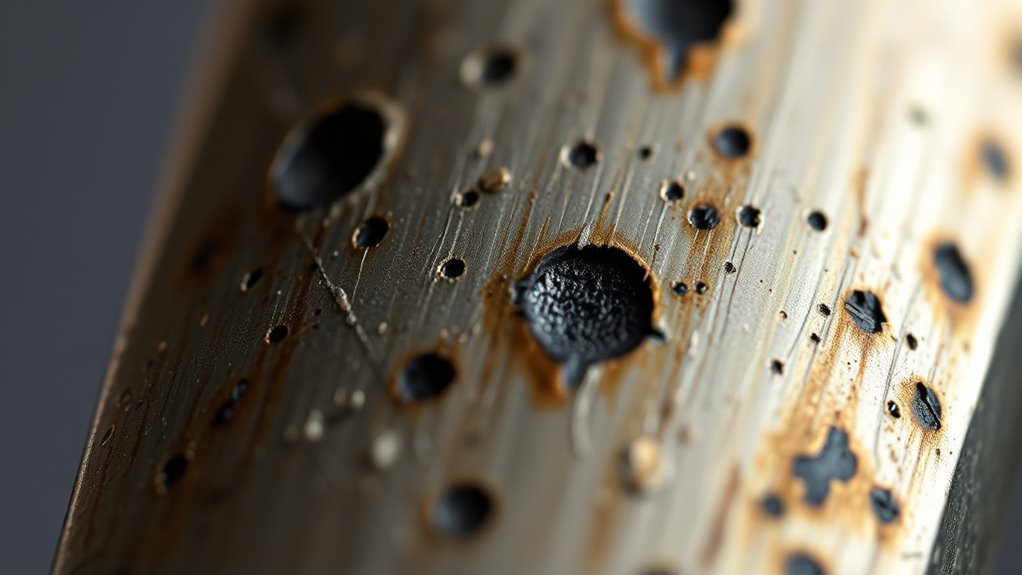
Visual Signs of Wear or Damage, Such as Pitting or Burn Marks
Visual signs of wear or damage on your tip can quickly indicate it’s time for a replacement. Look for these key indicators:
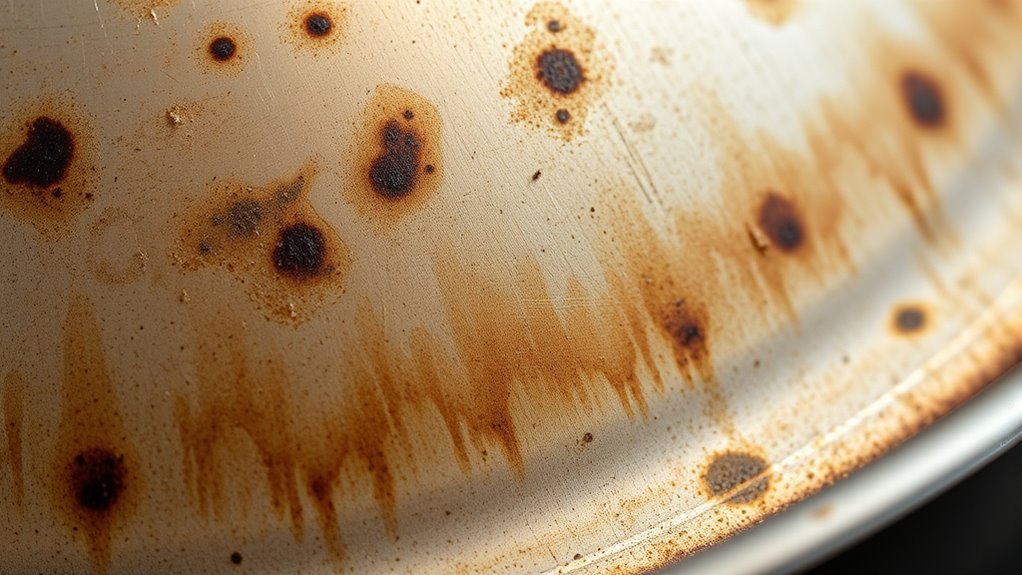
- Tip corrosion – Rust or discoloration suggests the tip has deteriorated and may affect heat transfer.
- Surface pitting – Small holes or indentations, often caused by tip corrosion, weaken the tip structure and reduce efficiency.
- Burn marks or discoloration – Darkened areas indicate overheating, which can warp the tip and impair soldering performance.
These signs often appear together and signal that your tip has reached the end of its lifespan. Addressing surface pitting and corrosion early can prevent further damage and ensure quality soldering. If these signs are visible, replacing the tip is the best course of action.
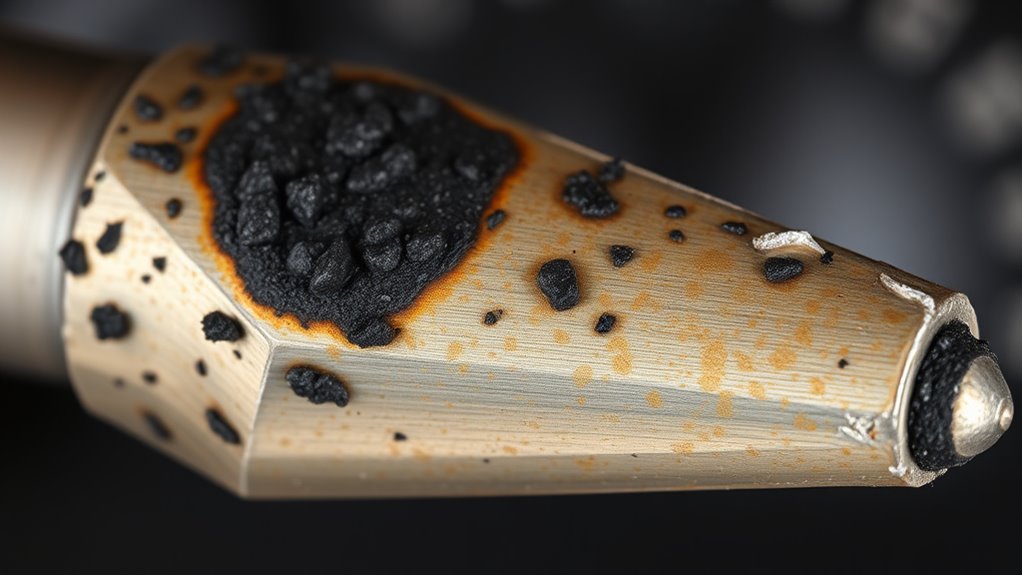
Excessive Tip Buildup or Residue
Even if your tip shows no obvious signs of corrosion or pitting, buildup of excess solder or residue can still hinder its performance. Residue buildup from flux or leftover solder creates a barrier that prevents heat transfer, making soldering less efficient. Over time, this buildup can cause the tip to become less responsive and lead to uneven heating. Tip corrosion may develop beneath the residue, further degrading the tip’s effectiveness. Regular cleaning is essential to prevent excessive buildup—use a brass wire or a damp sponge to wipe the tip during use. If you notice persistent residue or dullness despite cleaning, it might be time to re-tin the tip or replace it. Keeping your tip clean ensures maximum heat transfer and prolongs its lifespan.
Inconsistent or Uneven Heat Distribution
If your tip isn’t heating evenly, you might notice hot spots and cold zones on your cooking surface. This uneven heat can lead to inconsistent results, making some areas overcooked while others remain underdone. Recognizing these issues helps you determine if your tip needs replacing or maintenance.
Hot Spots and Cold Zones
Have you noticed certain areas of your grill or smoker heat up more than others, leading to uneven cooking? These are your hot spots and cold zones, caused by inconsistent heat distribution. Hot spots can burn your food’s surface while cold zones leave parts undercooked. To identify these areas, try the following:
- Use a grill or oven thermometer to map out temperature variations.
- Place food directly on different grill sections to observe cooking differences.
- Check for airflow blockages or uneven heat sources that cause temperature fluctuations.
Understanding hot spots and cold zones helps you adjust your cooking technique, reposition food, or modify airflow to achieve more even results. Addressing these issues guarantees your meals are cooked thoroughly and consistently.
Uneven Cooking Outcomes
Hot spots and cold zones can cause your food to cook unevenly, leaving some parts burnt while others remain underdone. This often indicates issues with your tip’s material or its condition. Over time, the heating element or the tip itself may degrade, leading to inconsistent heat distribution. If your cooking results become unpredictable, it might be time for tip replacement. A worn tip may no longer transfer heat evenly, creating uneven cooking outcomes. Check for signs like discoloration, warping, or buildup that can hinder heat flow. Upgrading to a new tip made from high-quality material can restore even heat distribution. Regularly inspecting your tip’s condition and replacing it when necessary ensures you achieve consistent, well-cooked results every time.
Longer Warm-up or Heating Times

When your tip starts taking longer to warm up or heat, it’s a clear sign that it may be worn out. Over time, the tip material and heating element can degrade, reducing efficiency. This causes delayed heat transfer, making your setup less responsive. To identify issues:
- Increased warm-up time compared to when you first used the tip
- Inconsistent heating or fluctuating temperature readings
- Longer periods needed to reach your desired temperature
Worn tips often have a damaged or coated surface, impacting heat conduction. If your tip material or heating element isn’t performing as it used to, it’s time to contemplate replacement. Recognizing these signs early ensures your tool maintains peak performance.
Difficulties Maintaining Proper Temperature
If your soldering tip struggles to maintain a consistent temperature, it’s a clear sign that the tip may be worn out or damaged. This issue often results from the tip material degrading over time or surface contamination hindering heat transfer. When the tip material wears down, it can’t efficiently transfer heat, causing fluctuations during use. Surface contamination like oxidation or grime acts as an insulator, preventing proper heat flow. To visualize, consider this table:
| Issue | Effect |
|---|---|
| Tip material wear | Reduced heat transfer, inconsistent temperature |
| Surface contamination | Insulation layer, temperature drops or fluctuates |
Addressing these problems involves cleaning the tip and replacing it if necessary to restore proper temperature control.
Reduced Precision and Control During Use
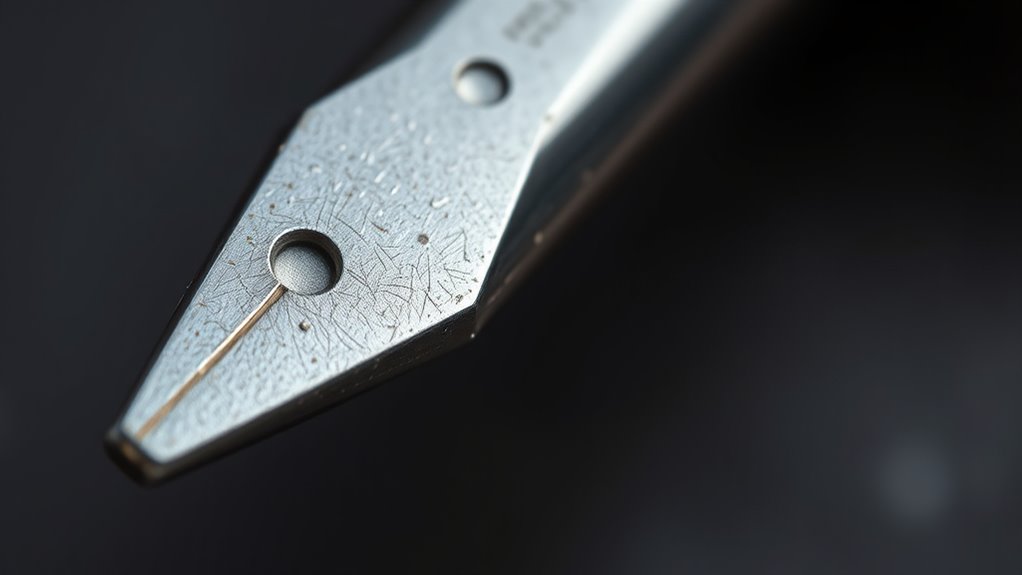
Are you noticing that your soldering isn’t as accurate or controlled as it used to be? Reduced precision and control often indicate a worn tip. Over time, the tip material wears down, making it harder to transfer heat efficiently. Surface corrosion can develop, increasing friction and decreasing tip responsiveness. This results in uneven solder joints and difficulty in fine work. To diagnose, consider these signs:
- Solder doesn’t flow smoothly onto surfaces
- Increased difficulty maintaining a consistent temperature
- Visible corrosion or a rough, pitted tip surface
Addressing these issues involves cleaning or replacing the tip. A worn or corroded tip disrupts heat transfer, compromising control. Regular maintenance and timely replacement ensure your soldering remains precise and manageable.
Frequently Asked Questions
How Often Should I Replace My Soldering Tip?
You should replace your soldering tip when it no longer heats evenly or if it becomes pitted or corroded. Regular tip cleaning helps maintain its condition, and proper tip storage prevents oxidation. Typically, you might need a new tip every few months with frequent use, but always check for build-up or damage. If cleaning and proper storage don’t restore performance, it’s time to substitute the tip to ensure good solder joints.
Can I Extend My Tip’S Lifespan With Proper Maintenance?
You can definitely extend your soldering tip’s lifespan with proper maintenance. Regular tip cleaning removes oxidation and residue, keeping it in good condition. Use appropriate storage techniques, like keeping your tip in a dry, insulated container, to prevent corrosion. Always tin your tip before turning off your iron, and avoid unnecessary heating. These habits help maintain superior performance and prolong your tip’s life, saving you money and effort in the long run.
What Types of Tips Are Best for Different Tasks?
Choosing the right tip materials depends on your task—steel tips work for heavy-duty work, while brass or bronze are better for delicate surfaces. Use proper tip cleaning techniques, like wire brushing or wiping, to keep tips in good shape. This not only improves performance but extends tip lifespan. Always select tips suited for your specific job, and clean them regularly to guarantee ideal results and durability.
Is It Safe to Use a Worn-Out Tip?
A stitch in time saves nine, so don’t ignore a worn-out tip. Using a damaged tip isn’t just unproductive—it’s unsafe, risking poor soldering safety and damage to components. Always inspect your tip, clean it regularly with proper tip cleaning techniques, and replace it when it shows signs of wear. Continuing to use a worn-out tip can lead to poor connections and safety hazards, so replace it promptly for ideal results.
How Do Environmental Factors Affect Tip Wear?
Environmental factors substantially influence tip wear. Corrosion effects, caused by moisture or chemicals, can weaken your tip faster and lead to uneven wear. Temperature impact also plays a role; high heat accelerates material degradation, while cold can cause brittleness. You should regularly monitor these conditions, as harsh environments can speed up wear, making it crucial to adjust your maintenance routine to guarantee ideal tip performance and longevity.
Conclusion
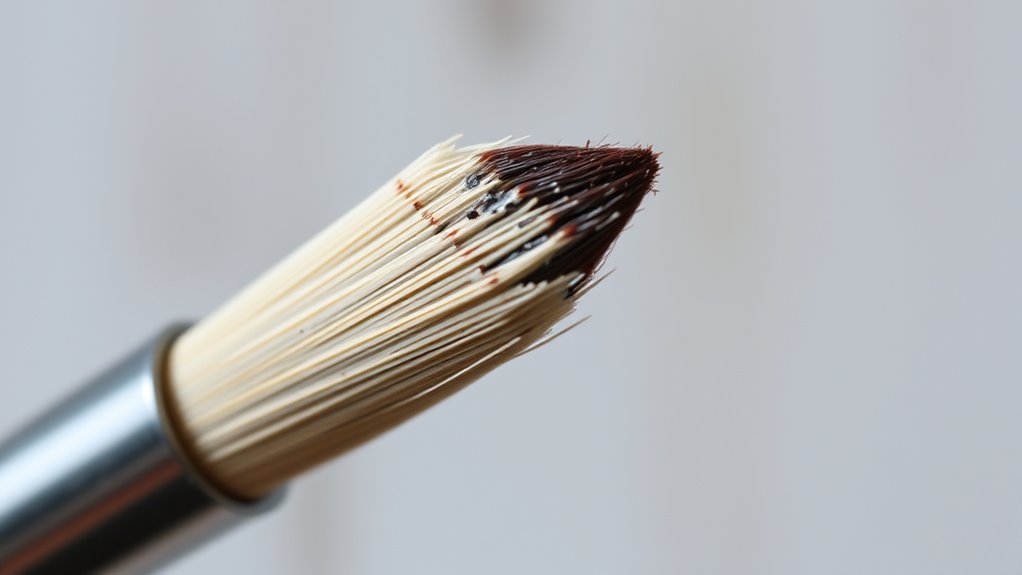
If your tip shows signs of wear, it’s like a worn-out paintbrush losing its brushstrokes—you won’t get the vibrant results you crave. Keep an eye out for pitting, uneven surfaces, or a decline in performance. When your tools start to feel tired, don’t ignore the warning signs—they’re whispering that it’s time for a refresh. A fresh tip is like a new dawn, ready to craft perfection with every touch.