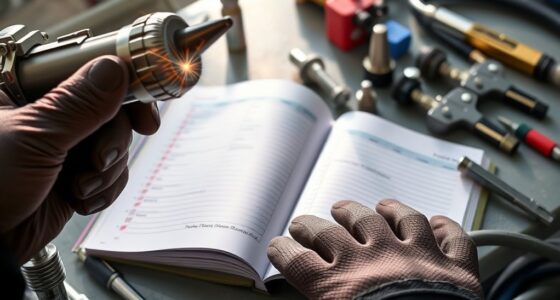

To troubleshoot airless sprayer pressure problems, start by checking the pressure control settings and ensuring they’re correct. Inspect the spray tip, nozzle, and filters for clogs or wear. Confirm all hoses and connections are secure and in good condition. Examine the pump and fluid supply to detect leaks or blockages. Adjust the pressure regulator as needed. If issues persist, many common causes and solutions are explained further to help you get your sprayer back in ideal working condition.
Key Takeaways
- Check and calibrate the pressure gauge to ensure accurate readings before adjustment.
- Inspect and clean spray tips, nozzles, and filters to prevent clogs and pressure drops.
- Verify hoses, fittings, and seals are secure, intact, and free of leaks or damage.
- Adjust the pressure control knob within the sprayer’s recommended range for optimal performance.
- Examine pump components and replace worn parts to maintain consistent pressure output.
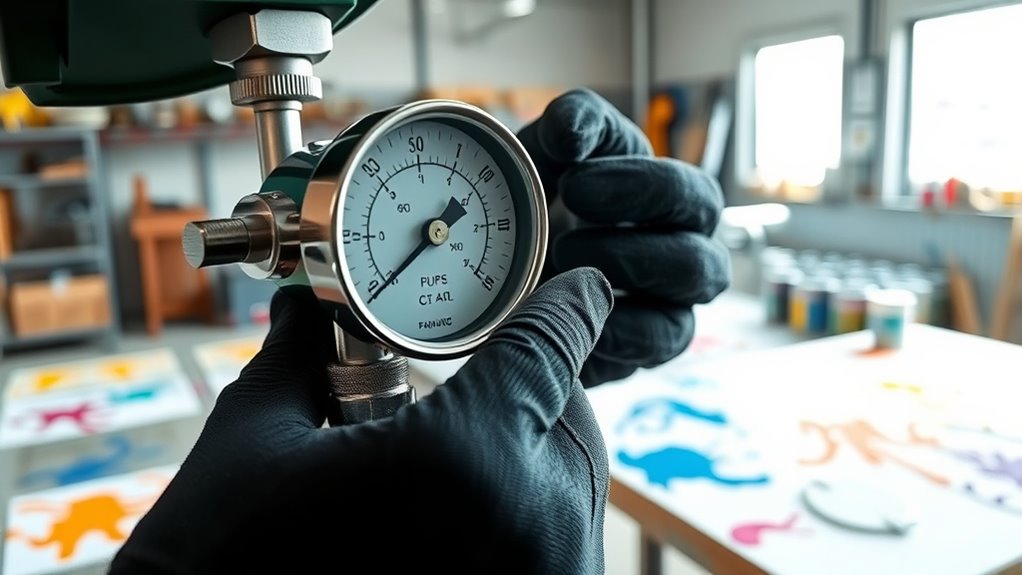
Checking the Pressure Control Settings
Before troubleshooting pressure issues, you should first check the pressure control settings on your airless sprayer. Proper sprayer maintenance includes regularly verifying that the pressure settings are correct for your project. Start by ensuring the pressure gauge is accurately calibrated, as an uncalibrated gauge can give false readings. Adjust the pressure control knob to the recommended pressure level for your application, referring to the manufacturer’s guidelines. Always operate within the sprayer’s specified pressure range to prevent issues and maintain consistent spray patterns. If your pressure gauge isn’t reading correctly, consider recalibrating it or replacing it altogether. Correct pressure control settings are essential for effective spraying and avoiding unnecessary wear or damage to the equipment. Additionally, understanding Kia Tuning principles can help you optimize equipment performance and troubleshoot common issues more effectively.
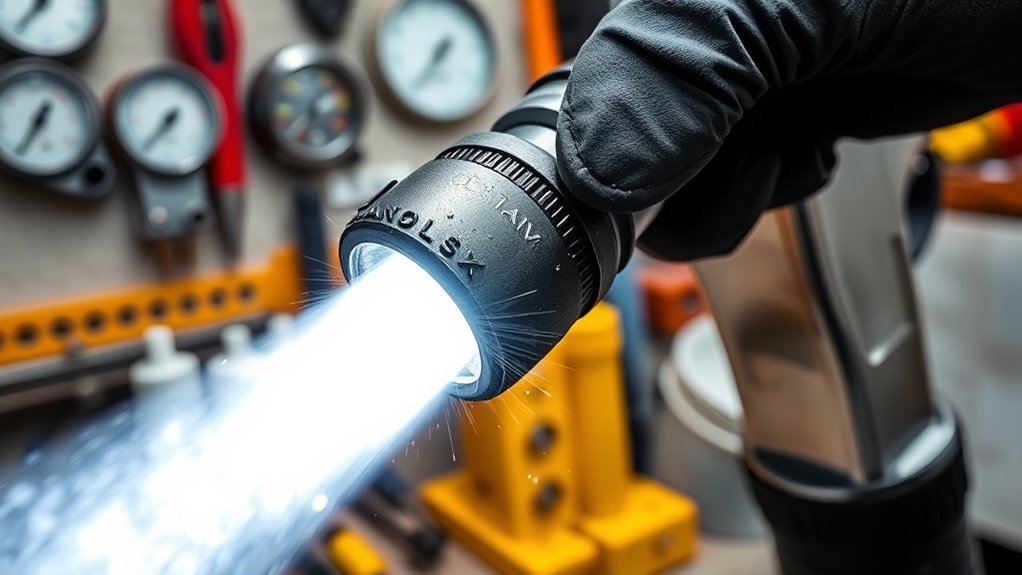
Inspecting the Spray Tip and Nozzle
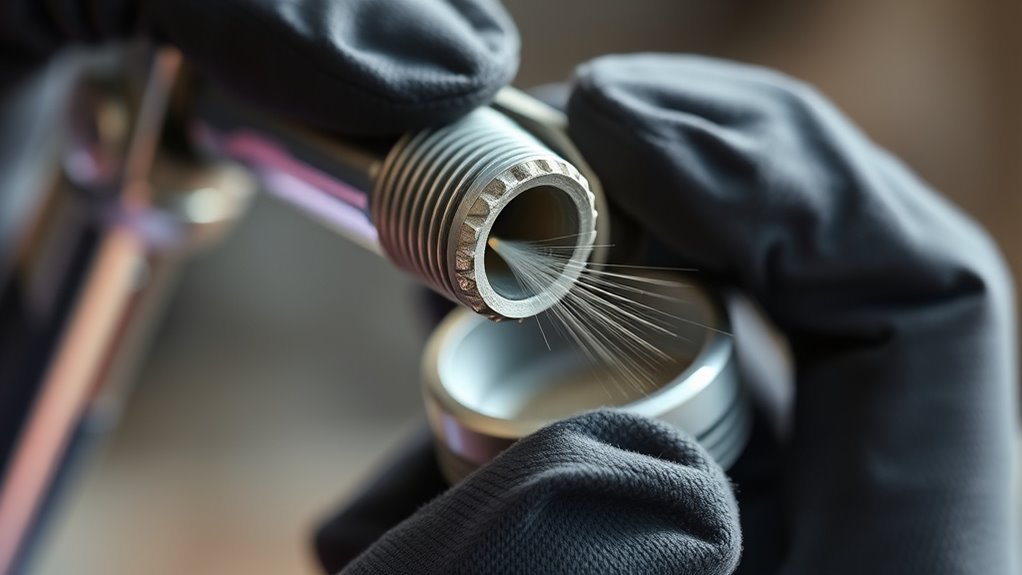
Inspecting the spray tip and nozzle is a crucial step in troubleshooting pressure issues, as clogs or damage can substantially affect spray performance. Begin by removing the spray tip and nozzle to check for paint buildup or debris. Regular spray tip maintenance, including cleaning and inspecting for wear, guarantees consistent spray patterns and prevents pressure drops. If the spray pattern is uneven or distorted, it may indicate the need for nozzle calibration or replacement. Be sure to use the correct size and type of nozzle for your project, as incompatible nozzles can cause pressure problems. Always clean the nozzle thoroughly after each use and replace it if damaged. Proper inspection and maintenance of the spray tip and nozzle help maintain ideal pressure and spray quality. Additionally, pressure regulation is essential to ensure consistent spray performance and prevent pressure fluctuations.
Examining the Fluid Filter and Strainer

Start by inspecting the fluid filter and strainer for clogs that could block flow. If you find debris, clean the strainer thoroughly to restore proper pressure. When cleaning doesn’t help, consider replacing the filter to guarantee your sprayer works smoothly.
Checking for Clogs
Have you checked the fluid filter and strainer for blockages? These components are crucial for proper airless sprayer maintenance and ensuring consistent pressure. Clogs can restrict paint flow, leading to uneven spraying or pressure drops. Carefully remove the filter and strainer, inspecting them for paint buildup or debris. If you find any obstructions, clean them thoroughly with water or a solvent recommended by your manufacturer. Keep in mind that clogged filters can also indicate issues with your painting techniques, such as using paint that’s too thick or not thinning it properly. Regularly checking and maintaining these parts helps prevent pressure problems and ensures smooth operation, so make it a routine part of your spraying process to keep your equipment working at peak performance. Additionally, understanding the importance of color accuracy and proper contrast ratios can enhance your overall painting results.
Cleaning the Strainer
Cleaning the strainer thoroughly is essential for maintaining ideal pressure and flow. When you inspect the fluid filter and strainer, you ensure smooth paint mixing and preserve spray gun ergonomics. To do this effectively, imagine:
- Removing the strainer carefully, visualizing paint particles and debris clogging the mesh.
- Rinsing the filter with clean water or solvent, watching paint residues wash away.
- Inspecting for wear or damage, picturing how a damaged strainer hampers fluid flow and pressure.
- Recognizing that essential oils can have antimicrobial properties that help keep your equipment clean and free of mold or bacteria.
Regular cleaning prevents clogs that disrupt spray gun ergonomics and cause inconsistent paint application. Keep the strainer clear, and your sprayer will deliver steady pressure, making your painting tasks smoother and more efficient.
Replacing the Filter
To guarantee your airless sprayer maintains consistent pressure, inspecting and replacing the fluid filter and strainer is essential. Over time, debris and paint buildup can clog the filter, impeding filter maintenance and restricting fluid flow. To replace the filter, first turn off the sprayer and relieve pressure. Remove the filter housing carefully, then take out the old filter. Check for any damage or debris that may be causing pressure issues. Install a new filter, ensuring it’s seated correctly. Reassemble the housing and test the sprayer. Regular filter replacement improves fluid flow, prevents pressure drops, and extends your sprayer’s lifespan. Keep an eye on the filter’s condition, especially if you notice inconsistent spray patterns or loss of pressure during use. Understanding filter types and benefits can help you select the right replacement parts and ensure optimal performance.
Verifying Proper Hose Connections and Condition

Ensuring that your hoses are correctly connected and in good condition is essential for maintaining proper airless sprayer pressure. Damaged or loose hoses can cause pressure drops and uneven spraying. To verify, check these key points:
Regularly check hoses for damage and secure fittings to maintain consistent spray pressure.
- Hose durability: Inspect for cracks, leaks, or signs of wear; replace if necessary.
- Connection snugness: Ensure all fittings are tightly secured without over-tightening, which can damage threads.
- Hose condition: Look for kinks or bends that could restrict flow, and straighten or replace as needed.
- Proper Mazda Tuning practices involve inspecting hoses regularly to prevent pressure issues.
Proper hose maintenance helps maintain consistent pressure and spray quality. Double-check connections before use, as even small leaks or loose fittings can impact performance considerably. Keeping hoses in top condition is a simple step toward trouble-free spraying.
Assessing the Pump and Fluid Supply
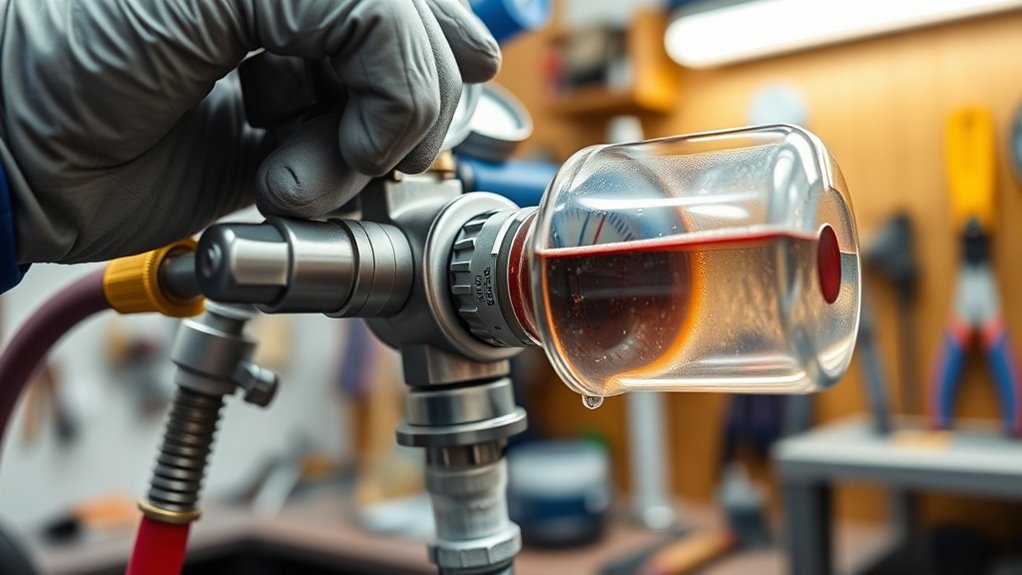
A consistent pump performance and steady fluid supply are essential for maintaining proper pressure during spraying. First, check that your pump is properly calibrated; incorrect calibration can cause inconsistent pressure and uneven coating. Next, examine the fluid viscosity—if the fluid is too thick, it can strain the pump and reduce pressure. Thin fluids are easier to pump but might lead to overspray, so adjust the mix as needed. Ensure the fluid supply is continuous and free of air pockets, which can interrupt pressure. Inspect the inlet filter for clogs, and clean or replace it if necessary. Confirm that the fluid hoses are secure and free from leaks. Additionally, implementing data-driven strategies can help monitor and optimize pump performance for consistent results. By evaluating these aspects, you can identify and address issues affecting pump performance and fluid flow.
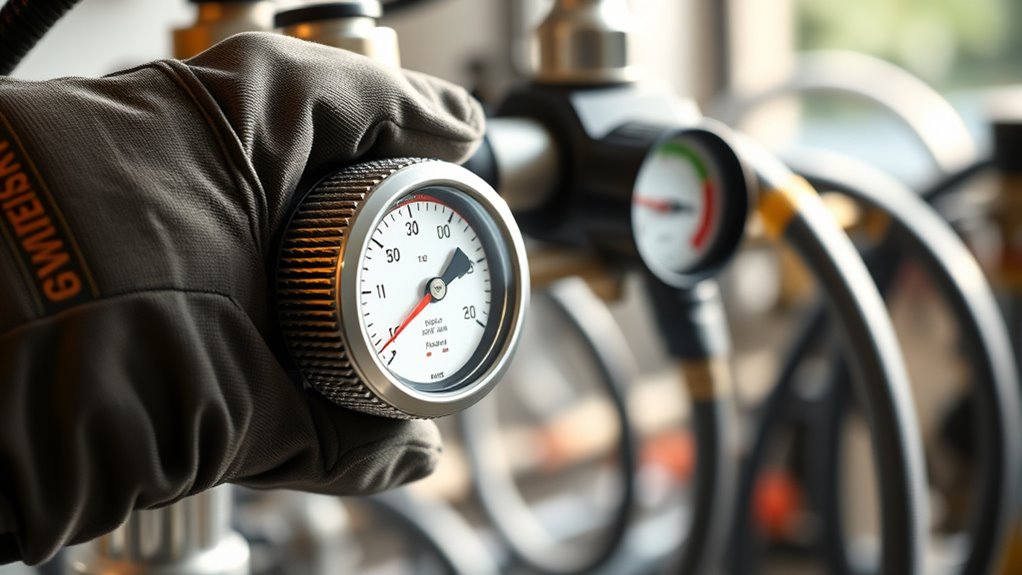
Adjusting the Pressure Regulator

Adjusting the pressure regulator is a key step in fine-tuning your sprayer’s performance. Proper regulator calibration ensures consistent spray pressure, while pressure gauge adjustment helps you dial in the right amount. To do this effectively: 1. Turn off the sprayer and release any built-up pressure safely. 2. Use a wrench to adjust the regulator screw, watching the pressure gauge closely. 3. Fine-tune the pressure setting until it matches your desired spray pressure, typically indicated on the gauge. Additionally, regularly checking the pressure gauge accuracy helps maintain optimal performance over time.
Troubleshooting Air Leaks in the System
Air leaks can considerably impact your sprayer’s performance by causing inconsistent pressure and wasted material. To troubleshoot, start by inspecting all connections and hoses for cracks or loose fittings. Check the seal integrity of the pump, hoses, and spray gun; any compromised seal can allow air to escape, reducing air pressure and causing pressure fluctuations. Listen for hissing sounds that indicate leaks, and use soapy water on fittings—bubbles will reveal escaping air. Tighten or replace damaged fittings and seals as needed. Maintaining proper seal integrity ensures consistent air pressure, preventing pressure drops that affect spray quality. Regularly verifying these components keeps your sprayer operating efficiently and prevents ongoing pressure issues linked to air leaks. Additionally, understanding the performance upgrades available for vehicles can inspire you to optimize your equipment’s efficiency and longevity.
Cleaning or Replacing Worn Parts
Start by inspecting your nozzle and tip for clogs or wear, as these can restrict pressure. Check the inner seals and gaskets for damage or leaks, replacing them if necessary. If pressure issues persist, consider replacing worn pump components to restore peak performance. Additionally, staying informed about AI discoveries in healthcare can inspire innovative solutions for equipment maintenance and troubleshooting.
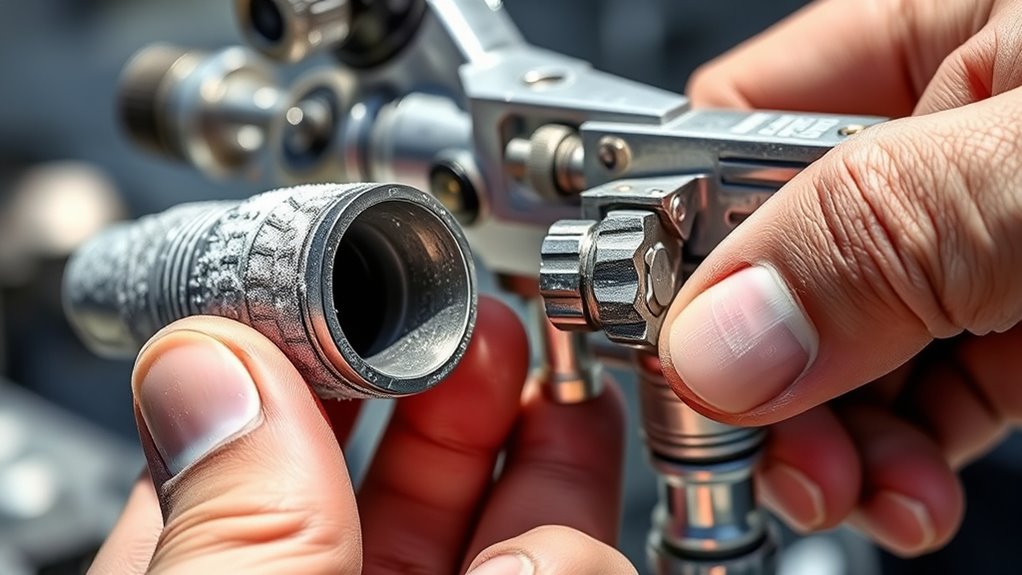
Inspect Nozzle and Tip
Inspecting the nozzle and tip is a crucial step in troubleshooting airless sprayer pressure issues. Over time, debris or wear can alter the nozzle size, affecting spray pattern and pressure. To guarantee proper function, carefully examine the nozzle and tip for clogs or damage. Regular filter maintenance can help prevent debris from entering the spray system and causing clogs. Consider these steps: 1. Visualize the nozzle’s opening—if it’s clogged, the spray pattern will be uneven or spotty. 2. Check if the nozzle size matches the recommended specifications for your sprayer, as a mismatched size can reduce pressure. 3. Test the spray pattern—an irregular or distorted pattern indicates worn or damaged parts that need cleaning or replacing. Cleaning or replacing worn parts restores proper nozzle size and spray pattern, helping maintain consistent pressure and spray quality.
Check Inner Seals and Gaskets
Over time, the inner seals and gaskets in your sprayer can wear out or become damaged, leading to pressure loss or leaks. To maintain seal integrity, check these components regularly. Worn or damaged gaskets can compromise pressure and cause inconsistent spray patterns. Gasket replacement is often straightforward but critical for proper operation. Inspect for cracks, tears, or hardened areas. If you notice any issues, replace the gaskets promptly. Use the table below to understand common gasket types and their functions:
| Gasket Type | Function |
|---|---|
| O-Rings | Seal connections and prevent leaks |
| Flat Gaskets | Seal mating surfaces |
| Diaphragm Gaskets | Isolate pressure chambers |
| Viton Gaskets | Resistant to chemicals and heat |
| Rubber Gaskets | Absorb vibrations, seal joints |
Keeping seals in top shape ensures consistent pressure and ideal spray performance.
Replace Worn Pump Components
Worn pump components can substantially reduce your sprayer’s pressure and performance, so it’s essential to address them promptly. Regular pump maintenance and component replacement ensure your sprayer runs smoothly. When parts like seals, pistons, or valves deteriorate, they hinder pressure buildup. To replace worn pump components effectively, picture these steps:
- Remove the pump head to access internal parts.
- Inspect and replace damaged seals, pistons, or valves.
- Reassemble the pump, ensuring all connections are tight.
- Proper maintenance and regular inspections help prevent premature wear and extend the lifespan of your equipment.
Ensuring Adequate Power Supply and Electrical Connections
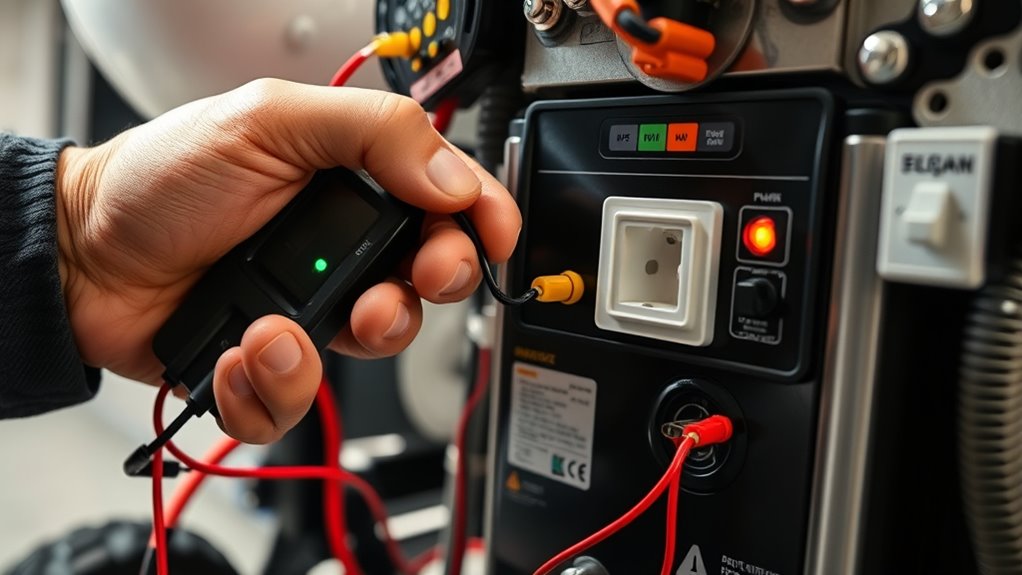
Since a stable power supply is essential for ideal sprayer performance, you should start by verifying that your electrical connections are secure and functioning properly. Check the electrical wiring to ensure there are no loose or damaged wires that could disrupt power flow. Next, examine your circuit breaker; if it has tripped, reset it carefully. A tripped breaker can prevent the sprayer from receiving consistent power, leading to pressure issues. Make sure the outlet you’re using supplies the correct voltage and is functioning correctly. Avoid using extension cords that may cause voltage drops. By confirming that your electrical wiring is intact and your circuit breaker is properly reset, you ensure your sprayer receives the reliable power it needs for optimal pressure and performance.
Frequently Asked Questions
How Does Ambient Temperature Affect Airless Sprayer Pressure?
Ambient temperature can considerably impact your airless sprayer pressure. When it’s colder, paint viscosity increases, making it thicker and harder to spray, which can cause pressure drops. Conversely, higher temperatures lower viscosity, easing flow but risking nozzle clogging if the paint gets too thin. To maintain consistent pressure, you should adjust your spray settings accordingly and keep an eye on paint viscosity, especially in fluctuating temperatures.
Can Incorrect Spray Pattern Cause Pressure Loss?
Yes, an incorrect spray pattern can cause pressure loss in your airless sprayer. When the spray pattern is uneven or clogged, the flow of paint gets restricted, leading to increased pressure on the pump. This pressure loss can result in inconsistent application and reduced spray quality. To fix this, check for clogged nozzles or obstructions, and guarantee your spray pattern is uniform for ideal pressure and performance.
What Role Does Humidity Play in Pressure Consistency?
Did you know that humidity can impact your spray job by up to 30%? Humidity impact affects pressure consistency because high moisture levels cause moisture interference with your equipment. When humidity is high, it can lead to inconsistent spray pressure, making your finish uneven. To maintain steady pressure, consider working in lower humidity conditions or using equipment designed to handle moisture interference. This helps guarantee a smooth, professional coat every time.
How Do I Identify if My Pump Is Malfunctioning?
To identify if your pump is malfunctioning, start by checking your pressure gauges for irregular readings. If the pressure fluctuates unexpectedly or stays low despite adjustments, it signals a potential issue. Regular pump maintenance is essential; look for leaks, worn seals, or unusual noises. If problems persist, inspect the hoses and fittings. Proper maintenance guarantees consistent pressure and helps prevent pump failures.
Are There Safety Concerns When Adjusting Pressure Settings?
When you’re adjusting the pressure on your airless sprayer, safety precautions are essential. Always turn off the equipment and release pressure before making adjustments. Avoid direct contact with high-pressure components, and wear protective gear. Proper pressure adjustment ensures safe operation, preventing accidents or damage. Remember, following safety precautions helps you prevent injuries and keeps your equipment functioning correctly, making your project safer and more efficient.
Conclusion
Regularly troubleshooting your airless sprayer can boost efficiency and extend its lifespan. Did you know that improper pressure settings can reduce spray quality by up to 30%? By following these steps, you’ll confirm your sprayer operates smoothly and delivers professional results every time. Stay attentive to signs of wear and leaks, and don’t hesitate to perform routine maintenance. Keeping your equipment in top shape saves you time, money, and frustration on every project.