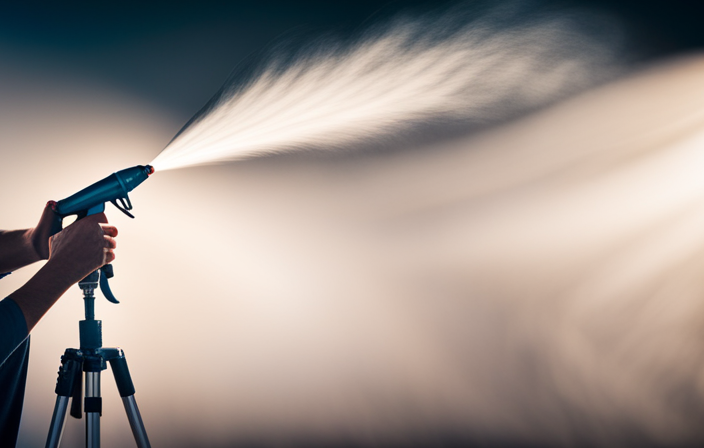
Standing there, carefully applying paint to the surface, a growing sense of annoyance started to simmer within me. Indeed, air bubbles were developing in my airless paint sprayer, resulting in noticeable flaws on what was previously a flawless canvas. There was an issue at hand that required a solution, and I was resolute in uncovering the reason behind it.
In this article, I will delve into the mechanics of an airless paint sprayer, exploring the factors that can lead to the formation of air bubbles. Through my own experiences and extensive research, I have discovered that proper equipment maintenance, the quality of paint and thinners used, as well as proper technique and pressure adjustment all play crucial roles in preventing these pesky bubbles from appearing.
Furthermore, temperature and humidity factors, along with avoiding overworking the paint, can also contribute to a bubble-free finish. By understanding these causes and implementing best practices, we can achieve that smooth, flawless result we all strive for.
So, let’s dive in and uncover the secrets to banishing air bubbles from our airless paint sprayers once and for all.
Key Takeaways
- Paint viscosity and additives play a role in air bubble formation
- Temperature and humidity levels can affect the formation of air bubbles
- Cleaning and filtering the paint before application can help prevent air bubble formation
- Overworking the paint and excessive paint application can lead to air bubble formation
Understanding the Mechanics of an Airless Paint Sprayer
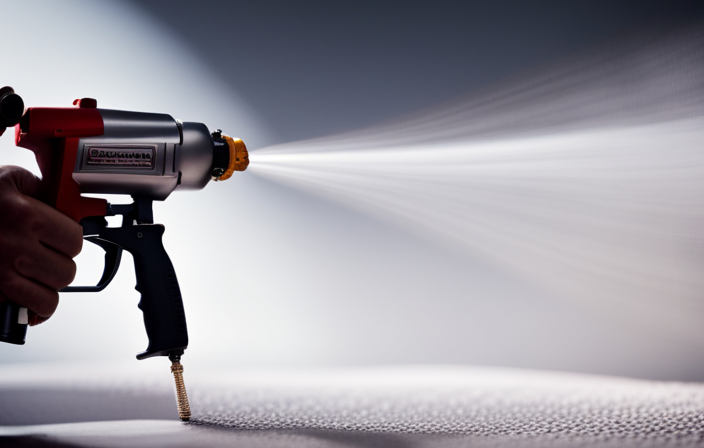
Now that you’ve got the hang of using an airless paint sprayer, let’s dive into understanding how this nifty tool actually works.
An airless paint sprayer operates using mechanical components to achieve a smooth and efficient paint flow. Unlike traditional sprayers that rely on compressed air, an airless paint sprayer uses a high-pressure pump to force the paint through a small nozzle, creating a fine mist of paint particles.
This pump, powered by an electric motor or gas engine, pressurizes the paint and pushes it through the hose and out of the spray gun. The paint flow is controlled by adjusting the pressure settings on the sprayer. Understanding these mechanical components and how they work together is crucial for achieving optimal paint application.
Now, let’s explore the importance of proper equipment maintenance.
Importance of Proper Equipment Maintenance
Proper maintenance is crucial for ensuring the longevity of your airless paint sprayer. Regularly inspect the sprayer for any signs of wear or damage, and clean it thoroughly after each use. This includes removing any paint residue, unclogging the nozzle, and checking for any loose or worn-out parts. Additionally, make sure to follow the manufacturer’s guidelines for lubricating the sprayer’s moving parts.
By maintaining your equipment properly, you can minimize the risk of air bubbles forming in your airless paint sprayer, which can affect the quality of your paint application.
Transitioning into the subsequent section, the quality of paint and thinners used also plays a significant role in achieving a flawless finish.
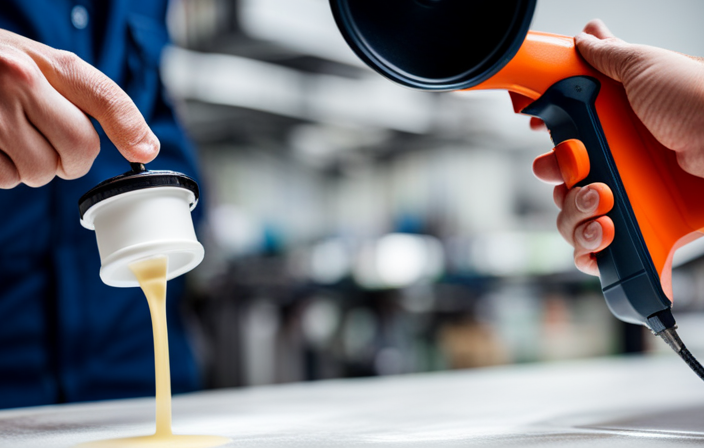
Quality of Paint and Thinners Used
Using high-quality paint and thinners is essential for achieving a flawless finish that will leave you feeling proud of your painting project. When it comes to airless paint sprayers, the quality of the paint and thinners used can greatly impact the final result. Here are some key factors to consider:
-
Paint Viscosity: The thickness or viscosity of the paint is crucial for proper atomization and spray pattern. Using a paint with the correct viscosity ensures smooth and even coverage.
-
Paint Additives: Certain additives can improve the flow and leveling properties of the paint, reducing the chances of air bubbles forming. These additives can also improve the drying time and overall finish.
-
Proper Technique and Pressure Adjustment: Now that we understand the importance of using high-quality paint and thinners, let’s move on to proper technique and pressure adjustment.
By paying attention to these factors, you can minimize the possibility of air bubbles forming and achieve a professional-looking paint job.
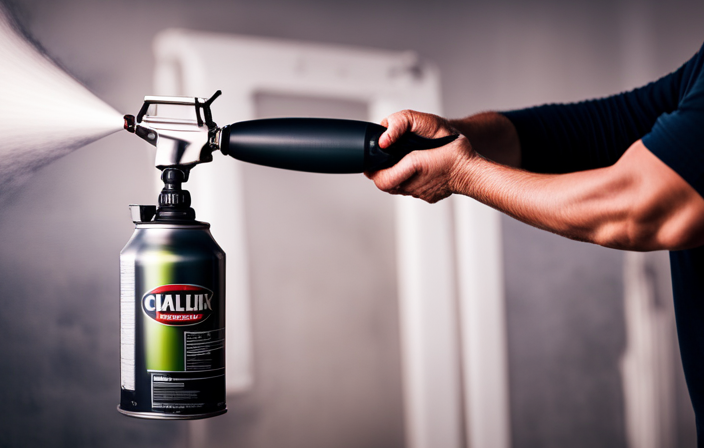
Proper Technique and Pressure Adjustment
Mastering the art of proper technique and adjusting the pressure will ensure your paint job turns out flawless and leaves you feeling like a pro. When it comes to airless paint sprayers, achieving the right pressure control is crucial.
Too much pressure can cause air bubbles to form in the paint, leading to an uneven finish. On the other hand, insufficient pressure can result in an inadequate spray pattern.
To achieve optimal pressure control, start by selecting the appropriate nozzle for the job. Different nozzle sizes and types are designed for specific applications, so choose one that matches your project requirements. Additionally, make sure to adjust the pressure according to the manufacturer’s guidelines and the viscosity of the paint being used.
By mastering these techniques, you’ll be well on your way to a flawless paint job.
Transitioning to the next section, let’s now explore the influence of temperature and humidity factors on airless paint sprayers.
Temperature and Humidity Factors
Achieving optimal pressure control is crucial when using an airless paint sprayer, but it’s also important to consider the influence of temperature and humidity factors on your paint job. Temperature control plays a significant role in the formation of air bubbles. When the paint is too cold, it becomes thicker, increasing the chances of air entrapment. On the other hand, high temperatures can cause the paint to become too thin, leading to inadequate coverage and potential bubbling. Additionally, high humidity levels can affect the drying process, causing the paint to take longer to cure and increasing the likelihood of air bubbles forming. To better understand the impact of temperature and humidity, refer to the table below:
| Temperature | Humidity | Effects on Paint |
|---|---|---|
| Low | Low | Thickening |
| Low | High | Thicker coating, potential bubbling |
| High | Low | Thinning, potential inadequate coverage |
| High | High | Thinning, longer drying time, potential bubbling |
Considering these factors, it’s crucial to maintain proper temperature and humidity control to achieve a flawless paint job. In the subsequent section about cleaning and filtering the paint, we will discuss how to ensure a clean application without any contaminants affecting the final result.
Cleaning and Filtering the Paint
When it comes to getting a flawless paint job, one important step is making sure you clean and filter the paint properly. This ensures that no contaminants or debris enter the paint sprayer, which can cause air bubbles to form during spraying. To achieve this, follow these steps:
-
Use a clean container: Start by pouring the paint into a clean container to remove any dirt or particles that may have settled in the original can.
-
Strain the paint: Place a paint strainer or filter cone over the opening of the paint sprayer and strain the paint as you pour it in. This will help remove any larger particles or lumps that could clog the nozzle.
-
Use a paint filter: Attach a paint filter to the suction tube of the sprayer to further remove any smaller impurities that may have been missed by the strainer.
By thoroughly cleaning and filtering the paint, you can ensure a smooth and bubble-free application. This sets the foundation for the next step, avoiding overworking the paint and achieving a professional finish.
Avoiding Overworking the Paint
To prevent the paint from becoming overworked, it’s important to apply it with a light touch, allowing it to glide and flow effortlessly like a smooth, gentle breeze. This avoids paint build up and prevents clogs in the airless paint sprayer. One way to achieve this is by using a technique called "feathering," where you release the trigger at the end of each stroke and start the next stroke slightly overlapping the previous one. This helps to distribute the paint evenly and avoid excess buildup in one area. Additionally, it’s crucial to maintain a consistent distance between the sprayer and the surface being painted. Too close of a distance can lead to excessive paint application, while too far away can cause uneven coverage. By following these techniques, you can ensure a smooth and flawless paint job. Now, let’s move on to preparing the surface for painting by properly cleaning and prepping it.
Preparing the Surface for Painting
Now, let’s dive into how you can properly prepare the surface before painting to ensure a flawless and long-lasting finish.
Surface preparation is crucial to achieve a professional-looking paint job. Firstly, make sure the surface is clean and free from any dirt, grease, or loose particles. Use a mild detergent and water to wash the surface, followed by thorough rinsing and drying.
Next, inspect the surface for any imperfections such as cracks or holes and repair them using a suitable filler.
Once the surface is clean and repaired, it’s important to choose the right type of paint brush for the job. Different brushes have different bristle materials and shapes, each suited for specific surfaces and paint types. Consider factors like the texture of the surface and the paint’s viscosity when selecting a brush.
By properly preparing the surface and using the appropriate paint brush, you can ensure a smooth and even application.
Now, let’s explore some common issues that may arise during the painting process and how to troubleshoot them.
Troubleshooting Common Issues
If you’re experiencing problems while painting, don’t worry! There are solutions to troubleshoot common issues and ensure a successful finish. Here are some tips on troubleshooting paint clogs and preventing paint splattering:
- Check the viscosity of the paint: Thin the paint if it is too thick to avoid clogs in the sprayer.
- Clean the sprayer regularly: Paint buildup can cause clogs, so make sure to clean the nozzle, filters, and other parts of the sprayer after each use.
- Use the correct spray tip: Using the wrong size or worn-out spray tip can lead to paint splattering. Replace the tip if needed.
- Adjust the pressure: High pressure can cause paint splattering, so adjust the pressure according to the paint type and desired finish.
By following these troubleshooting steps, you can overcome common issues and achieve a smooth finish.
Now, let’s move on to discussing best practices for achieving a smooth finish without any disruptions.
Best Practices for Achieving a Smooth Finish
Let’s dive into some tips and tricks for achieving a smooth finish on your painting project.
First and foremost, proper surface preparation is crucial. Clean and sand the surface thoroughly before applying any paint. This will create a smooth and even base for the paint to adhere to.
Next, choose the right paint for the job. Opt for high-quality paints that are specifically designed for the surface you are painting, whether it’s wood, metal, or drywall. These paints are formulated to provide a smooth and durable finish.
Remember to follow the manufacturer’s instructions for application and drying times. This will ensure that the paint is applied correctly and has enough time to dry and cure properly.
By following these best practices, you can achieve a professional-looking and long-lasting finish on your painting project.
Frequently Asked Questions
Can air bubbles form in an airless paint sprayer even if the equipment is properly maintained?
Yes, air bubbles can form in an airless paint sprayer even with proper maintenance. However, airless paint sprayers can be used for other applications. Some alternatives to airless paint sprayers include HVLP sprayers and traditional paintbrushes.
How do temperature and humidity affect the formation of air bubbles in an airless paint sprayer?
Temperature and humidity can affect the formation of air bubbles in an airless paint sprayer. High temperatures can increase the pressure inside the sprayer, leading to more air bubbles. Additionally, higher humidity can cause the paint to become thicker, increasing the likelihood of air bubble formation. The size of the nozzle can also impact air bubble formation, as a smaller nozzle can create more pressure and potentially lead to more air bubbles.
Can using low-quality paint or thinners contribute to the formation of air bubbles in an airless paint sprayer?
Using low-quality paint or thinners can contribute to the formation of air bubbles in an airless paint sprayer. The paint quality affects its viscosity, and if it’s too thin or of poor quality, it can lead to bubble formation during spraying.
What are some common mistakes that can lead to air bubbles forming in an airless paint sprayer?
Common techniques and best practices can help prevent air bubbles in an airless paint sprayer. Properly cleaning and maintaining the equipment, using the correct paint viscosity, and avoiding excessive spraying speed are all crucial to achieving bubble-free results.
Is there a specific cleaning and filtering process that can help prevent air bubbles from forming in an airless paint sprayer?
To prevent air bubbles in an airless paint sprayer, it’s crucial to follow a specific cleaning and filtering process. This helps to remove any debris or contaminants that could potentially cause blockages and disrupt the paint flow.
Conclusion
In conclusion, maintaining an airless paint sprayer is crucial for achieving a flawless finish. By understanding the mechanics of the sprayer, using high-quality paint and thinners, and employing proper technique and pressure adjustment, you can avoid the formation of air bubbles.
Additionally, considering temperature and humidity factors, avoiding overworking the paint, and adequately preparing the surface will contribute to a smooth application.
Remember, a well-maintained sprayer is the key to a paint job that will make your walls sing with vibrant color and flawless beauty.