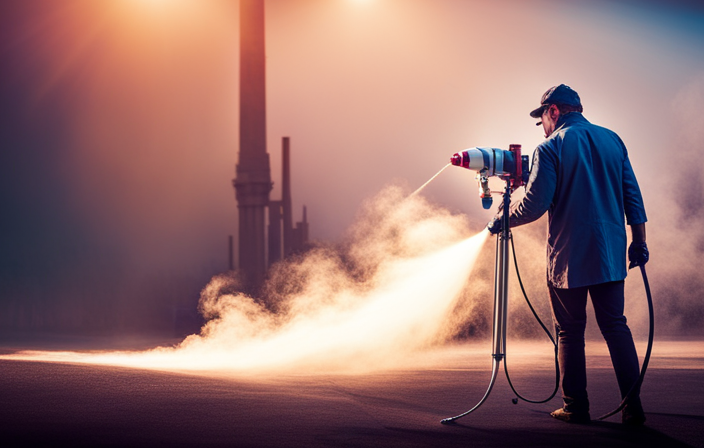

I have been using my airless paint sprayer for a while now and it has been a reliable tool for my painting projects. However, I have recently noticed a loud clacking noise coming from the sprayer, which has caused some concerns for me. As a result, I have decided to look into the issue and determine the cause of this noise.
In this article, I will explore the possible reasons behind the loud clacking sound in airless paint sprayers and provide some practical solutions to address the problem.
Firstly, we need to understand the basics of airless paint sprayers and how they work. Then, we’ll identify the different types of noises that can occur and narrow down the source of the clacking sound.
We’ll check for loose or worn parts, inspect the spray gun and tip, and review the pressure settings. Additionally, we’ll discuss proper painting techniques and when it’s time to seek professional assistance.
Lastly, I’ll share some preventive maintenance tips to keep your airless paint sprayer in top condition. Let’s get started and solve the mystery of the clacking sound!
Key Takeaways
- Insufficient lubrication can lead to increased friction and damage to components, causing the loud clacking sound.
- Pump malfunction or wear, such as clogged filters or worn nozzles, can also contribute to the noise.
- Using an improper spraying technique or the wrong paint or thinners can result in poor performance and noise.
- Regular preventive maintenance, including cleaning, lubrication, and inspection, is essential for prolonging the sprayer’s lifespan and avoiding costly repairs.
Understanding the Basics of Airless Paint Sprayers
To understand why your airless paint sprayer might be making a loud clacking sound, it is important to first understand the basics of how these sprayers work. Airless paint sprayers use high pressure to pump paint through a small nozzle, creating a fine mist that evenly coats surfaces.
However, if the sprayer is not properly maintained or if there are any issues with the equipment, it can result in various problems, such as the loud clacking sound you are experiencing. Troubleshooting airless sprayer problems, such as checking for clogs or leaks, can help identify the cause of the noise.
Moving forward, let’s explore the different types of noises your airless paint sprayer might make.
Identifying the Different Types of Noises
Identifying the various types of noises in an airless paint sprayer can help address concerns and ensure a smoother painting experience. When troubleshooting airless sprayers, it is important to understand the different noises that may occur. Here are some types of airless sprayers noises to look out for:
- Clacking sound: This can indicate a loose or worn part, such as a piston or ball valve.
- Grinding noise: This may indicate a problem with the motor or gears.
- Whining or squealing noise: This could be a sign of a worn or damaged seal.
- Hissing sound: This may indicate a clog in the nozzle or a problem with the pressure control valve.
- Rattling noise: This can occur if there are loose components inside the sprayer.
By identifying these types of noises, you can quickly pinpoint the issue and take appropriate action. Checking for loose or worn parts is the next step in troubleshooting the airless paint sprayer.
Check for Loose or Worn Parts
When checking for loose or worn parts on an airless paint sprayer, it’s crucial to inspect the screws or bolts first. Loose screws or bolts can cause vibrations and rattling noises, affecting the overall performance of the sprayer.
Additionally, worn bearings or pistons can also contribute to the loud clacking sound. These parts should be examined for any signs of wear and tear, and if necessary, replaced to ensure smooth and quiet operation of the paint sprayer.
Loose Screws or Bolts
One possible reason for the loud clacking sound coming from your airless paint sprayer could be loose screws or bolts, which may need to be tightened to restore smooth operation. It is important to check all the screws and bolts on your sprayer regularly, as vibrations from the motor and paint flow can cause them to loosen over time. To help you identify and address this issue, refer to the table below:
| Screw/Bolt Location | Action |
|---|---|
| Motor housing | Check for any loose screws and tighten them if necessary. |
| Spray gun handle | Inspect the bolts connecting the handle to the sprayer and tighten if needed. |
| Pump assembly | Ensure all the screws holding the pump assembly together are secure. |
If tightening the screws and bolts does not resolve the clacking sound, the problem may lie with worn bearings or pistons, which we will discuss in the next section.
Worn Bearings or Pistons
To address the issue of worn bearings or pistons, you should inspect the internal components of your sprayer and visualize any signs of wear or damage. Worn bearings or pistons can cause a loud clacking sound during operation.
Begin by turning off and unplugging the sprayer to ensure safety. Remove the cover or housing to gain access to the internal parts. Look for any visible signs of wear such as rust, dents, or cracks on the bearings and pistons.
Additionally, check for any loose or broken parts that may be contributing to the noisy operation. If you notice any damage or excessive wear, it may be necessary to replace the worn bearings or pistons.
Inspecting the spray gun and tip will be the next step to ensure a thorough examination of the entire system.
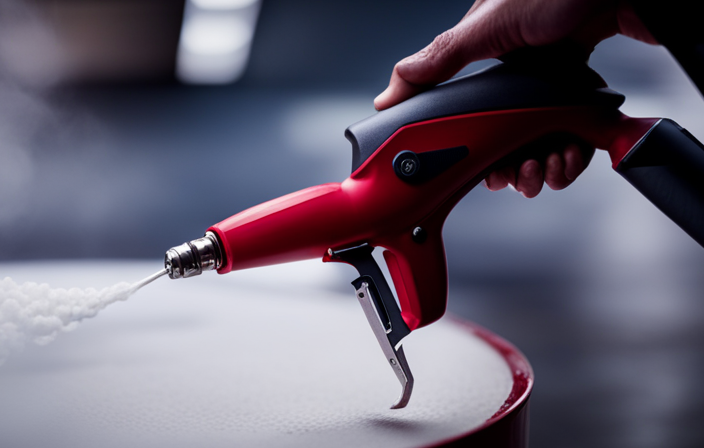
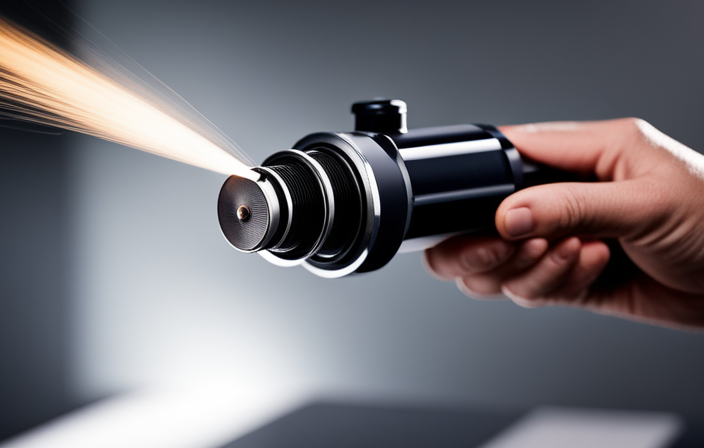
Inspect the Spray Gun and Tip
Inspect the spray gun and tip to determine if they are causing the loud clacking sound. Start by checking the paint container, ensuring it is securely fastened and properly aligned with the spray gun.
Next, examine the power source to ensure it is providing sufficient voltage for the sprayer to function correctly.
Take a close look at the spray gun and tip for any signs of damage or wear. Pay special attention to the tip, as a worn or damaged tip can lead to irregular paint flow and the clacking sound.
Additionally, check for any clogs or obstructions in the tip that could be causing the noise.
Once you have inspected the spray gun and tip, you can move on to the next section about checking the pressure settings to further troubleshoot the issue.
Check the Pressure Settings
When it comes to checking the pressure settings on your airless paint sprayer, there are two key points to consider.
Firstly, incorrect pressure adjustment can lead to a variety of issues. These include a poor spray pattern and excessive overspray. It is important to make sure that the pressure is set correctly to avoid these problems.
Secondly, clogged or restricted filters can also affect the pressure settings. If the filters are not clean, it can cause a decrease in pressure and disrupt the flow of paint. This can result in inconsistent coverage and an uneven finish.
Therefore, it is crucial to address these two factors to ensure optimal performance and a smooth painting process.
Incorrect Pressure Adjustment
Adjusting the pressure on the airless paint sprayer can make it purr like a contented kitten instead of clacking like a misbehaving jackhammer. When the pressure adjustment is incorrect, it can cause the sprayer to make loud clacking sounds. To troubleshoot this issue, follow these three tips:
-
Start by checking the pressure settings on your sprayer. Ensure that the pressure is set to the recommended level for the type of paint you are using. Adjust it accordingly if it is too high or too low.
-
Inspect the pressure control knob for any signs of damage or wear. Sometimes, a faulty control knob can lead to incorrect pressure adjustment. If necessary, replace the knob with a new one.
-
Take a look at the pressure gauge to ensure it is functioning properly. If the gauge is inaccurate or not working at all, it can affect the pressure adjustment. Replace the gauge if needed.
By properly adjusting the pressure settings, you can eliminate the clacking sound and ensure smooth operation of your airless paint sprayer.
In the next section, we will discuss the potential issue of clogged or restricted filters.
Clogged or Restricted Filters
If your sprayer isn’t running smoothly, it could be because of clogged or restricted filters. Clogged filters happen when debris like paint particles or dirt build up and block the paint flow. Restricted filters don’t completely block the flow, but they still affect the sprayer’s operation. To check if the filters are the issue, inspect them for visible signs of clogging or restriction. Clean them thoroughly with water or a suitable cleaning solution. If the filters are too damaged to clean, you may need to replace them. By dealing with clogged or restricted filters, you can enhance your airless paint sprayer’s performance.
Now, let’s move on to evaluating the condition of the pump.
Evaluate the Condition of the Pump
When evaluating the condition of the pump, it’s important to consider three key points:
-
Insufficient lubrication: This can lead to increased friction and damage to the pump’s components, resulting in a loud clacking sound.
-
Pump malfunction: A broken or misaligned part can cause the noise.
-
Wear and tear over time: This can contribute to the pump’s deterioration and the subsequent noise it produces.
Insufficient Lubrication
To avoid the annoying clacking sound, it is important to properly lubricate your airless paint sprayer. Insufficient lubrication can lead to improper maintenance and cause lubrication issues, resulting in a loud clacking noise during operation. Here are four important points to consider when it comes to lubricating your airless paint sprayer:
-
Choose the right lubricant: Select a high-quality lubricant specifically designed for airless paint sprayers. This will ensure optimal performance and reduce the chances of excessive noise.
-
Follow the manufacturer’s recommendations: Refer to the user manual for the recommended lubrication intervals and procedures. Adhering to these guidelines will help maintain the sprayer’s functionality and minimize noise.
-
Apply lubricant to key components: Focus on lubricating key areas such as the piston rod, packings, and seals. These components require regular lubrication to prevent friction and noise.
-
Clean before lubricating: Before applying lubricant, make sure to thoroughly clean the sprayer to remove any dirt or debris. This will prevent contaminants from mixing with the lubricant and causing further issues.
By properly lubricating your airless paint sprayer, you can mitigate the clacking sound and ensure smooth operation. However, if the noise persists, it may indicate a pump malfunction or wear, which we’ll discuss in the subsequent section.
Pump Malfunction or Wear
One possible cause for the irritating clacking noise could be a malfunction or wear in the pump, which can disrupt the smooth operation of your airless paint sprayer. The pump is a crucial component responsible for pressurizing the paint and transferring it to the spray gun. Over time, the pump can experience wear and tear due to high-pressure operation and continuous use. Regular pump maintenance is essential to prevent potential problems and ensure optimal performance. Here are some troubleshooting tips to address pump issues:
| Potential Pump Issues | Troubleshooting Tips |
|---|---|
| Low pump pressure | Check for clogged filters or worn nozzles. |
| Pump leakage | Inspect seals and O-rings for damage and replace if necessary. |
| Excessive noise | Verify proper lubrication and tighten loose components. |
| Inconsistent spray pattern | Adjust the pressure settings and clean or replace clogged tips. |
By addressing pump malfunctions or wear through regular maintenance and troubleshooting, you can improve the overall performance of your airless paint sprayer. Next, we will review your painting technique to ensure optimal results.
Review Your Painting Technique
When it comes to reviewing your painting technique, there are a few key points to consider.
Firstly, using an improper spraying technique can result in a number of issues, including uneven coverage, overspray, and clogging of the sprayer.
Secondly, using the wrong paint or thinners can also lead to problems, such as paint not adhering properly or the paint drying too quickly.
Lastly, it’s important to ensure that you are using the correct pressure settings on the sprayer to achieve the desired results.
By addressing these key points, you can improve your painting technique and achieve professional-looking results.
Improper Spraying Technique
Improve your spraying technique and you’ll see the clacking sound fade away, revealing a smoother and more efficient painting experience. To troubleshoot your improper spraying technique, consider the following tips:
-
Maintain a consistent distance: Keep the sprayer nozzle approximately 12 inches away from the surface to ensure an even application and prevent excessive build-up.
-
Move in a steady motion: Avoid jerky or erratic movements while spraying. Instead, maintain a steady and controlled back-and-forth motion to achieve uniform coverage.
-
Overlap each pass: Make sure to overlap each pass by about 50% to avoid leaving any gaps or streaks on the painted surface.
-
Adjust the pressure: Check the pressure settings on your airless paint sprayer and make sure they are properly adjusted for the type of paint you are using.
By following these troubleshooting tips, you can improve your spraying technique and minimize the clacking sound.
In the next section, we will discuss the potential issues that can arise from using the wrong paint or thinners.
Using the Wrong Paint or Thinners
Using the wrong paint or thinners can result in a poor quality finish and damage to the painted surface. This was demonstrated in a case study where a homeowner mistakenly used an oil-based paint on a surface intended for water-based paint.
When using an airless paint sprayer, it is crucial to ensure that the paint and thinners being used are compatible with the equipment and the surface being painted. Using incompatible materials can lead to clogging and clacking noises in the sprayer, indicating that the paint is not flowing smoothly through the system.
Additionally, improper paint mixing can result in inconsistencies in color, texture, and adhesion, further compromising the quality of the finish. To avoid these issues, it is important to carefully read and follow the manufacturer’s instructions for both the paint and the sprayer.
In cases where compatibility issues arise, it is recommended to seek professional assistance for guidance and solutions.
Seek Professional Assistance
If you’re experiencing issues with your airless paint sprayer and need assistance, it’s highly recommended to seek professional help. Professionals have the expertise to diagnose and fix the problem, giving you peace of mind. Here are some troubleshooting tips to consider:
-
Check the motor: The loud clacking sound may be caused by a faulty motor. A professional can inspect and repair or replace the motor if necessary.
-
Examine the pump: A worn-out pump can also create a clacking noise. Professionals can assess the pump’s condition and repair or replace it if needed.
-
Inspect the spray gun: Sometimes, the clacking sound may originate from a damaged spray gun. Professionals can examine the gun and repair or replace any faulty parts.
Remember, preventive maintenance is essential to prolong the lifespan of your airless paint sprayer and prevent future issues.
Preventive Maintenance Tips
One way to ensure the longevity of your airless paint sprayer and prevent future issues is by regularly performing preventive maintenance. By implementing preventive maintenance practices, you can keep your sprayer in optimal condition and avoid costly repairs.
To start, make sure to clean the sprayer thoroughly after each use, removing any leftover paint or debris.
Additionally, regularly inspect the spray gun, hose, and filters for any signs of wear or damage.
Lubricating the moving parts of the sprayer, such as the pump and motor, can also help to reduce friction and extend their lifespan.
If you encounter any issues, troubleshooting common problems like clogs or pressure fluctuations can be done by following the manufacturer’s guidelines.
By taking these preventive measures, you can keep your airless paint sprayer running smoothly and efficiently for years to come.
This will be discussed further in the subsequent section about ‘conclusion and final thoughts’.
Conclusion and Final Thoughts
In conclusion, by regularly maintaining your airless paint sprayer, you can ensure its longevity and avoid expensive repairs down the line. Proper maintenance can also help reduce the loud clacking sound that may occur during operation. It is important to consider the impact of external factors on the noise levels of your airless paint sprayer. Factors such as the type of surface being painted, the thickness of the paint being used, and the condition of the spray tip can all contribute to the noise levels. Additionally, it is worth noting that airless paint sprayers generally produce less noise compared to other painting tools such as air sprayers or rollers. This is because airless sprayers do not require the use of compressed air, which can be a major source of noise.
Frequently Asked Questions
Can I use any type of paint with an airless paint sprayer?
Yes, you can use both oil-based and latex paint with an airless paint sprayer. However, it is important to note that each type requires different tips and settings for optimal results.
How do I clean and maintain my airless paint sprayer?
To clean and maintain my airless paint sprayer, I follow a strict maintenance schedule. I use specific cleaning techniques such as flushing the system with water, removing and cleaning the filters, and inspecting the nozzles for clogs or wear.
Can I adjust the pressure settings on my airless paint sprayer?
Yes, you can adjust the pressure settings on your airless paint sprayer. To troubleshoot noise issues, start by checking the pressure level. Adjusting it may help reduce the clacking sound.
What safety precautions should I take when using an airless paint sprayer?
When using an airless paint sprayer, it is important to follow proper safety precautions. These include wearing protective clothing and eyewear, ensuring proper ventilation, and conducting regular paint sprayer maintenance.
How do I troubleshoot other common issues with my airless paint sprayer?
To troubleshoot common issues with an airless paint sprayer, start by checking the paint sprayer nozzle for clogs. If there is a clog, use a cleaning solution or a needle to clear it.
Conclusion
In conclusion, after thoroughly investigating the issue of why airless paint sprayers make a loud clacking sound, it is evident that there are several potential causes.
By understanding the basics of airless paint sprayers and identifying the different types of noises, one can begin troubleshooting.
Checking for loose or worn parts, inspecting the spray gun and tip, and adjusting the pressure settings are important steps in resolving the problem.
It is also essential to review your painting technique and seek professional assistance if needed.
Employing preventive maintenance tips can help prevent future occurrences.
By following these steps, you can ensure a smoother and quieter painting experience.