I remember when I first tried to paint my fascia board using an airless sprayer. I was a bit nervous and unsure if I had the right materials and equipment, and I was worried about how it would turn out. But once I learned the proper techniques and methods, the process became quite simple.
Painting the fascia board with an airless sprayer not only saves time and effort but also ensures a smooth and professional finish. In this article, I will guide you through the process step by step, sharing my knowledge and experience so that you can achieve the same satisfying results.
From gathering the necessary materials to practicing spraying techniques and maintaining the airless sprayer, I will cover it all. So, if you’re ready to transform your fascia board with a fresh coat of paint, let’s dive in and get started.
Key Takeaways
- Allowing each coat to dry thoroughly is important for better adhesion, durability, and a smooth finish.
- Inspecting for imperfections after the paint has dried ensures a flawless final result and a professional touch.
- Choosing the right touch-up paint that matches the color and finish of the existing paint ensures a seamless blend and a professional-looking finish.
- Painting the fascia board with an airless sprayer provides a quick, efficient, and even method suitable for larger areas, but alternative methods like brushing or rolling can also achieve satisfactory results with patience and precision.
Gather the Necessary Materials and Equipment
Get ready to transform your fascia board with an airless sprayer and gather all the materials and equipment you’ll need for this exciting project.
First, you’ll want to choose the right paint color for your fascia board. Consider the overall aesthetic of your home and select a color that complements the exterior. It’s always a good idea to test a small area before committing to the entire board.
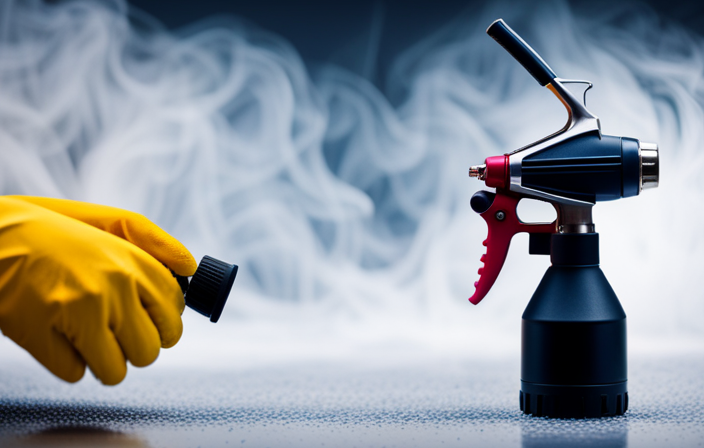
Next, let’s talk about safety precautions during painting. Make sure to wear protective clothing, including goggles, gloves, and a mask, to shield yourself from any potential paint splatters or fumes. Additionally, ensure that the area is well-ventilated to prevent any inhalation of harmful chemicals.
Now that you have the materials and safety precautions in place, let’s move on to preparing the fascia board for painting.
Prepare the Fascia Board for Painting
To effectively ready the fascia for a fresh coat, it is imperative to meticulously clean and smoothen the surface. Start by removing any dirt, dust, or debris using a stiff brush or a power washer. Pay close attention to areas where dirt may accumulate, such as corners and joints. After cleaning, inspect the fascia for any cracks or damage. Repair any imperfections using a wood filler or putty, and sand down the surface until it is smooth and even.
To add a level of sophistication to the writing, here is a table showcasing the necessary materials for preparing the fascia board:
| Materials |
|---|
| Stiff brush |
| Power washer |
| Wood filler or putty |
| Sandpaper |
Once the fascia board is clean and repaired, it’s time to choose the paint color and prepare the paint for spraying. This will be covered in the next section on how to set up and adjust the airless sprayer.
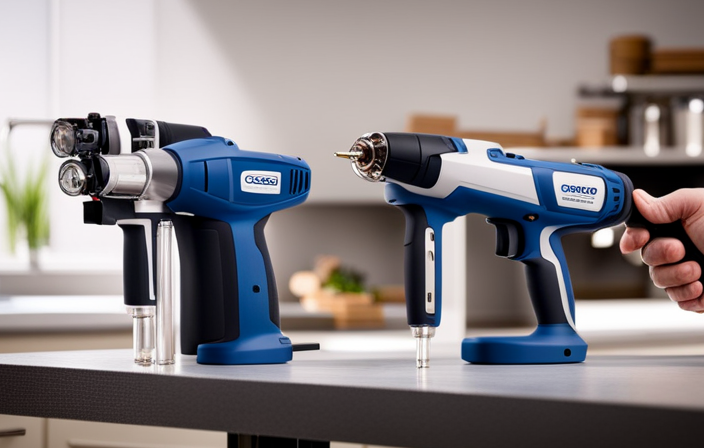
Set Up and Adjust the Airless Sprayer
Once you’ve got your equipment ready, it’s time to dive into the nitty-gritty of setting up and fine-tuning the powerful paint-spraying machine. Adjusting airless sprayer pressure is crucial for achieving the desired paint coverage and avoiding any potential issues. Here are three key steps to help you set up and adjust the airless sprayer:
-
Start by connecting the sprayer to a power source and ensuring the paint reservoir is filled with the appropriate paint.
-
Next, adjust the pressure control knob on the sprayer to achieve the desired spray pattern. Higher pressure will result in a finer mist, while lower pressure will create a wider spray.
-
Finally, troubleshoot any potential issues that may arise during the setup process, such as clogged spray tips or uneven spray patterns. Refer to the manufacturer’s instructions for troubleshooting guidance.
Now that your airless sprayer is properly set up and adjusted, it’s time to move on to the next step: practicing spraying techniques on a test surface.
Practice Spraying Techniques on a Test Surface
After properly setting up and adjusting your airless sprayer, it’s essential to hone your spraying techniques by practicing on a test surface. This step will help you become familiar with the sprayer’s controls and ensure that you achieve a smooth finish on the fascia board. To practice spraying techniques, follow these steps:
-
Adjust the Spray Pattern: Start by adjusting the spray pattern to achieve the desired width and shape. This can be done by turning the nozzle or adjusting the fan control on the sprayer.
-
Maintain Consistent Distance: Keep the sprayer at a consistent distance from the test surface. This will help you achieve an even coat without any overlap or unevenness.
-
Move in Steady Strokes: Use smooth and steady strokes while spraying. Avoid stopping or hesitating in one spot, as this can result in uneven coverage.
-
Overlap Each Pass: Overlap each pass by about 50% to ensure complete coverage and a uniform finish.
By practicing these spraying techniques on a test surface, you’ll be well-prepared to start painting the fascia board and achieve professional-looking results.
Start Painting the Fascia Board
Now that you’ve mastered your spraying techniques on a test surface, it’s time to embark on a colorful journey, transforming the face of your home with the stroke of a brush. Painting the fascia board may seem daunting, but with a few tips and tricks, you’ll achieve a smooth finish that will leave your neighbors envious.
Here are some pointers to keep in mind:
- Prep the surface: Clean the fascia board thoroughly and ensure it’s free of any dirt or debris.
- Use the right paint: Opt for a high-quality exterior paint specifically designed for fascia boards.
- Apply thin coats: Avoid the temptation to apply thick coats, as it can lead to drips and uneven coverage.
- Watch out for common issues: Keep an eye out for paint runs, drips, or uneven areas, and address them promptly.
Now that you’re armed with these tips for achieving a smooth finish and troubleshooting common painting issues, it’s time to move on to the next step: applying multiple coats for even coverage.
Apply Multiple Coats for Even Coverage
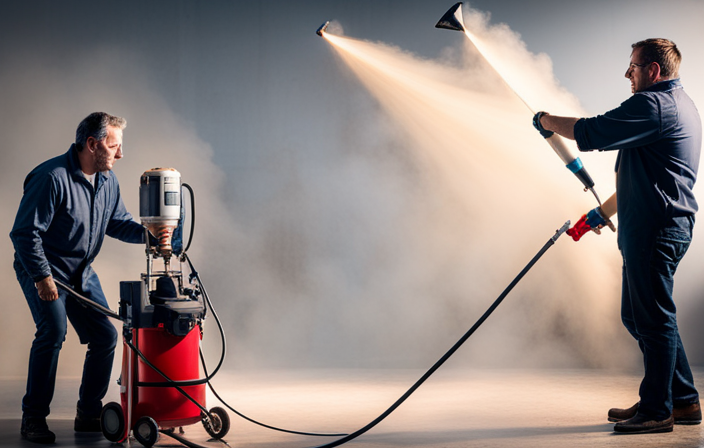
To achieve a flawless finish, it is recommended to apply multiple thin coats for even coverage. By doing so, you can avoid overspray and achieve a professional-looking result. Start by holding the airless sprayer about 12 inches away from the fascia board and apply the paint in smooth, overlapping strokes. Move the sprayer in a consistent motion, going from one end of the board to the other. Allow each coat to dry completely before applying the next one. This will help prevent any streaks or uneven patches.
Once you have applied multiple coats and are satisfied with the coverage, it’s time to move on to the next step of cleaning and maintaining the airless sprayer.
Clean and Maintain the Airless Sprayer
Make sure you take care of your equipment by properly cleaning and maintaining it to ensure long-lasting performance and professional results. When it comes to the airless sprayer, regular cleaning is essential to prevent clogs and maintain optimal functionality.
Start by flushing the sprayer with a cleaning solution recommended by the manufacturer. This will help remove any leftover paint or debris from the system. Pay extra attention to the nozzle and filter, as these are prone to clogging.
If you encounter any issues, such as uneven spray patterns or reduced pressure, refer to the troubleshooting tips provided in the sprayer’s manual.
By following these cleaning and maintenance practices, you’ll keep your airless sprayer in excellent condition, allowing sufficient drying time for each coat of paint.
Allow Sufficient Drying Time
After cleaning and maintaining your equipment, it’s crucial to ensure that you give each coat of paint enough time to dry properly. Sufficient drying time is essential for a professional and long-lasting finish.
It may be tempting to rush the process, but patience is key when it comes to painting fascia boards with an airless sprayer. The drying time will vary depending on factors such as temperature and humidity, so it’s important to follow the paint manufacturer’s instructions for the specific product you’re using.
Rushing the drying process can lead to uneven results or even damage the paint job. So, take the time to allow each coat to thoroughly dry before applying the next one.
Once the paint has dried, you can then inspect and touch up any imperfections that may have occurred during the application process. This ensures a flawless final result.
Inspect and Touch Up Any Imperfections
Once the paint has dried, you can give it a careful once-over and fix any blemishes, like a skilled artist touching up a portrait. Inspecting the fascia board for any damage is crucial at this stage. Look closely for any missed spots, drips, or uneven coverage. If there are any imperfections, it’s important to address them before moving on.
To touch up these areas, choose the right touch-up paint that matches the color and finish of the existing paint. This will ensure a seamless blend and a professional-looking finish. Take your time and apply the touch-up paint with precision, using a small brush or a sponge applicator.
Once you have inspected and touched up any imperfections, you can move on to the next step and enjoy the freshly painted fascia board.
Enjoy the Freshly Painted Fascia Board
Bask in the satisfaction of your newly transformed fascia board. Feel a sense of pride and joy as you admire the flawlessly painted surface.
The fresh paint not only enhances the aesthetic appeal of your home but also provides several benefits. The newly painted fascia board acts as a protective barrier against the elements, preventing moisture from seeping in and causing damage. It also helps to extend the lifespan of the board, saving you from costly repairs in the long run.
While using an airless sprayer offers a quick and efficient way to paint the fascia board, there are alternative methods available. You can choose to brush or roll the paint, although it may take more time and effort.
Regardless of the method chosen, the result will be a beautiful and long-lasting finish that adds value to your home.
Frequently Asked Questions
What are the necessary materials and equipment needed for painting a fascia board with an airless sprayer?
To paint a fascia board with an airless sprayer, you will need the following materials and equipment: an airless sprayer, paint, a ladder, drop cloths, a mask, gloves, and safety goggles. It’s important to maintain the sprayer and be aware of alternative painting methods.
How do I prepare the fascia board before painting it with an airless sprayer?
First, I grab my trusty sander and smooth out the fascia board before painting with an airless sprayer. Then, I apply a high-quality primer to ensure a long-lasting finish.
What are the steps to set up and adjust an airless sprayer for painting a fascia board?
To set up and adjust an airless sprayer for painting a fascia board, start by ensuring the sprayer is clean and fully assembled. Then, adjust the pressure, spray pattern, and nozzle size according to the manufacturer’s instructions for optimal results.
How can I practice spraying techniques on a test surface before painting the actual fascia board?
Before painting the actual fascia board, I like to hone my spraying techniques on a test surface. It’s like warming up before a big game – it helps me perfect my skills and ensure a smooth, professional finish.
How do I clean and maintain the airless sprayer after painting the fascia board?
To clean and maintain the airless sprayer after painting the fascia board, it is important to follow these maintenance tips. Clean the sprayer thoroughly with water or a cleaning solution, flush the system, and inspect for any clogs or damage. Regular maintenance ensures optimal performance.
Conclusion
In conclusion, painting a fascia board with an airless sprayer is a convenient and efficient way to give your home a fresh new look. By following the steps outlined in this article, you can achieve a professional finish with ease.
One interesting statistic to note is that using an airless sprayer can save up to 50% of the time compared to using a brush or roller. So not only does it provide a high-quality result, but it also helps you save valuable time.
Happy painting!