To transform your garage with a sprayer, start by preparing the surfaces thoroughly—clean, repair, and mask off areas. Choose a sprayer suited for your project size and type, such as airless for floors and HVLP for detail work. Use proper techniques like consistent movement, thin coats, and drying time between layers. Afterward, clean your tools and store leftover paint properly. For detailed steps and tips to achieve a professional finish, keep exploring further.
Key Takeaways
- Properly clean, sand, and prime surfaces for optimal paint adhesion and durability.
- Choose the appropriate sprayer type (airless or HVLP) based on project size and detail.
- Maintain consistent distance and technique to achieve smooth, even coats on floors, cabinets, and walls.
- Use masking and protective gear to prevent overspray and ensure safety during painting.
- Apply multiple thin coats and lightly sand between layers for a professional, long-lasting finish.

3M Hand-Masker M3000 Tool Painter's Tape and Masking Film Dispenser Kit, 3M Hand Masker Protects Surfaces from Paint Splatters, Includes 12-Inch Blade, Painter's Tape and Masking Film, 1 Kit
ALL-IN-ONE CONVENIENCE: One 3M Hand-Masker Painter's Tape and Masking Film Dispenser that applies painter's tape to masking film...
As an affiliate, we earn on qualifying purchases.
Preparing Your Garage for a Fresh Coat of Paint
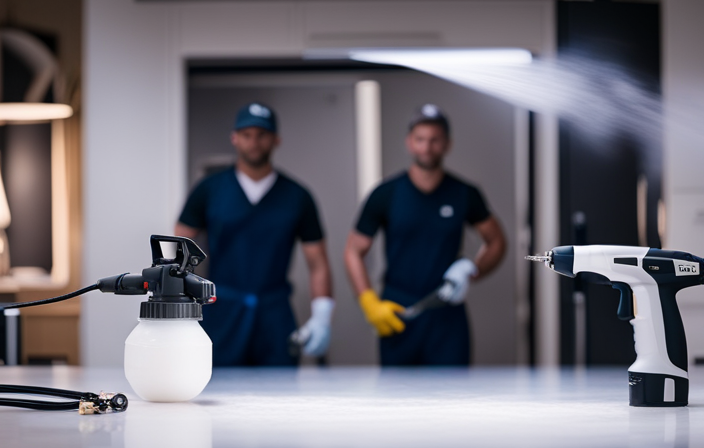
Before you start painting, it’s essential to properly prepare your garage to guarantee the best results. First, improve garage lighting by ensuring your space is well-lit, which helps you spot imperfections and achieve a smooth finish. Consider adding bright LED fixtures or portable lamps. Next, organize your storage; clear out clutter and tidy shelves so you have a clean, open area to work in. Proper storage organization not only simplifies the prep process but also protects your belongings from paint splatters. Vacuum or sweep the floor thoroughly to remove dust and debris, which can ruin a fresh coat. Taking these steps creates a well-lit, clutter-free environment, making your painting project more manageable and ensuring a professional-looking finish. Additionally, assessing the existing surfaces for surface preparation ensures better paint adhesion and longevity of your new finish. Incorporating rustic decor elements can also inspire your color choices and overall aesthetic, helping you create a cohesive and inviting space. Paying attention to air quality by ventilating the area can also improve the painting conditions and drying process, and being aware of environmental factors can help you choose the best time for your project. Incorporating modern tools like sprayers can significantly speed up the process and improve coverage.

Enhon Painter's Tape and Masking Film Dispenser Kit with 12 Inch Film Blade for CuttingTape, Masking Film & Paper, Masking Tool for Home, Office Improvements Protects Surfaces from Paint Splatters
Package Includes: You will receive a painter's tape and masking film dispenser kit with a 12-inch film blade...
As an affiliate, we earn on qualifying purchases.
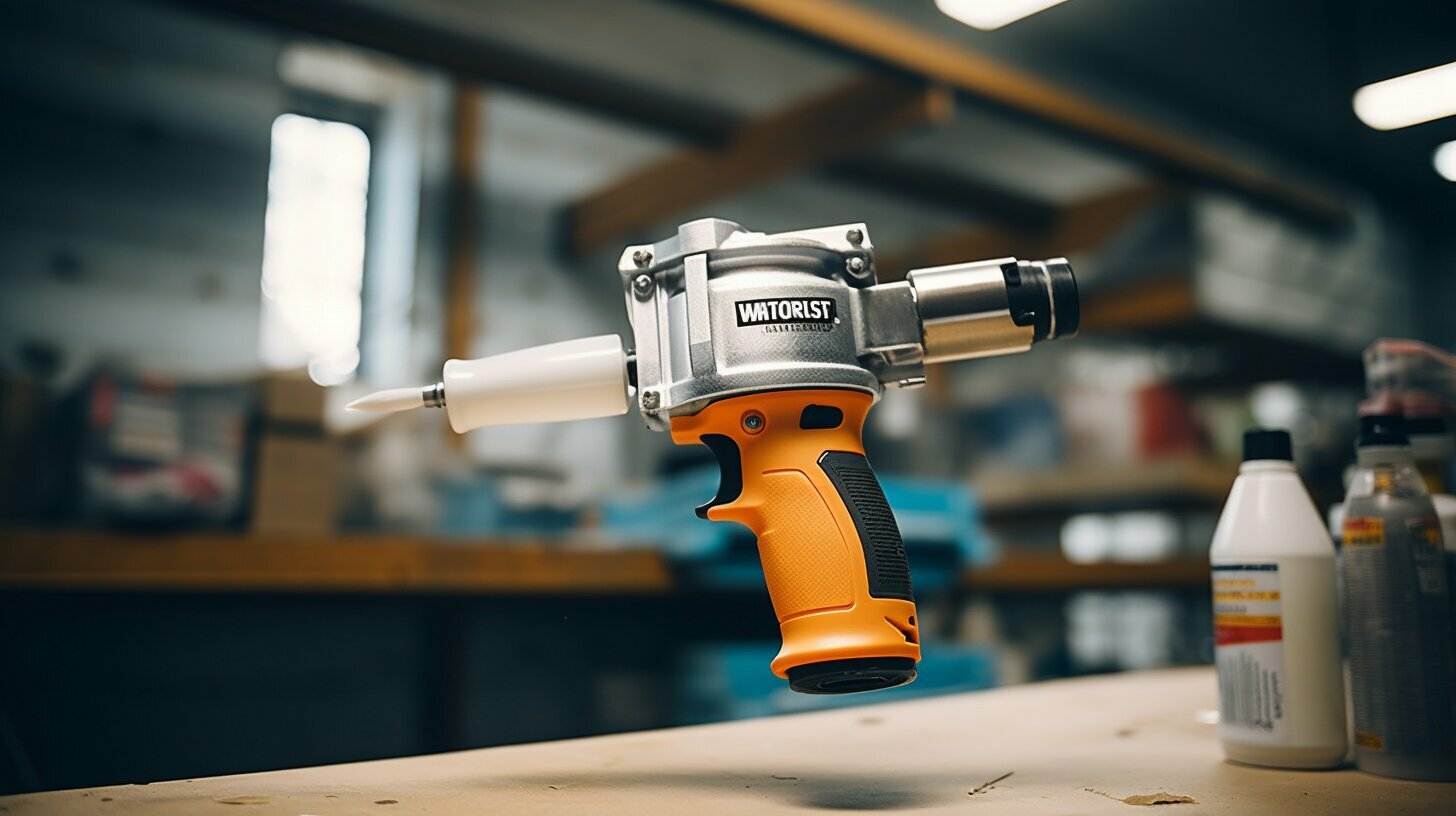
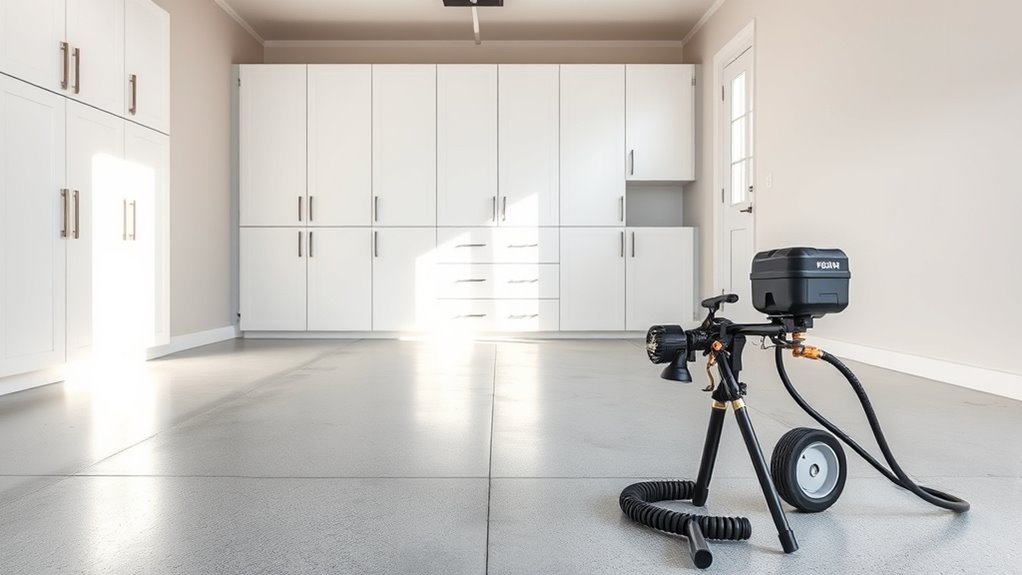
Choosing the Right Sprayer for Your Project
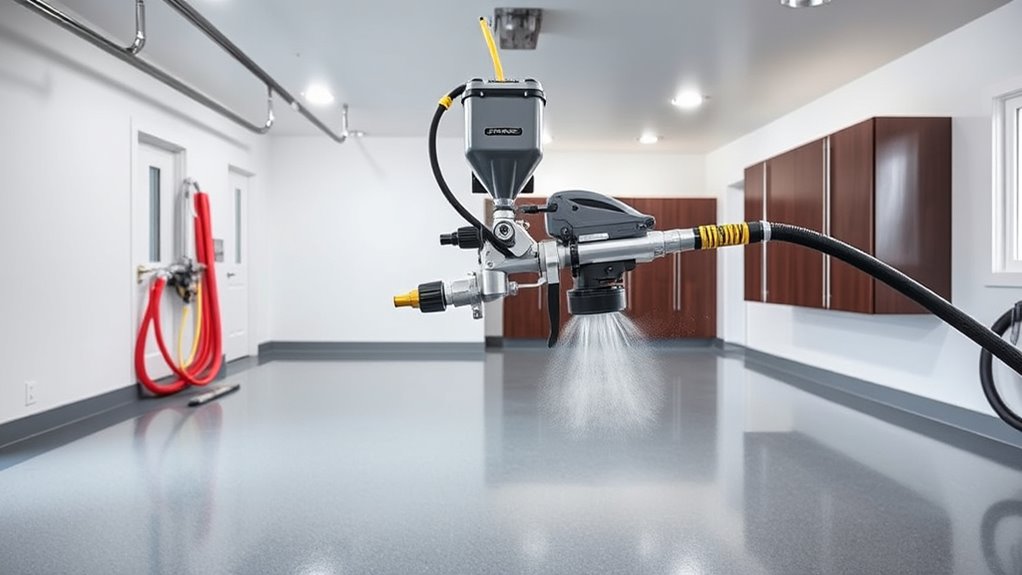
Selecting the right sprayer can make a significant difference in how smoothly your garage makeover turns out. To choose the best one, reflect on the different sprayer types and their suitability for your project. For example, airless sprayers are great for large surfaces like walls and floors, offering quick coverage. HVLP sprayers excel at detailed work on cabinets and trim, with less overspray. Keep in mind paint compatibility—some sprayers work better with thicker paints, while others require thinning. Here are key points to consider:
- Sprayer types: Airless, HVLP, or compressed air
- Paint compatibility: Thicker paints may need special sprayers
- Ease of use: Consider your experience level and project size
- Paint viscosity plays a crucial role in selecting the appropriate sprayer for your paint type, ensuring an even and smooth application. Additionally, understanding sprayer maintenance can help maintain optimal performance throughout your project. Proper cleaning and regular checks on nozzle condition are essential for consistent results. Regularly inspecting your equipment ensures efficiency and prevents costly repairs. Being aware of Kia Tuning options can also inspire creative customization ideas if you decide to personalize your garage space further. Matching the sprayer to your needs ensures a smooth, efficient painting process.

3M Hand Masker M3000 Tape Dispenser, Film & Tape, Applies Painter's Tape to Masking Film or Paper in One Continuous Application, Compact & Lightweight Design, Saves Time When Preparing For Painting
4 to 5 times faster than paper/poly method
As an affiliate, we earn on qualifying purchases.
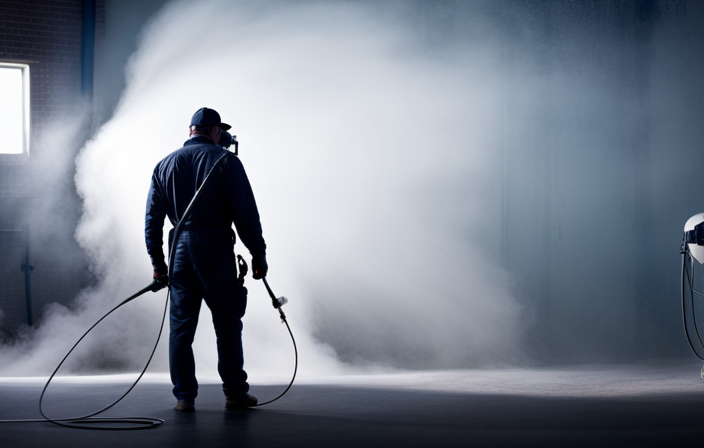
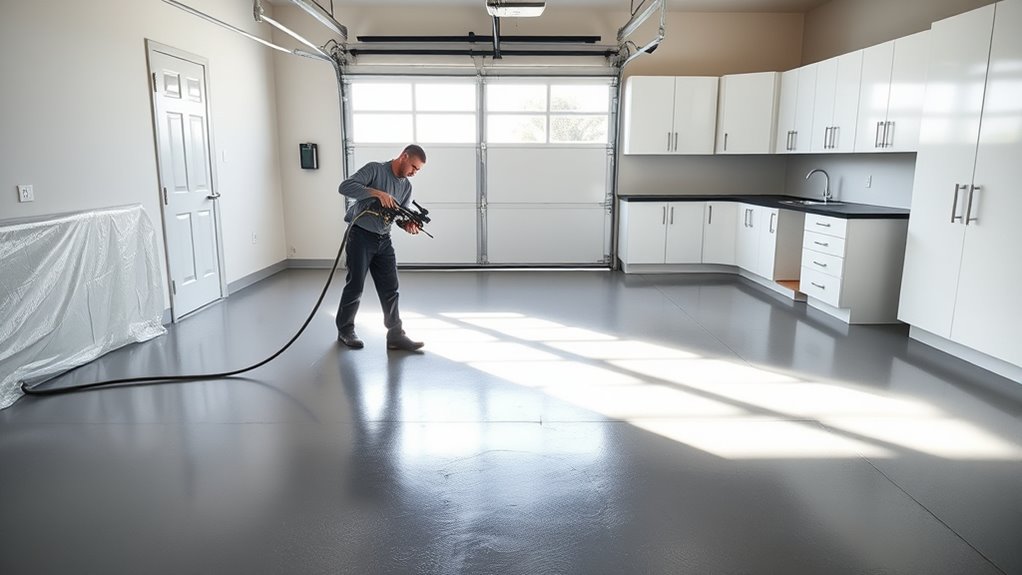
Techniques for Painting Garage Floors, Cabinets, and Walls
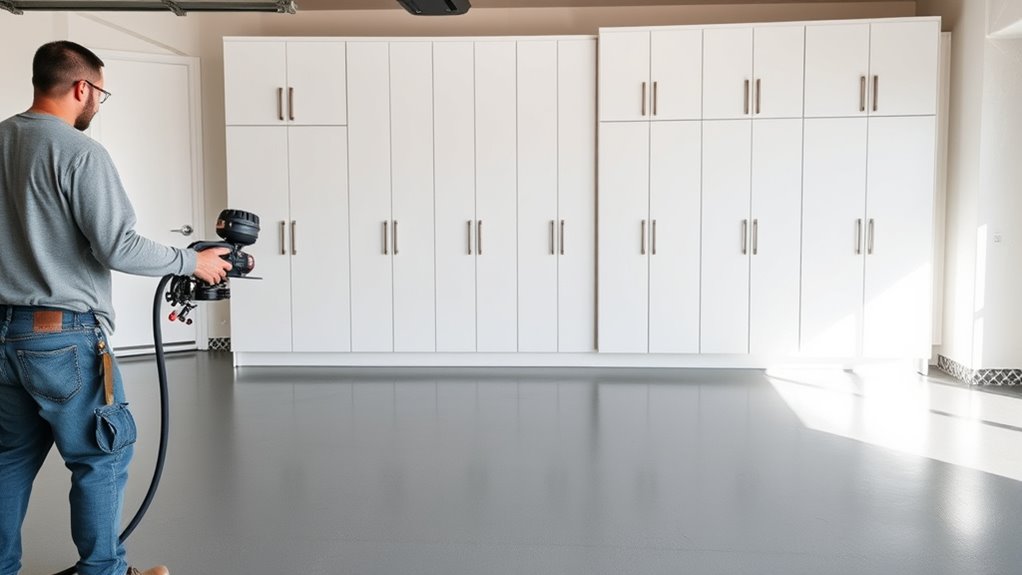
Once you’ve chosen the right sprayer for your project, mastering proper painting techniques can greatly enhance your results. Start by carefully planning your color selection to guarantee it complements your garage’s overall look. When painting floors, use even, steady passes to avoid drips and uneven coverage, applying multiple thin coats for better paint durability. For cabinets and walls, maintain consistent distance and speed to achieve a smooth finish. Keep the surface well-prepared and clean before spraying. Use masking tape to protect adjacent areas. Proper technique minimizes overspray and ensures the paint adheres well, which is key for long-lasting durability. Focus on controlled, deliberate movements, and guarantee proper ventilation for ideal drying and curing. Additionally, understanding paint types and their compatibility with different surfaces can significantly impact your project’s success. Being familiar with tuning modifications can also inspire creative upgrades in your garage space, blending functionality with style. Learning about paint application techniques can further refine your skills and produce professional-looking results. Incorporating surface preparation methods from automotive tuning, like sanding and priming, can enhance adhesion and finish quality for your painting projects.

Tangibay Pre-Taped Masking Paper with Dispenser - 18" x 66' Painters Paper and Tape for Painting House, Auto Body, Cars (1 Dispenser 1 Refill)
【2-in-1 Masking Tape & Paper】 This pretaped masking paper combines premium masking paper and adhesive painters tape, making...
As an affiliate, we earn on qualifying purchases.
Tips for Achieving a Smooth and Durable Finish
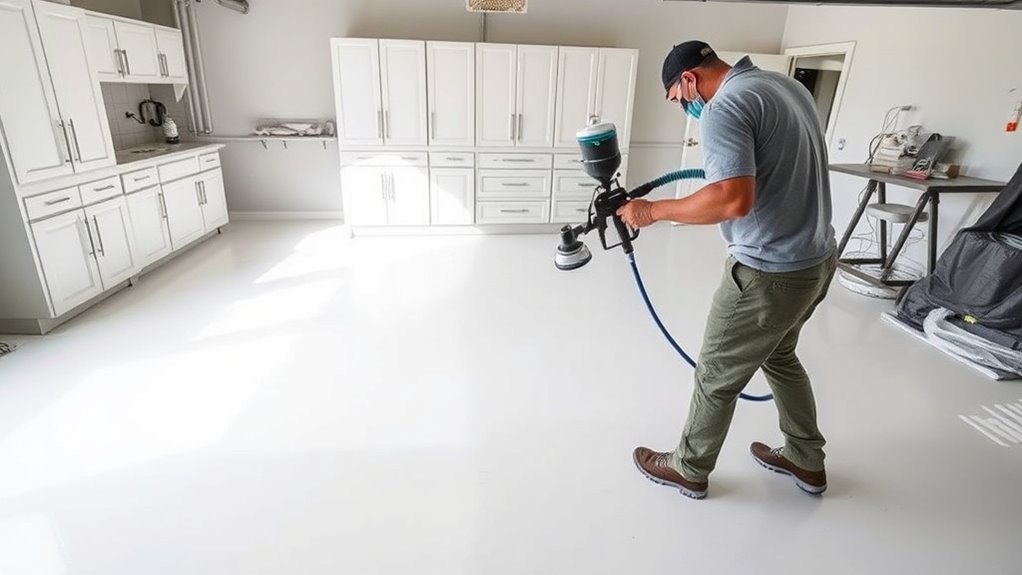
Achieving a smooth and durable finish starts with proper surface preparation, which is essential for the paint to adhere evenly and resist chipping over time. Once prepped, focus on your brush techniques to prevent streaks and uneven coverage. Use long, even strokes and maintain a wet edge to keep the finish consistent. To enhance paint durability, apply thin coats rather than thick layers, allowing each to dry thoroughly before adding the next. Properly managing UV exposure and skin health, similar to protecting your skin, can also influence the longevity of your painted surfaces by preventing damage and ensuring long-term durability. Keep brushes well-loaded but not overloaded to avoid drips. Use high-quality brushes suited for your paint type. Sand lightly between coats for a smoother surface. Additionally, selecting paints with long-lasting properties can further improve the durability of your garage makeover. Incorporating the use of the right paint sprayer tips can also help achieve a more even and professional finish. These tips will help you achieve a professional-looking, long-lasting finish that withstands the garage environment. Being mindful of surface adhesion can prevent issues like peeling or chipping later on, ensuring your project stands the test of time.
Post-Painting Cleanup and Maintenance
After finishing your painting project, it’s important to clean your tools promptly to prevent paint from hardening and becoming unusable. Use the right cleaning supplies, such as brushes, sprayer parts, and rollers, to thoroughly remove residual paint. Rinse tools with water or solvent based on the type of paint used, and dry them completely before storage. Proper paint storage is essential to keep leftover paint fresh for future touch-ups; ensure lids are tightly sealed and store containers in a cool, dry place. Cleaning supplies should be organized and accessible for quick cleanup after each session. Regular maintenance of your tools and proper paint storage extend their lifespan, saving you time and money on future projects while keeping your garage neat and ready for the next makeover. Utilizing quality home improvement tools can also make your painting cleanup more efficient and effective. Additionally, inspecting and replacing worn-out paint sprayer parts can help maintain optimal performance and prevent issues during your next painting project. Incorporating safe and durable tools ensures both safety and longevity during your painting endeavors.
Frequently Asked Questions
How Long Should I Wait Before Parking in My Freshly Painted Garage?
You should wait until the drying time is complete before parking in your freshly painted garage. Typically, paint needs about 24 to 48 hours to set thoroughly, but this varies depending on the type of paint and environmental conditions. Allow for a proper curing period, which can take up to a week, especially for floors. Check the paint manufacturer’s instructions for specific drying and curing times to ensure your garage is ready.
Can I Use the Same Sprayer for Both Interior and Exterior Surfaces?
You wonder if your sprayer compatibility allows you to switch between interior and exterior surfaces. The truth is, using the same sprayer depends on proper surface preparation and the type of paint or stain. You should check if your sprayer can handle different materials without clogging or cross-contamination. By ensuring thorough cleaning and selecting suitable settings, you can confidently tackle both interior and exterior projects with one versatile sprayer.
What Are the Best Ventilation Practices During and After Painting?
You should prioritize good air circulation during and after painting to guarantee proper odor control and safety. Open windows and doors to create cross-ventilation, and use fans to direct air outside. Wear a mask if needed, and keep the space well-ventilated until the paint dries completely. Afterward, continue to ventilate the area to help fumes dissipate and maintain fresh air, making your space safer and more comfortable.
How Do I Prevent Overspray From Damaging Nearby Areas?
Think of overspray as a mischievous breeze, sneaking where it shouldn’t go. To prevent this, cover nearby surfaces with drop cloths and use masking tape to seal edges. Keep your sprayer steady and maintain a consistent distance from surfaces. By creating a barrier with drop cloths and masking tape, you’re fundamentally setting boundaries for your paint, protecting everything outside your intended target from unwanted splatters.
Are There Eco-Friendly or Low-Voc Paint Options Suitable for Garage Projects?
When choosing paint for your garage, you want eco-friendly paints and low VOC options that are safer for you and the environment. These paints reduce harmful fumes and are often available in water-based formulas, making cleanup easier. Look for labels that specify low VOC content or eco-friendly certifications. Using these options not only protects your health but also supports sustainable practices while giving your garage a fresh, vibrant finish.
Conclusion
With your newfound sprayer skills, your garage will transform faster than a superhero’s secret lair! Say goodbye to dull, drab spaces and hello to a showroom-worthy masterpiece in record time. Your floors, cabinets, and walls will gleam brighter than the sun, making everyone wonder if you’ve unfastened a magic paint wand. Get ready to impress and enjoy a garage that’s so stunning, even your neighbors will be speechless—prepare for a jaw-dropping, envy-inducing makeover!