
To choose the right spray tip size, consider your project’s surface and paint type. For fine detail or touch-ups, go with smaller tips like 0.8–1.2 mm, while larger surfaces like walls need bigger tips around 1.8–2.5 mm. Match the viscosity of your paint to the tip size for smooth application and even coverage. If you want to master this choice and achieve a professional finish, keep looking into the details below.
Key Takeaways
- Match the spray tip size to your project’s surface area and detail level, using smaller tips for fine work and larger tips for broad surfaces.
- Consider the paint’s viscosity; thinner paints need smaller tips, while thicker paints require larger tips for proper atomization.
- Test spray patterns on scrap material to ensure even coverage and prevent overspray or uneven coating.
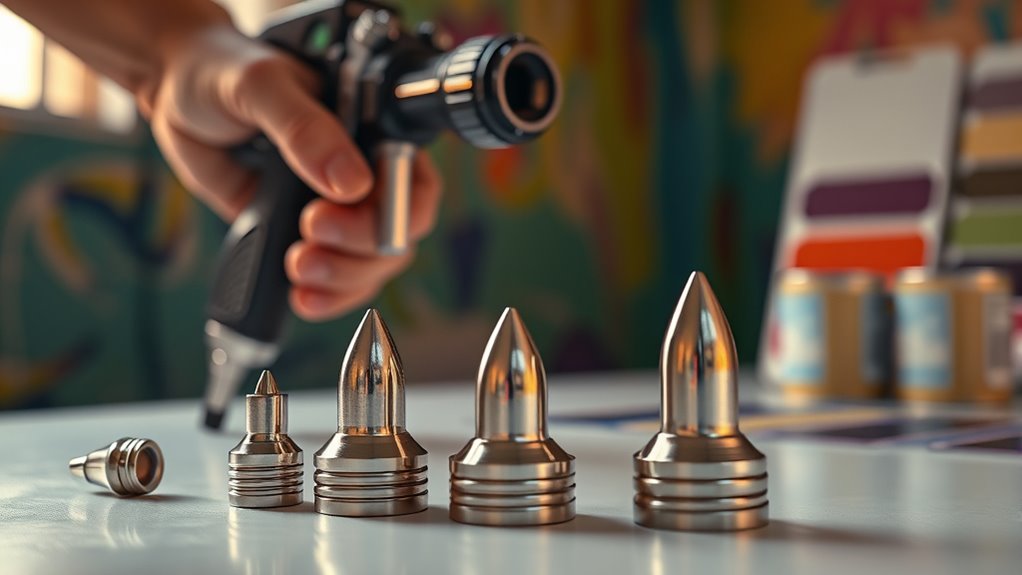
- Use the recommended tip size range (e.g., 0.8-1.2 mm for detail, 1.8-2.5 mm for walls) based on project requirements.
- Adjust viscosity and flow settings to complement the chosen tip size, ensuring a smooth, professional finish.
Selecting the right spray tip size is essential for achieving a professional finish and guaranteeing efficient paint application. When you choose the proper tip, you can control the paint’s spray pattern and maintain the right paint consistency, which directly impacts the quality of your work. A tip that’s too small may cause uneven coverage and thin layers, while a tip that’s too large can lead to overspray and wasted material. Finding the balance ensures you get a smooth, even coat that looks polished and saves you time and materials.
Choosing the right spray tip ensures a smooth finish and reduces waste.
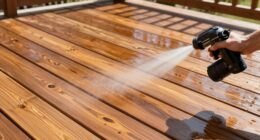
Your project’s specific requirements determine the ideal spray tip size. For instance, if you’re working on fine detail work or touch-ups, a smaller tip—around 0.8 to 1.2 mm—allows for more precise control and a finer spray pattern. Conversely, for larger surfaces like walls or ceilings, a bigger tip—around 1.8 to 2.5 mm—helps you cover more area quickly without sacrificing quality. The key is matching the tip size to the kind of coverage you need and the type of paint you’re using.
Paint consistency plays a significant role in selecting your spray tip. Thinner paints, such as stains or sealers, generally require smaller tips because they flow more easily and create finer spray patterns. Thicker paints, like latex or exterior coatings, need larger tips to facilitate proper atomization and prevent clogging. When your paint is too thick for your tip size, it can cause uneven spray patterns, drips, or clogging. Conversely, if you thin the paint too much, it might lead to overspray or a lack of opacity. Adjusting the paint’s viscosity to match your spray tip size ensures a smooth, consistent spray pattern and optimal coverage.
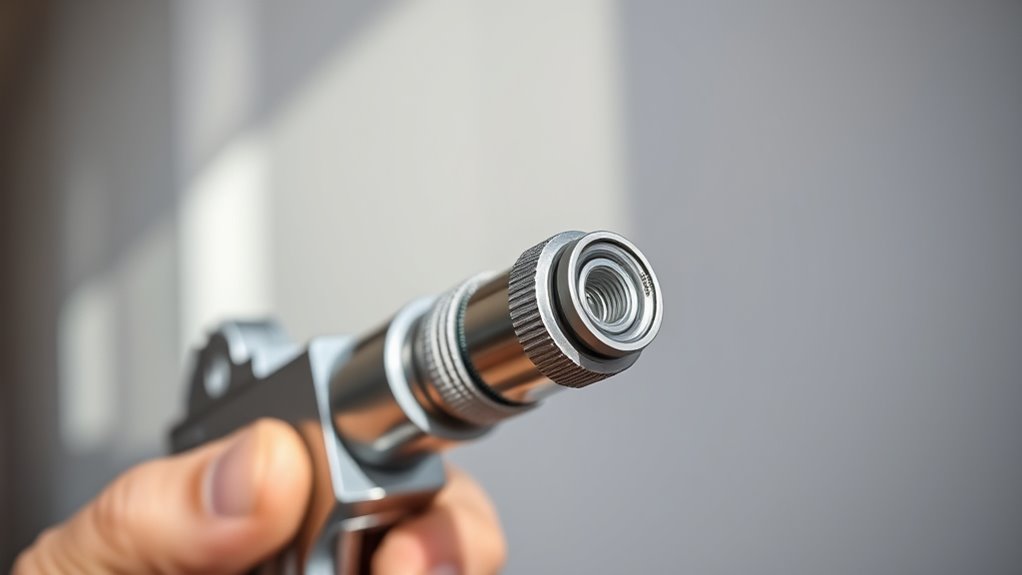
Choosing the correct spray tip size also influences your spray pattern, which is vital for achieving a uniform finish. A properly matched tip produces a consistent, wide spray pattern that covers surfaces evenly without gaps or excessive overspray. If your spray pattern is uneven or sporadic, it’s often a sign that your tip size doesn’t suit your paint or project. Regularly testing your spray pattern on scrap material before starting on your project helps you fine-tune the tip size and paint flow, preventing mistakes and wasted material.
Additionally, understanding how paint viscosity affects spray performance can help you make better choices and avoid common issues like clogging or uneven coating. In the end, selecting the right spray tip size isn’t just about matching it to your paint; it’s about understanding how that size influences the paint’s flow, spray pattern, and overall finish. By paying attention to paint consistency and tailoring your tip choice accordingly, you’ll achieve a professional result with less effort and material waste. This small but critical step sets the foundation for a smooth, even, and flawless paint job.

5Pcs Electric Paint Sprayer Nozzles Set – 1.0/1.5/1.8/2.0/2.5mm Metal Replacement Spray Tips for Airless HVLP Gun, Home DIY Wall Painting Accessories
Durable Metal Construction – Made with high-quality iron and brass components for strength and wear resistance. The sturdy…
As an affiliate, we earn on qualifying purchases.
As an affiliate, we earn on qualifying purchases.
Frequently Asked Questions
Can I Use a Smaller Tip for Thicker Paints?
You shouldn’t use a smaller tip for thicker paints because it can clog the spray and affect the spray pattern. Thicker paints have higher viscosity, requiring a larger tip to guarantee proper flow and smooth coverage. Using a smaller tip can cause uneven application, drips, or blockages, making your project harder to finish. Always match your spray tip size to the paint’s viscosity for a consistent, professional-looking spray pattern.
How Does Spray Tip Size Affect Paint Coverage Speed?
A larger spray tip size increases your paint coverage speed because it delivers more paint per pass, helping you finish faster. However, it can affect paint adhesion and spray pattern, making your application less precise and potentially causing overspray. A smaller tip offers better control and a finer spray pattern, which can enhance paint adhesion on detailed surfaces, but it might slow down your overall coverage speed.
Is It Okay to Switch Tips During a Project?
Switching tips during a project is common, but 90% of users overlook tip compatibility. You should only change tips if they’re compatible with your sprayer to avoid damage. Always follow safety precautions, like unplugging the sprayer and wearing protective gear. This guarantees safety and maintains spray quality. If you check tip compatibility first, you’ll avoid clogs or malfunctions, making your project smoother and more efficient.
What Are the Signs of an Incompatible Spray Tip?
You’ll notice signs of an incompatible spray tip when paint doesn’t adhere well, leading to poor paint adhesion on surfaces. You might also see an uneven or distorted spray pattern, causing drips or overspray. If the spray pattern is inconsistent or the paint sprays unevenly, it’s a clear sign that the tip isn’t suitable with your project. Switching to the right size ensures smooth application and better results.
How Do Temperature and Humidity Influence Tip Selection?
Temperature and humidity greatly influence your spray tip selection because they affect environmental conditions that impact spray consistency. In hot, dry weather, you should choose a tip that delivers a finer spray to prevent uneven coating, while in humid conditions, a larger tip helps avoid runs and drips. Adjusting your tip based on these factors guarantees smooth application, better finish, and consistent results, no matter the environmental challenges you face.

1.4mm/1.7mm/2.0mm Nozzle Replacement Kit for HVLP Spray Gun – Stainless Steel Air Cap & Nozzle Set for H-827 & Compatible Spray Guns – Sturdy Spray Paint Repair Accessories Kit
✅ STURDY HIGH-QUALITY MATERIALS – Crafted from premium stainless steel, these nozzles offer exceptional durability and corrosion resistance….
As an affiliate, we earn on qualifying purchases.
As an affiliate, we earn on qualifying purchases.
Conclusion
Now that you know how to choose the right spray tip size, you’re better equipped to get the job done right the first time. Remember, selecting the correct tip isn’t just about precision—it’s about avoiding headaches later on. When you match your tip size to your project, you really hit the nail on the head. So, don’t cut corners; take the time to pick wisely and see your project turn out flawless every time.

14 Pieces Airless Paint Sprayer Tips Set, Anglecai 6 Reversible Spray Nozzles, 6 Airless Paint Spray Gun Filters, 2 Nozzle Tip Guards for Guns House Painting
Compatible Size Models: Our airless sprayer nozzles have 6 different models, 211, 315, 417, 515, 517 and 523,…
As an affiliate, we earn on qualifying purchases.
As an affiliate, we earn on qualifying purchases.

MAQIHAN 100PCS Paint Strainers Paper Cone Paint Mixing Cup Strainer Fine Mesh Filters Funnel Filter Disposable Spray Gun Sprayer Accessories Automotive Body Repair Paint Tools & Equipment
Great Quantity & Excellent Price:There are 100pcs paint strainer in the package.After use, you can replace them at…
As an affiliate, we earn on qualifying purchases.
As an affiliate, we earn on qualifying purchases.