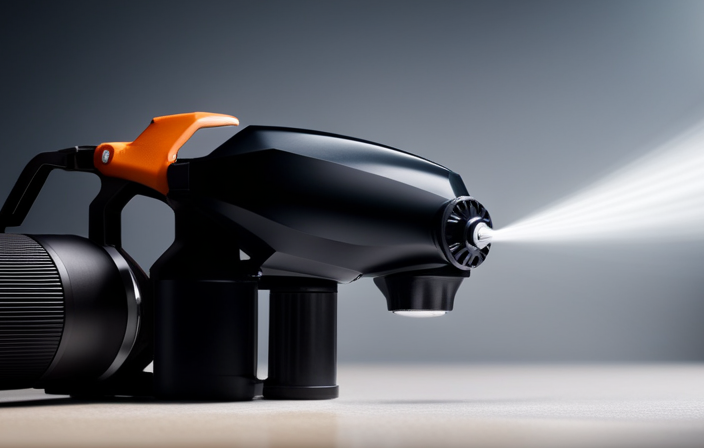
I am always on the lookout for tools that can make my DIY projects easier and more efficient. One tool that has become essential in my workshop is the Harbor Freight airless paint sprayer. With this reliable device, I am able to achieve professional-looking paint finishes with minimal hassle.
In this article, I will guide you through the process of setting up your Harbor Freight airless paint sprayer, step by step. From unboxing and inspecting the sprayer to cleaning and maintaining it, I will provide you with all the technical know-how you need to get started.
So, if you’re ready to take your painting game to the next level, grab your Harbor Freight airless paint sprayer and let’s dive in!
Key Takeaways
- Follow the manufacturer’s instructions for proper setup and usage of the harbor freight airless paint sprayer.
- Always clean the sprayer thoroughly after each use, using a cleaning solution or water, to ensure longevity and optimal performance.
- Take apart and clean the spray tip, filter, and guard separately to remove any clogs or debris that may affect the spray pattern.
- Regularly inspect and clean the suction tube and hose for any obstructions or blockages that could hinder the paint flow.
Unbox and Inspect Your Airless Paint Sprayer
Now it’s time to unbox and inspect your brand new airless paint sprayer – you won’t believe how easy it is to get started with Harbor Freight!
Before diving into your painting project, it’s crucial to inspect the equipment and familiarize yourself with some troubleshooting techniques.
Begin by carefully unboxing the sprayer, making sure all the parts are present and undamaged.
Check the spray gun, hose, and motor for any signs of defects or wear.
Take a close look at the nozzle and ensure it’s clean and free from any clogs or debris.
Additionally, inspect the fittings and connections to ensure they’re securely fastened.
Familiarize yourself with the user manual and troubleshoot any potential issues that may arise during the painting process.
Now, let’s transition into the subsequent section about gathering and preparing your painting supplies.
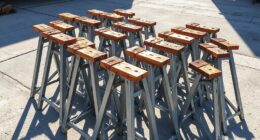
Gather and Prepare Your Painting Supplies
Before starting, make sure you have all the necessary supplies like primer, paint, drop cloths, and a paintbrush. For example, if you’re painting a room, gather a gallon of primer, two gallons of paint in your desired color, plastic drop cloths to protect the floor, and a paintbrush for touch-ups. When it comes to painting techniques, it’s important to choose the right paint colors for your project. Consider the mood and atmosphere you want to create in the space and select colors accordingly. You can evoke a sense of calmness with cool tones like blues and greens, or create a vibrant and energetic atmosphere with warm tones like reds and yellows. Experiment with different color palettes to find the perfect combination. Now, let’s move on to familiarizing yourself with the parts of the sprayer.
Familiarize Yourself with the Parts of the Sprayer
Let’s take a moment to get acquainted with the different components of the sprayer so you can easily navigate through the painting process. Understanding the different nozzle sizes is crucial for achieving the desired spray pattern and coverage. The nozzle size determines the width of the spray fan, with smaller sizes producing thinner lines and larger sizes covering wider areas.
Safety precautions are essential when using the sprayer to prevent accidents and ensure a smooth painting experience. Always wear protective goggles and a respirator to shield yourself from paint particles and fumes. Additionally, make sure to work in a well-ventilated area and keep a fire extinguisher nearby.
Now that we understand the parts of the sprayer and the safety measures, let’s move on to connecting and securing the spray gun and hose.
Connect and Secure the Spray Gun and Hose
To properly connect and secure the spray gun and hose, it’s important to understand the process and ensure a tight and stable connection.
Begin by attaching the hose to the spray gun by screwing it onto the threaded connection on the bottom of the gun. Make sure to tighten it securely to prevent any air or paint leakage.
Next, connect the other end of the hose to the airless paint sprayer by inserting the quick-connect coupler onto the fitting located on the sprayer. Ensure that the coupler clicks into place, indicating a secure connection.
Finally, double-check all the connections to ensure they are tight and secure before moving on to the next step of preparing and priming the paint for spraying.
Prepare and Prime the Paint for Spraying
Get ready to have some fun as we prepare and prime the paint for spraying! Before we start, it’s important to ensure that the surfaces you plan to paint are properly prepped.
This includes cleaning, sanding, and removing any loose paint or debris. Once the prep work is done, it’s time to choose the right paint for your project. Consider factors such as the type of surface, desired finish, and the paint’s compatibility with the sprayer.
Now, let’s move on to priming the paint. Start by pouring the paint into a clean container and thinning it if necessary. Then, follow the manufacturer’s instructions to prime the sprayer, ensuring that the paint flows smoothly through the system.
With the paint prepped and primed, we are now ready to adjust the pressure and spray pattern for optimal results in the next step.
Adjust the Pressure and Spray Pattern
Now that we’ve got the paint flowing smoothly, it’s time to dial in the perfect pressure and spray pattern for a flawless finish.
Adjusting the pressure and spray pattern on your Harbor Freight airless paint sprayer is crucial to achieving professional results. To adjust the pressure, start by turning the pressure knob clockwise to increase the pressure or counterclockwise to decrease it. It’s important to find the right balance, as too much pressure can cause overspray, while too little can result in uneven coverage.
Additionally, adjusting the spray pattern is essential. You can do this by twisting the spray tip to widen or narrow the pattern, depending on your needs. If you encounter any issues, such as clogging or uneven spray, refer to the troubleshooting tips provided in the instruction manual.
With the pressure and spray pattern dialed in, we’re now ready to test the sprayer on a scrap surface to make sure everything’s working perfectly.
Test the Sprayer on a Scrap Surface
Once you’ve got the pressure and spray pattern adjusted just right, it’s time to have some fun and test the sprayer on a scrap surface! Before you start painting your project, it’s crucial to troubleshoot any issues and ensure a smooth finish. Testing the sprayer on a scrap surface allows you to fine-tune the settings and identify any potential problems. To do this, follow these steps:
-
Prepare a scrap surface: Choose a piece of wood or cardboard to use as a test surface. Make sure it is clean and free from any debris.
-
Fill the paint container: Pour a small amount of paint into the sprayer’s container. Avoid overfilling to prevent any unnecessary mess.
-
Start spraying: Hold the sprayer approximately 12 inches away from the scrap surface. Begin spraying in a steady motion, moving from side to side. Pay attention to the spray pattern and adjust as needed.
-
Evaluate the results: Examine the painted surface for any irregularities, such as drips or uneven coverage. Adjust the pressure and spray pattern accordingly until you achieve a smooth and even finish.
By testing the sprayer on a scrap surface, you can troubleshoot any issues and ensure optimal performance before starting your project. Now that you have fine-tuned the settings, it’s time to begin painting your project.
(Note: Do not write ‘step’)
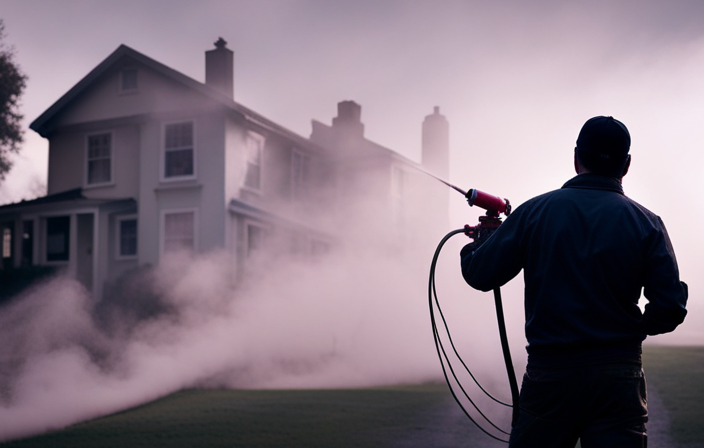
Begin Painting Your Project
Let’s dive right into transforming your project with a flawless coat of paint using your trusty sprayer!
Before you start painting, it’s crucial to understand a few painting techniques. First, make sure you choose the right paint color that suits your project. Consider factors like lighting, mood, and the overall aesthetic you want to achieve.
Once you have the perfect color, load the sprayer with the paint, ensuring it’s mixed well and at the right consistency. Begin painting by holding the sprayer about 12 inches away from the surface and moving it in a smooth, steady motion. Overlap each stroke by about 50% to ensure even coverage. Keep a constant speed and maintain a consistent distance from the surface. This will help you achieve a professional finish.
Now, let’s move on to the next section on how to clean and maintain your airless paint sprayer, ensuring its longevity and optimal performance.
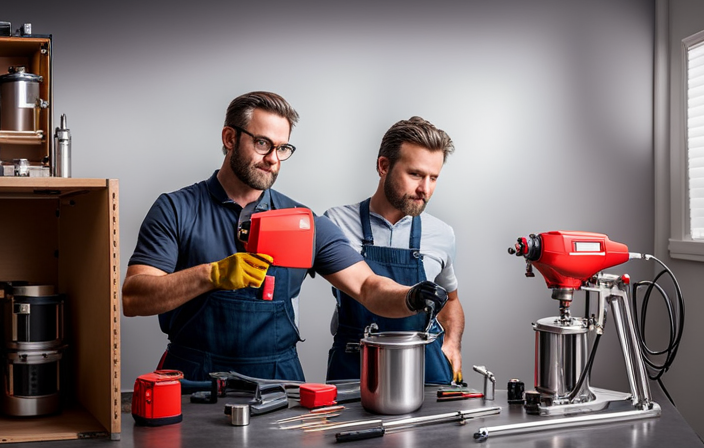
Clean and Maintain Your Airless Paint Sprayer
To ensure the longevity and optimal performance of your airless paint sprayer, regular maintenance and cleaning are crucial. Here are some helpful tips for airless paint sprayer maintenance and cleaning.
First, always refer to the manufacturer’s instructions for specific cleaning procedures. After each use, thoroughly clean the sprayer by flushing it with a cleaning solution or water. Remove the spray tip, filter, and guard, and clean them separately.
Inspect the suction tube and hose for any clogs or debris and clean them if necessary. Check the motor and pump for any signs of wear or damage. Lubricate the moving parts as recommended by the manufacturer.
By following these cleaning tips, you can keep your airless paint sprayer in top condition.
Moving on to troubleshooting tips and common issues, it’s important to be aware of potential problems that may arise during the painting process.
Troubleshooting Tips and Common Issues
If you’re experiencing any issues or difficulties while using your airless paint sprayer, don’t worry – I’ve got some troubleshooting tips and common problems to help you out!
When it comes to airless paint sprayer maintenance, one common issue is improper spray patterns. This can be caused by a clogged nozzle or a worn-out spray tip. To fix this, start by checking the nozzle for any debris or paint buildup. Clean it thoroughly using a small brush or a nozzle cleaning tool.
If the spray pattern is still uneven or distorted, it may be time to replace the spray tip.
Another common problem is paint overspray. To reduce this, make sure to adjust the pressure settings on your sprayer and maintain a consistent distance from the surface you’re painting.
Regularly cleaning and maintaining your airless paint sprayer will help prevent these issues and ensure smooth and efficient painting.
Frequently Asked Questions
How long does it take to clean and maintain an airless paint sprayer?
To clean an airless paint sprayer efficiently, I recommend following these tips for maintaining its performance. Firstly, flush the system with water or solvent after each use, then disassemble and clean the filters, nozzles, and hoses. Regularly inspect and replace worn parts to ensure optimal functioning.
Can I use any type of paint with a harbor freight airless paint sprayer?
Yes, you can use a variety of different paint types with a harbor freight airless paint sprayer. However, it’s important to choose the best paint for your airless sprayer to ensure optimal performance and results.
How often should I replace the spray gun and hose on my airless paint sprayer?
I replace the spray gun and hose on my airless paint sprayer every 2 years to maintain optimal performance. To clean the sprayer properly, follow the manufacturer’s instructions and use a solvent or cleaning solution. If you encounter any issues, troubleshoot by checking for clogs, leaks, or worn parts.
What safety precautions should I take when using an airless paint sprayer?
When using an airless paint sprayer, it is crucial to prioritize safety. Ensure proper ventilation to avoid inhaling fumes, handle and store paint safely, and follow all manufacturer instructions for a secure painting experience.
Is it necessary to wear protective gear while using a harbor freight airless paint sprayer?
Yes, it is necessary to wear protective gear when using a harbor freight airless paint sprayer. Safety precautions include wearing goggles, a respirator, gloves, and a long-sleeved shirt to protect against potential hazards and harmful chemicals.
Conclusion
In conclusion, setting up the Harbor Freight airless paint sprayer was a breeze. From unboxing and inspecting the sprayer to familiarizing myself with its parts, every step was straightforward.
Connecting the spray gun and hose was as easy as pie, and priming the paint was a piece of cake. Testing it on a scrap surface gave me a surge of excitement, and once I started painting my project, I felt like an artist unleashing my creativity.
Cleaning and maintaining the sprayer was a walk in the park, ensuring its longevity. Overall, the Harbor Freight airless paint sprayer exceeded my expectations and made my painting experience a dream come true.