
To quickly eliminate tails and orange peel, start by reducing your spray pressure gradually—about 200 to 300 PSI at a time—until the spray creates a fine, even mist. Keep your gun about 12 inches from the wall and use steady, overlapping strokes in a “W” or “M” pattern. Adjusting pressure and technique may take a few tries, but mastering these tips will give you a smooth, professional finish—learn more to perfect your spray method.
Key Takeaways
- Gradually reduce spray pressure in small increments when tails or orange peel appear during spraying.
- Test spray on scrap surface to find optimal pressure before applying to walls.
- Maintain consistent distance (about 12 inches) and steady motion to prevent texture issues.
- Adjust pressure based on paint viscosity, using lower pressure for thicker paints.
- Use “W” or “M” patterns with about 50% overlap for even coverage and better finish.
Have you ever wondered how to get rid of those stubborn tails and orange peel textures on your freshly painted walls? If you’ve noticed uneven patches, drips, or a bumpy finish after painting, don’t worry—these issues are common and fixable. The secret lies in dialing in the right pressure on your paint sprayer. Too much pressure can cause overspray, tails, and rough textures, while too little may result in a thin, uneven coat. Finding the ideal spray pressure is essential for a smooth, professional-looking finish.
Start by understanding your equipment. Most paint sprayers have adjustable pressure controls. Before you even pick up the gun, read the manufacturer’s instructions to get a baseline setting. Typically, for interior walls, a pressure between 1,500 and 2,000 PSI works well, but this can vary depending on the paint type and sprayer model. Once you’ve set your initial pressure, test spray on a piece of scrap drywall or cardboard. Watch how the paint flows out—if you see tails or orange peel textures forming, it’s a sign you need to decrease the pressure.
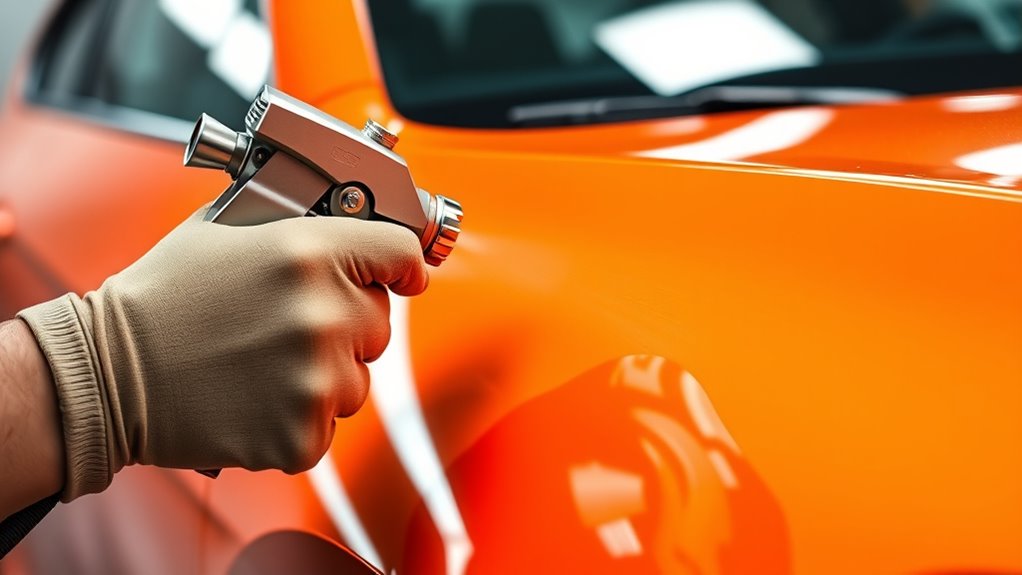
Adjust the pressure gradually, dialing down in small increments, and spray again. The goal is a smooth, even coat without drips or textured patches. When you reach the right setting, you should notice a fine mist that evenly coats the surface without creating excessive overspray or ridges. Keep your distance from the wall consistent—generally around 12 inches—and maintain a steady, parallel motion to avoid buildup in certain areas. Moving too slowly or holding the gun too close can cause paint to puddle, resulting in tails, while moving too fast or too far away might leave thin spots.
Another critical factor is your spraying technique. Use a “W” or “M” pattern to ensure even coverage, overlapping each pass by about 50%. This overlap helps prevent streaks and uneven textures. If you see tails developing mid-spray, pause and adjust the pressure, then continue. It’s better to take a moment to calibrate than to keep spraying and end up with an uneven finish. Also, consider the paint’s viscosity—thicker paints may require slightly lower pressure or a different nozzle setting to flow smoothly. Proper equipment setup is essential to achieving the best results.
In essence, dialing in the right pressure transforms your spray job from patchy or textured to sleek and flawless. Practice on scrap surfaces, adjust gradually, and pay attention to your technique. With patience and the right settings, you’ll eliminate tails and orange peel textures, achieving a professional-quality paint job that looks smooth and polished.

VEVOR 750W Stand Airless Paint Sprayer, 3000PSI High Efficiency Electric Airless Sprayer, Fine and Even Painting Effect, Handheld Paint Sprayers for Home Interior and Exterior Furniture and Fences
- Powerful Motor: 750W motor with 3000 PSI pressure
- Fast Coverage: Up to 5x faster than rolling
- Smooth Painting: Flow rate of 1.2 LPM for continuous work
As an affiliate, we earn on qualifying purchases.
As an affiliate, we earn on qualifying purchases.
Frequently Asked Questions
What Causes Paint Tails and Orange Peel During Spraying?
Paint tails and orange peel happen when you spray too close, move too slowly, or apply paint too thickly. High pressure can cause overspray and uneven texture, while low pressure might lead to insufficient atomization. If your technique isn’t smooth or you rush, the paint doesn’t level out properly. Adjust your spray distance, speed, and pressure to achieve a smooth, even finish and avoid these issues.
Can Temperature Affect the Formation of Tails and Orange Peel?
You’ll be interested to know that temperature can impact paint finish quality considerably. When it’s too hot or too cold, it affects how the paint flows and dries, increasing the chances of tails and orange peel. High temperatures cause rapid evaporation, leading to uneven surfaces, while low temperatures slow down drying, trapping imperfections. Maintaining a suitable temperature ensures smoother application and reduces these common defects, giving you a flawless finish.
Are There Specific Tools Recommended for Quick Correction?
Yes, you should use specific tools like a heat gun and a smoothing spatula for quick correction. The heat gun helps you gently re-melt and smooth out imperfections, while the spatula allows precise shaping and removal of tails or orange peel. Make sure to keep the heat consistent and work patiently to avoid damaging the surface. These tools give you better control and faster results for a flawless finish.
How Long Should I Wait Before Re-Sanding After Fixing Tails?
You should wait at least 24 hours before re-sanding after fixing tails. Did you know that rushing rework can cause more defects, increasing your overall sanding time by up to 50%? Patience guarantees the filler cures fully, preventing new imperfections. Keep the workspace humid if possible, as it speeds up curing. When you’re ready, lightly re-sand to smooth out any remaining blemishes and achieve a flawless finish.
Is It Better to Fix Tails Before or After Curing?
It’s better to fix tails before curing your project. When you address tails beforehand, you guarantee a smooth surface for sanding and finishing. Curing first can make the tails harder to remove and might cause uneven surfaces. By fixing tails immediately, you prevent them from setting in, making cleanup easier and results cleaner. Always check for tails during the working phase to achieve the best finish.
Conclusion
By following these quick tips, you can eliminate tails and orange peel from your paint job and achieve a smooth finish. Did you know that improper finishing techniques can lead to a 30% increase in repaint costs? Don’t let imperfections ruin your project or your budget. With a little effort and the right approach, you’ll enjoy professional-looking results that last. So, take control, apply these methods, and enjoy flawless, glossy paint every time.