
To diagnose and fix air bubbles in your paint line, start by checking your paint viscosity—ensure it matches the manufacturer’s recommendations and use a viscosity cup for accuracy. Inspect and clean your spray gun’s air cap and fluid tip for obstructions. Adjust the air pressure and spray pattern to reduce turbulence, and verify your equipment stays clean with proper filtration. If issues persist, fine-tune your technique and equipment settings—there’s more to improve your process as you continue.
Key Takeaways
- Check and maintain proper paint viscosity using a viscosity cup to prevent turbulence and air entrapment.
- Regularly inspect and clean the spray gun’s air cap, fluid tip, and filters to avoid obstructions.
- Calibrate air pressure settings and adjust spray pattern for consistent atomization and minimize air bubbles.
- Maintain a steady spray technique, including correct distance and overlap, to ensure even coating and reduce turbulence.
- Troubleshoot by pausing to inspect equipment, making adjustments, and ensuring all components are clean and properly maintained.

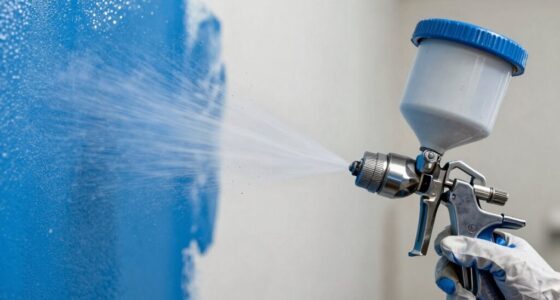
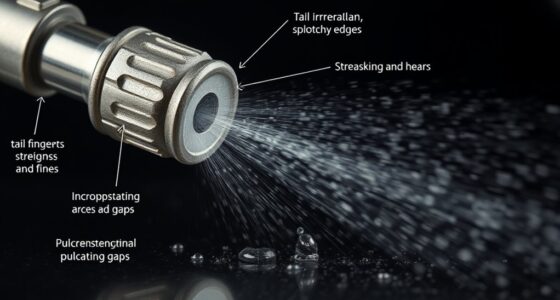
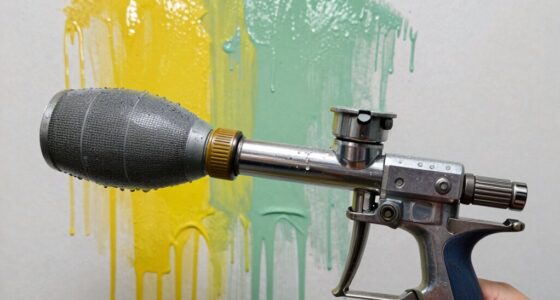
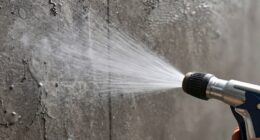
Air bubbles in the paint line can considerably compromise the quality of your finish, leading to uneven surfaces and defects that are difficult to correct later. When bubbles form, they create an uneven texture that not only looks unprofessional but can also weaken the durability of your coating. To tackle this issue, you need to identify the root cause quickly and make precise adjustments to your spraying process. One of the most common culprits behind air bubbles is improper paint viscosity. If the paint is too thick or too thin, it can cause turbulence within the spray gun, trapping air and creating bubbles as the paint is atomized. Ensuring the correct paint viscosity is essential. You should always follow the manufacturer’s recommendations for thinning or mixing your paint. Using a viscosity cup can help you measure the paint’s thickness accurately, providing a baseline for proper application.
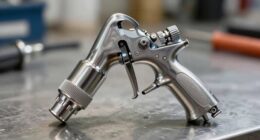
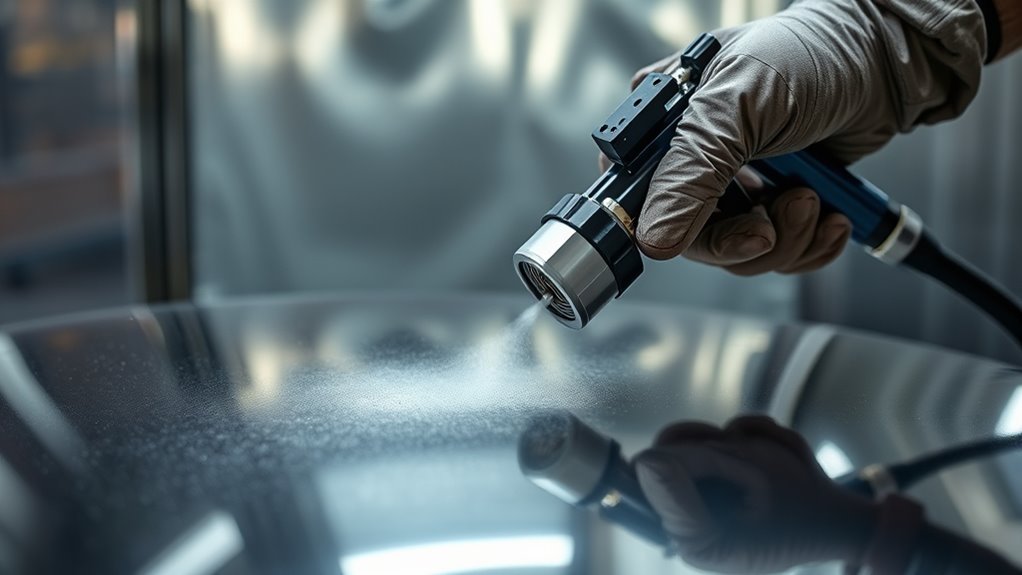
Alongside paint viscosity, spray gun adjustment plays an important role in preventing air bubbles. If your spray gun isn’t calibrated correctly, it can introduce excess air into the paint stream. Check your gun’s air pressure settings—too high or too low pressure can cause turbulence, leading to bubbles. Make sure the air cap and fluid tip are clean and free of obstructions, as dirt or dried paint can disrupt the atomization process. Adjust the spray pattern to ensure a smooth, even spray, which reduces the likelihood of air entrapment. Also, inspect the gun’s needle and nozzle for wear or damage, replacing parts as needed to maintain maximum performance. Proper filtration, such as using a GSHFIGHTING filter, can also help prevent debris from entering the system and causing air issues.
Another key aspect is the technique you use. Keep a consistent distance from the surface—usually around 6 to 12 inches—and move steadily to avoid creating uneven pressure that can cause bubbles. Overlapping passes evenly helps maintain a uniform coating and minimizes turbulence. If you notice bubbles forming during spraying, pause and check your equipment. Sometimes, simply adjusting the pressure or slowing your movement can make a significant difference. Additionally, ensure you are not applying the paint too quickly or with excessive force, both of which can cause turbulence and trap air.

2-Pack Paint Viscosity Cup for Paint Sprayer, Plastic Flow Viscosity Cup Set with Handle, Liquid Consistency Tester for Paint, Coatings, Resin, Oil & DIY Projects
- Check paint consistency: Dip, fill, and time liquid flow
- Reduce thinning guesswork: Visually assess liquid thickness
- Paint sprayer prep tool: Ideal for DIY, automotive, and resin projects
As an affiliate, we earn on qualifying purchases.
As an affiliate, we earn on qualifying purchases.
Frequently Asked Questions
Can Air Bubbles Occur in All Types of Paint?
Yes, air bubbles can occur in all types of paint. They often happen if your paint isn’t the right consistency or if it’s applied too thickly. Also, improper drying time can trap air, leading to bubbles. To prevent this, make sure your paint is well-mixed, the consistency is correct, and you allow sufficient drying time. This way, you minimize the chances of air bubbles forming during your painting process.
How Long Does It Typically Take to Fix Air Bubbles?
Fixing air bubbles usually takes about 30 minutes to an hour, depending on their size and severity. You’ll want to use effective repair techniques like sanding and reapplying paint smoothly. Imagine the bubbles slowly disappearing as you work, restoring your finish to perfection. Timing estimates vary, but with patience and proper techniques, you can quickly restore your project’s flawless look without long delays.
Are There Specific Environmental Conditions That Cause Air Bubbles?
Environmental factors, especially humidity levels, can cause air bubbles in your paint line. High humidity creates moisture in the air, which can get trapped in the paint as it dries, forming bubbles. Cold or damp conditions slow down drying times, increasing bubble formation risk. To prevent this, make certain your workspace has controlled humidity and temperature. Proper ventilation and avoiding painting in overly humid environments help maintain a smooth, bubble-free finish.
What Tools Are Most Effective for Detecting Small Bubbles?
You can effectively detect small bubbles using ultrasonic sensors, which identify irregularities in the paint flow, and magnifying glasses, allowing you to closely inspect surfaces for tiny imperfections. For example, in a case study, technicians used ultrasonic sensors to catch bubbles early, preventing defects. Combining these tools helps you pinpoint issues quickly, ensuring high-quality finishes. Use ultrasonic sensors for rapid detection and magnifying glasses for detailed inspection of suspected areas.
Can Improper Mixing Lead to Air Bubble Formation?
Yes, improper mixing can lead to air bubble formation. If you don’t achieve the right paint consistency or use incorrect mixing techniques, you trap air in the paint. To prevent this, guarantee thorough but gentle mixing, avoiding agitation that introduces excess air. Properly mixing the paint helps eliminate air pockets, resulting in a smooth finish and reducing the chances of bubbles forming during application.
Conclusion
Remember, catching problems early saves time and effort later. By diagnosing air bubbles promptly and applying the right fixes, you’ll maintain smooth, flawless finishes. Keep an eye on your paint line, and don’t dismiss small issues—they can grow into bigger headaches. As the saying goes, “A stitch in time saves nine.” Stay proactive, stay attentive, and your paint jobs will always look professional and perfect.