
Winterizing your airless paint sprayer is essential to prevent damage from freezing temperatures. Start by cleaning it thoroughly to remove any paint and debris, then inspect hoses and connections for wear. Drain all fluids, add RV antifreeze to the pump and spray lines, and lubricate moving parts to keep everything intact. Store the sprayer in a dry, temperature-controlled space to protect it from moisture. After winter, flush the antifreeze and check for any hidden damage. By following these steps, you'll guarantee your sprayer remains in peak condition for the next painting season. Discover more tips to keep your equipment running smoothly.
Key Takeaways
- Thoroughly clean the sprayer to remove paint and debris before winter storage to prevent residue buildup.
- Drain all paint and fluids, then add RV antifreeze to protect the pump and lines from freezing.
- Lubricate moving parts with Graco Throat Seal Liquid to maintain moisture and prevent drying during storage.
- Inspect hoses and connections for wear or damage, replacing any compromised parts to ensure optimal performance.
- Store the sprayer in a dry, temperature-controlled environment to protect it from harsh winter conditions.

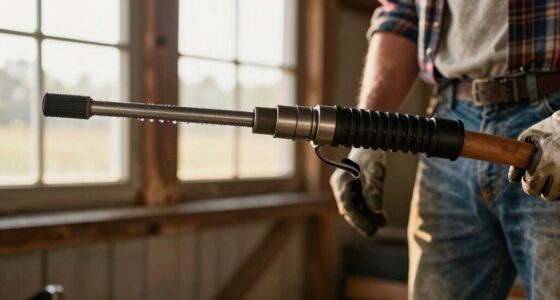
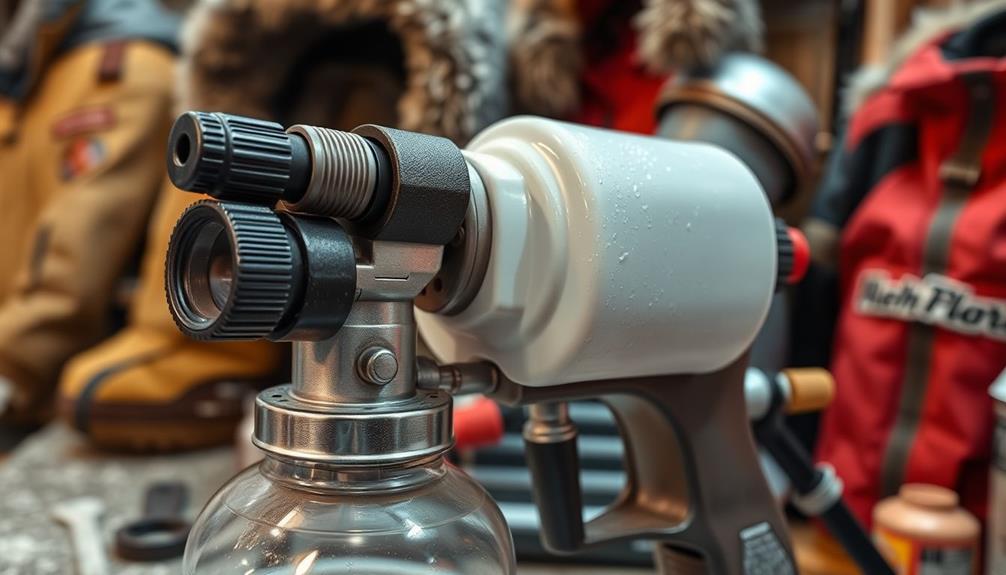
Gyfent 22Pcs Airless Paint Sprayer Gun Kit, 3600PSI Spray Gun with 50Ft x 1/4“ NPT Airless Paint Sprayer Hose & 6Pcs Reversible Spray Tips & Guide Tool & 4Pcs Extension Wand & 6Pcs Filters
- Complete Spray Gun Kit: Includes spray gun, hose, tips, and accessories
- Universal Compatibility: Fits most airless paint sprayers with 50ft hose
- Versatile Nozzles and Extensions: Six spray tips and four extension rods for various needs
As an affiliate, we earn on qualifying purchases.
As an affiliate, we earn on qualifying purchases.
Importance of Winterizing
Winterizing your airless paint sprayer is fundamental if you want to avoid costly repairs and guarantee smooth operation when the season kicks off again. When temperatures drop, failing to properly winterize can lead to serious internal damage. Freezing temperatures can cause trapped moisture to expand, leading to cracked hoses and damaged components.
If you neglect winterizing your airless, you'll likely face expensive repairs or even the need for a replacement. Proper maintenance and cleaning tips, like winterization, are essential for ensuring the durability of your sprayer, as outlined in our maintenance and cleaning tips.
By taking the time to winterize, you're not just protecting your investment; you're also ensuring your sprayer maintains peak performance for future use. Following manufacturer guidelines for winterizing your airless helps extend its lifespan and often keeps your warranty valid.
It's a straightforward process that saves you time and money in the long run. Moreover, winterizing reduces the risk of internal corrosion caused by moisture buildup, which can be detrimental to your equipment's longevity.
Preliminary Steps
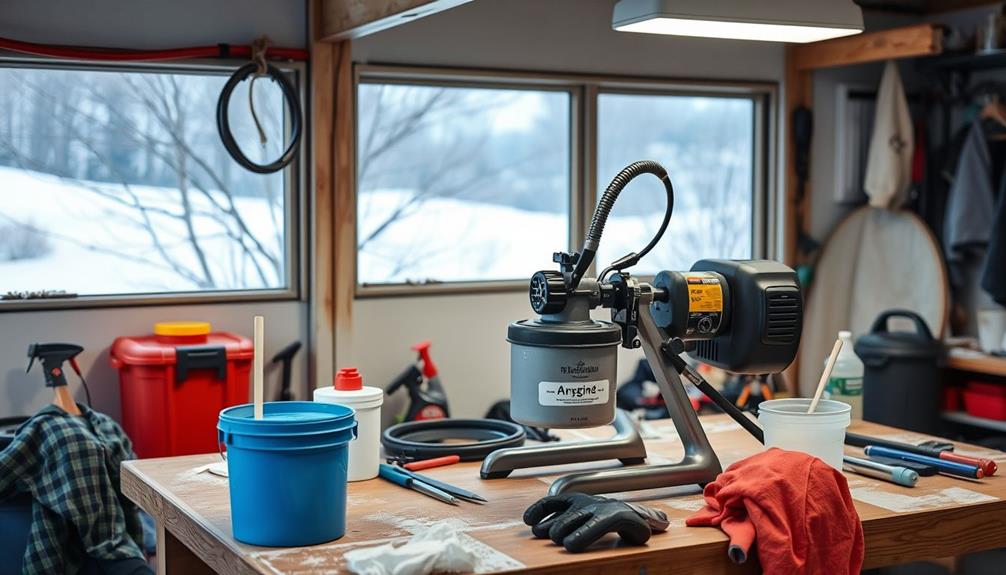
Before you winterize your airless paint sprayer, start by cleaning it thoroughly to remove any leftover paint or debris.
It's also wise to check for any potential issues that could arise due to power surges that may affect your tools, as appliance surge protection is essential for maintaining their functionality.
Next, inspect the hoses and connections for any signs of wear or damage, as this will help prevent issues when you use it again.
Taking these preliminary steps guarantees your sprayer remains in top condition throughout the colder months.
Clean Sprayer Thoroughly
To keep your airless paint sprayer in top condition, start by removing all paint and fluid from the system. This step's vital to prevent residue buildup that could lead to clogs or damage while your sprayer is stored.
Once you've emptied the paint, use a cleaning solution like mineral spirits to thoroughly flush the system. This guarantees all internal components are free from contaminants. Maintaining your equipment is essential, just as you'd with a home cleaning service to guarantee a thorough and effective process.
Next, focus on completely emptying the pump and lines to eliminate any trapped moisture. Moisture left in the system can freeze during colder months, leading to internal corrosion.
It's also a good idea to familiarize yourself with the operation manual for your specific model. This will provide you with tailored cleaning instructions to guarantee a thorough and effective process.
After cleaning, you might want to inspect hoses and connections for any signs of wear or damage. While this isn't part of the cleaning process, it's an important preliminary step to identify potential issues before storing your airless paint sprayer for winter.
Taking these precautions now helps guarantee your sprayer remains in excellent working condition for your next project.
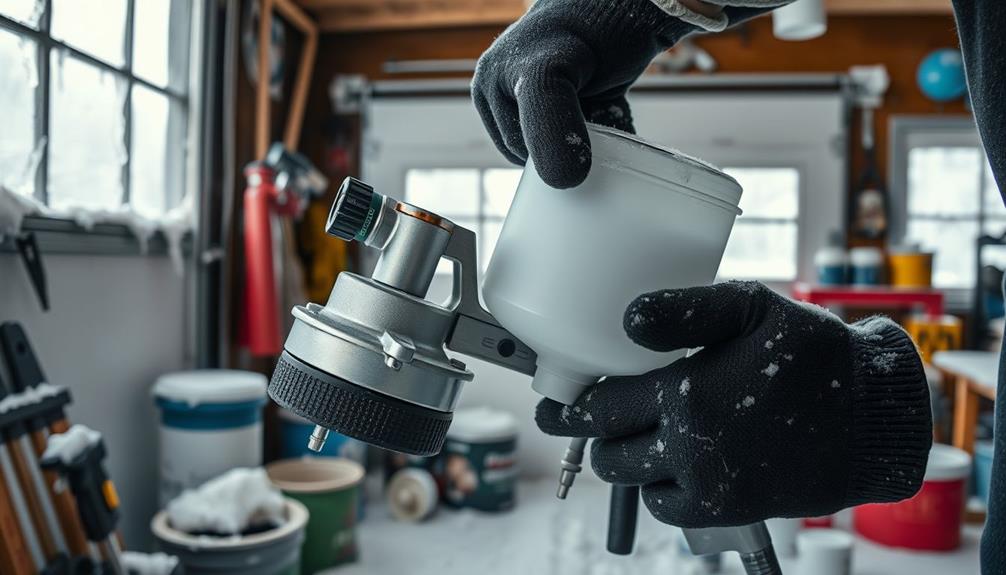
Inspect Hoses and Connections
After cleaning your airless paint sprayer, take a moment to inspect the hoses and connections. This step is essential to guarantee your sprayer operates effectively and efficiently. Look for any signs of wear, cracking, or brittleness in the hoses, as these issues can lead to leaks and pressure loss during operation.
Use a flashlight to closely examine each hose for abrasions or punctures that may not be visible at first glance. Check all connections for tightness and integrity; loose fittings can result in fluid leaks and reduced performance. Make certain all clamps and fittings are securely fastened.
If you notice any damaged hoses or connections, replace them immediately. This proactive approach can save you from costly repairs and maintain your sprayer's peak performance. Here's a handy checklist to help you during your inspection:
| Task | What to Look For | Action Required |
|---|---|---|
| Inspect Hoses | Cracks, wear, brittleness | Replace damaged hoses |
| Check Connections | Loose fittings | Tighten or replace |
| Examine Clamps/Fittings | Security and integrity | Tighten as needed |
Taking these steps will help guarantee your sprayer is ready for the next job!
Winterizing Process
Winterizing your airless paint sprayer is crucial for maintaining its performance and longevity during the off-season. Start the winterizing process by completely draining all paint and fluid from your airless sprayer. This step prevents residue buildup and potential clogs during storage.
Additionally, confirming that your sprayer's various components are clean and well-maintained can enhance its efficiency and durability over time, particularly when you use the right filtration systems for protection against debris (effective filtration and pump protection).
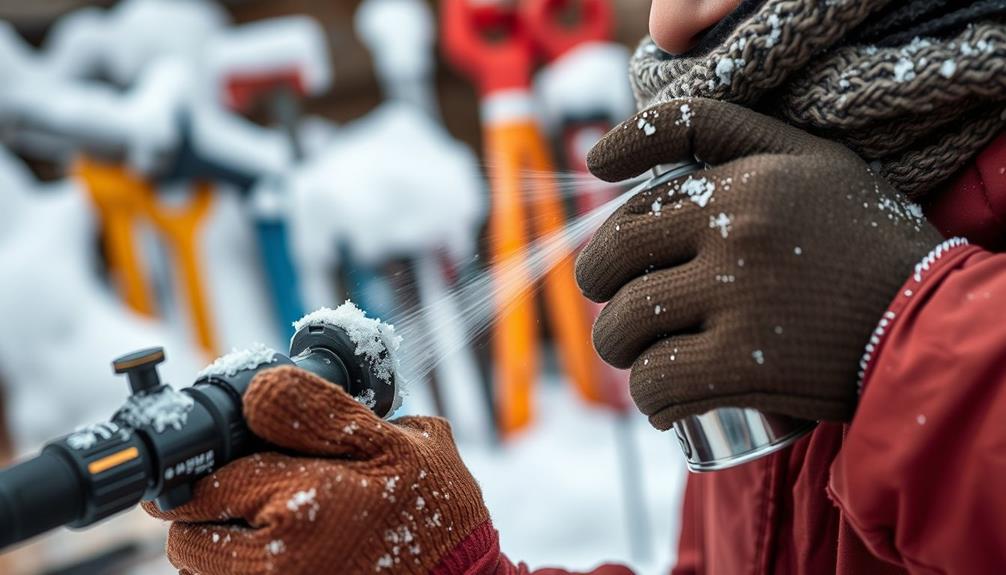
Next, add RV antifreeze to the pump and spray lines—pour a few cap-fulls per quart. Operate the sprayer briefly to confirm the antifreeze circulates throughout the system.
To protect your airless sprayer further, lubricate moving parts with Graco Throat Seal Liquid. This keeps the packings wet and prevents them from drying out during the off-season.
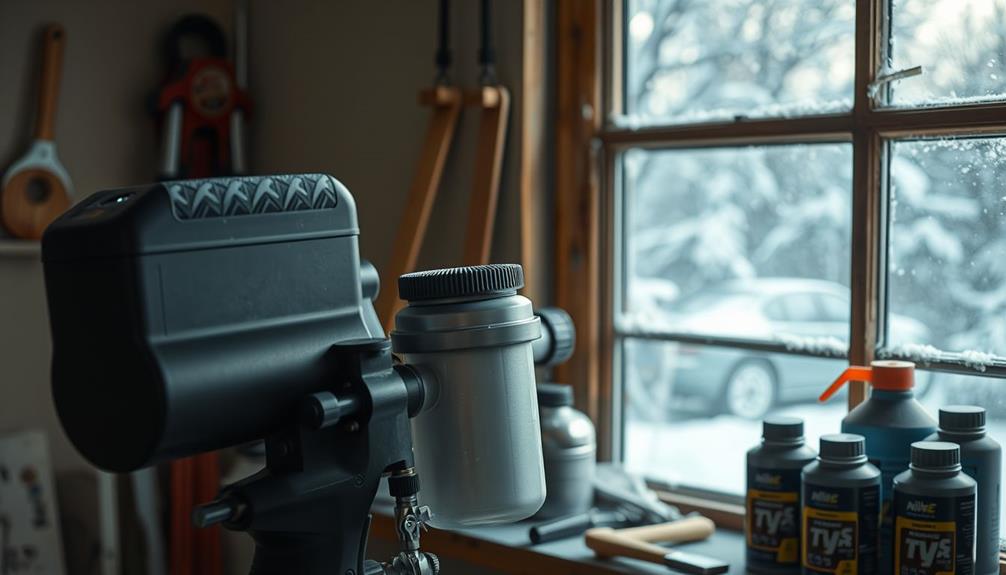
After you've taken these steps, store the sprayer in a dry, temperature-controlled environment, ideally indoors. This protects it from extreme cold and moisture that could cause damage.
Cleaning Out Residue

Cleaning out paint residue is vital for keeping your airless paint sprayer in top shape. After each use, you need to thoroughly clean out residue to prevent dried paint from clogging the sprayer.
It's also important to take into account the potential impact of household dangers on your tools, just as you'd for your pets, such as keeping your work area safe from chemicals dog health concerns.
Start by using a combination of water and appropriate cleaning solvents like mineral spirits or paint thinner to dissolve any leftover paint from the pump and hoses. This step is essential for maintaining peak performance during your next application.
Don't forget to regularly inspect the spray gun, filters, and lines for signs of buildup or obstruction. These can greatly affect the quality of your spray and lead to costly repairs.
After using your cleaning solvents, run clean water through the pump and system until it runs clear; this helps flush out any remaining paint and prevents internal damage during storage.
Neglecting to clean out paint residue can lead to serious internal damage, making professional cleaning and maintenance necessary before you can use the sprayer again.
Adding Protectants
Regularly adding protectants to your airless paint sprayer is essential for maintaining its longevity and performance. Start by pouring a few cap-fulls of mineral spirits into the sprayer. This effective internal lubrication protects against moisture buildup, which can lead to damages caused by corrosion.
Additionally, using products like butter, known for their nutritional benefits, can enhance various aspects of maintenance routines. Next, add several drops of Graco Throat Seal Liquid into the cup and rod. This keeps the packings wet and prevents them from drying out during storage.
Once you've added the protectants, cycle the pump for a short duration. This guarantees the protectant is evenly distributed throughout the entire system, reaching all critical components.
While doing this, monitor the system for any leaks. Leaks can indicate issues that need addressing before you fully winterize your sprayer.
Finalizing the Process
With the protectants added and the pump cycled, you're almost ready to complete the winterization process. First, turn off the airless paint sprayer and verify the rod is positioned in the down position. This step is essential for safety and helps prevent any pressure build-up while you finalize your preparations.
Additionally, just as with the importance of home security systems, confirming your equipment is properly maintained is key to extending its lifespan and functionality.
Next, double-check that the fluid section is properly sealed. This guarantees there are no leaks during storage, which could compromise your efforts to prepare the sprayer for the winter.
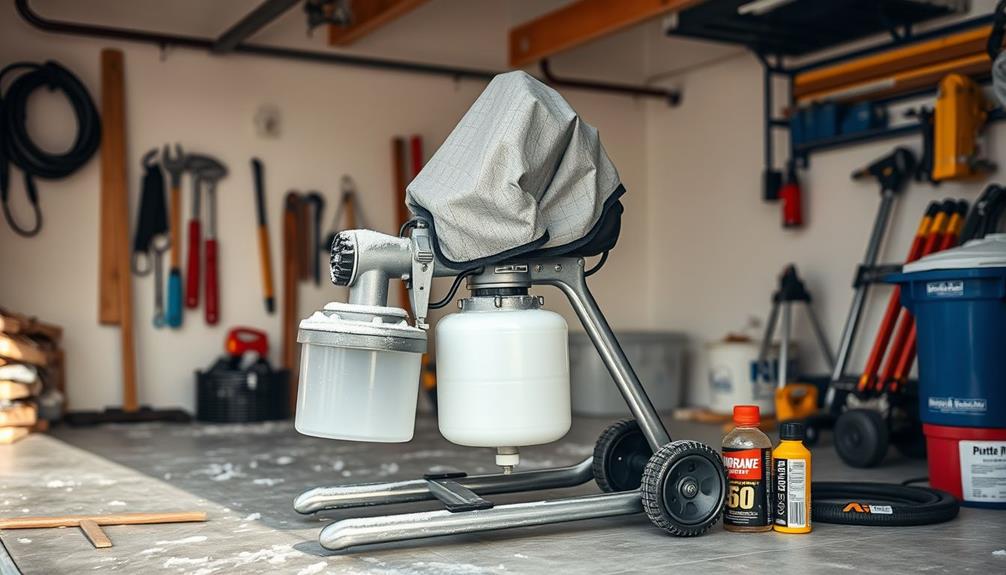
Once you're confident everything is secure, store the sprayer in a dry, temperature-controlled environment. Avoid exposing it to extreme cold or moisture, as these conditions can cause significant damage.
To protect your equipment further, cover the sprayer with a protective layer, keeping it free from dust and debris that may accumulate.
Finally, take a moment to label and organize all the equipment you used in the winterizing process. This will make it easy for you to access everything when you need your airless paint sprayer again in the spring.
Following these steps guarantees your sprayer is well-prepared for the winter months ahead.
Post-Winter Care
As spring approaches, you need to give your airless paint sprayer some extra attention. Start by cleaning out any antifreeze residue, making certain it's ready for use.
It's also wise to check for any damage and verify that your sprayer's components are in good condition to avoid issues later on. Regular maintenance of your tools can greatly enhance their longevity and performance, similar to how safety features in tools guarantee reliable operation.
Don't forget to inspect all components for damage—this step is vital for a smooth start to your painting season.
Inspect for Damage
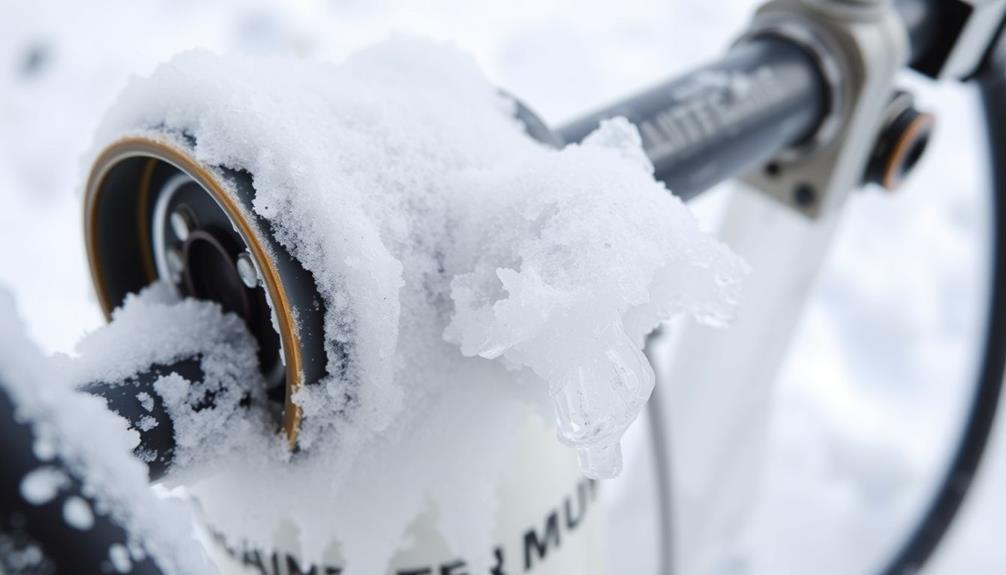
Before you start using your airless paint sprayer again, it's vital to inspect it for any damage that may have occurred during winter storage. The cold can take a toll on your equipment, leading to issues that mightn't be immediately visible.
Just as regular maintenance is necessary for devices such as air purifiers, checking for issues in your sprayer guarantees peak performance. Check for cracks in hoses or leaks around seals and fittings, as these can compromise performance. Dried paint can build up in areas, so make sure you clear any residues that may have formed.
Here are some key areas to inspect:
- Hoses and connections: Look for brittleness or wear from prolonged cold exposure.
- Metal components: Check for corrosion, which can develop if moisture was trapped during storage.
- Pump operation: Test the pump briefly to catch any unusual noises or resistance indicating internal damage.
If you notice any worn or damaged parts during your inspection, replace them immediately to maintain peak performance.
Addressing these issues early can save you from costly repairs and guarantee your paint sprayer operates effectively when you need it most.
Clean Antifreeze Residue
It's important to clean out any antifreeze residue from your airless paint sprayer after winter storage to guarantee it performs at its best. Start by running clean water through the pump and spray lines. This process effectively flushes out the antifreeze and any remaining contaminants.
Additionally, make sure that your workspace is free of strong smells, as certain odors can deter focus and efficiency, similar to how cats dislike certain scents. After that, consider using mineral spirits for a more thorough cleaning, especially if any residue lingers.
Next, inspect all the components for signs of damage or wear that may have occurred during the winter months. Look closely at seals, hoses, and filters. If you find any worn or damaged parts, replace them immediately. This step is vital for preventing operational issues when you start using the sprayer again.
Once you've cleaned and inspected everything, recalibrate the sprayer settings. This adjustment is key to achieving the desired spray pattern and performance during your first project of the season.
Taking these steps won't only enhance your sprayer's efficiency but also extend its lifespan. By prioritizing this maintenance, you'll be ready to tackle your painting tasks without any hitches.
Common Mistakes to Avoid
One of the most common mistakes airless paint sprayer owners make is skipping the cleaning process before storing the equipment.
If you don't clean out the paint residue, it can dry and cause significant issues when you're ready to use it again in the spring. Dried paint can complicate operation and damage internal components, leading to costly repairs.
Another mistake is failing to use antifreeze in cold weather. Without it, sensitive parts are at risk of freezing, which can be a major headache come springtime.
You should also check for leaks or damage while winterizing. Neglecting this can leave you with undetected issues that worsen during storage, ultimately reducing the sprayer's performance.
Lastly, don't store your sprayer in unprotected outdoor areas. Exposure to extreme cold and moisture can lead to deterioration and damage.
To help you avoid these pitfalls, remember to:
- Thoroughly clean your sprayer before storage.
- Use antifreeze in freezing conditions.
- Inspect for leaks and damage before putting it away.
Frequently Asked Questions
How to Winterize Your Paint Sprayer?
To winterize your paint sprayer, clean it thoroughly, add RV antifreeze, lubricate moving parts, and store it in a dry, temperature-controlled place. Always check the manufacturer's guidelines for specific instructions to guarantee proper care.
Can I Use Antifreeze in My Airless Paint Sprayer?
Using antifreeze in your airless paint sprayer's like giving it a warm coat for winter. You should opt for RV antifreeze, as it's safe for components. Always check compatibility to avoid potential damage.
What to Use to Winterize a Sprayer?
To winterize your sprayer, you can use RV winterizing fluid for protection, or consider specialized antifreeze from Graco. Food-grade propylene glycol is a safe option, while mineral spirits are economical but require careful disposal.
How Long Can You Leave Water in an Airless Sprayer?
Ever thought about the consequences of leaving water in your airless sprayer? You shouldn't leave it for more than 24 hours. Standing water can corrode parts, ruin seals, and spoil your next paint job.
Conclusion
Winterizing your airless paint sprayer isn't just a chore; it's an essential care routine. By taking time to properly prepare, you protect your sprayer from winter's wrath and guarantee it's ready for spring's splendor. Remember to clean, coat, and check—these simple steps save you stress and safeguard your sprayer. So, as the cold creeps in, commit to this vital care, and your sprayer will thrive through the chilly season, ready to paint perfectly when the warmth returns.