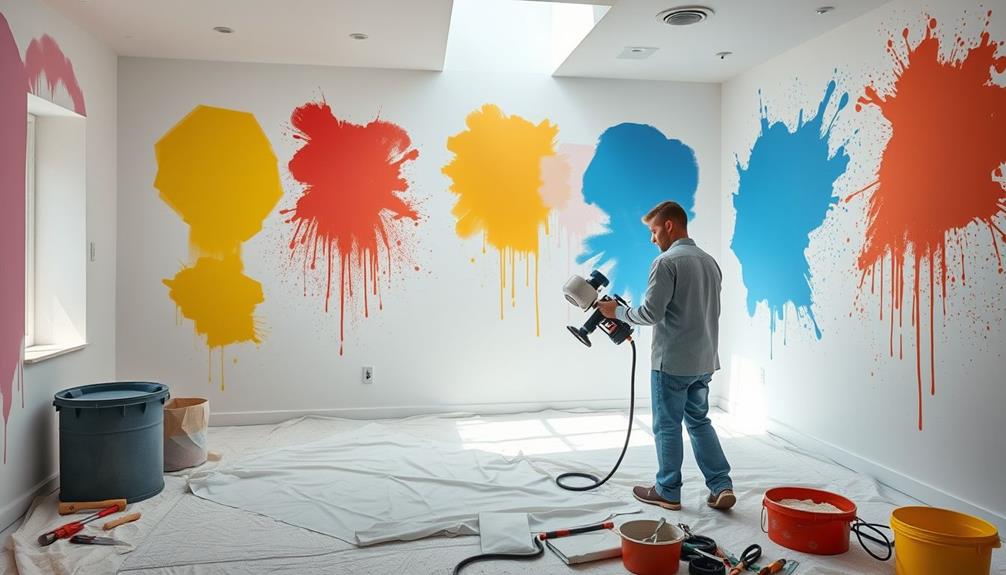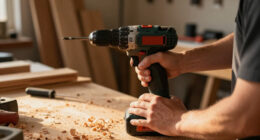
To achieve a smooth finish on doors with an airless paint sprayer, start by preparing your workspace: remove the doors and hardware, and cover surrounding areas. Elevate the doors for easy access, then fill cracks and sand rough spots. Use a Wagner model 9170 sprayer and a 415 spray tip for an even pattern. Thin the paint with 15-20% Floetrol for ideal consistency. Maintain a distance of 12 inches and make overlapping passes for better coverage. Allow drying time between coats to prevent smudging. Stick around, and you'll uncover more tips for achieving that perfect finish.
Key Takeaways
- Ensure proper surface preparation by filling cracks and sanding rough areas for enhanced paint adhesion and a smoother finish.
- Thin latex paint with 15-20% Floetrol to improve sprayability and achieve an even coat.
- Use a 415 spray tip for a narrow, sharp spray pattern to ensure consistent coverage and avoid runs.
- Maintain a consistent distance of 12 inches from the surface when spraying to prevent drips and achieve a smooth application.
- Allow 15 minutes of drying time between coats to prevent smudging and promote a flawless final finish.

HomeRight C800971 Super Finish Max, Includes 3 Brass Spray Tips, 3 Spray Patterns, Easy to Clean HVLP Paint Sprayer, Great for Furniture, Cabinets, Trim & More, Sprays Stains, Sealers & Latex Paints
- Versatile DIY Paint Sprayer: Ideal for furniture, cabinets, and more
- Multiple Spray Patterns: Horizontal, vertical, and round options
- Adjustable Material Flow: Control knob for output customization
As an affiliate, we earn on qualifying purchases.
As an affiliate, we earn on qualifying purchases.
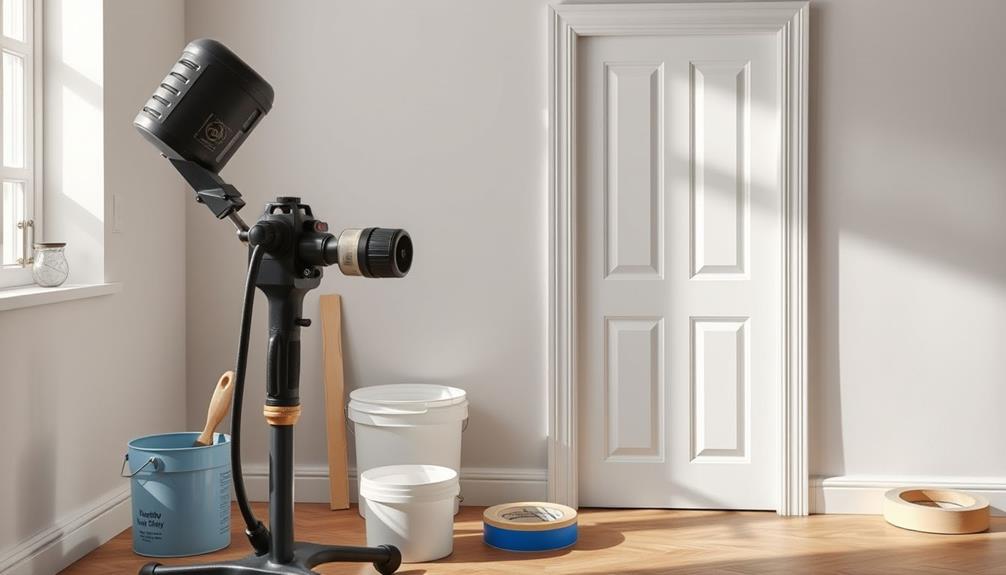
Project Preparation
Before diving into your painting project, it's vital to set the stage for success. Start your project preparation by removing the doors from their frames, including all hardware like hinges. This step creates a clean workspace, fundamental for achieving a smooth finish.
Elevate the doors using sawhorses or a 1×2 board setup, allowing easy access to every surface while keeping them off the ground. Additionally, consider the best practices for airless sprayers to guarantee ideal usage and results.
Next, confirm your workspace is thoroughly cleaned and protected from dust contamination. Cover surrounding areas with contractor paper or plastic sheeting to catch any overspray from your airless sprayer.
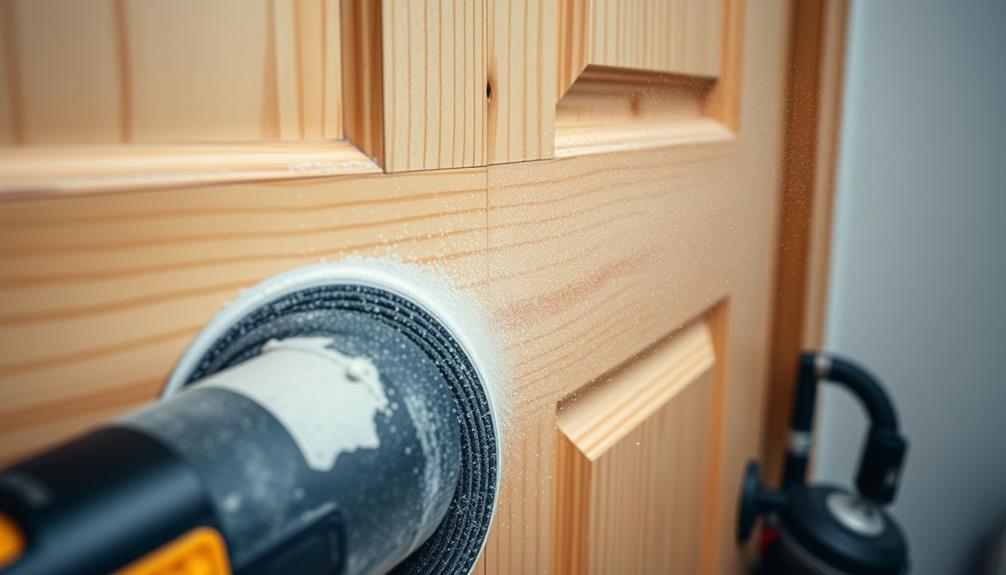
Take the time to fill any cracks or imperfections in the doors and sand rough areas. This promotes better paint adhesion and a smoother finish, which is key for a professional look.
Don't forget to test your spray technique on scrap material or cardboard before you start on the doors. This will help you verify ideal paint flow and coverage.
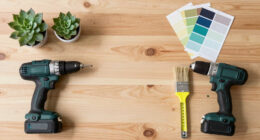
Selecting the Right Equipment
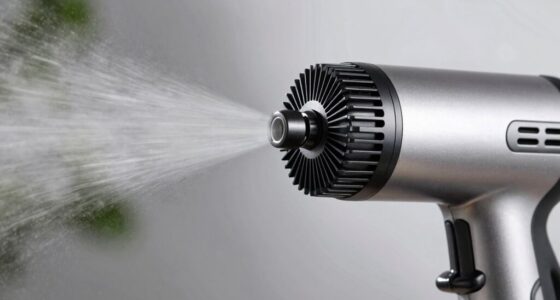
Choosing the right equipment is vital for achieving that smooth finish on your doors. For this task, consider the Wagner model 9170 airless sprayer. It's specifically designed to deliver a reliable spray pattern and has adjustable pressure settings that let you control the flow of paint effectively.
Additionally, using safety glasses is essential during this process to protect your eyes from any overspray or particles.
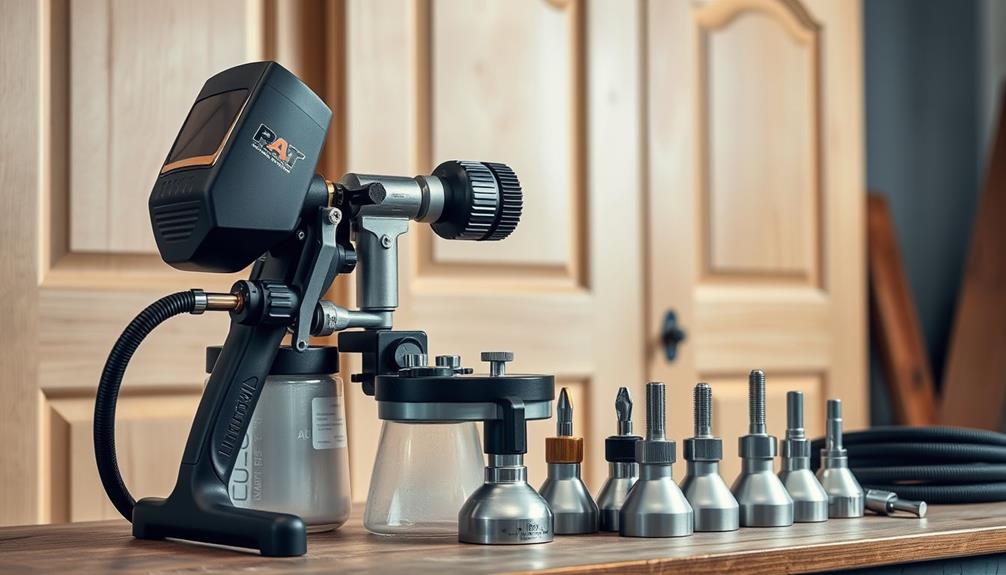
When you're ready to spray, select a 415 spray tip. This tip provides a narrow, sharp spray pattern, perfect for detailing while guaranteeing even coverage across the door surfaces.
Don't hesitate to experiment with different nozzle sizes to find the best spray pattern for the type of airless paint you're using.
To achieve the finest results, maintain a low pressure setting. This allows for finer control over the paint application, reducing the chances of unsightly runs and drips.
Additionally, a viscosity gauge is important. It helps confirm your paint is thinned to the right consistency. For instance, when spraying latex, aim to thin it with 15-20% Flotrol to improve sprayability.
With the right equipment and settings, you'll be on your way to a flawless finish on your doors.
Surface Preparation Steps
Once you've gathered your equipment, surface preparation becomes the next vital step in achieving that smooth finish on your doors.
Start by removing the doors from their jambs and hinges. This creates a clean workspace and helps prevent overspray on surrounding areas. Additionally, if you notice any signs of water damage or leaks, it's wise to address these issues before proceeding, as they can affect the integrity of your door's surface.
Next, fill any cracks or imperfections with a suitable filler, then sand rough spots to guarantee a smooth surface for painting.
Now, it's time to clean the door thoroughly. Use a damp cloth or sponge to eliminate dust and debris, as these can interfere with paint adhesion and lead to an uneven finish.
Once the door is clean and dry, apply a high-quality primer, especially on bare wood or unprimed surfaces. This step is essential for achieving a durable and smooth finish.
For best results, consider the importance of proper disposal practices to maintain a clean workspace throughout your project.
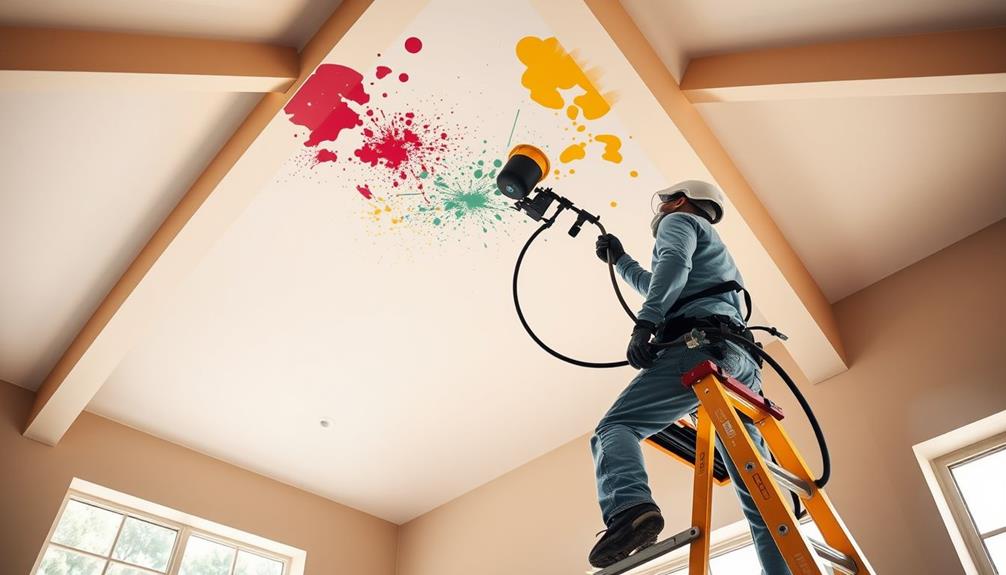
Recommended Spraying Techniques
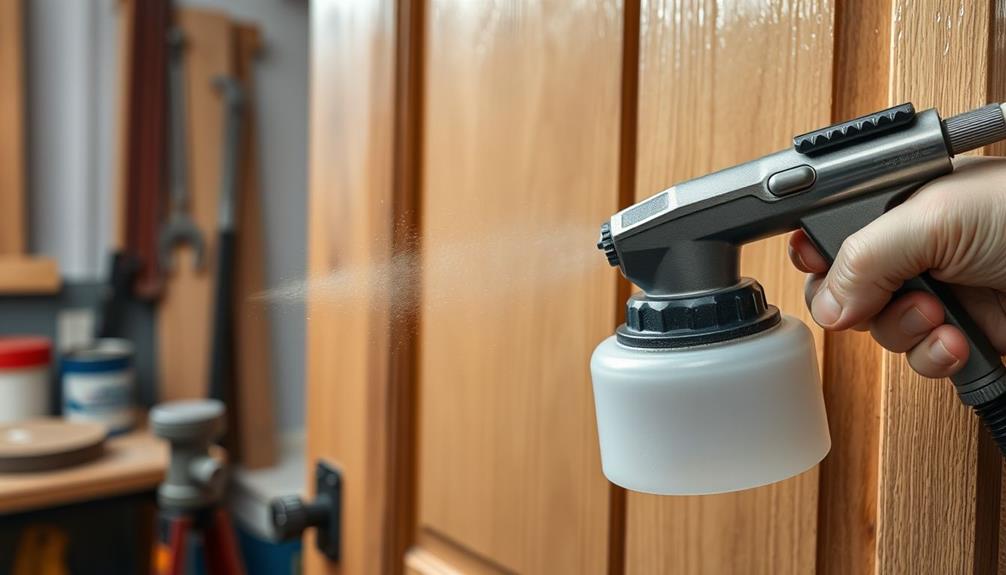
Achieving a smooth finish on your doors relies heavily on the right spraying techniques. Start by using a 415 spray tip, which provides a narrow and sharp spray pattern for better control. This will help guarantee an even coat across the surface.
Additionally, consider the importance of reputation and reviews from past clients when selecting a professional service to assist with painting projects. Keep your pressure setting low to minimize overspray and allow for finer detail during the spraying process.
Begin by spraying the inner carved areas of the doors first, then move on to the outer surfaces. This method prevents runs and helps achieve a uniform look. Make quick, even passes with the sprayer, and wait about 15 minutes before over-brushing to smooth out any imperfections while keeping a wet edge.
Don't hesitate to experiment with different nozzle sizes to find what works best for your project. Additionally, thinning the latex paint with 15-20% Floetrol can greatly improve sprayability, giving you a much smoother finish.
Achieving Optimal Paint Consistency
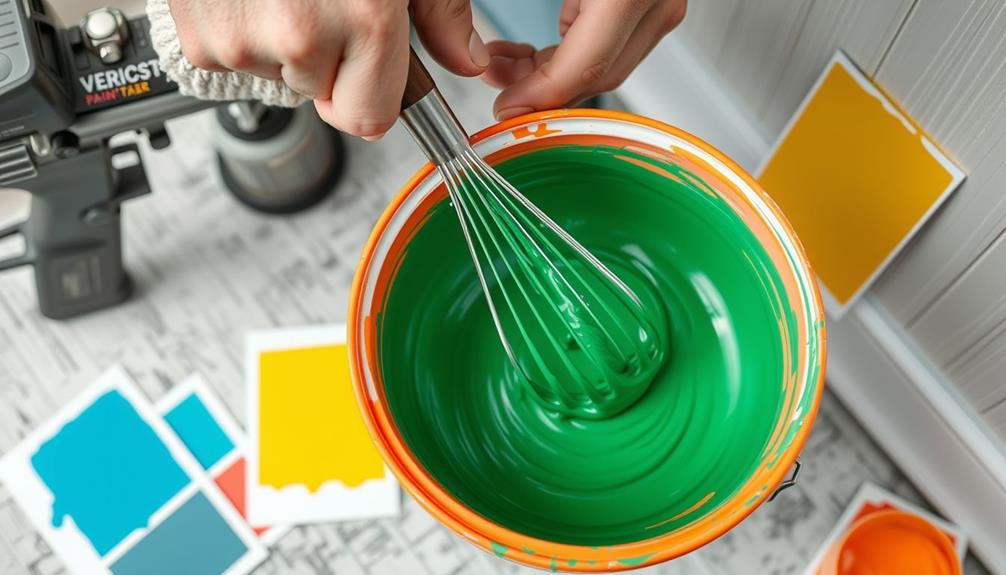
To get that smooth finish you want, it's important to focus on the paint consistency before you start spraying. Begin by thinning latex paint with 15-20% Floetrol. This can considerably improve sprayability and help achieve a consistent application.
Utilizing a viscosity gauge is vital for checking that your paint is at the ideal thickness for spraying. This prevents clogs in your airless sprayer and guarantees a smoother finish on your doors. Additionally, using the right tip size can greatly enhance the finish quality, making it easier to achieve the desired results for intricate details Graco FFLP Fine Finish Low Pressure Reversible Tip.
Before you start, always filter paint to eliminate any debris that could lead to splatters and imperfections. This step enhances the overall quality of your application.
Additionally, it's wise to combine paint from multiple containers into a 5-gallon bucket. This practice assures color consistency throughout the spraying process, which is vital for a professional look.
Lastly, make sure to follow the manufacturer's technical data sheets regarding specific paint thinning requirements and preparation guidelines. Adhering to these recommendations will help you achieve the best results and a flawless finish on your doors.
Common Challenges and Solutions
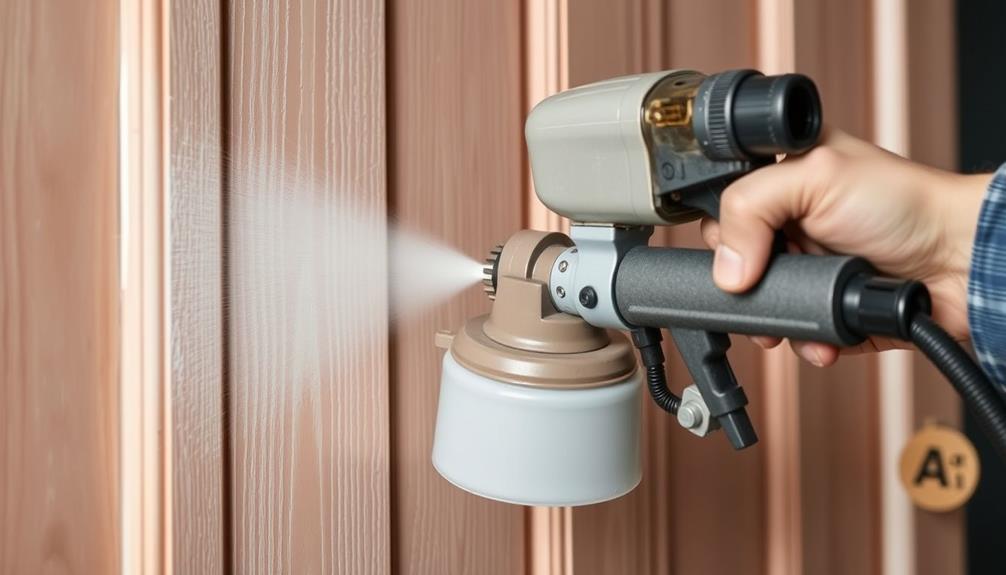
When it comes to achieving a smooth finish on doors, you'll likely encounter a few common challenges. One major hurdle is getting an even finish without runs or drips. To tackle this, maintain a consistent distance of about 12 inches from the surface and use long, even strokes. This technique helps you avoid uneven spots and can be similarly beneficial when using ozone air purifiers to create a clean workspace, free from allergens that might affect your finish.
Another challenge is dealing with clogs, especially when using smaller spray tips. To prevent this, thin your paint by 15-20% and strain it before application. This guarantees a smoother spray and reduces the risk of interruptions during your work.
It's also essential to perform overlapping spray passes by 50%. This technique provides consistent coverage, particularly on detailed areas of the door where uneven application can be more noticeable.
Additionally, allow adequate drying time between coats—about 15 minutes after over-brushing—to prevent smudging and achieve that perfect final finish.
Lastly, always test your spray pattern on cardboard before you start on the doors. Doing this lets you identify any adjustments needed for peak performance and finish quality, setting you up for success.
Clean-Up and Maintenance
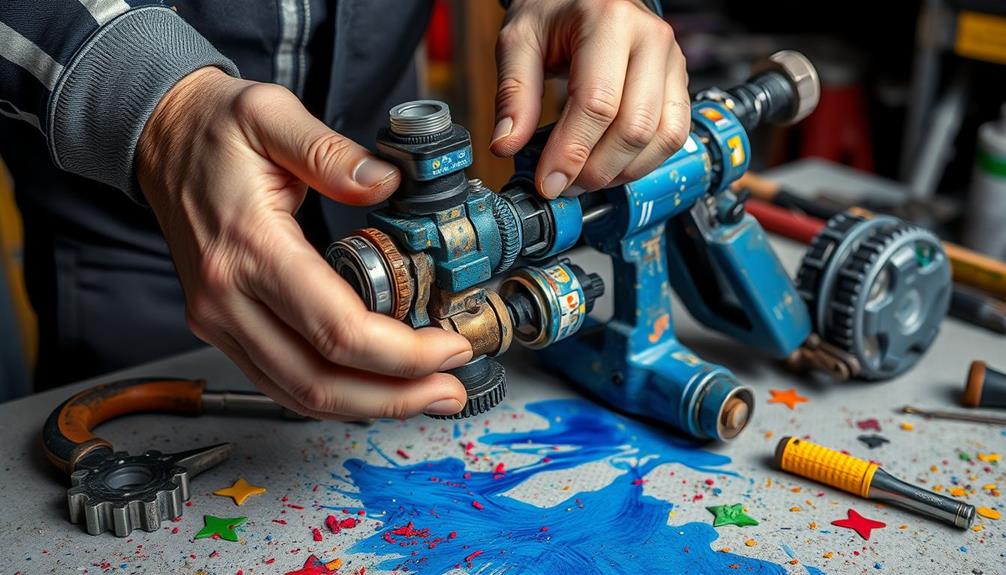
After you've tackled the challenges of getting a smooth finish on your doors, the next step is clean-up and maintenance. It's vital to clean your airless paint sprayer immediately after use. Follow the manufacturer's instructions to prevent paint from drying inside, which can cause clogs and damage.
For water-based paints, flush the sprayer with water; for oil-based paints, use mineral spirits to thoroughly clean the system and remove any residual paint from the pump and hose. Implementing regular maintenance checks on your equipment is imperative for peak performance, much like the routine checks recommended for home security systems to guarantee they operate effectively.
Don't forget to disassemble and clean the spray tip and filter regularly. Buildup can seriously impact performance, so soaking these parts in a suitable solvent will help remove any dried paint.
Store your airless sprayer in a dry place, protecting it from extreme temperatures to promote longevity and maintain functionality. Additionally, maintain a clean workspace during painting to minimize dust and debris contamination.
Tips for a Flawless Finish
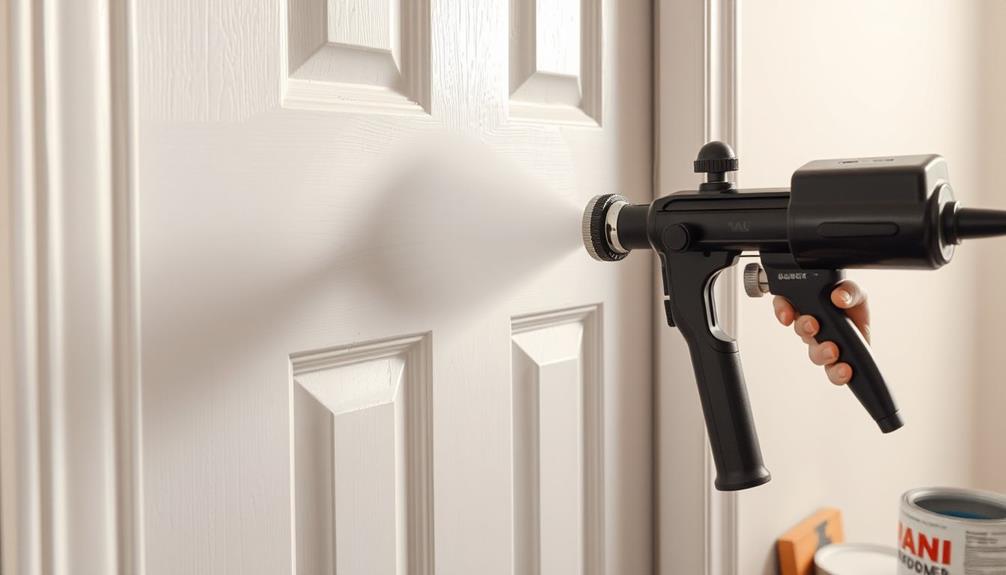
Achieving a flawless finish on your doors starts with the right tools and techniques. Use a 415 spray tip with your Wagner model 9170 airless sprayer; it provides a narrow spray pattern perfect for detailed work. Set the sprayer to the lowest pressure setting, giving you finer control and a more even application. This reduces the chances of runs or drips.
Here are some quick tips to keep in mind:
| Tip | Description | Benefit |
|---|---|---|
| Spray Inner Areas First | Start with the carved sections before the outer surfaces. | Guarantees even coverage without missed spots. |
| Thin Your Paint | Add 15-20% Flotrol to your water-based paint. | Enhances sprayability for a smooth finish. |
| Zig-Zag Technique | Use quick, zig-zag passes while spraying. | Promotes even distribution, minimizing over-application. |
Frequently Asked Questions
How to Get Smooth Finish With Airless Sprayer?
To get a smooth finish with an airless sprayer, use a fine tip and maintain a consistent distance. Overlap your strokes, thin your paint, and consider quick passes with a follow-up brush for perfection.
How to Get Smooth Finish When Painting Doors?
You might worry about uneven paint, but don't stress. To get a smooth finish when painting doors, use thin coats, spray consistently, and prep surfaces well. Your effort will make a noticeable difference!
Why Is My Paint Sprayer Not Spraying Smooth?
If your paint sprayer isn't spraying smooth, check for clogged tips, inconsistent pressure, or improperly thinned paint. Also, consider the spray tip size and environmental conditions to guarantee ideal performance during your project.
How Do You Spray a Door With an Airless Sprayer?
Spraying a door with an airless sprayer's like dancing with precision. You'll want to prep the surface, adjust your sprayer's pressure, and maintain a steady distance while moving in smooth, even strokes for the best results.
Conclusion
By following these steps, you'll be well on your way to achieving that smooth finish on your doors with an airless paint sprayer. Remember, practice makes perfect—so don't be afraid to experiment a bit! With the right techniques and a little patience, you'll have your doors looking as good as new in no time. So roll up your sleeves, get to work, and soon you'll be reaping the rewards of your hard labor!