TL;DR
Airless paint sprayers use a motor-driven pump to push paint through a small tip, creating a fan-shaped spray that covers large or irregular surfaces quickly. They make the most sense for projects such as fences, siding, and unfinished walls, where the time saved can outweigh masking, practice, and cleanup. Choose a compatible tip, test your pattern, protect nearby areas, and follow the manual’s pressure-relief steps because high-pressure paint can cause serious injection injuries.
A paint sprayer can finish a long fence before a brush has made it around the first corner—but the paint can reach your car, patio, or neighbor’s siding just as quickly. That tradeoff explains why airless paint sprayers for DIY projects feel like a shortcut and a serious tool at the same time.

Get business pricing on tools and workshop supplies
- Business-only prices and quantity discounts
- Tax-exempt purchasing
- Multiple users, one account, clear invoices
This guide explains how they work, where they save time, what you should check before buying, and how to prepare a work area that keeps paint where you want it. You’ll also get a practical setup sequence and the safety steps that matter when a machine pushes paint at high pressure.
For a broad fence or a roomful of unfinished walls, a sprayer can make sense. For one small shelf, brushing may get you to the finish line sooner. The trick is matching the machine to the job.
Use an airless sprayer for broad surfaces or repeated projects where its faster coverage can offset masking and cleanup.
Confirm that your paint, tip, and sprayer are compatible; follow their instructions for straining or thinning.
Cover nearby floors, belongings, vehicles, plants, trim, windows, and other surfaces before spraying.
Practice on scrap, keep the gun moving steadily, and overlap passes evenly to limit runs and stripes.
Keep the gun pointed away from people and follow the manual’s pressure-relief steps before cleaning, unclogging, or servicing.
How an airless sprayer covers a fence so quickly
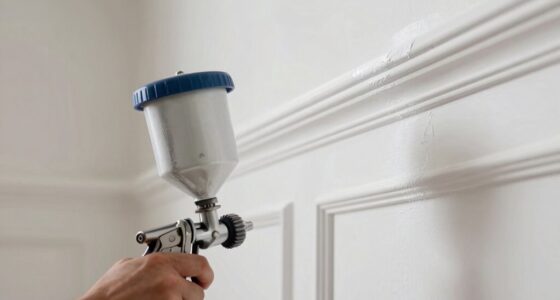
An airless sprayer uses a motor-driven pump to push paint through a small tip at high pressure, where the paint breaks into a fan-shaped pattern. It needs no air compressor: the pump draws paint from a container or pickup tube and sends it through the hose to the gun. That direct path helps explain why the tool can move across a wide surface quickly.
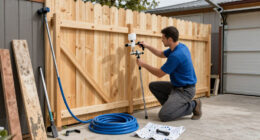
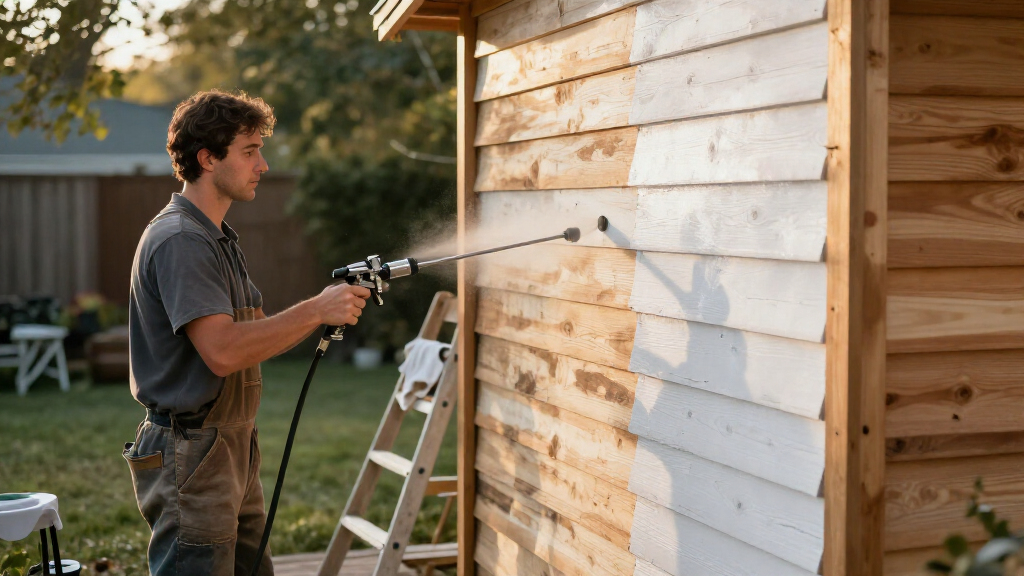
For instance, a fence with rough boards, narrow gaps, and knotty edges can take ages to brush one slat at a time. A sprayer sweeps over the face and reaches into texture, though you may still need a brush to work paint into deep cracks or touch up missed spots. A smooth-looking coat depends on paint choice, tip, pressure, distance, and steady movement; the machine alone does not guarantee a perfect finish.
Airless models suit large or irregular surfaces such as siding, decks, garage doors, and unfinished walls. They can also apply many interior paints, but a room’s floors, windows, trim, and furniture all need protection. That means the actual time saving comes from a balance: the faster spray pass can be offset by careful masking and cleanup.
The name describes the spray method, not the experience. An airless unit can be loud, paint can drift as overspray, and the high-pressure stream can injure you. Once you understand the spray pattern, the next question is whether the speed pays off for your particular job.
Products Worth Considering
Google Nest Smart Thermostat, Programmable Wi-Fi, Charcoal

Sonos Era 100 Wireless Smart Speakers, 2-Pack, Black

Dyson Airwrap i.d. Multi-Styler with Bluetooth Connectivity
As an affiliate, we earn on qualifying purchases.
Decide whether spraying beats a brush or roller
An airless sprayer is often worth the setup for large areas or repeated projects, while a brush or roller is often simpler for a small one-off job. The right choice comes down to how much surface you’ll cover and how much time you can spend protecting the area and cleaning the machine. A quick spray pass does not erase the hours spent masking and flushing paint afterward.
Imagine painting one bedroom wall. A roller, tray, and drop cloth may get you moving in minutes; setting up a sprayer, covering the floor and trim, and cleaning the hose might take longer than rolling. Now picture a long fence or several rooms of bare drywall. Repeating a broad spray pass across all that surface can make the preparation worthwhile, especially if you already have suitable equipment.
| Method | Often suits | Tradeoff |
|---|---|---|
| Airless sprayer | Fences, siding, broad walls | Fast coverage, but needs masking, practice, and thorough cleanup |
| Brush or roller | Small rooms, trim, touch-ups | Less equipment and masking, but slower across large surfaces |
| HVLP sprayer | Smaller finishing jobs | More control on small work, but it may not suit broad coverage as well |
These are broad comparisons, not hard rules: paint type, surface texture, and your equipment can change the result. Before choosing, count both the area to paint and the work around it. Next, the details on the sprayer and paint label can tell you if they’re a compatible pair.
Choose a tip and paint the sprayer can handle
Choose a spray tip that matches the coating, spray pattern, project, and sprayer’s supported tip range. The tip controls how paint leaves the gun; a larger orifice generally suits thicker coatings, but you should use the chart supplied by the paint maker or equipment manufacturer. A tip that fits physically may still exceed what your machine can handle.
For example, you might use an airless sprayer for a fence stain, primer on unfinished walls, or interior paint, but compatibility varies by product and model. Check both labels before filling the unit. Some coatings need straining to catch dried bits or debris, and thinning is only appropriate when the product label or sprayer instructions call for it. Adding water or solvent by guesswork can change coverage and how the paint performs.
Tip condition matters too. A worn tip can produce a poor or uneven spray pattern, even if your hand stays steady. Reversible tips on some models can help clear a clog according to the manual, while pressure controls let you adjust output for the coating and surface. Neither feature replaces checking for wear or following the correct clearing procedure.
Entry-level DIY machines vary in hose length, capacity, supported tip size, and duty cycle. A compact handheld unit may suit a door or furniture, while a cart or stand model may fit a bigger project better. Product lines change, so compare current manufacturer specifications instead of relying on a model name alone. Once you’ve confirmed compatibility, good preparation determines where that paint lands.
Prepare your space before the first spray pass
Mask and protect the entire work area before spraying because fine overspray can drift beyond the target. Cover floors, windows, trim, plants, cars, and nearby belongings, then protect openings and surfaces that should stay paint-free. A calm day outdoors can still send droplets farther than you expect, so check what lies around the fence or siding, including neighboring property.
For example, a homeowner spraying a garage door may think the concrete is the only thing to cover. A light haze can settle on the car parked several feet away, the house windows, or the shrubs near the driveway. Move what you can, cover what you can’t, and keep people out of the spray area. Indoors, protect the floor and furnishings and provide adequate ventilation; follow the coating label and equipment manual for suitable respiratory and eye protection.
Use this sequence to get ready:
- Read both labels: Confirm the paint works with the sprayer and check whether the paint needs straining or thinning.
- Mask and cover: Protect nearby surfaces, belongings, plants, vehicles, and openings.
- Set up safely: Wear eye protection and suitable respiratory protection; provide ventilation indoors.
- Test on scrap: Spray a piece of cardboard or scrap board and adjust your distance, movement, and pressure as the instructions allow.
The scrap test is a small step with a big payoff: you can spot a heavy edge, uneven fan, or sputtering pattern before it marks your siding. With the space covered and the spray looking right, steady technique helps avoid runs and stripes.
Keep your passes smooth and your hands safe
To get an even coat, keep the gun moving at a steady speed, hold it consistently perpendicular to the surface, and overlap each pass evenly. Start by practicing on scrap, because a slow hand can leave a heavy stripe or run, while rushing can leave thin bands. Adjust pressure according to the equipment instructions and test again rather than trying to correct a bad pattern over the finished surface.
Suppose your first pass across a door leaves a dark stripe along one edge. Stop and use the test surface to work out whether your distance, speed, pressure, or tip pattern needs attention. Fixing the approach before moving on is easier than sanding or repainting a full panel. Some surfaces absorb more paint than others, so don’t assume the sprayer will use the same amount you’d use with a roller.
High-pressure paint can penetrate skin and cause a serious injection injury. Never point the gun at your hand or another person, keep its safety engaged when you are not spraying, and follow the manual’s pressure-relief procedure before cleaning, unclogging, or servicing the unit. Wear eye protection and suitable respiratory protection. For indoor work, provide adequate ventilation and follow the product label.
A small-looking injection wound can still be a serious injury. Keep the gun pointed away from people and use the manufacturer’s pressure-relief steps before you touch the tip.
Even careful technique won’t make paint drift impossible or remove the need for cleaning. Your final pass should lead straight into the cleanup steps the manufacturer specifies.
Clean the hose and gun before paint dries
Clean an airless sprayer promptly and thoroughly after use, flushing it with the cleaning fluid specified for the coating and equipment. Water is typical for water-based paint; solvent-based coatings need the product and sprayer’s recommended solvent. Follow the manual for the pump, hose, gun, and tip rather than assuming a rinse through the pickup tube finishes the job.
For instance, if you finish spraying a fence and leave paint sitting in the hose while you eat lunch, dried material may clog the tip or parts of the gun. That can turn the next project into a frustrating repair. Set aside time for cleanup before you start, and follow the manual’s instructions for pressure relief before disconnecting parts or clearing a clog. Dispose of leftover paint and cleaning waste responsibly according to the product instructions and local rules.
A sprayer’s costs include more than its purchase price. You may need masking materials, suitable tips, cleaning supplies, and time to practice. If you spray regularly, those costs may suit your routine; if you only paint one small item, the brush in your shed may still be the better tool.
When you weigh a sprayer against a roller, include preparation and cleaning in the job estimate. On a long fence, the smooth fan of paint may be worth the extra work. On a single shelf, that same setup can feel like washing a garden hose after watering one pot.
Frequently Asked Questions
Do you need to thin paint for an airless sprayer?
Not always. Check the paint label and sprayer manual; thin paint only when one of them calls for it. Unneeded thinning can affect coverage and performance.
Can an airless sprayer apply interior wall paint?
Many models can spray common interior paints, but compatibility depends on the paint and machine. Confirm the supported materials and tip range, then mask the room and provide adequate ventilation.
How do you choose the right spray tip?
Match the tip’s pattern and orifice to the coating and job using the paint or sprayer manufacturer’s chart. Also check that your machine supports that tip size and replace worn tips when the pattern degrades.
Will an airless sprayer use more paint than a roller?
It can. Paint use depends on the surface, technique, coating, and overspray; droplets that drift away from the target add to waste. Mask carefully and practice on scrap to improve control.
Are airless sprayers safe for beginners?
A beginner can use one with careful preparation and strict attention to the manual, but the high-pressure stream can cause a serious injection injury. Never point the gun at a person or hand, engage the safety when not spraying, and follow the pressure-relief procedure before cleaning or unclogging.
Conclusion
Choose the tool by counting the whole job: coverage, masking, practice, and cleanup. For a long fence or a set of unfinished walls, an airless sprayer can put a broad, even fan where a brush would need hours of repeated strokes. For one small piece, a roller or brush may leave you with more painting and less equipment to wash.
Read the labels, test on scrap, protect everything around the work, and treat the pressure with respect. A clean, even coat feels satisfying; paint on the neighbor’s car is a different kind of finish.