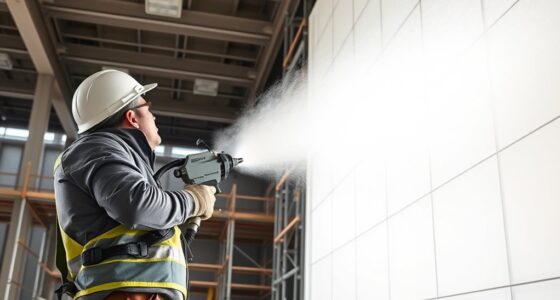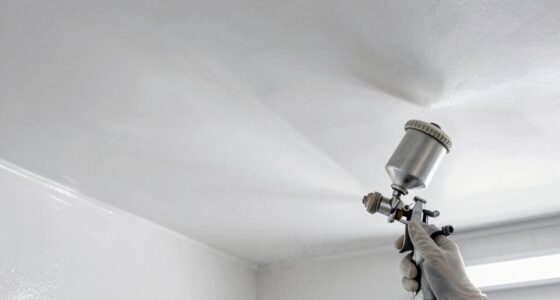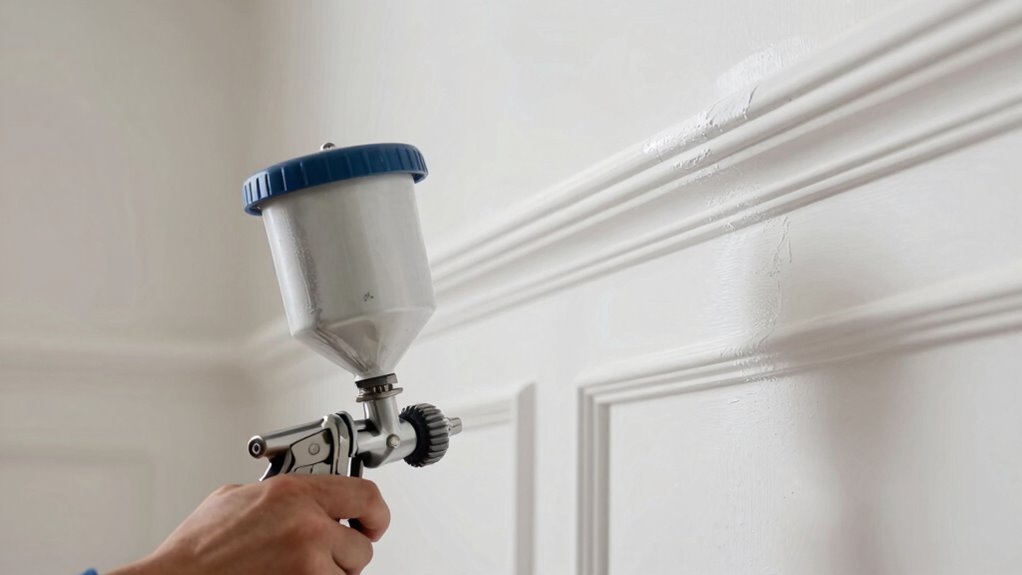

To spray wainscoting without heavy edges, start by properly preparing and thinning your paint for smooth atomization. Keep the spray gun at a consistent 6 to 12-inch distance and use smooth, overlapping strokes, focusing on maintaining a perpendicular angle. Lightly mist edges to feather out heavy spots and avoid staying too long in one area. Applying multiple thin coats and inspecting as you go help achieve even coverage. For more precise tips, keep exploring the best techniques.

Get business pricing on tools and workshop supplies
- Business-only prices and quantity discounts
- Tax-exempt purchasing
- Multiple users, one account, clear invoices
Key Takeaways
- Maintain a consistent spray distance of 6-12 inches to ensure even application without buildup.
- Overlap each pass by about 50% to blend edges smoothly and prevent heavy spots.
- Use light, gentle misting to feather out edges and avoid thick paint accumulation.
- Keep the spray angle perpendicular to the surface for uniform coverage and minimal drips.
- Apply multiple thin coats, allowing each to dry fully before the next to reduce heavy edges.
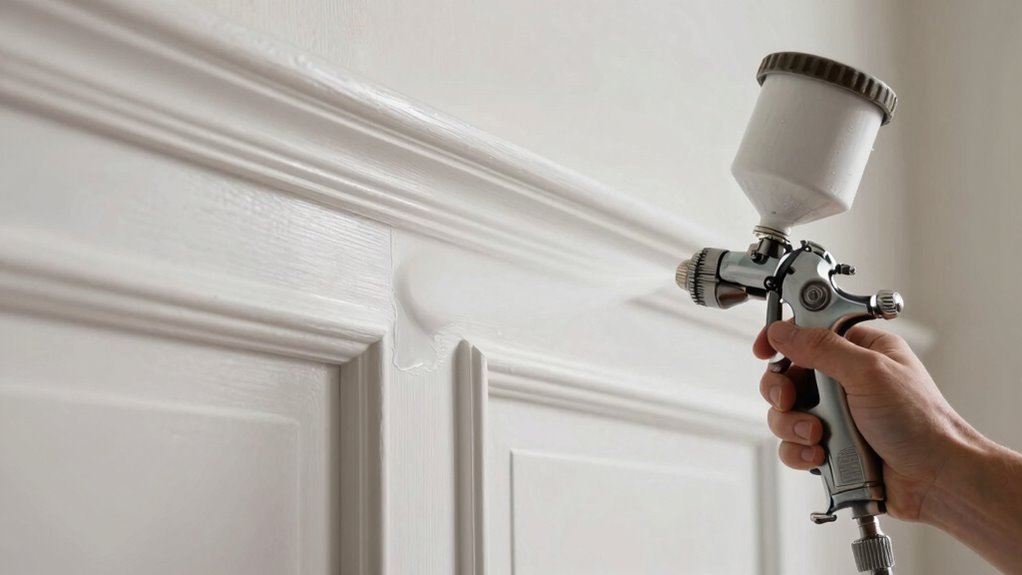
Spraying wainscoting is an efficient way to achieve a smooth, professional finish, especially if you want to save time and minimize brush marks. To do this effectively, you need to focus on proper paint preparation and mastering brush techniques that prevent heavy edges and drips. Before you start spraying, make sure your paint is well-mixed and strained to remove any lumps or debris. Proper paint preparation ensures an even, consistent spray, reducing the likelihood of uneven patches or thick edges. Thin your paint slightly with water or a suitable thinning agent, following the manufacturer’s recommendations, so it atomizes smoothly from the sprayer. This step is essential because thicker paint tends to cause runs and heavy edges, especially around corners and edges of the wainscoting.
Proper paint preparation ensures smooth, even spraying and prevents heavy edges or drips on wainscoting.
Next, prepare your workspace by covering the surrounding areas with drop cloths and masking tape to protect surfaces you don’t want to be painted. Once your area is prepped, focus on your spray equipment. Adjust the spray gun’s pressure and nozzle size to suit the type of paint you’re using. Practice on a scrap piece of cardboard or scrap wood to get a feel for the spray pattern. When you’re ready, hold the sprayer at a consistent distance—usually about 6 to 12 inches from the surface—and use smooth, overlapping strokes. This is where good brush techniques come into play; steady, even passes help prevent buildup of paint in one spot, which causes heavy edges and runs.
As you spray, keep your wrist relaxed and move in a consistent, fluid motion, avoiding staying too long in one spot. If you notice thick edges forming, slow your pace or reduce the spray pressure. Overlapping each pass by about 50% ensures even coverage without creating heavy lines. To avoid heavy edges at the edges of your wainscoting, focus on maintaining a perpendicular spray angle and avoid over-spraying near corners. If necessary, you can mist the edges lightly from a distance to feather out any heavy spots. Multiple thin coats are better than one heavy coat, so allow each layer to dry before applying the next. Understanding the importance of paint atomization can help you achieve a finer spray pattern and smoother finish, which is especially critical for achieving a uniform surface.
Using proper spraying techniques and equipment adjustments can significantly reduce the formation of heavy edges, leading to a more refined look. Additionally, paying attention to spray distance can improve the overall quality of your finish by ensuring a consistent application. Being mindful of spray angle can also help prevent uneven coverage and drips. Remember that adjusting your technique based on the paint viscosity can further enhance your results. Finally, after spraying, inspect your work for uneven spots or drips. Lightly sanding any imperfections once the paint is dry can help achieve a flawless, professional look. With attention to paint preparation and proper brush techniques, you’ll spray wainscoting without heavy edges, resulting in a beautifully finished surface that looks perfectly smooth and polished.
HVLP paint sprayer for wainscoting
As an affiliate, we earn on qualifying purchases.
As an affiliate, we earn on qualifying purchases.
Frequently Asked Questions
What Type of Spray Gun Is Best for Wainscoting?
You should choose a HVLP (High Volume Low Pressure) spray gun for wainscoting, as it provides control and minimizes overspray. Use proper brush techniques and maintain a consistent spray distance of about 6-12 inches to achieve an even coat. Adjust the spray pattern to guarantee smooth coverage without heavy edges, and keep your hand steady to prevent uneven application. This approach helps you get a professional finish effortlessly.
How Do I Prevent Drips and Overspray?
You can’t avoid drips and overspray entirely—unless you’re a wizard. To minimize them, master brush techniques for touch-ups after spraying, and always use protective coverings on nearby surfaces. Keep your spray gun at the right distance, move smoothly, and don’t rush. Think of overspray as your paint’s rebellious cousin; control it with steady hands and strategic masking. That way, your wainscoting will look flawless, not splattered.
Can I Use a Paint Roller Instead of a Sprayer?
You can use a paint roller instead of a sprayer, but it may be challenging to achieve a smooth, even finish. To prevent heavy edges, focus on maintaining the right paint thickness and proper surface preparation. Use a high-quality roller and guarantee the surface is clean and smooth. Apply paint in thin, even coats, and avoid pressing too hard, which can create texture or drips. This approach helps achieve a professional look.
How Do I Choose the Right Paint for Wainscoting?
You should choose a paint that suits your desired color options and finish textures. Opt for durable, semi-gloss or satin finishes for easy cleaning and a polished look. Consider your room’s lighting, as it influences color perception. Test small samples to see how different shades and textures look on your wainscoting. This way, you guarantee the paint complements your decor and provides a smooth, professional finish without heavy edges.
Is Primer Necessary Before Spraying?
Think of primer as the foundation of a sturdy house; skipping it can lead to shaky walls. Primer necessity depends on your surface’s condition, but generally, it’s essential for proper surface preparation. It seals the surface, ensuring even paint absorption and preventing heavy edges or blotches. Before spraying, always apply a suitable primer to create a smooth, adhesive surface—making your wainscoting look flawless and professionally finished.
Conclusion
Now, as you finish your spray job, picture those smooth, even lines like gentle waves caressing your walls. The finish glows softly in the light, free of heavy edges or drips, transforming your space into a sleek, polished haven. With each careful pass, you’re not just painting—you’re creating a flawless backdrop for memories yet to come. Step back, admire your handiwork, and enjoy that satisfying feeling of a job beautifully done.
Fall yard work Picks
leaf blowers
As an affiliate, we earn on qualifying purchases.