To guarantee paint sticks well when spraying cabinets, start with thorough cleaning using a degreaser or mild soap to remove dirt, grease, and grime. Remove all hardware and lightly sand the surfaces to create a rough texture for better adhesion. Wipe away dust with a tack cloth or damp rag, then apply a thin coat of primer to seal and prepare the surface. Protect surrounding areas with tape and drop cloths. Keep learning the critical steps that lead to a flawless finish.

Get business pricing on tools and workshop supplies
- Business-only prices and quantity discounts
- Tax-exempt purchasing
- Multiple users, one account, clear invoices
Key Takeaways
- Thoroughly clean cabinets with degreaser or mild soap to remove dust, grease, and grime for better paint adhesion.
- Remove all hardware and hinges to ensure a smooth, professional finish and prevent paint mishaps.
- Sand surfaces with medium-grit sandpaper to create a rough texture that helps paint bond better.
- Wipe away dust with a tack cloth or damp rag to ensure a clean surface for smooth spraying.
- Apply primer in thin, even coats and protect surrounding areas with painter’s tape and drop cloths.
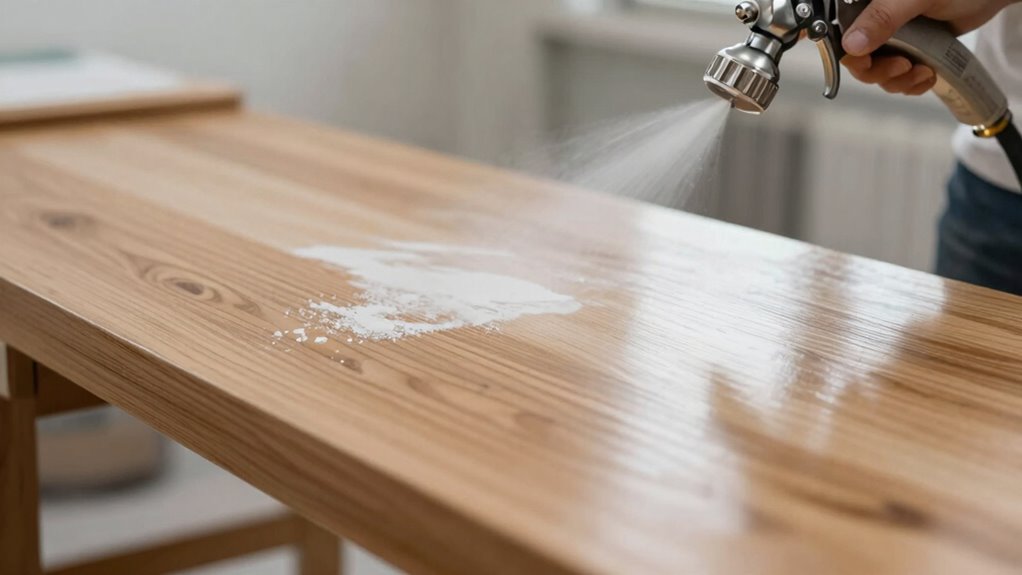
Ever wondered how to give your cabinets a fresh, flawless finish? The secret lies in the prep work, especially cabinet spraying, which is essential for a professional-looking furniture transformation. Proper preparation not only guarantees the paint adheres smoothly but also extends the life of your finish. If you’re tackling this project yourself, knowing the right preparation steps can make all the difference and turn a simple DIY task into a satisfying furniture transformation.
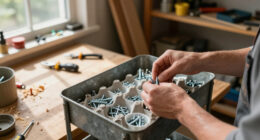
Before you start spraying, it’s imperative to clean your cabinets thoroughly. Dust, grease, and grime can prevent the paint from sticking properly, so wipe down all surfaces with a degreaser or a mixture of mild soap and water. Once clean, remove all hardware, hinges, and knobs. This step might seem tedious, but it’s necessary to achieve a uniform, professional look. You don’t want paint to get on any areas that should remain untouched or to accidentally paint over hardware that could interfere with the spraying process.
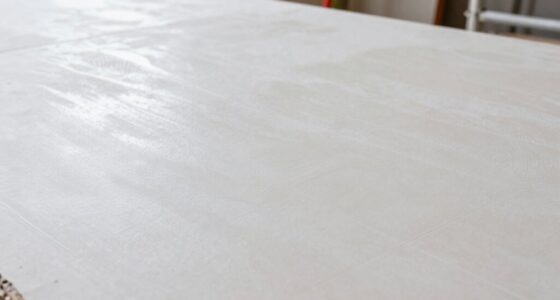
Next, lightly sand the surfaces to create a rough texture for the paint to grip onto. Use medium-grit sandpaper and pay extra attention to any existing finish, scratches, or imperfections. Sanding also helps remove any glossy surfaces that could cause the paint to bead or peel. Sanding is a crucial step because it enhances paint adhesion and ensures a smoother finish. Proper surface preparation plays a vital role in achieving a durable, long-lasting coat. After sanding, wipe away all dust with a tack cloth or a damp rag. Clean surfaces are essential because dust or debris can ruin the smoothness of your spray finish and lead to uneven results. Additionally, understanding the importance of proper surface preparation can help you achieve long-lasting, professional results.
Applying a primer is a key step in cabinet spraying prep. It seals the surface and provides a uniform base, especially if you’re working with dark or stained wood. A good primer improves paint adhesion, reduces the number of coats needed, and prevents bleed-through. Spray the primer evenly and in thin coats, allowing each layer to dry completely before applying the next. This step is particularly important for DIY tips because it helps you achieve that sleek, flawless finish you’re after. Keep in mind that air quality can also impact the spraying process, so working in a well-ventilated area is recommended.
Finally, protect your surrounding areas with painter’s tape and drop cloths. Mask off adjacent walls, countertops, and floors to avoid overspray. When you’re ready, use a high-quality spray gun to apply the paint in thin, even coats. Patience and proper prep are your best tools for a furniture transformation that looks polished and professional. With these steps, you’ll find that cabinet spraying becomes an enjoyable part of your DIY journey, leading to stunning results that breathe new life into your space.
As an affiliate, we earn on qualifying purchases.
Frequently Asked Questions
How Long Does Cabinet Spraying Typically Take?
Cabinet spraying usually takes about 1 to 3 days, depending on the cabinet size and complexity. The spray technique guarantees a smooth, even finish, which enhances cabinet longevity by preventing peeling or chipping. You’ll want to allow sufficient drying time between coats and after the final spray. Proper preparation and patience with the spray technique are key to achieving durable, professional-looking results that last.
Is Cabinet Spraying Suitable for All Cabinet Types?
Ever wondered if your cabinets are a perfect canvas? Cabinet spraying suits most cabinet materials, but surface compatibility varies. Solid wood, MDF, and laminate often respond well, yet some delicate or textured surfaces may need alternative approaches. Before proceeding, assess your cabinet material and surface condition to guarantee the best results. If in doubt, consulting a professional can save you time and guarantee a smooth, lasting finish.
What Safety Precautions Are Required During Spraying?
During spraying, you should wear personal protective equipment like masks, gloves, and goggles to avoid inhaling fumes or getting paint on your skin. Make certain proper ventilation by opening windows, using fans, or exhaust systems to disperse fumes safely. Always follow manufacturer instructions and safety guidelines to protect yourself and others nearby. Taking these precautions helps prevent health issues and ensures a safer, more effective cabinet spraying process.
Can I Spray Cabinets Myself or Hire a Professional?
You can definitely spray cabinets yourself if you’re comfortable with DIY projects, but hiring a professional offers clear benefits. DIY considerations include investing in quality equipment and taking proper safety precautions, which can be time-consuming. Professionals bring expertise, a smooth finish, and faster results. If you’re confident in your skills and prepared for the prep work, DIY can save money. Otherwise, hiring a pro guarantees a polished, long-lasting finish with less hassle.
How Do I Clean up After Cabinet Spraying?
You can absolutely clean up after cabinet spraying yourself, and it’s easier than you think. First, gather cleaning supplies like gentle soap, water, and a soft cloth. Focus on surface preparation by wiping down all sprayed areas promptly to remove dust or overspray. Don’t forget to ventilate the space. Proper cleanup guarantees your cabinets look flawless and prolongs the paint’s durability, making the whole project worthwhile.
Conclusion
Now that you know the secret behind flawless cabinet spraying, are you ready to take the leap? Proper prep is your first step—and it’s the one that guarantees your paint will stick for years to come. But don’t underestimate what’s next. One mistake could ruin your entire project. Stay tuned, because the real transformation begins once you master this essential prep. Are you prepared to uncover the final, game-changing step?
Fall yard work Picks
leaf blowers
As an affiliate, we earn on qualifying purchases.