To speed up your cleanup routine without damaging your sprayer, start with warm, high-pressure rinses to remove residues efficiently. Use compatible, fast-evaporating solvents that loosen buildup without harming equipment, and always follow manufacturer guidelines. Keep your sprayer well-maintained to ensure good flow and minimize clogs. Incorporating these tips helps you clean quickly while preserving your sprayer’s longevity—continue here to discover more simple strategies for a safe, efficient cleanup.
Key Takeaways
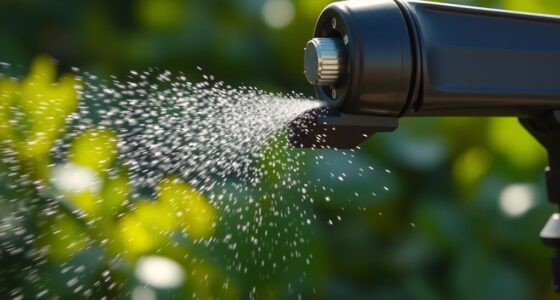
- Use warm water and high-pressure rinsing to quickly dissolve and remove residues without overworking the sprayer.
- Select compatible, fast-evaporating solvents and pre-soak parts to loosen buildup, reducing rinse time and protecting equipment.
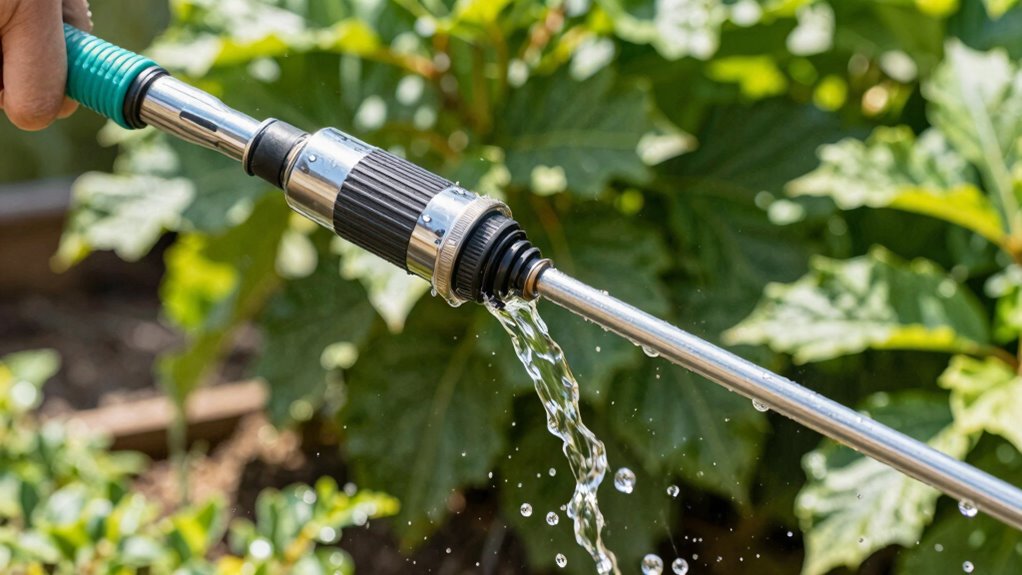
- Maintain equipment regularly to ensure optimal flow and prevent clogging, which enhances rinse efficiency and sprayer longevity.
- Incorporate cleaning agents that effectively break down residues and improve rinse speed, minimizing the need for multiple passes.
- Prepare cleaning supplies and follow manufacturer guidelines in advance to streamline the process and avoid damaging the sprayer.
Ever wonder how some people finish cleaning in just minutes while others spend hours? The secret isn’t just speed; it’s smart techniques that maximize rinse efficiency and choosing the right solvent options. When you focus on these elements, your cleanup process becomes faster and more effective, saving you time and extending the life of your sprayer. Rinse efficiency is vital because it determines how thoroughly you eliminate leftover chemicals, dirt, or debris. Instead of rushing through, you want to use techniques that guarantee every nook and cranny gets clean without requiring multiple passes. Using warm water, for instance, can considerably boost rinse efficiency because heat helps dissolve residues faster. Additionally, employing a high-pressure rinse, if your sprayer allows, can dislodge stubborn material more effectively than a gentle spray. The goal is to create a steady, strong flow that washes away contaminants quickly, reducing the need for repeated rinses and saving you time. Proper equipment maintenance also plays a crucial role in ensuring optimal rinse flow and efficiency.
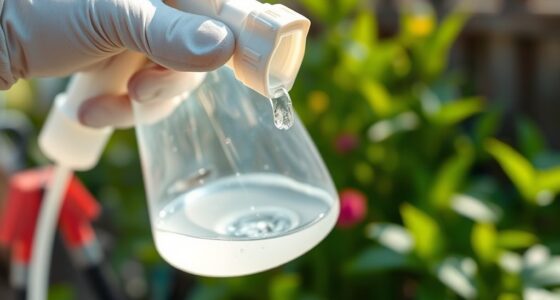
Equally important are your solvent options. Not all solvents are created equal, and choosing the right ones can make a big difference in how fast you can clean your sprayer. For instance, using a compatible, fast-evaporating solvent designed for your specific residue can cut down cleaning time dramatically. Avoid overly aggressive solvents that could damage your equipment; instead, opt for those that are effective yet gentle. Dilution plays a role here too—using concentrated solutions when appropriate can speed up the process, but always follow manufacturer guidelines to prevent harm. Pre-soaking parts in a suitable solvent before rinsing can also reduce cleaning time, as it loosens stubborn buildup, making the rinse phase more efficient.
To streamline your routine further, consider incorporating cleaning agents that work synergistically with your rinsing method. For example, a solvent that breaks down oil-based residues will require less water to wash away, improving rinse efficiency. Keep your equipment in good condition, too—clogged nozzles or filters can slow down your rinse flow, so regular maintenance ensures you get the maximum benefit from your rinse process. Finally, organizing your cleaning supplies ahead of time helps you move swiftly through each step, rather than wasting minutes searching for the right solvent or tools. When you combine smart solvent choices with an emphasis on rinse efficiency, you’ll find your cleanup time plummets, and your sprayer stays in top shape longer. This way, you get a quicker, more reliable cleaning routine that doesn’t sacrifice performance or equipment longevity.
Frequently Asked Questions
Can This Routine Be Used on All Types of Sprayers?
Yes, this routine can be used on most sprayers, but you should check sprayer compatibility first. It’s safe for various materials and designs, but always consider cleaning frequency to prevent damage. If you use different sprayers regularly, adapt the routine accordingly. Always follow manufacturer instructions, especially for sensitive equipment, to guarantee your sprayer stays in good shape without risking damage during cleaning.
How Long Does the Cleanup Process Typically Take?
The cleanup process generally takes about 10 to 15 minutes, depending on the size and type of your sprayer. With this routine, you can expect a quick turnaround, saving you time and effort. The routine duration is designed to be efficient, allowing you to clean your sprayer thoroughly without rushing. By following these steps, you’ll keep your equipment in top shape and ready for the next use swiftly.
Are Special Cleaning Products Necessary for This Routine?
You don’t need special chemical cleaners for this routine—natural solutions work just as well and won’t damage your sprayer. Using harsh chemicals can turn your cleanup into a nightmare, but with simple, natural solutions like vinegar or baking soda, you can keep things spotless without risking corrosion. Skip the fancy products, and enjoy a faster, safer cleanup that leaves your sprayer in perfect shape, ready for the next task.
Will This Method Prevent Clogs in the Sprayer?
Yes, this method helps prevent clogs in your sprayer by thoroughly removing chemical residues. When you follow the routine, you reduce the buildup of stubborn materials that can cause blockages. Regular, proper cleaning also extends your equipment’s longevity, ensuring it stays in good working condition longer. By sticking to this routine, you keep your sprayer running smoothly and avoid the hassle of clogs and potential damage.
Is This Cleanup Routine Suitable for Outdoor or Indoor Use?
Think of your sprayer as a versatile vessel, ready to serve both indoor and outdoor needs. This cleanup routine suits outdoor application perfectly, ensuring your equipment stays in top shape after outdoor use. For indoor use, it’s just as effective, preventing residue buildup and maintaining sprayer longevity. Whether you’re tending gardens or indoor projects, this method keeps your sprayer clean and ready, no matter the environment.
Conclusion
By following this faster cleanup routine, you’ll save time without risking damage to your sprayer. It’s easy to stay efficient and keep your equipment in top shape, even if you’re worried about rushing the process. Just stick to the steps, and you’ll find cleaning takes less effort and won’t compromise your sprayer’s longevity. Now, you can finish up quickly and get back to what you enjoy most—doing the work, not cleaning it up.