
If your airless sprayer keeps clogging, start by inspecting and cleaning the spray tip and nozzle with a soft brush or needle to remove paint residue. confirm your paint is properly thinned and strained to prevent lumps. Run water or solvent through the system to flush out residual paint, especially when switching colors. Regularly clean or replace filters and perform routine maintenance. Keep these steps in mind, and you’ll discover simple tricks to keep your sprayer flowing smoothly every time.
Key Takeaways
- Regularly inspect and clean the spray tip and nozzle to prevent paint residue buildup and clogs.
- Ensure paint consistency by thinning and straining to promote smooth flow and reduce blockages.
- Flush the system with water or solvent after use to clear residual paint and maintain internal cleanliness.
- Clean or replace the filter frequently to avoid pressure buildup and ensure steady paint flow.
- Maintain routine cleaning and maintenance to keep the sprayer functioning efficiently and prevent frequent clogs.

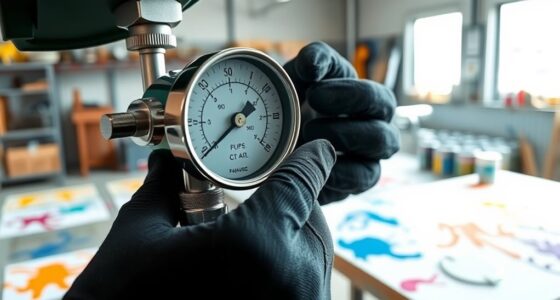
If your airless sprayer starts clogging, it can disrupt your project and cause frustration. Luckily, most clogs are fixable with a quick check and some basic sprayer maintenance. The key is understanding that consistent paint flow depends heavily on keeping your sprayer in good shape and guaranteeing the paint has the right consistency. When the paint isn’t properly mixed or the sprayer isn’t well-maintained, clogs become almost unavoidable.
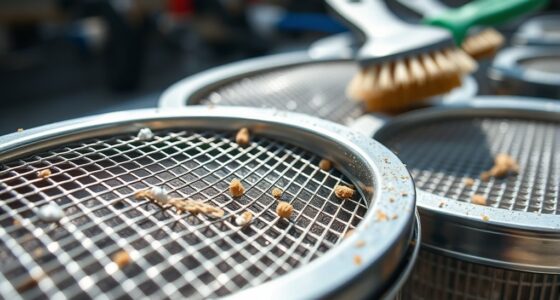
Start by inspecting the spray tip and nozzle. These are the most common clog points. Remove them carefully and clear out any paint residue. Use a soft brush or a needle to poke through the tiny holes—don’t force it, as you could damage the nozzle. Regularly cleaning these parts not only prevents clogs but also extends the lifespan of your equipment. Remember, neglecting sprayer maintenance will lead to more frequent clogs, so make it a habit to clean the nozzle after each use.
Inspect and clean spray tip and nozzle regularly to prevent clogs and extend equipment life.
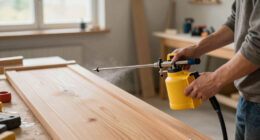
Next, check the paint itself. Paint consistency plays a crucial role here. If the paint is too thick or has dried lumps, it’s much more likely to clog the sprayer. Thin out the paint according to the manufacturer’s instructions—usually adding a bit of water or solvent—and stir thoroughly. Straining the paint before pouring it into the sprayer can also catch any lumps or debris that might cause blockages down the line. Properly mixed and strained paint flows smoother through the system, reducing the chances of clogging.
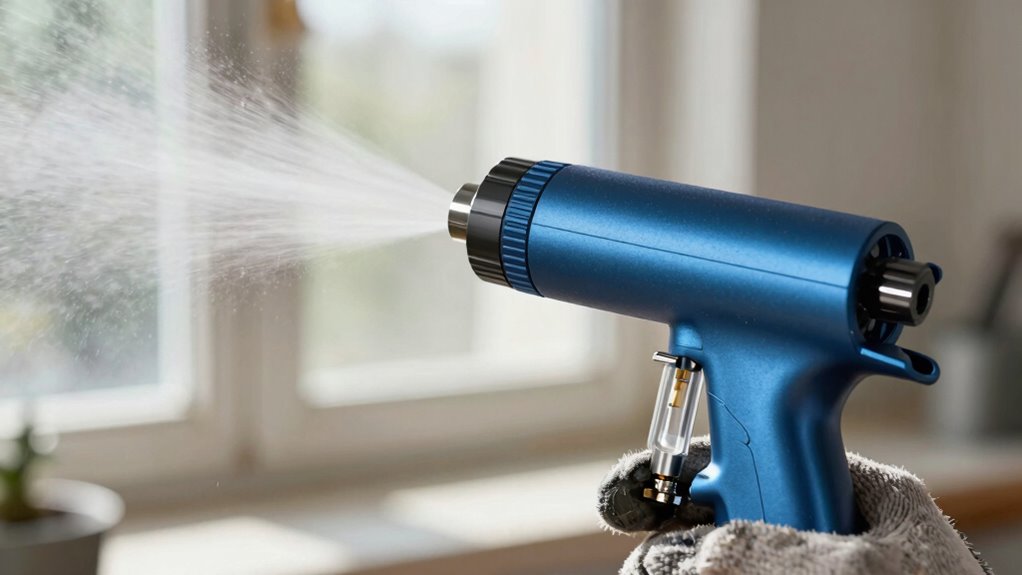
Another quick fix involves flushing the entire system. Run water or solvent through the sprayer to clear out any residual paint that might be causing a blockage. This is especially helpful if you’re switching colors or finishing your project. Regular flushing as part of your sprayer maintenance routine ensures the internal parts stay clear and functional. It’s a simple step that can save you a lot of troubleshooting time later.
Additionally, understanding the importance of sprayer maintenance and its role in preventing clogs can help you develop a routine that keeps your equipment running smoothly. Lastly, don’t forget to check the filter. A clogged filter can restrict paint flow and lead to pressure buildup, which results in clogs. Remove the filter and clean it thoroughly, replacing it if necessary. Keeping these filters clean is a straightforward way to maintain consistent paint flow and avoid interruptions.
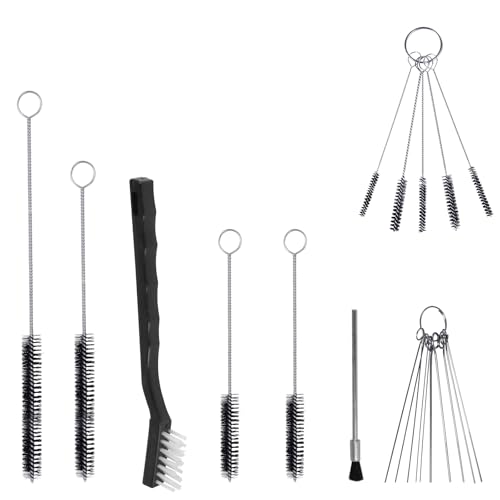
17pcs Multi-Purpose Spray Gun Cleaning Kit,Nylon Brushes Paint Gun Cleaning Kit Mini Brushes & Needles for Clean Airbrush Nozzles Spray Guns Tattoo Equipment (17)
- Complete Cleaning Kit: Includes 17 tools for spray gun maintenance
- Universal Compatibility: Works with all spray gun types and solvents
- Enhances Performance: Keeps spray guns in optimal working condition
As an affiliate, we earn on qualifying purchases.
As an affiliate, we earn on qualifying purchases.
Frequently Asked Questions
Can I Prevent Airless Sprayer Clogs Altogether?
Yes, you can prevent airless sprayer clogs completely! By thoroughly checking paint compatibility before spraying and ensuring your paint isn’t too thick, you stop clogs before they start. Regular nozzle maintenance is your secret weapon—clean and inspect it often. When you stay proactive with these simple steps, you’ll enjoy flawless finishes every time and avoid those frustrating, time-consuming clogs that can ruin your project.
How Often Should I Clean the Sprayer to Avoid Clogs?
You should clean your airless sprayer after every use to prevent clogs. Follow regular maintenance tips and stick to a consistent cleaning schedule, especially if you’re spraying thick materials or working frequently. Rinse the spray gun, hoses, and filters thoroughly, and use cleaning solutions as recommended. By staying diligent with cleaning, you’ll minimize downtime and keep your sprayer performing smoothly, ensuring your projects stay on track.
Are Certain Paints More Likely to Cause Clogs?
Certain paints are more likely to cause clogs, especially those with high viscosity or poor paint compatibility. Thick paints, like heavy latex or oil-based coatings, can strain your sprayer and increase clogging risks. Always check paint viscosity and verify compatibility with your sprayer. Thinning thick paints properly and using the right tip can help prevent clogs, making your spraying experience smoother and more efficient.
What Tools Are Recommended for Clearing Stubborn Clogs?
Did you know that a clogged sprayer can waste up to 30% of your paint? To clear stubborn clogs, you should use a paint thinner to dissolve dried paint and a wire brush to scrub away debris. These tools are essential for maintaining your sprayer’s performance. Always wear gloves and safety glasses, and work carefully to avoid damaging the nozzle or internal components.
Is It Safe to Use DIY Solutions for Clog Removal?
Using DIY solutions for clog removal can be risky if you’re not cautious about chemical safety. Homemade remedies like vinegar or baking soda might seem safe, but they can damage your sprayer or create hazardous fumes if misused. Always read manufacturer instructions and avoid harsh chemicals. When in doubt, opt for proper tools and professional advice to ensure safe, effective clog removal without risking harm or equipment damage.
Conclusion
Now that you know this quick fix, you can say goodbye to endless clogs and frustration. Just remember, “A stitch in time saves nine”—taking a few minutes to clear your sprayer now prevents bigger headaches later. Keep your equipment clean and functioning smoothly, and painting will be a breeze. Don’t let clogs hold you back; with this simple tip, you’ll be back to spraying effortlessly in no time.