To make your cabinet paint stick, start with thorough surface preparation. Remove knobs, handles, and hinges to create a smooth, accessible surface. Clean the cabinets to eliminate grease and dirt, then lightly sand to remove gloss and improve adhesion. Applying a high-quality primer helps seal imperfections and promotes better paint adhesion. These prep steps are vital for a flawless, durable finish. Keep going, and you’ll discover the key details that guarantee long-lasting, professional results.
Key Takeaways
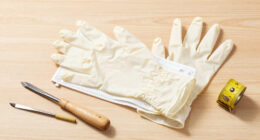
- Remove hardware and hinges to create a smooth surface and prevent overspray.
- Clean surfaces thoroughly to eliminate grease, dirt, and grime for better paint adhesion.
- Lightly sand cabinets to remove gloss and roughness, ensuring a better bond with the paint.
- Apply a suitable primer to seal the surface and improve paint adherence.
- Protect surrounding areas and hardware to maintain a clean workspace and prevent contamination.
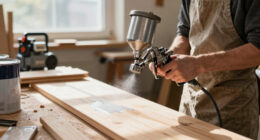
Ever wondered how to give your cabinets a fresh, flawless finish quickly and efficiently? The secret lies in the prep work, especially when it comes to hardware preparation and paint selection. Properly addressing these steps ensures your spray job looks professional and lasts for years. First, hardware preparation is essential. Remove all knobs, handles, and hinges to create a smooth, uninterrupted surface for painting. Not only does this prevent accidental overspray on hardware, but it also helps you reach every corner and edge. As you remove hardware, keep track of the screws and small parts, storing them safely to avoid losing anything. If some hardware is outdated or damaged, this is a good time to replace it. Clean the hardware thoroughly before reinstallation, ensuring there’s no grease or dirt that could interfere with the new finish. Additionally, understanding the Free Floating concept can help you achieve a more seamless finish by allowing for natural expansion and contraction of materials, reducing the risk of cracking or peeling over time.
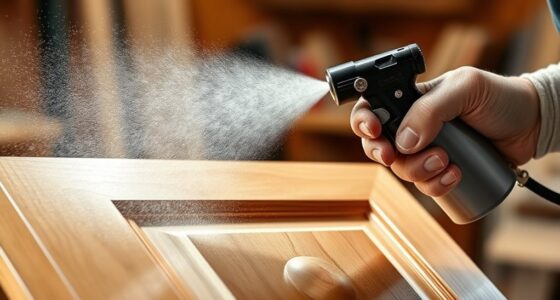
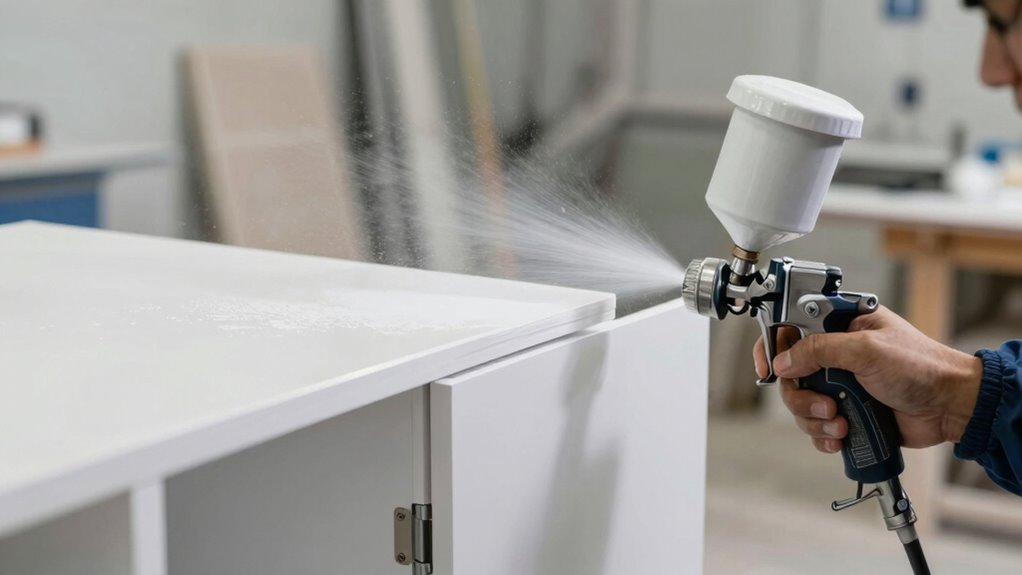
Next, choosing the right paint is vital. Your goal is to select a high-quality, durable product that adheres well and provides a smooth, even finish. Consider a paint designed specifically for cabinetry or furniture, as these usually have better adhesion and flexibility to withstand daily use. Decide between oil-based or water-based paints, keeping in mind that oil-based paints tend to be more durable and resistant to stains, while water-based options dry faster and emit fewer fumes. Whichever you pick, opt for a paint with a satin or semi-gloss finish, as these are easier to clean and tend to hide imperfections better. Your choice of paint color should complement your room’s decor, but also consider the coverage—some colors may require more coats to achieve uniformity.
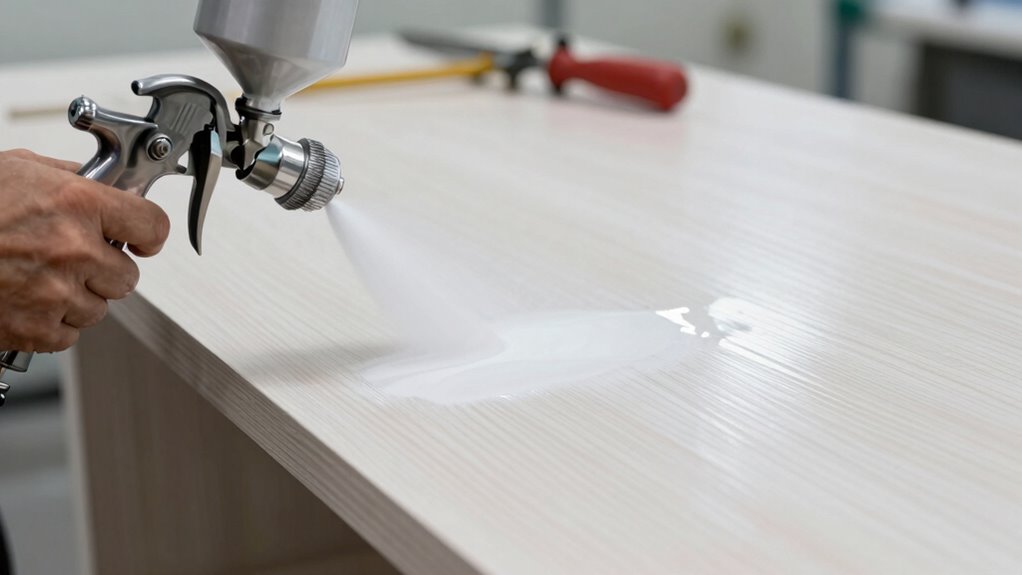
Once you’ve selected your paint, think about the type of primer you’ll use. Primers help the paint stick better, especially if your cabinets are stained or dark-colored. A good primer also seals the surface and smooths out imperfections, making your final coat look flawless. Before applying any paint, ensure the cabinet surfaces are thoroughly cleaned and lightly sanded to remove any gloss or roughness. This step allows the primer and paint to adhere more effectively, resulting in a smoother finish. Be meticulous during hardware preparation and paint selection because these decisions impact the overall outcome of your cabinet spray project. When you get these fundamental details right, your cabinets will not only look stunning but will also stand up to everyday wear, keeping that fresh, flawless appearance for years to come.

King&Charles Cabinet Hardware Jig, Cabinet Handle Jig with Automatic Center Punch, Avoid Jitter Caused by Direct Drilling. Use for Handles and Pulls on Drawers/Doors, Perfect Set.
- Automatic Center Punch Included: Prevents jig shaking during drilling
- Dual Measurement Scales: Metric and imperial measurements included
- Durable Construction: Made from corrosion-resistant ABS and stainless steel
As an affiliate, we earn on qualifying purchases.
As an affiliate, we earn on qualifying purchases.
Frequently Asked Questions
How Long Does Cabinet Spraying Typically Take?
Cabinet spraying usually takes about 2 to 4 days, including drying time and the curing process. You’ll want to permit each coat to dry completely before applying the next, which typically takes a few hours. The curing process can take up to a week, during which the paint fully hardens and bonds. Patience guarantees your cabinets look great and the paint lasts longer.
Is Cabinet Spraying Suitable for All Cabinet Types?
Did you know that over 80% of homeowners report satisfaction with spray-painted cabinets? You might wonder if cabinet spraying suits your cabinet material; it often does, but spray compatibility varies. Solid wood, MDF, and laminate are generally suitable, yet some delicate finishes need special prep or alternative methods. To guarantee a flawless result, check with your painter about your specific cabinet material and spray compatibility before proceeding.
Can I Customize the Paint Color During Spraying?
Yes, you can customize the paint color during spraying. Many professional spray painters offer a variety of paint color options and spray customization to match your style. You simply choose your preferred shade, and they’ll tailor the spray process to attain your desired look. This flexibility ensures your cabinets are exactly how you envision, with smooth, even coverage that highlights your unique color choice.
What Is the Cost Difference Between Spraying and Traditional Painting?
The cost comparison between spraying and traditional painting varies, but spraying generally costs more upfront due to equipment and prep work. However, it can save you money long-term because it’s faster, uses less paint, and results in a smooth finish that lasts longer. When considering your budget, think about the value of a professional, efficient job versus the potential savings of DIY traditional painting, balancing quality and expenses.
How Do I Maintain the Finish After Spraying?
To maintain your spray-finished cabinets, regularly clean them with gentle cleaning solutions and soft cloths to prevent dirt buildup. Use touch-up techniques for minor chips or scratches, applying matching paint carefully. Avoid harsh chemicals or abrasive scrubbers that can damage the finish. Keep humidity levels stable and wipe spills promptly. Proper cleaning and touch-up techniques guarantee your cabinets stay looking fresh and vibrant for years to come.
Conclusion
Now that you know the importance of proper prep, the magic begins. Sand, clean, prime—repeat the steps that guarantee your paint sticks. Take your time, stay consistent, and trust the process. With each careful move, your cabinets will transform, becoming smooth, flawless, and durable. Remember, preparation isn’t just a step; it’s the foundation. So get ready, stay focused, and enjoy the satisfaction of a professional finish—because great results start with a perfect prep.