If you notice uneven spray patterns, reduced pressure, or dribbling, your spray tips or filters might be clogged. To fix this, gather cleaning supplies like brushes, cloths, and cleaning solutions. Carefully disassemble the spray tip and filter, soak parts in warm, soapy water or suitable chemicals, and use small tools or compressed air to clear debris. Reassemble, test the spray, and adjust as needed. Keep up with regular maintenance to prevent future clogs and maintain ideal performance.
Key Takeaways
- Regularly inspect and clean spray tips and filters to prevent debris buildup and clogs.
- Disassemble components carefully, soak in cleaning solutions, and use small brushes or needles to remove blockages.
- Use compressed air to blow out debris and ensure no residual clogs remain in the spray tip or filter.
- Reassemble parts securely, check for proper alignment, and test spray performance before full operation.
- Maintain a routine schedule of cleaning and inspection to prolong equipment life and ensure consistent spray quality.
Identifying Signs of Clogged Tips and Filters
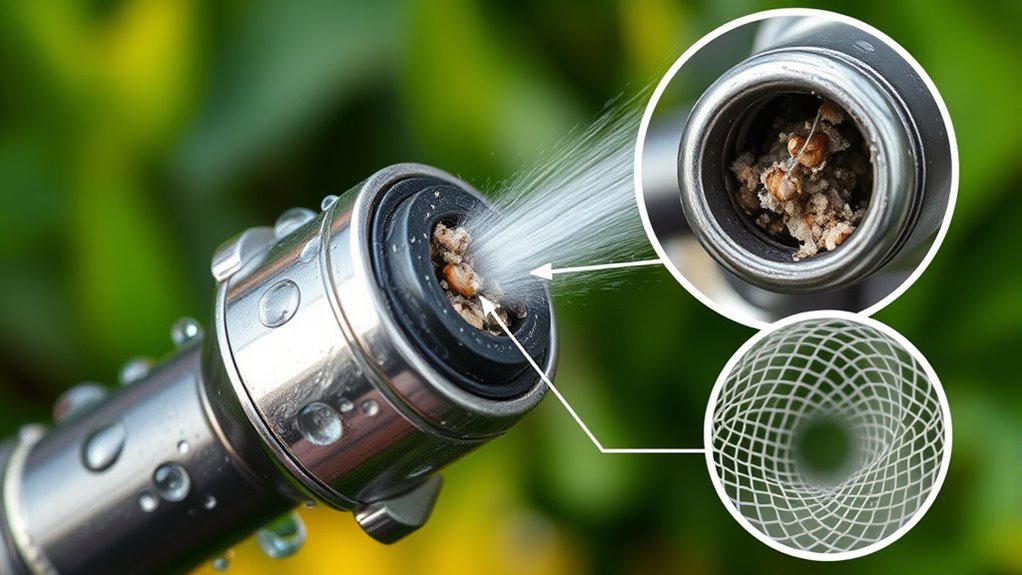
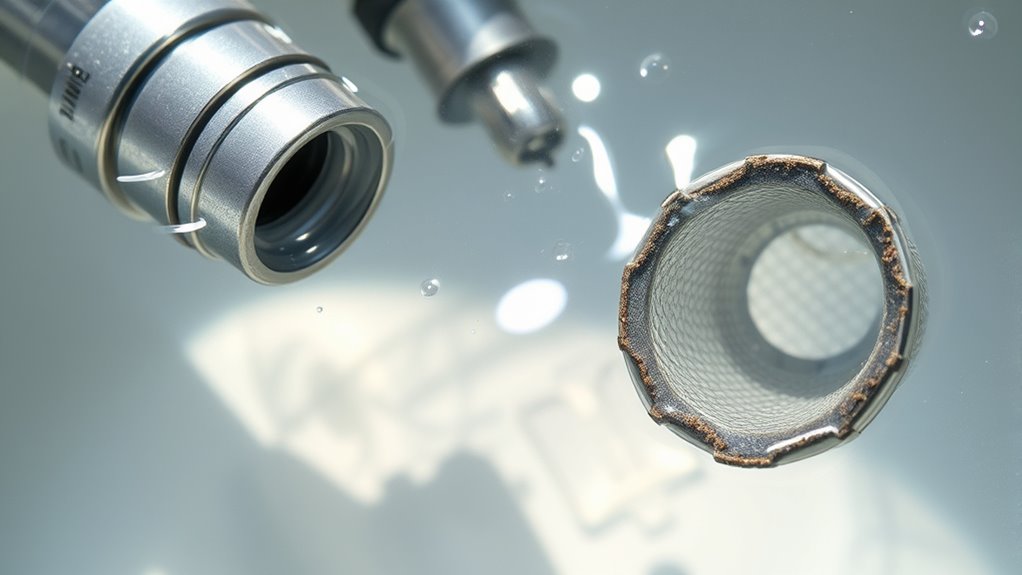
Clogged spray tips and filters often reveal themselves through noticeable changes in spray pattern and pressure. If your paint consistency feels thicker or more inconsistent, it’s a sign that blockages may be affecting the flow. You might also notice uneven spray, with paint dribbling or splattering instead of a smooth stream. Pay attention to your nozzle size—if it seems to be producing a narrower or irregular spray, a clog could be restricting flow. Reduced pressure or difficulty maintaining a steady spray are clear indicators. These signs typically point to debris or dried paint buildup blocking the tip or filter. Recognizing these issues early can save you time and frustration during your painting project. Regular cleaning and maintenance help prevent clogged tips and filters, ensuring optimal spray performance.
Gathering the Necessary Cleaning Supplies
Before you start cleaning, gather the right tools and products. Make sure you have essential brushes, cloths, and a bucket, along with recommended cleaning solutions. Having these supplies ready helps you clean efficiently and avoid interruptions. Additionally, understanding the importance of performance upgrades can guide you in choosing the most effective cleaning methods for optimal results.
Essential Cleaning Tools
To effectively clean spray tips and filters, you’ll need a few essential tools on hand. These tools ensure proper spray tip alignment and help maintain ideal filter material selection for your equipment. Having the right supplies makes it easier to clear clogs and keep your system running smoothly. Consider gathering these key items:
- A small wire brush or needle to clear nozzle blockages
- A soft-bristled brush for cleaning filters without damaging filter material
- A cleaning solution or solvent recommended for your spray tips and filters
- Regular maintenance and inspection can prevent issues caused by automation in business and ensure your equipment functions properly.
Using these tools, you can carefully remove debris, check spray tip alignment, and preserve your filter material’s integrity. Properly maintained tools help prevent future clogs and extend the lifespan of your spraying equipment.
Recommended Cleaning Products
Choosing the right cleaning products is key to maintaining your spray tips and filters effectively. Opt for eco-friendly cleaners to reduce environmental impact while still providing powerful cleaning. Look for professional-grade solutions designed specifically for spray equipment; these formulas are often more effective at dissolving stubborn clogs. Avoid harsh chemicals that can damage delicate parts or pose health risks. Keep a variety of brushes and small tools on hand to assist with scrubbing and dislodging debris. Using high-quality, compatible cleaning products ensures thorough cleaning without harming your equipment. Regularly investing in the right solutions helps extend the lifespan of your spray tips and filters, keeping your spraying system performing at its best. Proper cleaning and maintenance are essential for best airless paint sprayers and their components. Always follow manufacturer recommendations for best results.
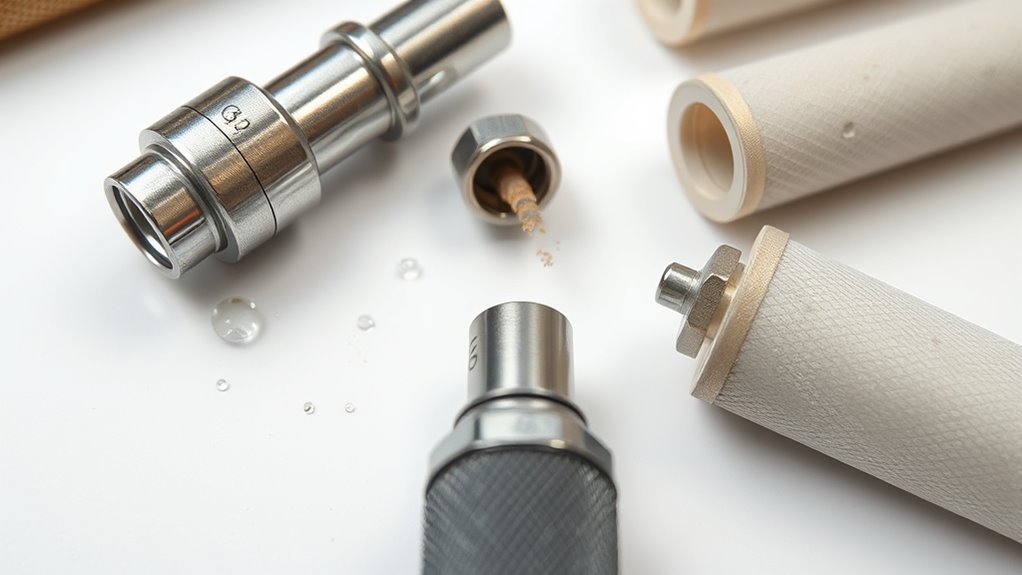
Removing and Disassembling the Spray Tip and Filter
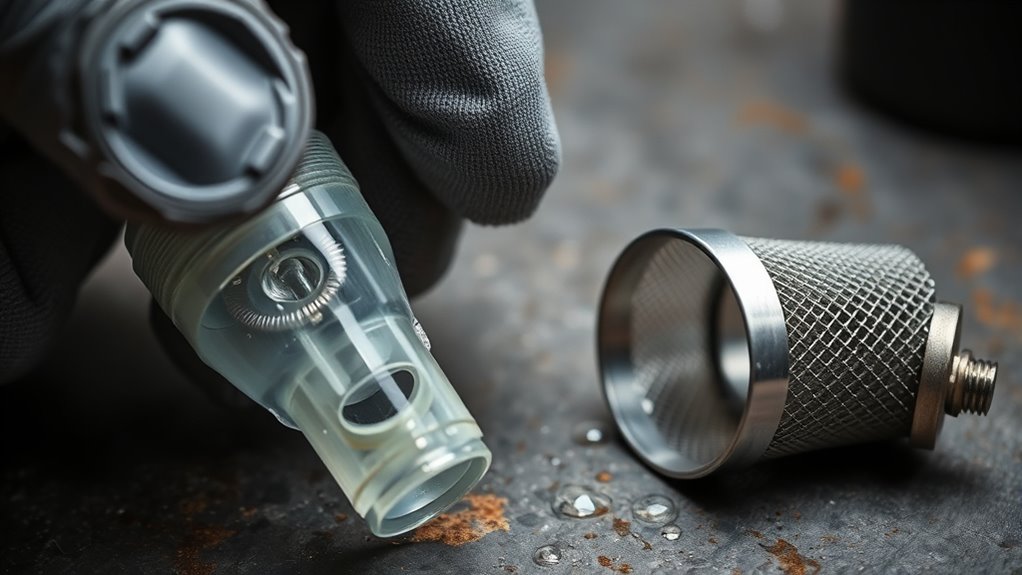
To start cleaning, carefully detach the spray tip from your sprayer. Next, remove the filter to access any buildup. Once disassembled, you can easily clean and inspect each part for clogs or damage. Regular maintenance of spray components can help prevent clogged tips, ensuring optimal performance.
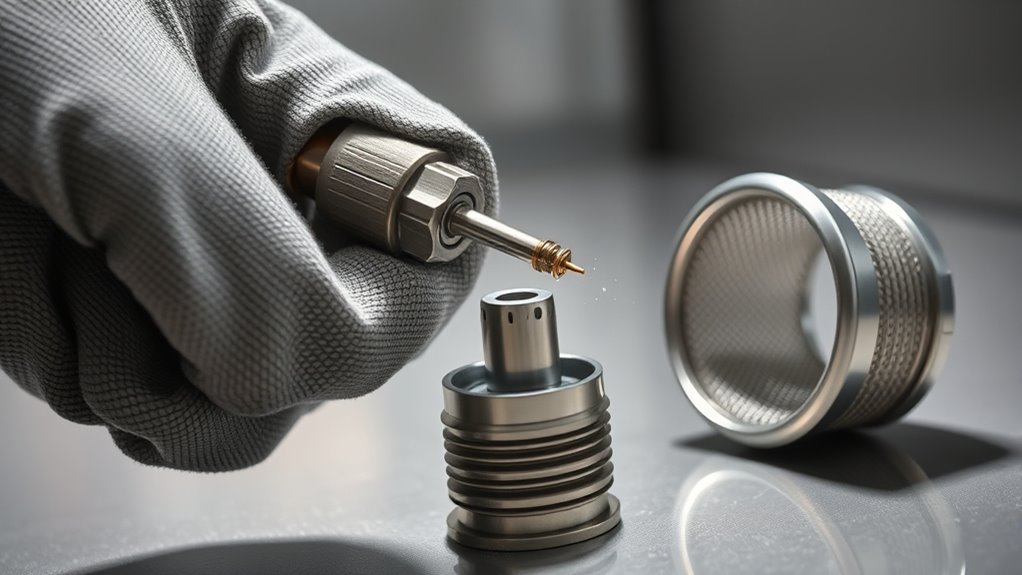
Detaching the Spray Tip
Before attempting to clean or clear a clog, you need to detach the spray tip from your sprayer. Carefully unscrew the tip, ensuring you don’t strip the threads. Once detached, check the spray tip alignment to maintain proper nozzle calibration during reassembly. To do this effectively:
- Examine the spray tip for any damage or debris
- Note how the tip aligns with the nozzle for accurate reinstallation
- Keep the tip and filter separate to avoid mixing parts
Proper detachment ensures you can inspect the spray tip thoroughly and address any clog or misalignment. Maintaining correct spray tip alignment and nozzle calibration during reattachment guarantees even spray patterns and consistent performance. Always handle parts gently to avoid damage. Additionally, understanding the nozzle calibration process can help ensure your sprayer functions optimally after reassembly.
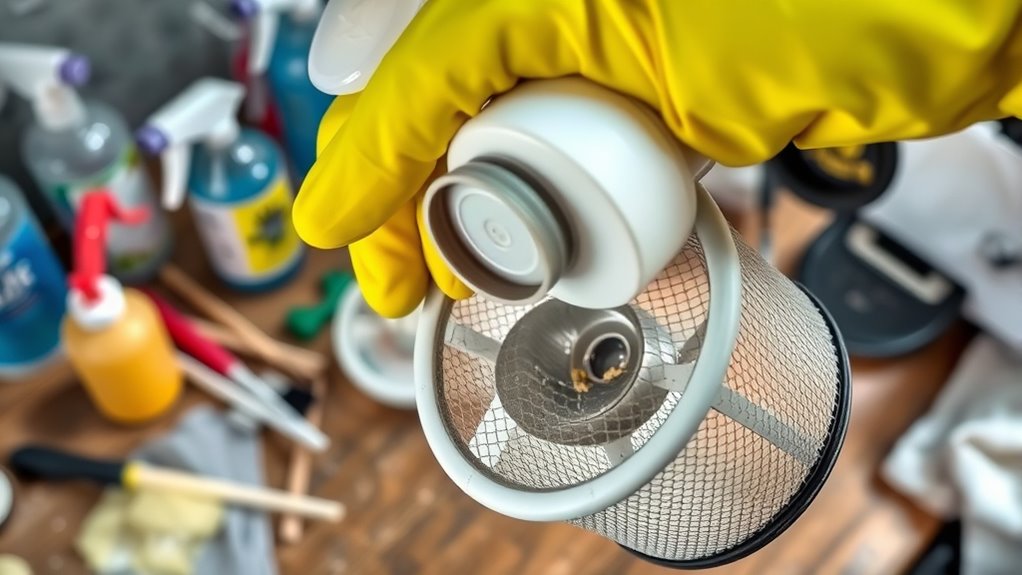
Cleaning the Filter
Once you’ve detached the spray tip, the next step is to remove and disassemble the filter. Use cleaning techniques like soaking the parts in warm, soapy water to loosen debris. Carefully disassemble the filter to access all components. Regular maintenance routines prevent clogs and guarantee peak spray performance. Here’s a quick guide:
| Step | Action |
|---|---|
| 1 | Remove the filter from the spray tip |
| 2 | Disassemble the filter components |
| 3 | Soak in cleaning solution |
| 4 | Rinse thoroughly and reassemble |
This routine keeps your sprayer working smoothly and prolongs its lifespan, making cleaning an essential part of your maintenance. Proper emergency preparedness essentials also emphasize the importance of routine maintenance to ensure tools and equipment remain reliable in critical moments.
Soaking and Cleaning the Components
When dealing with clogged spray tips and filters, soaking them in a cleaning solution is an effective way to loosen stubborn debris. Use a chemical solution suited for your equipment, but always follow safety precautions to prevent skin or eye irritation. Soaking helps break down mineral buildup and paint residue, making debris easier to remove. To maximize effectiveness:
- Use warm water mixed with a suitable cleaning agent
- Avoid harsh chemicals that could damage components
- Ensure proper ventilation during soaking
Be sure to wear gloves and eye protection when handling chemical solutions. Soaking is a simple, safe step that prepares your components for easier debris removal, reducing the risk of damage and ensuring your spray tips and filters stay clear and functional.
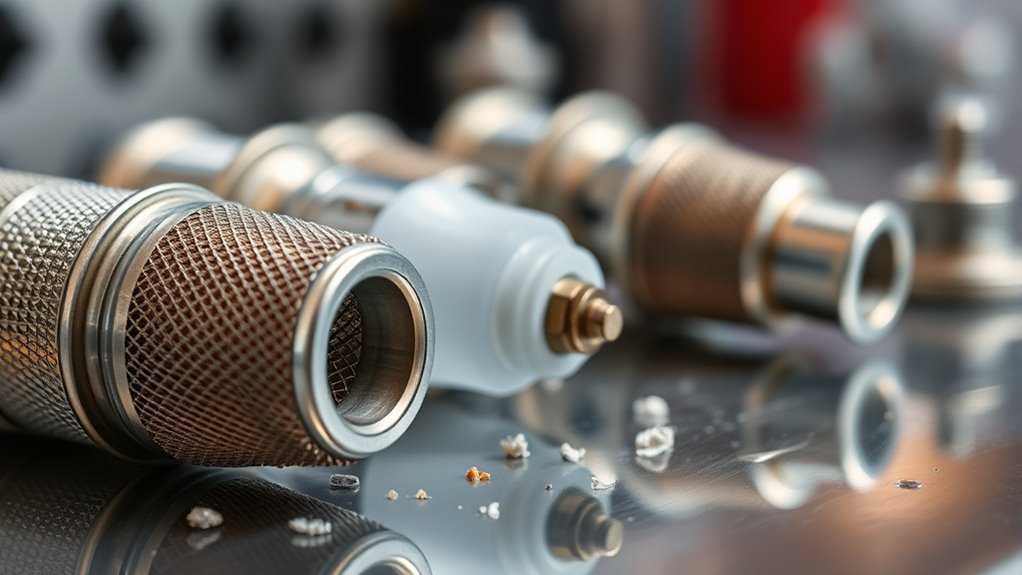
Using Proper Tools for Debris Removal
Using the right tools is essential for effectively removing debris from spray tips and filters. Proper tools guarantee thorough cleaning, prevent damage, and make debris removal easier. Use a small wire brush or needle to clear clogs carefully. Always calibrate your tools before use to avoid damaging parts or misaligning spray patterns. After cleaning, dispose of debris properly to prevent future clogs and environmental harm. Here’s a quick reference:
| Tool | Purpose | Proper Disposal |
|---|---|---|
| Needle | Clear small nozzles | Dispose of debris responsibly |
| Wire Brush | Remove stubborn buildup | Clean tools after use |
| Compressed Air | Blow out debris | Use in ventilated area |
| Toothpick | Dislodge tight clogs | Recycle if possible |
| Calibration Tool | Ensure correct spray pattern | Store safely after calibration |
Additionally, regularly inspecting and maintaining your filters can help prevent clogging issues and ensure optimal performance.
Reassembling and Testing Your Spray Equipment
After cleaning and inspecting your spray tips and filters, it’s time to reassemble the equipment carefully. Ensure all components fit securely and align properly to maintain ideal spray pattern and nozzle calibration. Before testing, double-check that the nozzle is tightened correctly to prevent leaks. When you turn on the sprayer, observe the spray pattern closely—look for an even, consistent flow without drips or uneven distribution. Adjust the pressure if needed to achieve the desired spray quality. Keep an eye out for any irregularities that could indicate misalignment or residual blockages. Remember, proper reassembly ensures your equipment performs efficiently and extends its lifespan. Take your time with this step to avoid reintroducing clogs or calibration issues. Additionally, verifying that filters are properly installed can prevent ineffective purification, ensuring optimal operation.
Implementing Preventative Maintenance Practices
Implementing preventative maintenance practices is essential for keeping your spray equipment in ideal condition and avoiding costly clogs or breakdowns. Start by establishing a preventive scheduling routine, setting regular intervals for inspection and cleaning. Equipment inspection should focus on checking spray tips, filters, and nozzles for signs of wear or debris buildup. Clean filters thoroughly and clear any blockages during each inspection to prevent future issues. Keeping detailed records helps you track maintenance history and identify recurring problems. By proactively maintaining your equipment, you reduce downtime and extend its lifespan. Consistent inspections and scheduled maintenance ensure your spray system operates smoothly, delivering consistent results and saving you time and money in the long run. Additionally, understanding the importance of efficient operation can help optimize your equipment’s performance and energy use.
Frequently Asked Questions
Can Clogged Spray Tips Affect the Quality of My Paint Job?
Clogged spray tips can definitely affect your paint job quality. When tips are blocked, your spray pattern becomes uneven, leading to inconsistent coverage. This also impacts paint consistency, causing drips or thin spots. You might notice blotchy areas or overspray, making your finish look unprofessional. Regularly checking and cleaning your spray tips guarantees a smooth spray pattern and maintains the desired paint consistency, giving you a flawless, high-quality finish.
How Often Should I Clean My Spray Tips and Filters?
You should follow a regular maintenance schedule for your spray tips and filters, ideally cleaning them after each use or at least once a day during frequent projects. The cleaning frequency depends on the type of paint and project complexity. Regular cleaning prevents clogs, ensuring smooth spray patterns and high-quality results. Don’t wait until clogs occur—consistent maintenance keeps your equipment working efficiently and extends its lifespan.
Are There Specific Cleaning Solutions Recommended for Different Spray Equipment?
When choosing cleaning solutions, you should consider your equipment compatibility to prevent damage. For example, use water-based cleaners for latex paints and solvent-based solutions for oil-based paints. Always check your spray equipment’s manufacturer recommendations to guarantee the cleaning solutions won’t harm the parts. This way, you keep your spray tips and filters clean without risking any damage, ensuring excellent performance and longevity of your equipment.
What Safety Precautions Should I Take During Cleaning?
Imagine you’re a knight preparing for battle—safety first! When cleaning spray tips and filters, always wear protective gear like gloves and goggles to prevent chemical splashes. Handle chemicals with care, following label instructions, and work in a well-ventilated area to avoid inhaling fumes. Never rush. Proper chemical handling and safety precautions keep you safe from potential hazards and ensure your cleaning process is effective and risk-free.
How Do I Identify if a Clog Is Inside the Spray Gun or the Tip?
To identify if a clog is inside the spray gun or the tip, start with a tip inspection. Check for clog symptoms like uneven spray, pulsating flow, or no spray at all. If the spray pattern looks abnormal, the clog might be inside the gun. If the pattern is consistent but weak, the clog likely resides in the tip. Disassemble and inspect both areas to pinpoint the blockage accurately.
Conclusion
Regularly maintaining your spray tips and filters can boost your equipment’s efficiency and lifespan. Did you know that clogged spray tips can reduce spray performance by up to 50%? By following these simple cleaning steps, you’ll prevent costly repairs and guarantee smooth operation. Make cleaning part of your routine—your equipment and projects will thank you. Stay proactive, and you’ll keep your spray system working perfectly for years to come.