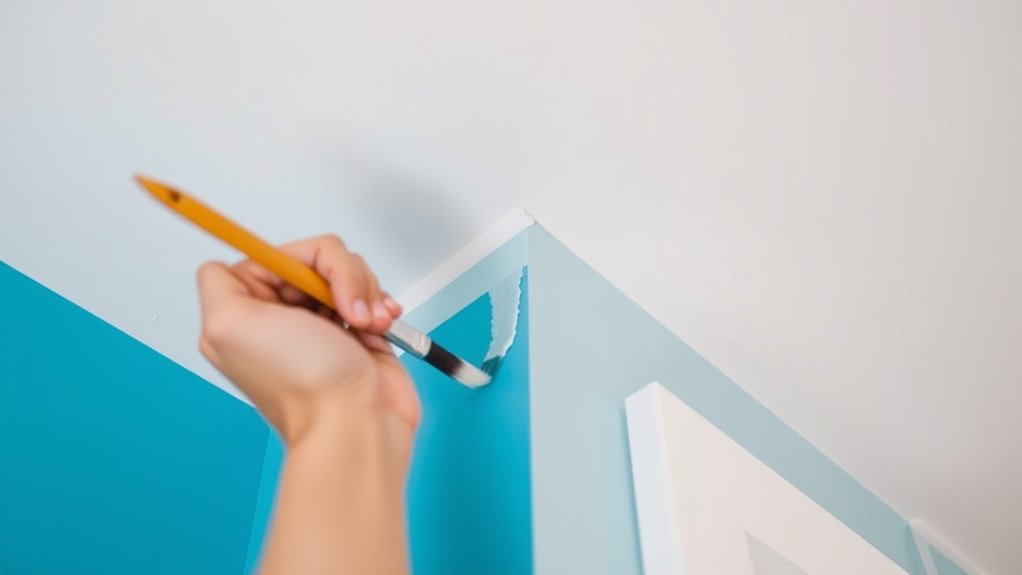
When handling edges and corners, use cutting in with a steady brush for crisp, precise lines and better control around intricate areas. Spray can quickly cover large surfaces but makes achieving sharp edges harder and risks overspray. To get professional results, prep your workspace, use quality tools, and combine both methods—cut in first, then spray flat areas. Keep practicing these techniques to master perfect edges, and you’ll discover more tips along the way.
Key Takeaways
- Use high-quality angled brushes and painter’s tape for precise edges when cutting in around corners.
- Spray painting lacks edge control; use masking and careful technique to prevent overspray on corners.
- Start with cutting in along edges and corners for sharp, clean lines before using spray for larger areas.
- Maintain steady hand pressure and controlled strokes to avoid uneven lines or paint bleed during cutting in.
- Proper workspace preparation and masking are essential for clean edges regardless of the method used.
Understanding the Basics of Cutting In and Spraying
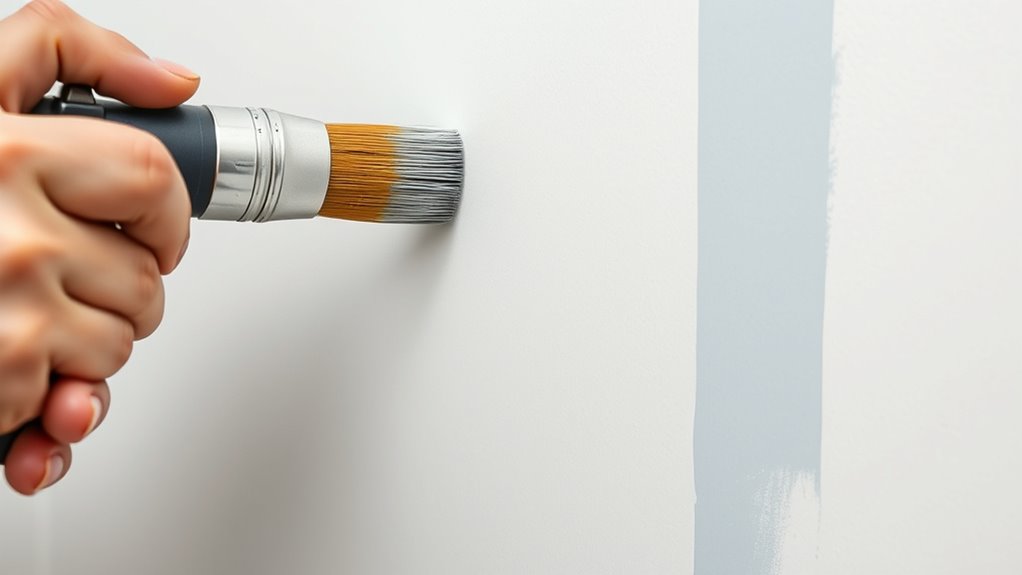
To achieve a smooth and professional paint job, mastering the fundamental techniques of cutting in and spraying is vital. When cutting in, your brush techniques are key. Use steady, controlled strokes to create clean, sharp lines along edges and corners. Focus on consistent pressure and a slightly angled brush to prevent drips. Proper color blending is essential when cutting in; gently feather the edges of the painted areas to seamlessly merge with adjacent surfaces. This helps achieve a uniform look without harsh lines. Spraying, on the other hand, involves a different skill set, but understanding the basics of brush techniques and color blending in cutting in sets the foundation for a flawless finish. Both methods require precision to guarantee the final result is clean, professional, and visually appealing. Additionally, paying attention to projector image quality factors such as contrast ratio and color accuracy can significantly enhance your viewing experience.
Advantages and Limitations of Cutting In
Cutting in offers you precise edge control, making it ideal for crisp lines and detailed work. However, it can be time-consuming and requires a steady hand to get it right. Since it’s skill-dependent, your results will vary based on your experience and technique. Mastering drawing techniques can help improve accuracy and efficiency in cutting in.
Precise Edge Control
Precise edge control is one of the key advantages of cutting in, allowing you to achieve clean, sharp lines along corners and borders. This skill is essential for effective edge detailing and corner finishing, giving your work a professional look. To maximize these benefits, consider these points:
- Use a steady hand to maintain consistent pressure, preventing bleed-over.
- Choose the right brush size for tight corners and narrow edges.
- Practice slow, deliberate strokes to improve accuracy and control.
- Understanding industry trends can help you adapt your technique for different surfaces and projects.
While cutting in offers excellent edge detailing, it can be challenging on intricate or uneven surfaces. Mastering this technique helps you produce crisp, precise lines that elevate your painting project.
Time-Consuming Process
Although cutting in delivers clean lines and sharp edges, it is often a time-consuming process that requires patience and careful attention. You’ll spend extra time carefully painting along edges to guarantee precision, especially when matching your chosen paint color. This meticulous effort can considerably extend your project, as each edge needs to dry thoroughly before applying additional coats. The drying time for the paint color used in cutting in can influence your workflow, requiring you to wait before proceeding. Rushing through this process risks uneven lines or smudges, which can compromise the overall finish. While it’s effective for detailed work, the time commitment can be a downside, particularly if you’re working on larger surfaces or tight schedules. Proper preparation and understanding of edge detailing techniques can help improve the efficiency of this process.
Skill-Dependent Technique
Because cutting in requires a steady hand and attention to detail, it’s a skill that can substantially influence the quality of your paint job. Mastering this technique allows you to achieve smooth edge blending and professional-looking corner finishing. However, it’s highly skill-dependent and takes practice. Here are some advantages and limitations:
- Precise control helps create clean edges, reducing the need for touch-ups later.
- Skill improves with experience, leading to faster and more consistent results.
- It can be challenging for beginners, especially when working on complex corners or tight spaces.
- Developing tuning skills can enhance your overall technique and precision in detailed work.
While cutting in offers detailed control, it’s limited by your skill level. Poor technique can result in uneven lines or paint bleed, making it essential to practice for ideal results.
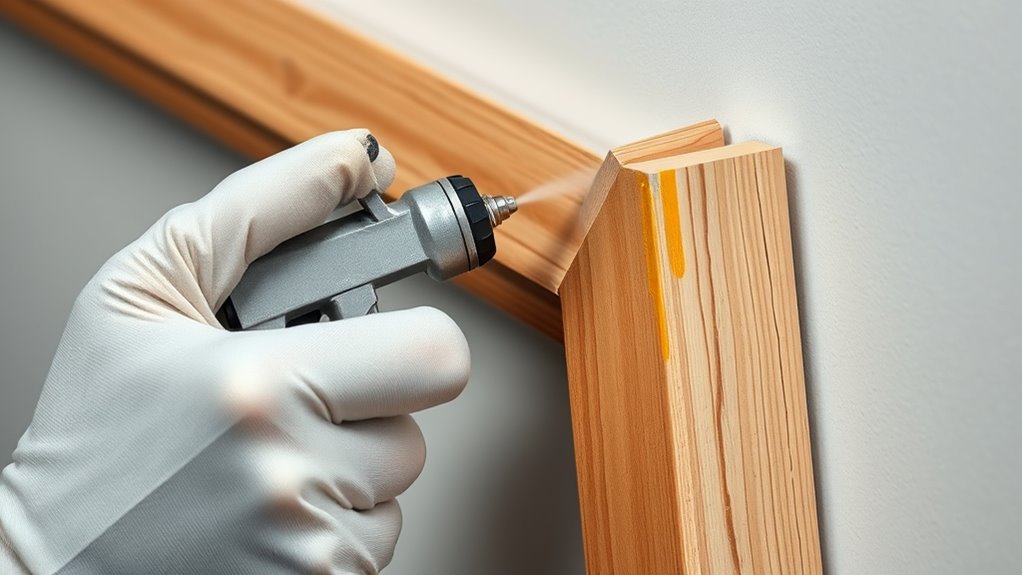
Benefits and Drawbacks of Spray Application
Spray application offers several advantages that make it a popular choice for applying coatings or treatments efficiently. One key benefit is its ability to deliver a smooth, even spray consistency, reducing the risk of streaks or uneven coverage. This method saves time compared to manual cutting-in, especially on large surfaces. However, spray application also has drawbacks. Achieving precise cutting accuracy around edges and corners can be challenging, leading to overspray or paint buildup without careful control. It requires proper equipment and technique to avoid drips and ensure neat results. Additionally, spray application can create a mess if not managed properly, and it may produce fumes or overspray that need to be contained. Proper understanding of offensive security measures is essential for achieving optimal results and mitigating potential issues. Overall, while fast and efficient, spray application demands skill for ideal results.
Preparing Your Workspace for Edges and Corners
Before you start cutting in, make sure your workspace is clear of clutter to prevent accidents. Protect nearby surfaces with drop cloths or painter’s tape to keep them clean. Taking these steps creates a safer, more efficient environment for your project. Additionally, organizing your tools and materials can help you work more effectively and safely.
Clear the Work Area
Have you ever started a painting project only to discover paint splatters on nearby surfaces? To prevent this, clear your work area thoroughly. First, move or cover furniture and valuables with drop cloths. Second, set up your edge masking tools and ensure your paint consistency is just right—thick enough to avoid drips but smooth enough to flow easily. Third, tidy up any clutter that could interfere with your precise edge work or cause accidental splatters. Clearing the area minimizes messes and helps you focus on clean edges and corners. It also reduces the risk of accidental damage. Taking these steps guarantees your workspace is organized, making your project smoother and more efficient. A clean, prepared area leads to better results. Proper workspace preparation is essential for achieving professional-looking edges and corners.
Protect Surrounding Surfaces
To protect surrounding surfaces effectively, start by covering nearby furniture, flooring, and fixtures with drop cloths or plastic sheeting. This is vital for surface masking, preventing paint splatters and drips from damaging your surroundings. Use painter’s tape to secure the edges of the drop cloths and create clean, sharp lines along trim and fixtures. Edge protection is essential when working near walls, ceilings, or other surfaces you want to keep paint-free. Make sure all nearby areas are fully covered before you begin cutting in or spraying. This preparation minimizes cleanup and guarantees a professional finish. Proper surface masking and edge protection save time and effort, allowing you to focus on achieving precise edges and corners. Incorporating natural materials like wood or metal in your workspace setup can also enhance durability and aesthetic appeal during the process.
Tools and Materials for Precise Cutting In

Achieving clean, precise cuts in your painting project relies on selecting the right tools and materials. First, choose high-quality angled brushes—they help you master brush techniques for sharp edges. Second, use painter’s masking tape to create clean lines and protect adjacent surfaces, ensuring neat edges. Third, keep your tools sharp; a sharp blade or craft knife is essential for detailed cutting-in around edges and corners. For best results, apply masking tape carefully to prevent bleeding, and use steady, controlled brush strokes to maintain precision. These tools and materials make the process smoother and more accurate, reducing the need for touch-ups later. With the right setup, you’ll achieve professional-looking edges and corners that elevate your entire project.
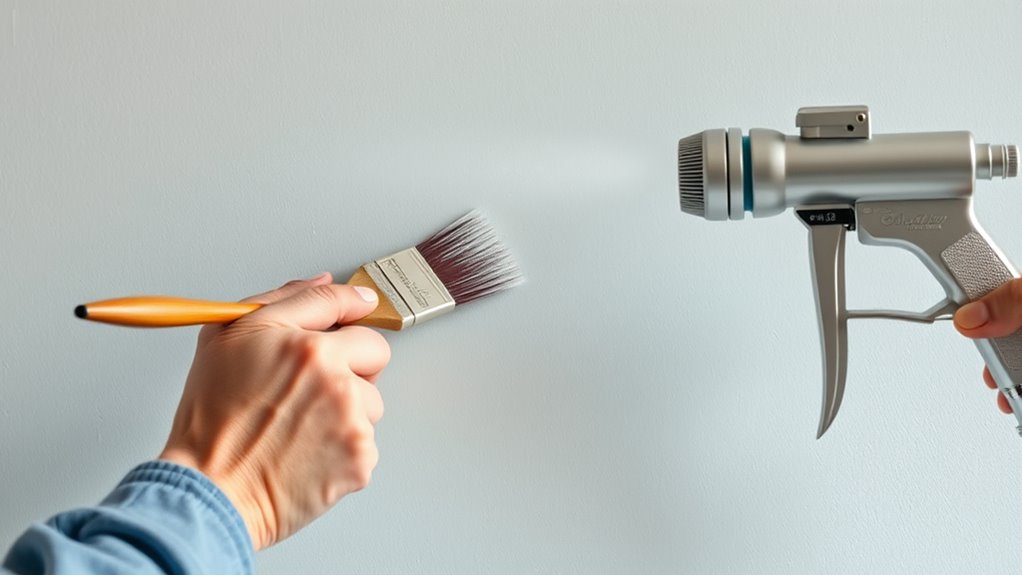
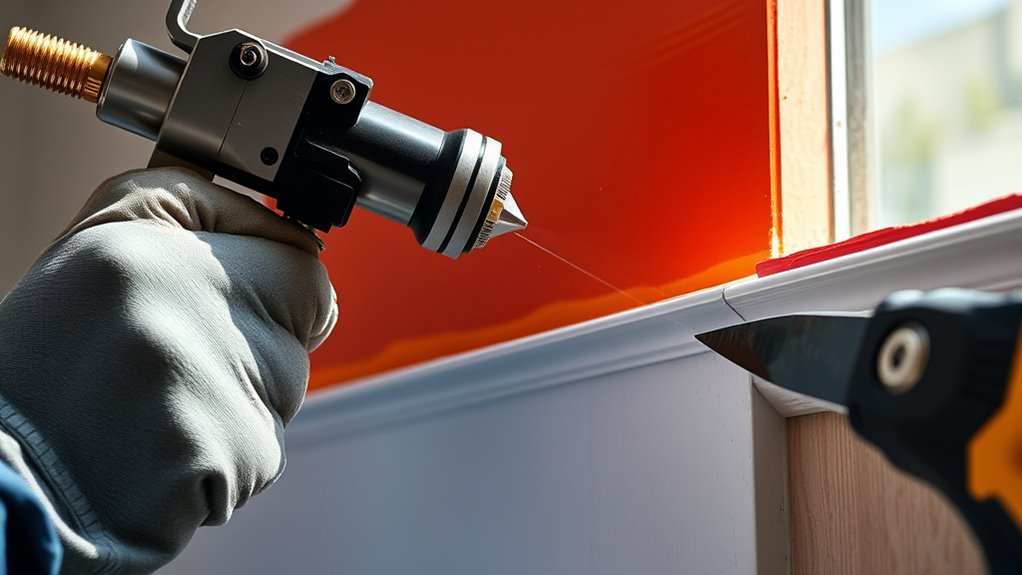
Techniques for Effective Spray Painting on Edges
Effective spray painting on edges requires a steady hand and proper technique to prevent overspray and guarantee clean lines. Start with careful edge masking to protect surrounding areas and define your target zone. Use consistent, controlled brush techniques along the edges to create a smooth base, ensuring sharp boundaries. When spraying, keep the gun at an even distance, typically 6-12 inches, and move steadily to avoid drips or uneven coverage. Focus on short, overlapping passes, especially near the masked edges, to maintain precision. Practice steady breathing and smooth motions to improve control. Combining proper edge masking with precise spray techniques helps achieve clean, professional-looking edges without the need for extensive touch-ups later. Utilizing the right equipment and techniques can significantly improve your results and efficiency.
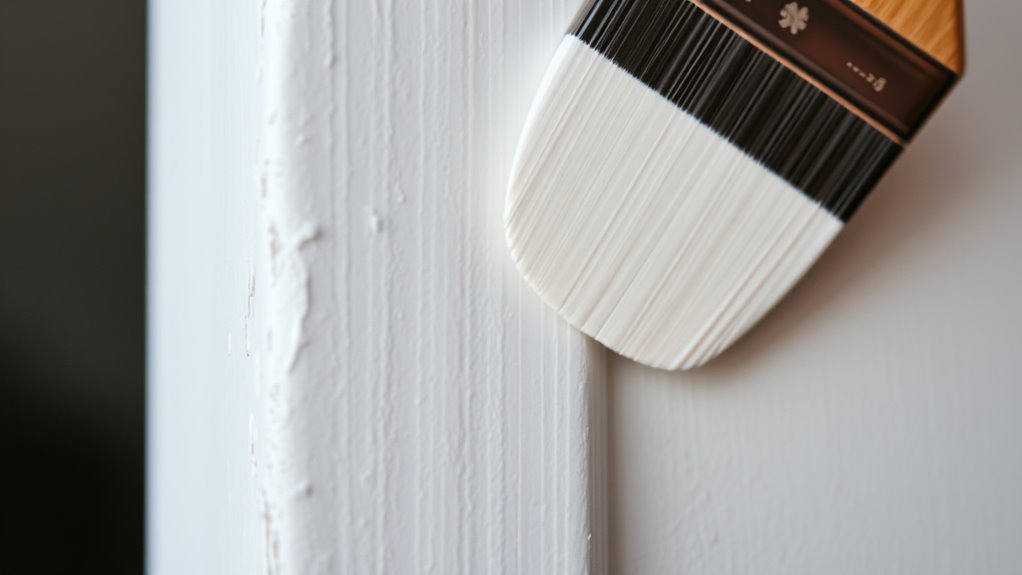
Tips for Achieving Sharp Lines With Cutting in

Mastering sharp lines with cutting in starts with preparing your surface and tools. To achieve clean edges, follow these tips:
- Use quality brushes suited for detailed work; a small, flat brush provides better control.
- Apply edge masking tape carefully along the boundary to prevent bleeding and create crisp lines.
- Choose a brush with stiff bristles to maintain precision and avoid feathering.
- Properly angle the pinball machine to ensure consistent gameplay and minimize imperfections around edges.
Ensure your surface is clean and dry before starting. Carefully press the masking tape to prevent paint seepage, and steady your hand while cutting in. Practice steady, even strokes, and don’t rush. Proper edge masking combined with the right brush selection makes a significant difference in achieving sharp, professional-looking lines.
Combining Both Methods for Optimal Results

Combining both cutting in and spraying techniques can considerably enhance your finish, giving you sharp, clean lines alongside a smooth, even coat. To achieve seamless results, start with cutting in along edges and corners, guaranteeing precise edge blending. Use a brush for detailed work around corners, then switch to spraying for an even, consistent coverage across larger areas. This combination allows you to maintain control where it’s needed most, while benefiting from the speed of spraying for the bulk of the surface. When finishing, blend the edges carefully to prevent visible lines, and pay special attention to corner finishing to guarantee smooth transitions. Additionally, proper surface preparation ensures the adhesion and longevity of your paint or finish. By integrating these methods, you’ll get professional-looking results that are both sharp and flawlessly coated.
Common Mistakes to Avoid When Handling Edges and Corners
Handling edges and corners can be tricky, and mistakes here often stand out in the finished work. One common error is overlap mistakes, where you accidentally apply paint or cut too far beyond the boundary, creating uneven lines. Second, uneven edges happen when you don’t maintain consistent pressure or angle, resulting in jagged or inconsistent borders. Third, rushing through edges and corners often leads to drips, missed spots, or smudges. To avoid these pitfalls, take your time, use painter’s tape for clean lines, and keep a steady hand. Pay close attention to your technique around tricky areas, and double-check your work before moving on. Additionally, understanding best practices in painting can help you improve precision and achieve a professional, polished finish on every project. By avoiding these mistakes, you’ll achieve a professional, polished finish on every project.
Frequently Asked Questions
What Safety Precautions Should I Take During Cutting in and Spraying?
When you cut in or spray, prioritize safety by wearing the right personal protective equipment, like gloves, goggles, and a mask. Make certain proper ventilation precautions are in place by working in well-ventilated areas or using fans and respirators. Keep your workspace clear of obstacles, and follow all safety guidelines to prevent inhaling fumes or getting injured. Staying cautious helps protect your health and ensures a smooth, safe painting process.
How Do Weather Conditions Affect Spray Painting and Cutting In?
Weather conditions critically impact spray painting and cutting in. High humidity can cause paint to dry slowly, leading to drips or uneven coverage, while low humidity speeds up drying, making it harder to blend edges smoothly. Temperature considerations are vital too; if it’s too hot, paint may dry too quickly, and if it’s too cold, it won’t adhere properly. Always check the weather forecast to guarantee ideal conditions for a smooth finish.
Can I Use the Same Tools for Both Cutting in and Spraying?
Imagine you’re a painter armed with a paint roller and masking tape, like a craftsman choosing tools for a task. You can’t exactly use the same tools for both cutting in and spraying; each has a purpose. For precise edges, use a brush or an angled tool, not a paint roller. Masking tape helps protect surfaces, but your paint roller isn’t suited for detailed work. Choose tools wisely to achieve perfect results.
How Long Should I Wait Between Applying Cut-In Paint and Spray Coats?
You should wait about 2-4 hours between applying cut-in paint and spray coats, depending on your paint type and conditions. This allows the first layer to dry sufficiently, ensuring good paint adhesion for the next coat. Use proper brush techniques when doing cut-ins, and avoid rushing the process to prevent uneven edges or peeling. Patience here helps achieve a smooth, professional finish with lasting results.
What Are the Best Cleaning Methods for Tools Used in Both Techniques?
Did you know that proper tool cleaning extends the lifespan of your paint tools by up to 30%? For paint brush maintenance and spray equipment, the best cleaning techniques involve rinsing with water for water-based paints or solvent for oil-based ones. Use appropriate brushes or cloths to remove excess paint, then soak or scrub as needed. Proper tool cleaning techniques guarantee your tools stay in top shape and deliver smooth, professional results.
Conclusion
By mastering cutting in and spraying, you guarantee clean edges, smooth finishes, and professional results. Prepare your workspace, choose the right tools, and practice your techniques to avoid mistakes. Combine both methods wisely, focus on precision, and stay patient. With consistency and care, you’ll achieve sharp lines, flawless corners, and a beautifully finished project. Embrace both skills, stay attentive, and enjoy the satisfaction of a job well done.