To dilute paint for ideal spraying, start by checking its thickness and test spray on a scrap surface. Add water or the appropriate solvent gradually, about 10% at a time, stirring thoroughly each time. Keep testing the flow and consistency until the paint moves smoothly without clogging the sprayer or dripping. Following manufacturer guidelines helps, and adjusting the mixture guarantees a professional finish. If you want to master the process, there’s more to learn below.
Key Takeaways
- Evaluate the current paint thickness and test spray to determine if dilution is needed.
- Use the appropriate diluent (water for latex, solvent for oil-based) and add gradually.
- Mix thoroughly to achieve a smooth, flowing consistency without making the paint too runny.
- Strain the diluted paint through a fine mesh filter before loading into the spray gun.
- Follow manufacturer guidelines for thinning ratios and conduct spray tests to ensure optimal flow and coverage.
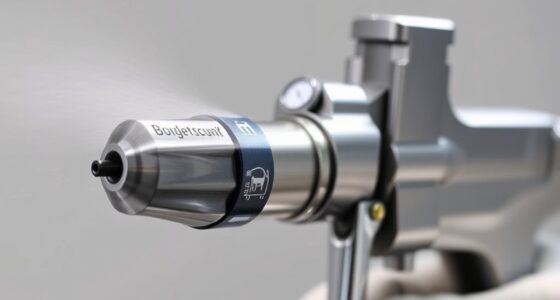
Have you ever wondered how to achieve the perfect consistency when working with paint? It’s a vital step if you want smooth, professional-looking results, especially when using spray equipment. The key lies in understanding how to properly dilute your paint and employing the right brush technique to prepare it for spraying. When you’re ready to start, the first thing you need to do is assess the paint’s current thickness. Thick paint can clog your spray equipment and produce uneven coats, so thinning it down to the right consistency is essential. Typically, you want your paint to flow smoothly through the spray gun without dripping or splattering, which means adjusting the viscosity carefully.
Achieving the perfect paint consistency is essential for smooth, professional spray results.
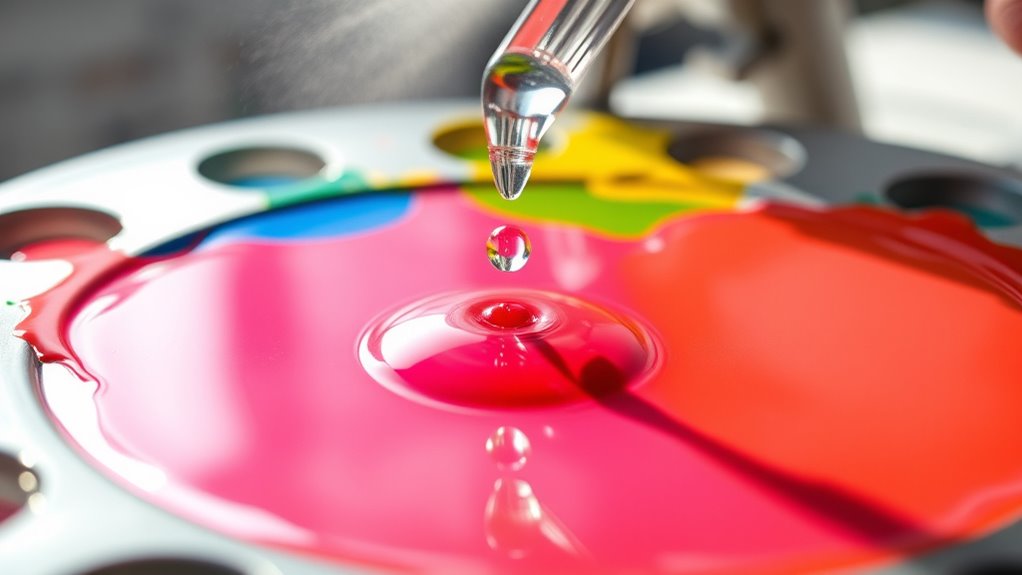
The process begins with selecting the appropriate diluent, usually water for latex paints or a specific solvent for oil-based paints. Pour a small amount of paint into a clean container, then gradually add the diluent. Use a stir stick or a brush technique that promotes thorough mixing, avoiding splashing or introducing air bubbles. It’s best to add the thinner in small increments, about 10% at a time, then test the flow. You can do this by spraying a small amount onto a scrap surface. If the spray is uneven or sputters, continue adding a little more diluent until you reach the desired consistency. Remember, the goal isn’t to make the paint runny but to make it flow smoothly through the spray equipment.
Your brush technique plays a vital role here too. Before filling your spray gun, use a brush to test the paint’s flow and consistency. A gentle brush stroke can help you see how the paint behaves when spread on a surface. If it’s too thick to spread evenly, it’s a sign you need to dilute it further. Proper dilution ensures the spray pattern remains consistent, with no splatters or uneven coverage. When working with spray equipment, always follow the manufacturer’s recommendations for thinning ratios, as these guidelines are tailored to optimize performance and prevent damage. Additionally, understanding the Kia Tuning options available can help you achieve a more refined finish by ensuring the paint and equipment work harmoniously.
Once you’ve achieved the right consistency, strain the paint through a fine mesh filter before loading it into your spray gun. This step removes any lumps or debris that could clog the nozzle. Remember, diluting paint is as much about precision as it is about patience. Testing and adjusting your mixture ensures smooth operation and a flawless finish. With the right brush technique and properly diluted paint, you’ll get even coverage, minimal overspray, and a professional result every time.
Frequently Asked Questions
Can I Reuse Leftover Diluted Paint for Future Projects?
Yes, you can reuse leftover diluted paint for future projects if you maintain proper paint consistency and storage methods. Make certain the paint is stored in an airtight container to prevent drying out or skin formation. Before reuse, stir the paint thoroughly to restore its consistency. Keep it in a cool, dry place, and check for any separation or skin. Properly stored, your leftover diluted paint can serve you well later.
How Does Temperature Affect Paint Dilution and Spraying Quality?
Temperature impact critically influences your paint dilution and spray consistency. When it’s too hot, paint becomes thinner, causing uneven spray patterns and potential overspray. In colder conditions, paint thickens, making it harder to atomize and resulting in uneven coverage. To maintain ideal spray quality, you should adjust your paint’s dilution based on the ambient temperature, ensuring the mixture flows smoothly and delivers consistent coverage regardless of weather.
Is There a Preferred Type of Water or Solvent for Dilution?
Think of your paint like a delicate recipe; choosing the right water or solvent is crucial. Use clean, filtered water to avoid impurities that can clog your spray gun. When diluting with solvents, opt for those compatible with your paint type, like mineral spirits for oil-based paints. Better water quality and appropriate solvent types ensure smooth spraying and a flawless finish.
How Long Can Diluted Paint Be Stored Before It Dries Out?
You can typically store diluted paint for about 24 to 48 hours before it starts drying out or separating. To maximize its shelf life, use airtight storage containers and keep them in a cool, dry place. Proper storage helps maintain paint’s quality and extends its usability. Always check the paint’s consistency and smell before using it again, and discard if you notice any signs of spoilage or thickening.
What Are Signs of Over-Diluting Paint During Spraying?
You’ll notice over-diluted paint when the consistency becomes too runny, making it difficult to control. The spray pattern may become uneven, with drips or splatters, and you might see thin, uneven coats. If the paint flows too easily or sprays inconsistently, it’s a clear sign of over-dilution. To avoid this, keep an eye on the paint’s consistency and adjust the dilution as needed for smooth, even spraying.
Conclusion
By diluting your paint just right, you’ll open a world of flawless spray finishes that rival the smoothness of silk. Remember, a little water goes a long way—overdo it, and your project could turn into a messy disaster. So, keep those ratios precise and trust your instincts. With the perfect mix, you’ll be amazed at how effortlessly your paint glides on, transforming your space faster than you ever thought possible. Happy spraying!