Were you aware that 85% of customers purchasing a new Krause & Becker airless paint sprayer are unsure if priming is necessary before using it?
Well, fret no more! In this article, I will provide you with all the information you need to know about priming your brand new Krause & Becker airless paint sprayer.
Priming is a crucial step in the painting process that ensures proper paint application and optimal results. By priming your paint sprayer, you are essentially preparing it for use by removing any air or debris that may be present in the system. This not only helps to prevent clogs and uneven spray patterns but also extends the lifespan of your paint sprayer.
In this article, we will delve into the function of priming, explore the features of the Krause & Becker airless paint sprayer, and discuss the manufacturer’s recommendations for priming a new paint sprayer.
We will also address the potential risks of not priming and provide you with some tips and tricks for efficient priming.
So, let’s get started and ensure that your new Krause & Becker airless paint sprayer is primed and ready for flawless painting!
Key Takeaways
- Efficient priming techniques and troubleshooting are important for a new Krause & Becker airless paint sprayer.
- Regularly checking for clogs and obstructions in the nozzle and cleaning it thoroughly is necessary.
- Proper mixing and consistency of paint should be ensured to prevent issues with priming.
- Regular maintenance, cleaning, and inspection of internal components are necessary to extend the lifespan of the sprayer.
Understanding the Function of Priming in Paint Sprayers
You’ll be amazed at how understanding the function of priming in paint sprayers can make your painting experience so much smoother and more efficient!
Priming is a crucial step in the painting process, especially when using an airless paint sprayer like the Krause & Becker. Understanding priming techniques allows you to properly prepare the sprayer for optimal performance.
When you prime the sprayer, you ensure that the paint flows smoothly through the nozzle, preventing clogs and uneven application. Not only does priming help eliminate potential blockages, but it also allows the paint to adhere better to the surface, resulting in a more professional finish.
By taking the time to prime your Krause & Becker airless paint sprayer, you’re setting yourself up for success in achieving a flawless paint application.
Now let’s explore the importance of priming for proper paint application.
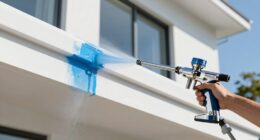
The Importance of Priming for Proper Paint Application
Priming ensures a smooth and even layer of paint adheres to the surface for optimal application. It’s an essential step before painting as it provides several benefits.
Firstly, using a primer before painting helps to improve the adhesion of the paint to the surface, ensuring it stays in place for a longer period of time.
Secondly, primers can help to seal porous surfaces, preventing the paint from being absorbed unevenly and resulting in a patchy finish.
Additionally, primers can also help to block stains and provide a uniform base for the paint color, allowing for truer and more vibrant results.
There are different types of primers available, such as oil-based, water-based, and shellac-based, each with its own specific properties and uses.
Understanding the benefits of using a primer and the different types available will help in achieving a professional finish when using the Krause & Becker airless paint sprayer.
Transitioning into exploring the features of the Krause & Becker airless paint sprayer, it’s important to understand how this sprayer can enhance the painting process.
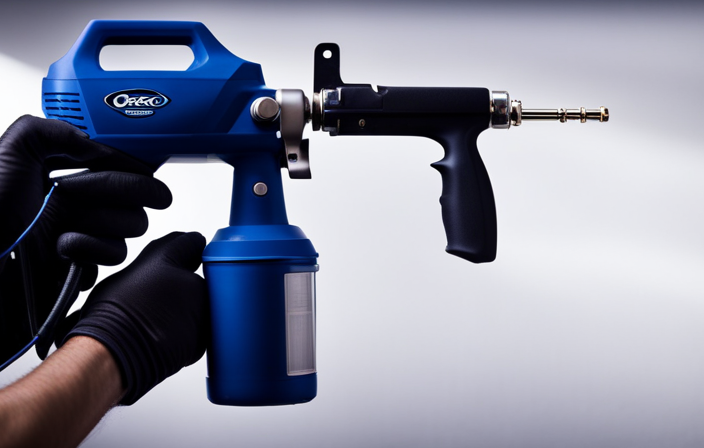
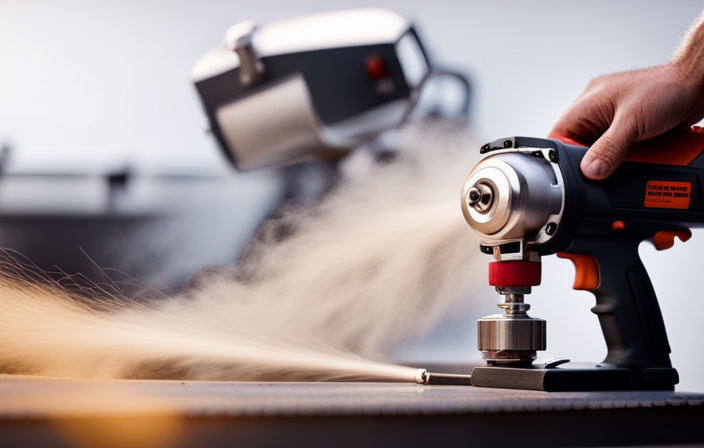
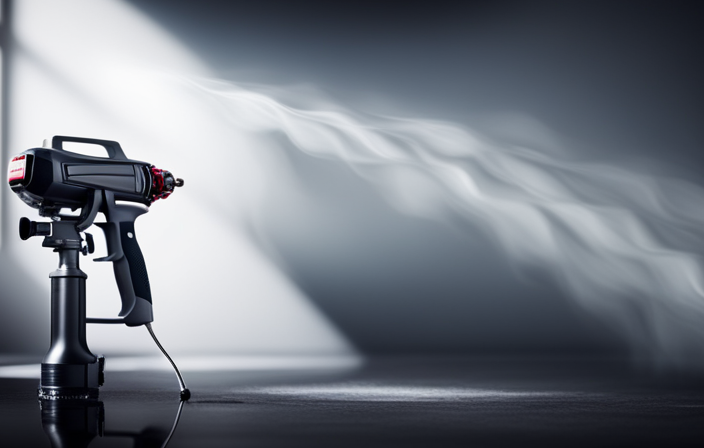
Exploring the Features of the Krause & Becker Airless Paint Sprayer
Once you activate its power, the Krause & Becker Airless Paint Sprayer becomes a mighty paint-wielding warrior, ready to conquer any surface with its innovative features.
This versatile tool is designed to make your painting projects a breeze. When it comes to troubleshooting, the Krause & Becker Airless Paint Sprayer offers some helpful features. For example, it has a pressure control knob that allows you to adjust the paint flow for optimal coverage. Additionally, it includes a reversible spray tip that can be easily cleaned if clogged.
To ensure the best results and prolong the lifespan of your sprayer, it’s important to follow some best practices for using a paint sprayer. This includes properly cleaning and maintaining the sprayer after each use, using the recommended paint viscosity, and practicing good technique. Following these guidelines will help you achieve professional-looking results.
Now, let’s delve into the manufacturer recommendations for priming a new paint sprayer.
Manufacturer Recommendations for Priming a New Paint Sprayer
To ensure optimal performance right out of the box, the manufacturer recommends going through a simple process to prepare your brand new paint sprayer for its first use. Follow these manufacturer recommendations for proper paint application:
- Fill the paint sprayer’s container with a small amount of water or paint thinner.
- Connect the sprayer to a power source and turn it on.
- Hold the sprayer at a 45-degree angle and squeeze the trigger to start priming.
- Allow the sprayer to run until a steady stream of liquid is emitted from the nozzle.
By following these manufacturer recommendations, you’re ensuring that your paint sprayer is ready for its first use and will provide optimal performance. Failure to properly prime a new paint sprayer can result in uneven paint application and potential damage to the sprayer.
Transitioning into the next section, let’s explore the potential risks of not priming a new paint sprayer.
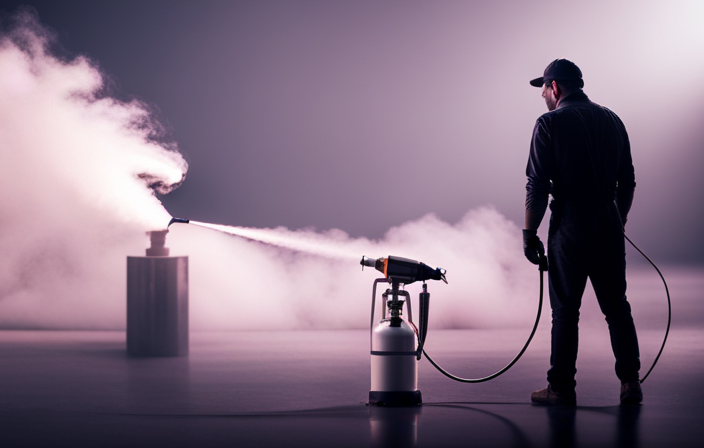
Potential Risks of Not Priming a New Paint Sprayer
Neglecting the recommended preparation process for your fresh paint sprayer could lead to subpar results and potential damage. When it comes to a new paint sprayer, priming is a crucial step that shouldn’t be skipped. By priming the sprayer, you ensure that it’s properly lubricated and ready to deliver an even coat of paint. There are several risks associated with skipping this step.
Firstly, without priming, the paint may not flow smoothly through the sprayer, leading to uneven coverage and a poor finish. Additionally, not priming the sprayer can increase the chances of clogging and blockages, which can be time-consuming and frustrating to deal with.
On the other hand, priming a new paint sprayer offers several benefits. It helps to remove any potential contaminants and ensures that the paint flows smoothly, resulting in a professional-looking finish.
Moving on to the subsequent section about the steps to prime a Krause & Becker airless paint sprayer…
Transition: Now that we understand the risks of skipping priming and the benefits of priming a new paint sprayer, let’s delve into the steps required to prime a Krause & Becker airless paint sprayer.
Steps to Prime a Krause & Becker Airless Paint Sprayer
Priming a Krause & Becker airless paint sprayer is a crucial step in ensuring optimal performance and a flawless finish. Understanding the importance, benefits, and techniques of priming a paint sprayer is essential for achieving professional results. Here are three reasons why priming is so important:
- Proper priming ensures that the paint sprayer is free from any debris or contaminants, preventing clogs and blockages during operation.
- Priming helps to create a consistent and even spray pattern, resulting in a smooth and uniform coat of paint.
- By priming the sprayer, you can also identify and troubleshoot common issues that may arise during the priming process, such as air leaks or insufficient pressure.
Now that you understand the importance of priming, let’s move on to some tips and tricks for efficient priming without compromising the quality of your paint job.
Tips and Tricks for Efficient Priming
Now that you know the steps to prime a Krause & Becker Airless Paint Sprayer, let’s dive into some tips and tricks for efficient priming.
Efficient priming is essential to ensure a smooth and even application of paint. One technique is to start with a clean and well-maintained sprayer. Make sure to clean the filters regularly and replace them if necessary.
Additionally, always use the recommended size tip for the paint you’re using to prevent clogs and ensure proper flow. Another helpful tip is to adjust the pressure to the optimal level for your specific project. This’ll help you achieve the desired coverage and minimize overspray.
If you encounter any priming issues, such as inconsistent spray or air bubbles, try troubleshooting by checking for clogs or adjusting the pressure accordingly.
By implementing these efficient priming techniques and troubleshooting any issues, you’ll be ready to move on to the next section about common troubleshooting issues with priming a paint sprayer.
Common Troubleshooting Issues with Priming a Paint Sprayer
If you’re experiencing any issues while priming your paint sprayer, troubleshooting some common problems can help you get back to achieving a smooth and even application.
When it comes to understanding priming techniques, one common issue that arises is paint sprayer clogs. Clogs can occur due to various reasons such as using thick paint or not properly cleaning the sprayer after previous use. To troubleshoot this issue, start by checking the nozzle for any obstructions and cleaning it thoroughly. It’s also important to make sure that the paint is mixed properly and has the right consistency.
If the problem persists, you may need to disassemble the sprayer and clean the internal components. By following these troubleshooting steps, you can ensure that your paint sprayer is primed and ready for use.
Moving forward, let’s discuss maintenance and care for a new Krause & Becker airless paint sprayer.
Maintenance and Care for a New Krause & Becker Airless Paint Sprayer
Taking care of your brand-new Krause & Becker airless paint sprayer is crucial to ensure its longevity and optimal performance. Understanding paint sprayer maintenance is key to keeping your sprayer in top shape.
One important aspect of maintenance is troubleshooting paint sprayer issues. If you encounter any problems with priming your sprayer, it’s important to address them promptly. Start by checking the intake tube and filter for any clogs or debris. Make sure the sprayer is properly lubricated and that all connections are tight. Regularly clean and inspect the sprayer for any signs of wear or damage.
By following these maintenance steps, you can prevent potential issues and extend the lifespan of your Krause & Becker airless paint sprayer.
Now, let’s move on to the final verdict: to prime or not to prime?
Final Verdict: To Prime or Not to Prime?
In the end, it all comes down to whether or not priming is worth the extra effort. When it comes to a new Krause & Becker airless paint sprayer, priming can offer several benefits.
Priming helps to ensure an even and smooth application of paint, as it helps to seal any porous surfaces and creates a consistent base for the paint to adhere to. Additionally, priming can improve the durability and longevity of the paint job, as it provides an extra layer of protection against moisture and other elements.
While priming may require some additional time and effort, the end result is often a more professional-looking finish that lasts longer. Therefore, I would recommend taking the time to prime your Krause & Becker airless paint sprayer when it is new, as the benefits outweigh the extra effort.
Frequently Asked Questions
Can I use my Krause & Becker airless paint sprayer without priming it first?
Skipping the priming process of a new Krause & Becker airless paint sprayer is not advisable. Priming ensures proper functioning, prevents clogging, and extends the sprayer’s lifespan. It is necessary to prime the sprayer before using it for optimal results.
How often should I prime my Krause & Becker airless paint sprayer?
To properly clean a Krause & Becker airless paint sprayer, it is important to prime it regularly. This ensures the smooth operation of the sprayer and helps prevent clogs. Here are some tips for troubleshooting common issues with the sprayer.
What are some potential issues that can arise from not priming a new paint sprayer?
Not priming a new paint sprayer can lead to potential consequences such as clogging, uneven spraying, and damage to the pump. It is crucial to prime the sprayer to ensure smooth and efficient paint application.
Are there any alternative methods to priming a Krause & Becker airless paint sprayer?
There are alternative methods to priming a Krause & Becker airless paint sprayer. However, priming is highly recommended as it ensures proper paint flow, prevents clogging, and improves the overall performance and longevity of the sprayer.
Can I use any type of paint with a Krause & Becker airless paint sprayer without priming it?
When using a Krause & Becker airless paint sprayer without priming, it’s important to choose the right type of paint. Latex and oil-based paints are suitable options. Priming beforehand ensures better paint adhesion and a smoother finish.
Conclusion
In conclusion, after thoroughly researching and exploring the topic, it’s clear that priming a new Krause & Becker airless paint sprayer is crucial for achieving proper paint application. The manufacturer strongly recommends priming the sprayer before use to ensure optimal performance and prevent potential risks.
Neglecting to prime a new paint sprayer can lead to clogs, uneven coverage, and damage to the equipment. By following the recommended priming process and properly maintaining the sprayer, users can enjoy efficient and reliable paint spraying for their projects.
Remember, always prime before you paint!