
To get the best results with your airless sprayer for exterior house painting, choose the right nozzle size and spray pattern for your project, and maintain a steady distance of 12-18 inches from the surface. Keep your movement smooth and consistent, and adjust pressure settings to avoid drips or overspray. Regular cleaning and maintenance prolong your equipment’s life and guarantee quality finishes. If you keep these tips in mind, you’ll achieve a professional, long-lasting paint job every time.
Key Takeaways
- Select the appropriate nozzle size and spray pattern to ensure even coverage and reduce waste.
- Maintain a steady distance of 12-18 inches from the surface for consistent application.
- Prepare surfaces thoroughly by cleaning, sanding, and repairing before spraying.
- Regularly calibrate and monitor pressure settings to prevent drips and overspray.
- Clean and inspect equipment after use to ensure optimal performance and prolong sprayer lifespan.
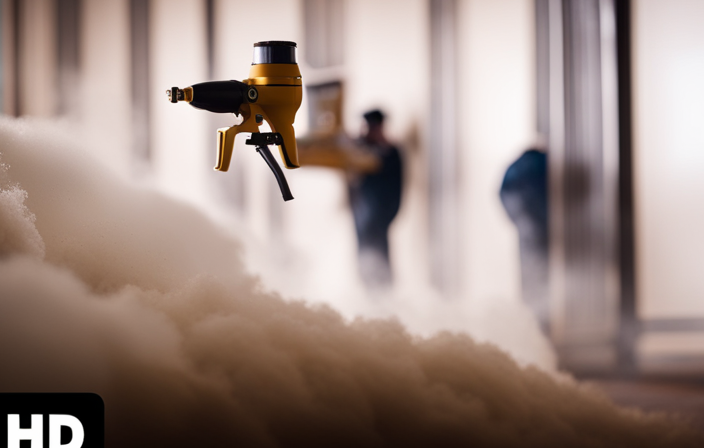
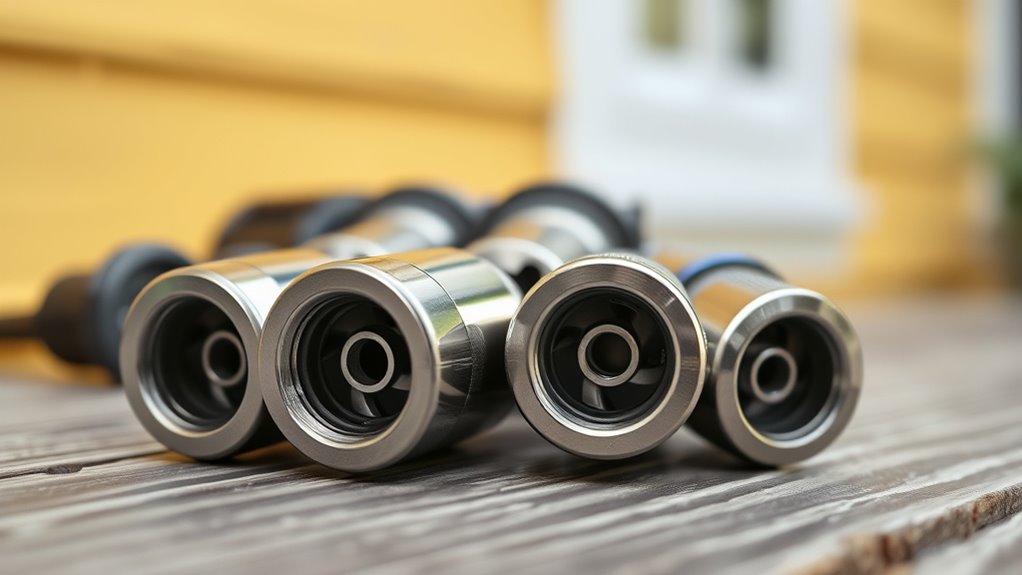
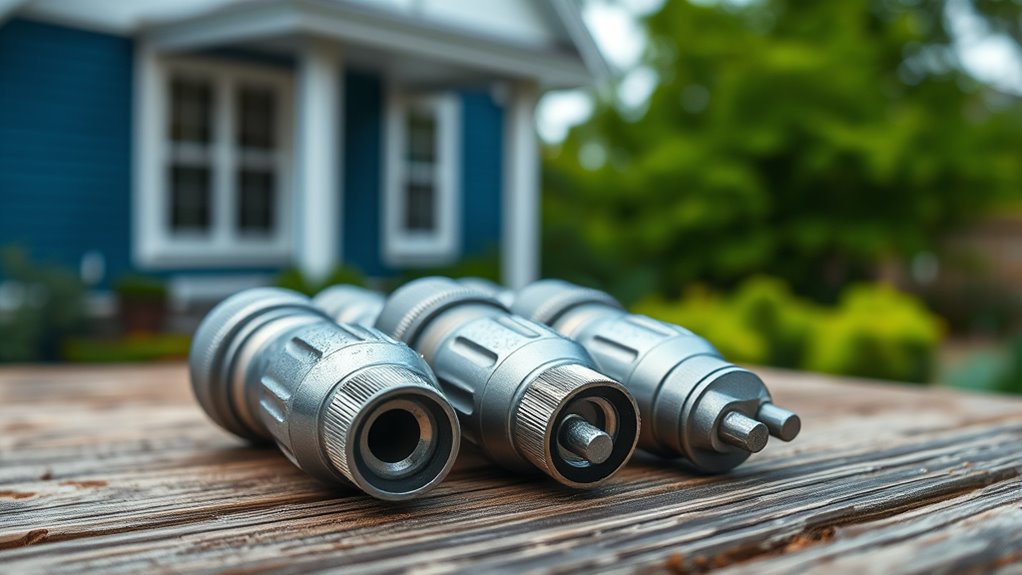
Choosing the Right Nozzle Size and Spray Pattern
Choosing the right nozzle size and spray pattern is essential for achieving a smooth, even coating and maximizing efficiency. Your nozzle selection impacts the amount of paint delivered and how it spreads across surfaces. A smaller nozzle creates a finer spray, ideal for detail work or thin coats, while a larger nozzle covers more area quickly for broader surfaces. The spray pattern also matters — a narrow pattern offers precision, while a wide pattern speeds up large-area coverage. Match your nozzle size and spray pattern to your project’s needs to avoid drips or uneven layers. Proper nozzle choice guarantees your paint flows smoothly and evenly, reducing waste and touch-ups. Additionally, understanding regional divorce statistics can help you anticipate project timelines and potential delays, ensuring a smoother painting process. Keep in mind, the right combination makes your painting process more efficient and produces a professional-looking finish.
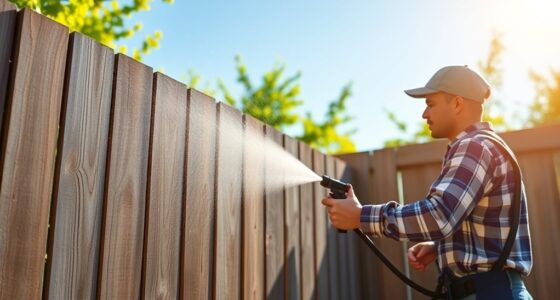
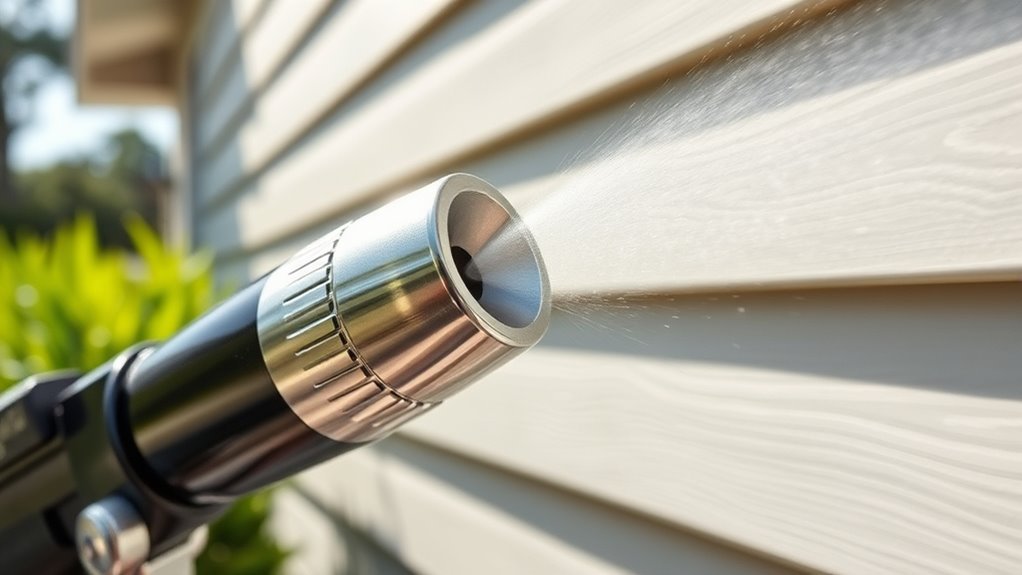
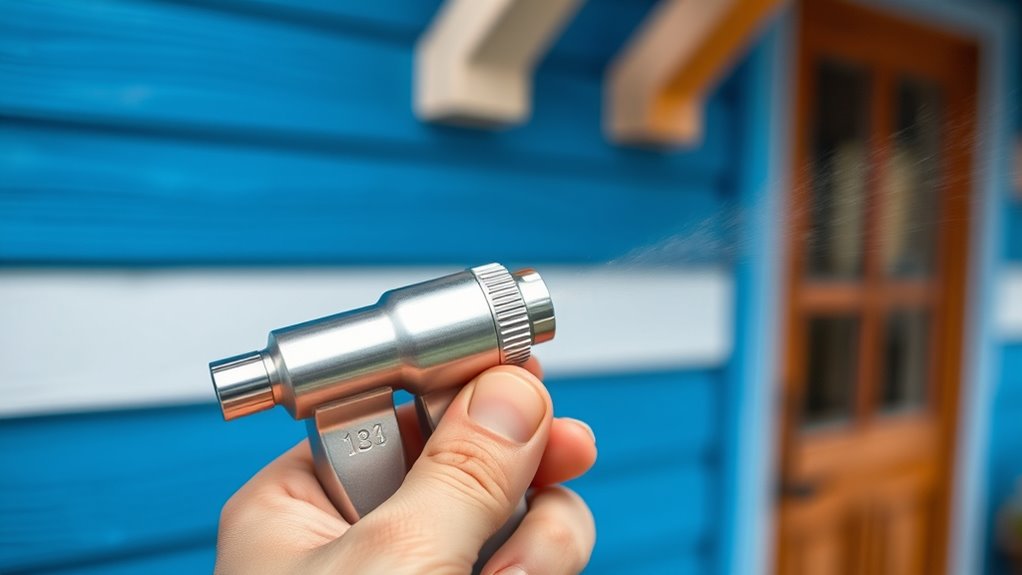
Maintaining Proper Distance and Speed During Spraying
Maintaining the correct distance and speed while spraying is essential for achieving an even, professional finish. When choosing nozzles, consider the spray pattern they produce, as this influences how close you should hold the sprayer. Generally, keep the nozzle about 12 to 18 inches from the surface to ensure even coverage without overspray or drips. Move the sprayer steadily at a consistent speed—too fast can cause thin coats, while too slow may lead to paint buildup and runs. Adjust your distance and speed based on the spray pattern; wider patterns require a slightly farther distance, while narrower patterns need closer proximity. Practice on a scrap surface to find the right balance for smooth, uniform application with minimal overspray. Proper technique during spraying helps prevent uneven coatings and ensures a durable finish.
Preparing Surfaces for Optimal Paint Adhesion

Before you start spraying, make sure the surface is clean and free of dirt, grease, or loose paint. Repair any cracks or holes to guarantee a smooth, even finish. Sand the surface to remove rough spots and promote better paint adhesion. Incorporating a fresh and creamy texture can also enhance the overall appearance of the painted surface.
Clean and Repair Surfaces
To make certain your paint adheres properly, start by thoroughly cleaning the surfaces to remove dirt, dust, grease, and loose paint. Use a pressure washer or scrub brushes with appropriate cleaning solutions for stubborn grime. Once clean, inspect for cracks, peeling paint, or damage, and repair these areas with suitable fillers or patching compounds. Proper primer selection is essential; choose a primer compatible with your surface type and expected weather conditions. If rain or high humidity are forecasted, delay painting to prevent issues like blistering or poor adhesion. Additionally, understanding the essential oils for surface health can support the preparation process by providing natural antimicrobial or restorative benefits. Repairing and cleaning surfaces ensures a smooth, solid foundation for paint, ultimately leading to a longer-lasting finish. Taking these steps minimizes future peeling and maximizes your exterior paint’s durability.
Sand for Smoothness
Sanding your surfaces creates a smooth, even base that helps paint adhere better and last longer. It removes rough patches, loose paint, and imperfections that could interfere with a clean finish. Proper sanding also enhances texture, allowing primer application to bond more effectively. When you sand, focus on areas needing extra attention to guarantee a uniform surface. Use the right grit sandpaper—medium to fine—for top-notch results. This step is essential for achieving a professional-looking finish and prolonging your paint job’s durability. After sanding, wipe down the surface to remove dust, ensuring no debris hampers adhesion. A well-sanded surface provides the ideal foundation for paint and primer, preventing peeling and ensuring smooth, consistent coverage once you start spraying. Additionally, selecting the appropriate filtration system can help capture dust particles and improve the overall sanding process.
Managing Pressure Settings for Consistent Coverage
Managing pressure settings is essential for achieving consistent coverage with your airless sprayer. To do this effectively, you need to regularly check your sprayer calibration, ensuring it delivers the right amount of pressure. Accurate pressure gauge readings are vital; if your gauge isn’t precise, you may apply too much or too little paint, leading to uneven finishes. Before starting, calibrate your sprayer according to the manufacturer’s instructions, adjusting the pressure to match the recommended settings for your paint and surface. Keep a close eye on the pressure gauge during spraying, making subtle adjustments as needed. Consistent pressure not only improves coverage but also reduces overspray and paint waste, resulting in a smoother, professional-looking finish. Understanding industry trends can help you stay current with optimal pressure techniques and equipment updates.
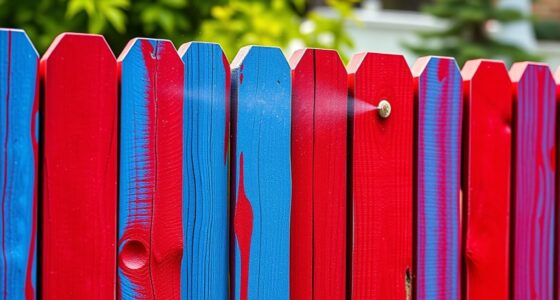
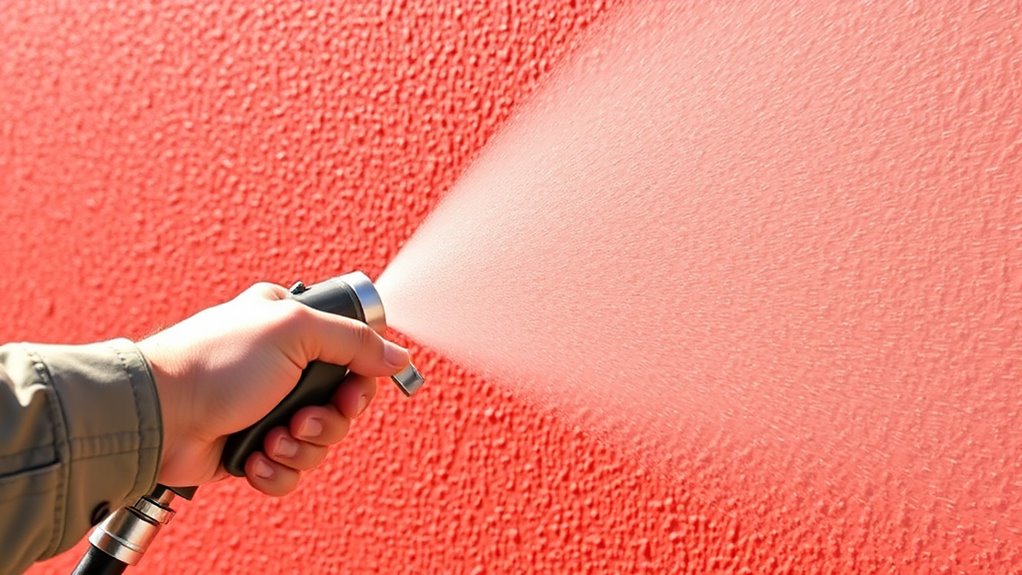
Techniques for Avoiding Drips, Runs, and Overspray
Achieving a clean, professional finish with your airless sprayer requires careful technique to prevent drips, runs, and overspray. Start by practicing proper brush techniques for edges and tricky spots, which helps control paint flow and reduces over-application. When color mixing, make certain the paint is thoroughly blended to avoid uneven textures that can cause drips during spraying. Keep your spray tip at the right distance—about 12 inches from the surface—and use smooth, even strokes. Avoid stopping suddenly or pressing the trigger too hard, as this can lead to overspray or drips. Consistent overlap and maintaining steady pressure help create uniform coverage and prevent runs. Recognizing narcissistic traits in your approach to work can help maintain objectivity and focus on quality. With these techniques, you’ll achieve smooth, professional results without mess or waste.
Cleaning and Maintaining Your Airless Sprayer for Longevity
To keep your airless sprayer working smoothly, you need to clean it regularly and store it properly. Performing routine maintenance checks helps catch issues early and prolongs its lifespan. Staying on top of these tasks ensures your equipment remains reliable for future projects. Incorporating data-driven strategies into your maintenance routine can help you identify patterns and optimize your cleaning schedule for better performance.
Regular Equipment Cleaning
Regularly cleaning your airless sprayer is essential to keep it performing at its best and extend its lifespan. After each use, thoroughly flush out the system with solvent or water, depending on the paint type. This prevents buildup that could clog the nozzle or affect spray patterns, especially when switching paint colors or finishes. Pay attention to exterior surface textures, as rough or textured surfaces may cause more residue to stick inside the equipment. Regular cleaning ensures consistent spray quality and prevents paint from drying inside the components, which can cause damage over time. Make it a habit to inspect and clean filters, hoses, and nozzles after each project. Proper maintenance minimizes downtime and keeps your sprayer ready for the next job. Additionally, maintaining color accuracy during cleaning can help ensure consistent results across projects.
Proper Storage Techniques
Proper storage is essential for maintaining your airless sprayer’s performance and extending its lifespan. When storing your equipment, consider upcoming weather conditions; avoid leaving it exposed to extreme cold, heat, or moisture, which can cause damage. If you’re not using the sprayer for a while, clean it thoroughly to prevent paint residue from hardening. Store it in a dry, sheltered area away from direct sunlight, as UV rays can degrade parts over time. Additionally, think about your paint color selection—storing paint in the sprayer can affect future projects if not cleaned properly. Using protective covers can help keep dust and debris out. Proper storage guarantees your sprayer remains ready for your next project and preserves its ability to deliver smooth, consistent results. Incorporating workspace organization strategies can also help in maintaining your equipment and ensuring easy access when needed.
Routine Maintenance Checks
Routine maintenance checks are key to keeping your airless sprayer functioning smoothly over time. Regularly inspect and perform brush maintenance to prevent clogs and ensure smooth paint flow. Clean all brushes used for paint mixing thoroughly after each use, as dried paint can cause blockages. Check the filters and replace them if they’re clogged or damaged. Flush the system with water or a recommended cleaning solution to remove residual paint and prevent buildup. Pay close attention to the spray tip and nozzle; clear or replace them as needed. Proper cleaning after each project prolongs your sprayer’s lifespan and maintains ideal performance. Additionally, inspecting essential oil storage to ensure bottles are sealed and stored properly can prevent contamination and degradation. Avoid neglecting routine checks, which can lead to costly repairs or reduced spray quality over time.
Frequently Asked Questions
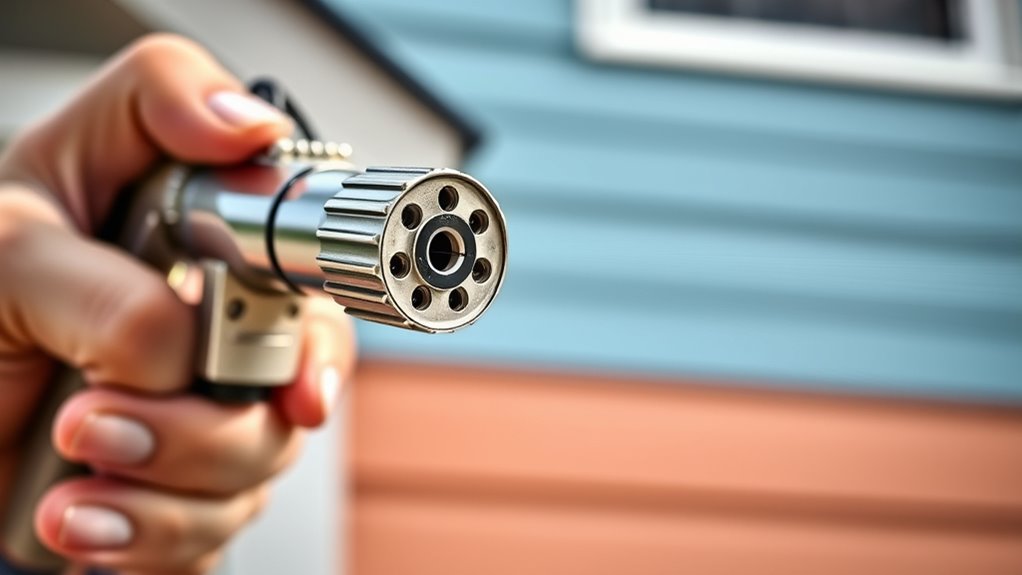
How Do I Choose the Best Nozzle for Textured Surfaces?
When choosing the best nozzle for textured surfaces, you should consider nozzle size and surface texture. Opt for a larger nozzle size to handle thicker, uneven textures effectively. A wider or larger spray tip ensures better coverage and reduces spattering on rough surfaces. You’ll want to select a nozzle that matches the surface texture’s roughness, guaranteeing even application without over-spraying or missing areas. This approach gives you a smooth, professional finish.
What Safety Precautions Should I Take When Using an Airless Sprayer?
When using an airless sprayer, you should always prioritize safety. Wear proper personal protective gear like goggles, masks, and gloves to protect yourself from fumes and overspray. Keep your equipment well-maintained by cleaning it regularly and checking for leaks or damage. Always follow the manufacturer’s instructions, work in well-ventilated areas, and turn off the sprayer when not in use to avoid accidents and guarantee safe, effective painting.
Can I Use an Airless Sprayer for Staining Wood Exteriors?
Sure, you can use an airless sprayer for staining wood exteriors—because who wouldn’t want to make their project more complicated? In reality, an airless sprayer works great for applying wood staining and exterior finishes, providing a smooth, even coat. Just guarantee you choose the right tip and adjust the pressure accordingly. This method saves time and delivers professional results, making your wood staining project easier and more efficient.
How Often Should I Replace Spray Tips for Optimal Performance?
You should replace your spray tips regularly to maintain ideal performance and guarantee a smooth finish. For spray tip maintenance, check the nozzle for wear or clogs daily, and replace it when you notice reduced spray quality or uneven coverage. Typically, nozzle replacement frequency depends on usage, but a good rule is to swap tips every 20-30 gallons or when signs of wear appear. This keeps your spraying consistent and efficient.
What Environmental Factors Affect Spray Pattern Quality?
Imagine your spray pattern as a delicate dance partner—every environmental factor influences its performance. Humidity control keeps the paint flowing smoothly, preventing drips, while wind mitigation prevents gusts from throwing off your application. Too much wind or humidity can distort your spray pattern, making your work look uneven. By paying attention to these factors, you guarantee your spray stays consistent and professional, like a well-rehearsed performance.
Conclusion
Using the right airless sprayer tips can make your exterior painting smoother and more efficient. Did you know that proper technique reduces overspray by up to 30%, saving you time and paint? By selecting the right nozzle, maintaining consistent pressure, and cleaning your equipment regularly, you’ll achieve professional-looking results that last. Keep practicing these tips, and you’ll enjoy a flawless finish while extending your sprayer’s lifespan. Happy painting!