
To winterize your home using an airless sprayer, first assess your exterior surfaces for peeling paint or damage and prep them with cleaning, sanding, and priming. Choose the right sprayer and nozzle, then carefully mix and thin your paint for smooth application. Protect surrounding plants and surfaces with tarps, and spray evenly with steady strokes in calm weather. After completing your project, clean and store your equipment properly to guarantee it’s ready for spring projects ahead. Keep reading to learn more about each step.
Key Takeaways
- Thoroughly clean, sand, and prime exterior surfaces before spraying to ensure durable, even paint coverage for winter protection.
- Choose the correct nozzle size and adjust spray pressure for optimal application and surface compatibility.
- Cover surrounding plants and areas to prevent overspray and protect landscaping during spraying.
- Properly clean, drain, and store the airless sprayer after use to prevent damage and ensure readiness for spring projects.
- Inspect painted surfaces for touch-ups and seal any cracks to prevent moisture intrusion during winter months.
Assessing Your Home’s Exterior for Fall Painting Needs

Before you begin painting this fall, it’s essential to assess your home’s exterior for any damage or wear. Check for chipped, peeling, or cracked paint that needs attention. Consider how the current paint color considerations blend with your home’s style and surroundings to ensure a fresh look. Weather forecasting plays a crucial role; plan your project during a stretch of clear, mild days to prevent moisture issues and ensure proper drying. Inspect for signs of rot, mold, or moisture intrusion, especially after rainy periods. Addressing these issues beforehand helps your paint adhere better and last longer. Additionally, understanding surface preparation techniques can significantly improve the durability of your paint job. By carefully evaluating your home’s exterior now, you set the stage for a smooth painting process and a durable, attractive finish come fall.
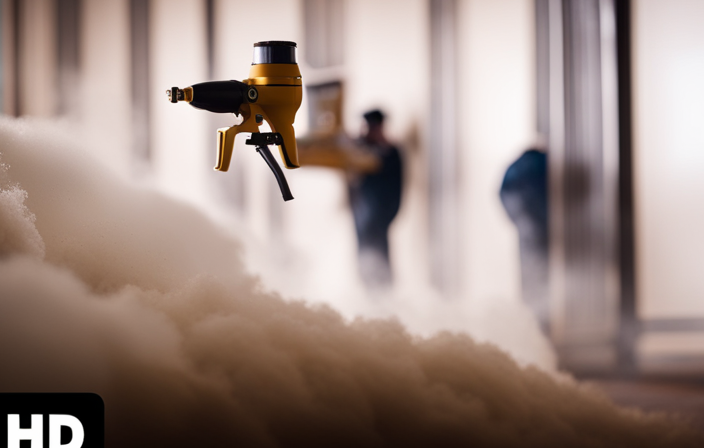
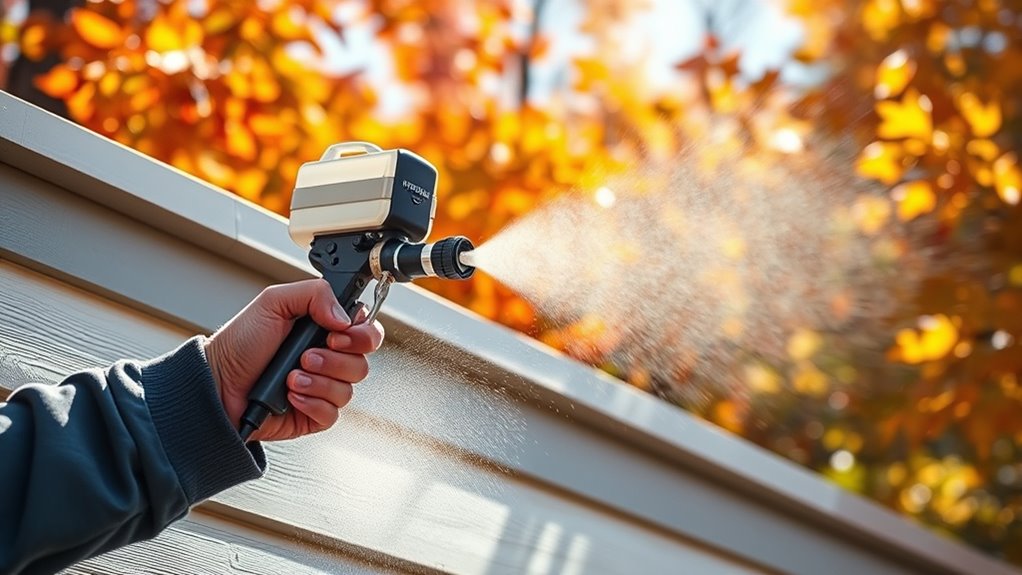
Selecting the Right Airless Sprayer for Your Project
Choosing the right airless sprayer is essential to guarantee your fall painting project goes smoothly and produces professional-looking results. Start by considering the sprayer capacity; a larger capacity allows for extended spraying without frequent refills, saving you time. For smaller areas or detailed work, a sprayer with a lower capacity might be more manageable. Next, focus on nozzle selection—different nozzles provide varying spray patterns and fan sizes, impacting coverage and finish quality. For broad surfaces like siding, a wider spray pattern works best, while narrower nozzles suit detailed trim work. Make sure the nozzle size is compatible with your chosen paint or stain type. Additionally, understanding Kia Tuning options can help you select equipment that aligns with your project’s specific needs and desired results. By matching sprayer capacity and nozzle selection to your project’s scope, you’ll ensure efficient application and a flawless finish.
Preparing Your Surface for Optimal Coating Adhesion
To guarantee your paint or stain adheres properly and lasts longer, it’s essential to start by preparing the surface thoroughly. Begin with surface preparation by cleaning the area to remove dirt, loose paint, and debris. Sand any rough patches or peeling paint to create a smooth, even surface. Make sure the surface is dry and free of moisture, as dampness can hinder adhesion. Applying a primer is a critical step; it helps seal the surface, improves paint adhesion, and enhances durability. Choose the right primer for your material—whether wood, masonry, or siding—and follow the manufacturer’s instructions. Proper surface preparation combined with primer application sets a solid foundation for a lasting, high-quality finish. Skipping these steps can lead to peeling, cracking, or uneven coverage. Additionally, exploring hackathons can inspire innovative solutions for home improvement challenges, including painting projects.
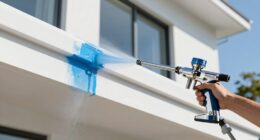
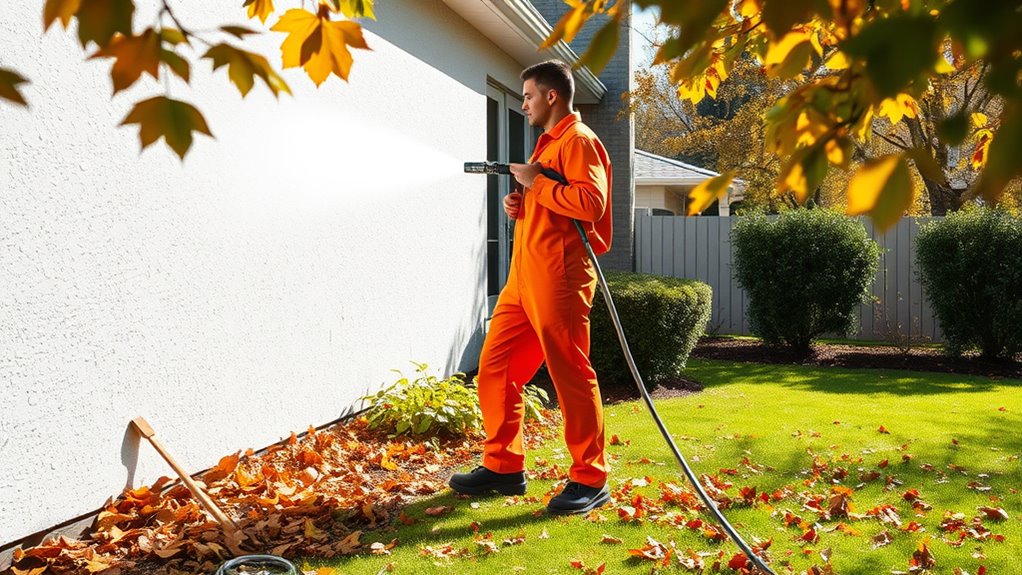
Protecting Landscaping and Surroundings During Spraying
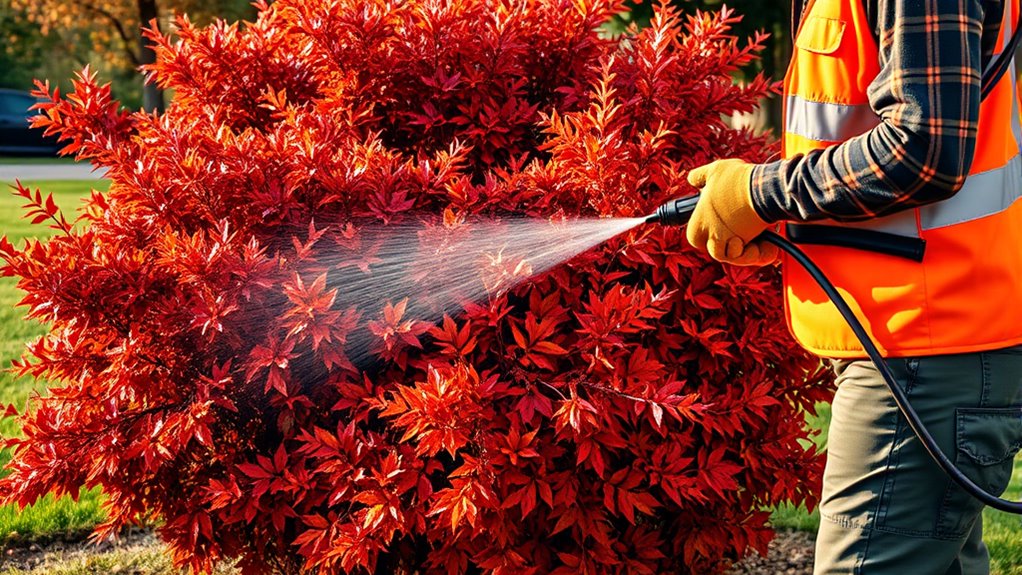
Protecting your landscaping and surroundings during spraying is essential to prevent accidental overspray and damage. To guarantee landscape safety, cover plants, shrubs, and nearby surfaces with plastic sheeting or tarps. Use painter’s tape to shield edges and delicate features. Keep a safe distance between the spray nozzle and your plants to minimize drift. Proper equipment protection is equally important; regularly check for leaks and ensure nozzles are functioning correctly. Using controlled spray techniques helps contain paint and reduces mess. Additionally, work in calm weather conditions—wind can carry overspray onto unintended areas. By taking these precautions, you safeguard your landscape while maintaining a clean work environment, making the spraying process more efficient and less stressful. Being aware of best practices for spray equipment can further improve your results and safety during the project.
Properly Mixing and Thinning Paint for Airless Application

Before you start airless painting, it’s crucial to mix and thin your paint correctly to guarantee smooth, even application. Achieving the right paint consistency ensures your sprayer functions properly and provides a professional finish. Start by stirring the paint thoroughly to blend the pigments and additives. If the paint is too thick, use thinning techniques like adding small amounts of water or the manufacturer’s recommended thinning agent. Mix gradually, testing the consistency by running the paint through a stirring stick or funnel; it should flow smoothly without dripping or clumping. Proper thinning prevents clogging and uneven spray patterns while maintaining coverage quality. Always follow the paint manufacturer’s instructions for thinning ratios to avoid compromising adhesion or durability. Proper preparation makes your airless application more efficient and effective. Additionally, understanding the benefits of high-pressure airless paint sprayers can help you achieve optimal results with less effort.
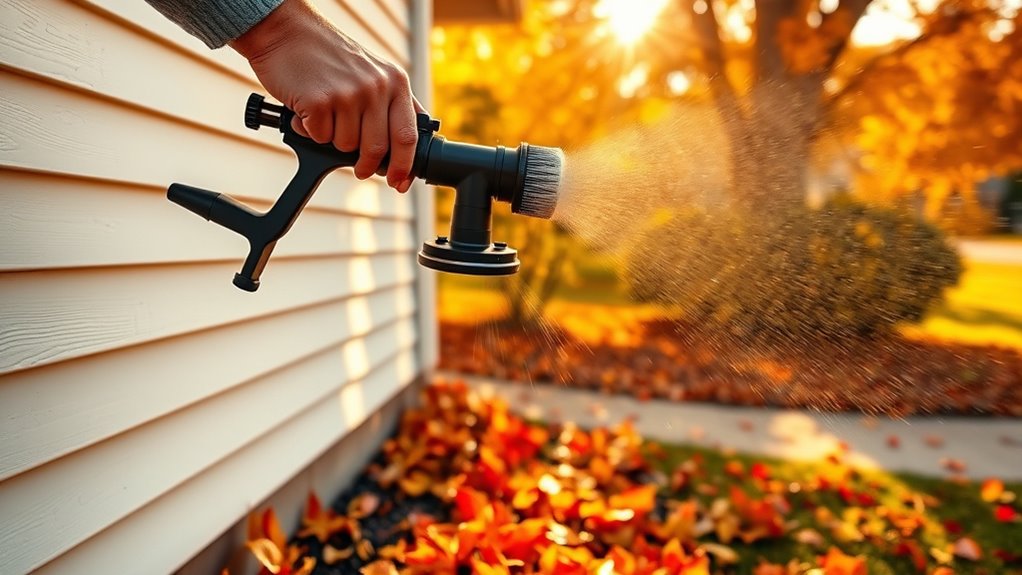
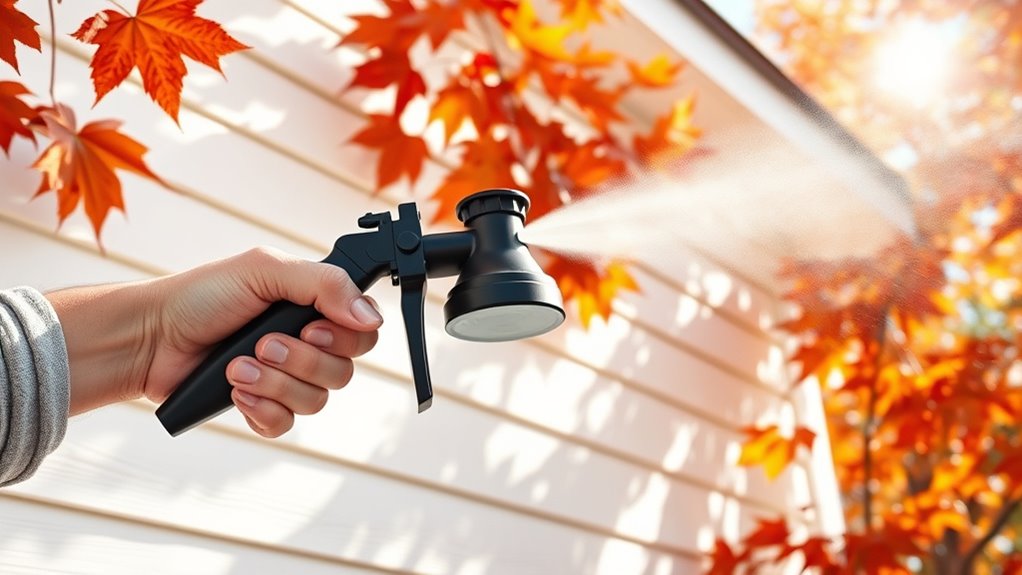
Techniques for Efficient and Even Coating With an Airless Sprayer
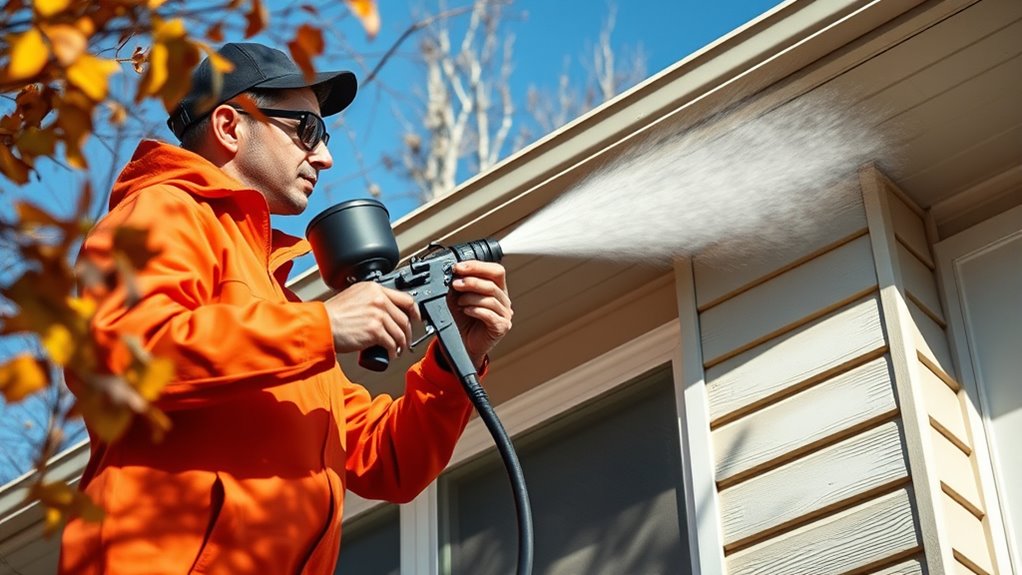
Achieving an even and efficient coat with your airless sprayer requires careful technique and attention to detail. Start by calibrating your sprayer to ensure proper spray pattern and flow rate, which helps maintain consistent coverage. Before spraying, check the paint viscosity; if it’s too thick, thin it according to manufacturer recommendations to prevent sputtering or uneven application. Maintain a steady, overlapping stroke, keeping the sprayer at a consistent distance from the surface—usually 12 to 18 inches. Keep the sprayer moving smoothly to avoid drips or missed spots. Adjust pressure settings as needed to match the paint’s viscosity and surface texture. Ensuring the proper contrast ratio can also enhance the appearance of painted surfaces by emphasizing depth and detail. These steps help you achieve a professional, uniform finish while maximizing efficiency and minimizing waste.
Troubleshooting Common Issues During Spraying
Even with careful preparation, issues can arise during spraying that affect your finish. Common problems often relate to sprayer calibration and paint viscosity. To troubleshoot effectively:
- Uneven Spray Pattern: Check your sprayer calibration to ensure proper pressure and flow. Adjust the pressure if needed, and verify the spray tip is clean and correctly installed.
- Paint Dripping or Splatters: Ensure the paint viscosity isn’t too thick. Thin the paint appropriately, and test spray on a scrap surface before continuing.
- Clogged Nozzle or Filter: Regularly clean or replace filters and check the nozzle for obstructions. Proper maintenance prevents buildup that causes inconsistent spray.
Addressing these issues quickly keeps your project on track and results in a smooth, professional finish.
Cleaning and Maintaining Your Airless Sprayer After Use

Properly cleaning and maintaining your airless sprayer after each use guarantees it stays in ideal condition and performs reliably on future projects. First, flush the system with the appropriate solvent or water, depending on your paint type. Pay special attention to brush maintenance; clean brushes thoroughly to prevent paint buildup and ensure they last longer. After cleaning, inspect all parts for wear or damage and replace any worn components. When storing your sprayer, follow storage tips like draining excess fluid, lubricating moving parts, and keeping it in a dry, protected area. Proper storage prevents corrosion and clogs. Regularly cleaning and maintaining your sprayer extends its lifespan and ensures it’s ready for your next project, making your winterization efforts smoother and more efficient.
Final Inspection and Touch-Ups Before Winter Arrives
Before winter sets in, conducting a thorough final inspection of your painting projects and equipment is essential. Check for any spots needing touch-ups, especially areas where color matching might be off. Make certain all paint is properly stored in airtight containers to prevent freezing or spoilage. Using a modern fixture can help improve the durability and appearance of your painted surfaces.
Here are three key steps:
- Inspect your painted surfaces for cracks, peeling, or uneven spots that require touch-ups before temperatures drop.
- Verify that your paint storage is secure and label any leftover paint for easy identification next season.
- Review your equipment’s condition, ensuring no clogs or damage, so you’re ready for spring projects.
Completing these steps guarantees your home’s exterior is protected and your tools are prepared for the winter months ahead.
Frequently Asked Questions
How Early in Fall Should I Start Preparing My Home for Winter Painting?
You should start preparing your home for winter painting in early fall, ideally around 6 to 8 weeks before temperatures drop consistently. Timing considerations are key, so monitor the weather forecast and choose a period with mild, dry days for best results. Seasonal planning helps guarantee your paint cures properly and resists winter weather. Starting early gives you ample time to complete prep work and avoid rushing as cold weather approaches.
Can I Use the Same Airless Sprayer for Both Exterior and Interior Winterization Projects?
Think of your airless sprayer as a versatile tool that can juggle both interior and exterior projects. Yes, you can use the same sprayer, but keep in mind equipment compatibility and maintenance considerations. Switch out tips and clean the system thoroughly after each use to prevent paint from drying inside. Proper care guarantees your sprayer stays in top shape, ready to tackle any winterization task without hiccups.
What Safety Precautions Are Essential When Using an Airless Sprayer in Cold Weather?
When using an airless sprayer in cold weather, you need to prioritize safety. Always wear protective gear like goggles, gloves, and a mask to prevent paint or fumes from causing harm. Guarantee proper ventilation considerations by working in well-ventilated areas or outdoors to avoid buildup of fumes. Cold temperatures can affect equipment, so check your sprayer’s instructions and be cautious to prevent accidents or improper application.
How Do I Store My Airless Sprayer During Winter to Prevent Damage?
Think of your airless sprayer like a treasure chest, needing protection during winter. To keep it safe, follow storage tips like draining remaining paint, cleaning thoroughly, and storing it in a dry, frost-free area. Winterization techniques include loosening parts and covering the sprayer properly. These steps prevent damage, ensuring your sprayer stays in top shape, ready for your next project when spring arrives.
Are There Specific Paint Types Recommended for Winter Exterior Painting With an Airless Sprayer?
For winter exterior painting with an airless sprayer, you should choose the right paint type. Latex paint is flexible and works well in cold weather, but it might need additives for better flow. Alkyd coatings provide durability but can be trickier to spray in winter’s low temperatures. Always check manufacturer recommendations, and consider warming the paint slightly to guarantee smooth application and good adhesion during cold months.
Conclusion
As you finish your fall painting, remember that a well-prepared home is like a fortress from winter’s chill, just as the Greeks fortified Troy before battle. With your airless sprayer ready and your surfaces protected, you’ve set the stage for a lasting finish. Now, step back and admire your work—like an artist completing a masterpiece—knowing you’ve prepared your home to withstand winter’s embrace, much like heroes braving the elements in stories of old.