
To achieve seamless, feathered spray edges, start by preparing your surface and selecting the right spray gun with a suitable tip size. Use gentle, even strokes and adjust your spray pattern to create a soft gradient as you approach the edge. Keep a consistent distance and speed, gradually reducing spray intensity to blend the paint smoothly. Practicing proper technique is key, and if you keep going, you’ll discover more tips for flawless results.
Key Takeaways
- Use a soft spray pattern with lower pressure and wider nozzle settings to create gentle, feathered edges.
- Maintain a consistent distance of 6-12 inches from the surface for even, seamless blending.
- Apply light, overlapping strokes while gradually reducing spray intensity near edges for smooth transitions.
- Practice on scrap material to perfect your technique before working on the final surface.
- Diffuse the spray gradient carefully, keeping the gun moving steadily to avoid harsh lines and achieve a seamless fade.
Preparing Your Surface and Equipment

Before you begin feather spray edging, it’s essential to prepare your surface and equipment properly. Start with surface preparation by cleaning the area thoroughly—remove dust, grease, and loose paint. A clean, smooth surface ensures better adhesion and a seamless finish. Next, select the right equipment; choose a spray gun suitable for fine finishes, and ensure your compressor provides consistent pressure. Check your spray tip size; smaller tips help achieve the delicate feathered effect. Always test your equipment on a scrap surface to dial in the right spray pattern and flow rate. Proper surface preparation reduces imperfections, while the right equipment selection gives you control for precise, even spray application. Taking these steps sets a solid foundation for a professional-looking feather spray edge.
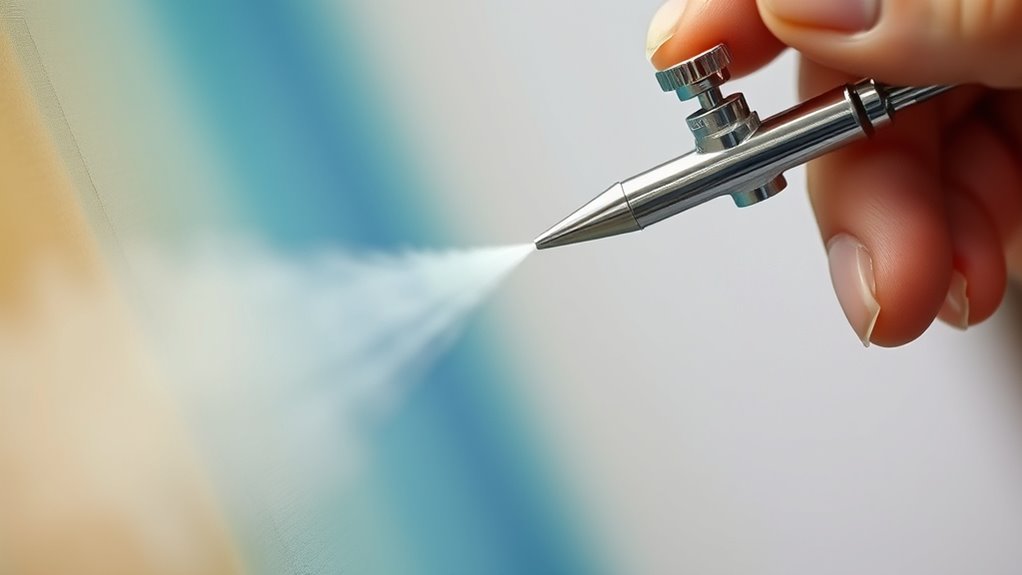
Selecting the Right Spray Technique and Settings

Choosing the right spray technique and settings is essential for achieving a smooth feathered edge. Start by selecting your brush techniques to blend edges seamlessly, but for larger areas, use a spray gun. Adjust your spray gun settings—such as pressure, nozzle size, and spray pattern—to control the amount of paint and its distribution. A lower pressure and wider spray pattern create softer edges, ideal for feathering. Keep your distance consistent, usually about 6-12 inches from the surface, to avoid uneven coverage. Practice on scrap material to dial in your spray gun adjustments before working on your project. Consistent technique and proper settings help you create a natural gradient, ensuring your feather spray edges blend effortlessly into the surrounding surface. Additionally, understanding the paint application process can further improve your results by helping you choose the optimal techniques for different surfaces. Being aware of spray paint properties can also assist in optimizing your technique for different materials and finishes. To refine your skills, consider experimenting with spray pattern adjustments to achieve the most seamless transitions. Incorporating proper preparation can also enhance the overall quality of your feathered edges by ensuring the surface is adequately primed and clean. Paying attention to equipment maintenance ensures your tools perform consistently, leading to better spray results.
Applying the First Coat and Creating a Gradient Edge

To achieve a seamless feathered edge, start by applying the first coat of paint carefully along the targeted area. Guarantee your spray nozzle adjustment is set for a light, even spray to create a soft gradient. Pay attention to paint consistency—thinner paint flows more smoothly and helps blend edges more naturally. As you spray, keep the nozzle at a consistent distance to avoid harsh lines. Focus on gradually reducing the spray intensity as you move away from the edge to form a smooth gradient. Remember:
- Adjust the spray nozzle for a soft, even spray
- Maintain proper paint consistency for smooth application
- Keep a steady hand and consistent distance from the surface
- Paint adhesion can influence how well the paint blends at the edges, ensuring a more seamless finish. Additionally, controlling spray technique is crucial for avoiding uneven or harsh lines. Proper technique in spray painting is essential for achieving a flawless feathered progression. Using the correct airless spray settings can further enhance your ability to create a smooth, blended edge.
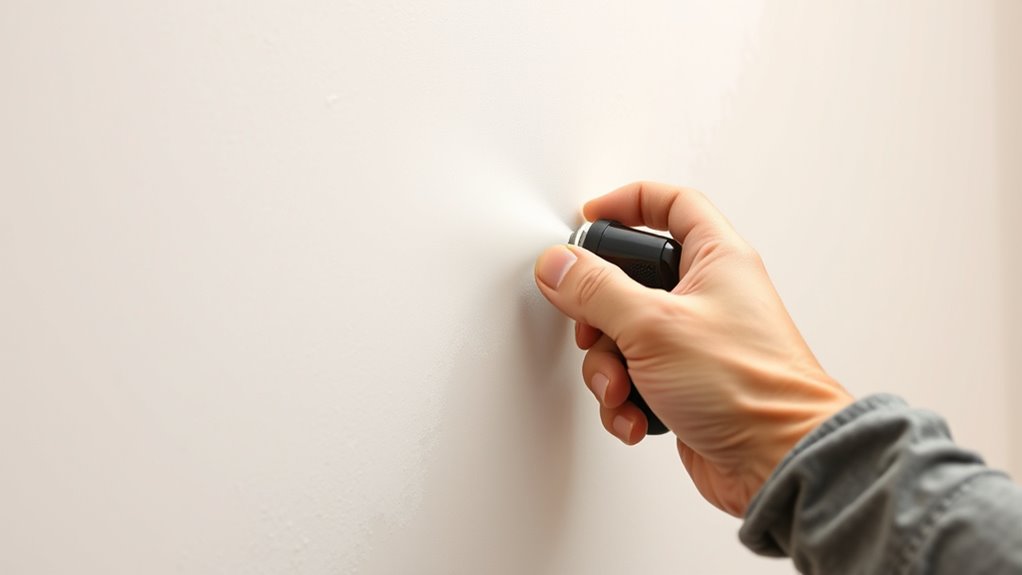
Blending and Feathering for a Seamless Transition

Once you’ve laid down the initial feathered edge, the next step is to blend the colors seamlessly. Focus on edge blending by gently diffusing the spray gradient to eliminate harsh lines. Keep your spray gun moving smoothly across the transition zone, maintaining a consistent distance to create a natural, gradual fade. Use light, overlapping strokes to soften the edge further, ensuring the colors merge smoothly. Adjust your spray pressure if needed to achieve a more subtle gradient. The goal is to make the transition appear seamless, with no visible boundaries. Practice patience and small adjustments to perfect your spray gradient. With careful feathering, your edges will blend seamlessly, resulting in a professional, polished finish.
Finishing Touches and Tips for Perfect Results
Achieving perfect results requires paying close attention to the finishing touches that enhance your spray work. Use proper brush techniques to smooth out any uneven edges and guarantee a clean, professional look. Focus on blending colors seamlessly by carefully matching shades, which helps create a cohesive finish. To elevate your work, consider these tips:
- Use light, controlled brush strokes for delicate touch-ups
- Continuously compare your colors to the surrounding area for accurate matching
- Clean your brushes frequently to avoid color mixing errors
- Remember that couples working together often report higher satisfaction, highlighting the importance of collaboration and shared effort in achieving a seamless outcome.
- Additionally, understanding essential oil safety ensures that your workspace remains secure and free from hazards, which can contribute to a more relaxed and focused environment during finishing touches.
- Incorporating proper exfoliation techniques can also prepare your surface, ensuring smooth feathering and better adhesion of finishes. Staying informed about cybersecurity trends can help protect your digital workspace and avoid disruptions during your project.
- Practicing regular surface preparation ensures that your base is ideal, leading to more precise feathering and a professional appearance. These steps help refine your feathered edges, making progression look natural. Remember, patience and precision are key to achieving flawless, seamless results every time.
Frequently Asked Questions
How Do I Fix Uneven Feathered Edges After Spraying?
If you notice uneven feathered edges after spraying, you can fix it by carefully re-blending the edges. Use a clean, dry brush or sponge to gently smooth out the transition areas, improving edge blending. Make certain the paint adheres well by lightly sanding any rough spots, then apply a thin, even coat to even out the finish. This helps guarantee a seamless look and solid paint adhesion for long-lasting results.
Can I Feather Spray Over a Previously Painted Area?
Yes, you can feather spray over a previously painted area, but you should prepare it properly. Use touch-up techniques like light sanding to smooth the surface and guarantee good adhesion. Keep your spray gun well-maintained for even application. Apply thin, overlapping coats, blending the new spray into the old paint. This will help you achieve seamless results and avoid noticeable edges or streaks.
What Types of Paint Are Best for Feather Spraying?
Imagine you’re trying to tame a wild beast—only it’s paint. For feather spraying, you want paints that play nicely together, so choose those with good paint compatibility. High-quality latex or acrylics work best because they blend seamlessly and offer finish durability. Steer clear of oil-based or incompatible paints, or you’ll end up with a choppy, uneven mess instead of a smooth, professional look.
How Long Should I Wait Between Coats for Best Feathering?
You should wait at least 2-4 hours between coats, but drying time varies with environmental factors like humidity and temperature. Check the paint’s instructions for specific drying times, and confirm the surface is tacky but not wet before applying the next coat. Rushing this step can cause uneven blending, so be patient to achieve smooth, seamless feathered edges. Adjust your timing based on actual conditions for the best results.
Is It Necessary to Sand Between Feathered Layers?
Imagine you’re applying multiple feathered layers on a wall. You might wonder if sanding between these layers is necessary. In most cases, sanding isn’t required unless the previous layer has rough edges or imperfections, as it can improve layer adhesion. However, skipping sanding can risk uneven textures. Sanding necessity depends on your surface, but generally, light sanding guarantees better adhesion and a smoother finish.
Conclusion
Now that you’ve mastered feathering spray edges, you’re like an artist blending colors on a canvas. With patience and practice, your surfaces will transform into flawless works of art—seamless and smooth. Remember, each spray is a brushstroke shaping your masterpiece. So, keep your technique steady, trust your eye, and soon, your projects will shine with professional perfection, leaving everyone wondering how you achieved such a flawless finish. Happy spraying!