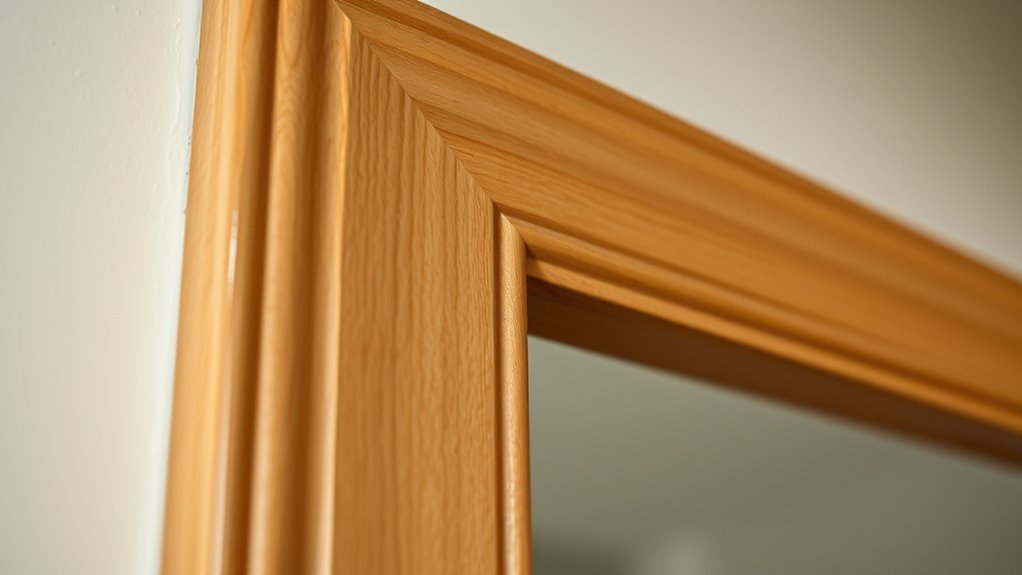
To achieve a fine finish on trim, doors, and cabinets, start with thorough surface prep by sanding smooth and removing dust. Use high-quality paints or stains with applying thin, even coats, and consider spraying for the best results. Work slowly with steady strokes, sanding lightly between coats for perfection. Finish with a durable topcoat, applying in fine layers and lightly sanding between coats. Keep these steps in mind, and you’ll discover even more tips for flawless results as you continue.
Key Takeaways
- Properly sand surfaces with fine-grit sandpaper and remove dust for a smooth, adhesion-friendly base.
- Use high-quality, durable paints or stains with thin, even coats to prevent drips and brush marks.
- Apply paint with steady, long strokes, overlapping slightly for a seamless, flawless finish.
- Lightly sand between coats and after final application to smooth imperfections and enhance adhesion.
- Finish with a high-quality clear topcoat, sanding lightly between layers to add durability and depth.
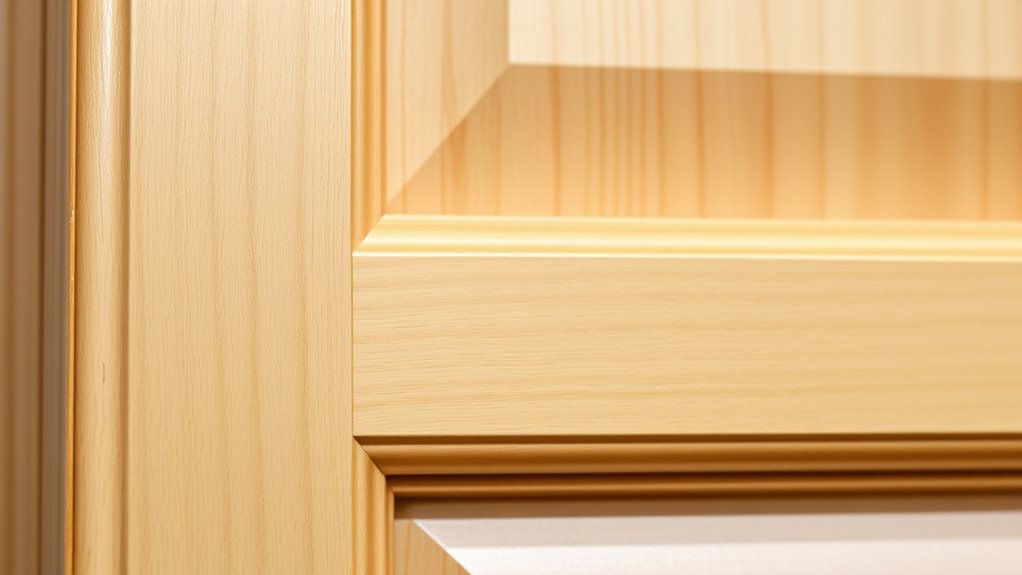
Achieving a flawless finish isn’t just about applying the right materials; it’s about mastering key techniques that elevate your work to professional standards. When working on trim, doors, or cabinets, attention to detail makes all the difference. Start by thoroughly preparing your surfaces. Sand them smooth, removing any rough spots, dust, or old paint. Use fine-grit sandpaper to achieve a silky surface that the new finish can adhere to perfectly. Wipe away all dust with a tack cloth or a damp rag to guarantee no particles mar your final coat.
Proper surface prep with sanding and cleaning is key to achieving a flawless, professional finish.
Choosing the right paint or stain is essential. For cabinets and doors, opt for a high-quality, durable finish like a semi-gloss or satin enamel. These finishes are easier to clean and provide a sleek, professional look. When applying, use a good-quality brush or a foam roller designed for smooth surfaces. For the most flawless results, many professionals prefer spraying, but if you’re using brushes or rollers, work in thin, even coats. Thick coats tend to drip, run, or leave brush marks that are hard to sand out later.
Pay close attention to your technique when applying paint or stain. Keep a steady hand and work in long, smooth strokes, overlapping each pass slightly to avoid lap marks. Don’t rush; let each coat dry thoroughly before adding the next. Sand lightly between coats with a very fine grit sandpaper—around 220 grit—to remove any imperfections and guarantee each layer bonds well. Always wipe away dust afterward to prevent bumps or specks from settling in the finish. Incorporating proper surface preparation is crucial for a professional-looking result.
For a truly polished look, consider using a high-quality clear topcoat or polyurethane after your final coat of paint or stain. This adds durability and depth to your finish. Apply it with the same careful technique—thin, even layers, and light sanding between coats. Using a brush or foam applicator, work slowly and methodically to avoid bubbles or streaks.
Finally, patience is essential. Rushing the drying process or skipping steps like sanding and dust removal can ruin your effort. Consistent attention to preparation, application, and finishing touches ensures your trim, doors, and cabinets look pristine and professional. With practice and precision, you’ll master the fine-finish secrets that transform ordinary surfaces into stunning, high-quality features in your home.
Frequently Asked Questions
What Tools Are Best for Achieving a Flawless Finish?
To achieve a flawless finish, you should use high-quality brushes, foam brushes, or microfiber rollers for smooth application. A good sanding block or orbital sander helps prep surfaces, while a paint sprayer guarantees even coats and professional results. Don’t forget to have painter’s tape for clean edges and drop cloths to protect your workspace. These tools work together to give you a sleek, professional-looking finish every time.
How Do I Prevent Brush Marks on Delicate Surfaces?
To prevent brush marks on delicate surfaces, you should use a high-quality, soft-bristled brush or a foam brush for smooth application. Always load your brush lightly and apply thin, even coats, avoiding excessive pressure. Keep a wet edge by working quickly and consistently. Sand lightly between coats with fine-grit paper to smooth any imperfections. This approach helps you achieve a flawless, professional finish without visible brush marks.
What Are the Ideal Drying Times Between Coats?
Pause patiently for perfect results by allowing paint to dry thoroughly between coats. Typically, you should wait at least 2 to 4 hours for water-based paints and up to 24 hours for oil-based finishes. Follow the manufacturer’s recommendations, as drying times vary with temperature, humidity, and paint type. Rushing this step risks smudges and uneven finishes, so give your project the proper time to dry and develop a flawless, fine finish.
How Can I Correct Uneven or Drippy Paint Finishes?
To fix uneven or drippy paint finishes, first let the paint dry completely. Once dry, gently sand the affected areas with fine-grit sandpaper to smooth out drips and ridges. Wipe away dust, then apply a thin, even coat of paint or finish. Use a high-quality brush or roller for better control. If needed, repeat the process for a flawless, professional-looking finish.
Which Primers Work Best for Different Types of Wood?
You’ll find that oil-based primers work best for hardwoods like oak and mahogany, sealing their dense grains effectively. For softwoods such as pine and cedar, water-based primers are ideal—they prevent bleed-through and are easier to work with. If you’re dealing with knotty woods, use a shellac-based primer to block stains. Choosing the right primer guarantees your finish stays smooth, vibrant, and long-lasting.
Conclusion
Now that you know the fine-finish secrets, you’re ready to elevate your trim, doors, and cabinets. Imagine transforming an outdated kitchen by carefully sanding, priming, and applying a perfect coat of paint—like a pro. With patience and these tips, your project will look stunning and professional. So go ahead, get started, and enjoy the satisfaction of a flawless finish that truly enhances your space. Your next masterpiece is just a brushstroke away!
