Orange peel is rarely caused by the paint itself. Instead, it usually happens due to poor spray gun technique, such as inconsistent distance, uneven movement, or incorrect pressure settings. Inadequate surface preparation or rushing the priming and sanding steps can also lead to a rough finish. To fix it, focus on proper technique, adjust your spray gun, and make certain each layer is applied smoothly. Keep going, and you’ll find simple ways to achieve that perfect, glossy finish.
Key Takeaways
- Orange peel is often caused by spray technique issues, not the paint itself, such as inconsistent distance or movement.
- Proper surface preparation and priming create a smooth base, reducing the likelihood of orange peel.
- Adjust spray gun settings, including fluid and air pressure, to improve spray consistency and finish quality.
- Light wet sanding after curing can smooth out surface irregularities caused by application technique.
- Maintaining steady hand movement and overlapping passes helps achieve a uniform, glossy surface without orange peel.
If you’ve noticed a bumpy, dimpled texture on your car’s paint resembling an orange peel, you’re not alone. This common issue often frustrates vehicle owners who expect a smooth, glossy finish. The good news is that fixing orange peel usually isn’t about the quality of your paint itself but more about how it was applied. To achieve a flawless surface, you need to understand the importance of proper paint preparation and spray gun techniques.
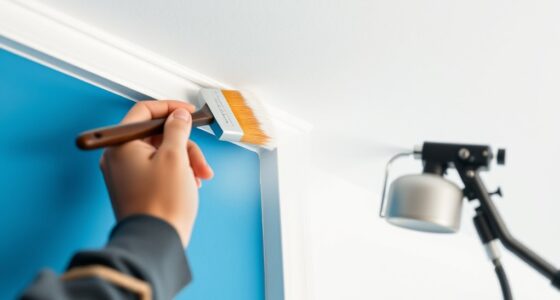
First, consider your paint preparation process. Before you even start spraying, make sure your car’s surface is thoroughly cleaned, free of dust, grease, and old paint contaminants. Proper sanding is essential—use fine-grit sandpaper to smooth out the existing paint layer and create a uniform surface. This step ensures that the new paint adheres well and lays down evenly. Skipping or rushing this part can lead to uneven spray patterns, which contribute to orange peel. Also, always use the right primer and ensure it’s fully cured. Skipping primer or applying it hastily can cause surface irregularities that show up once the color coat is applied.
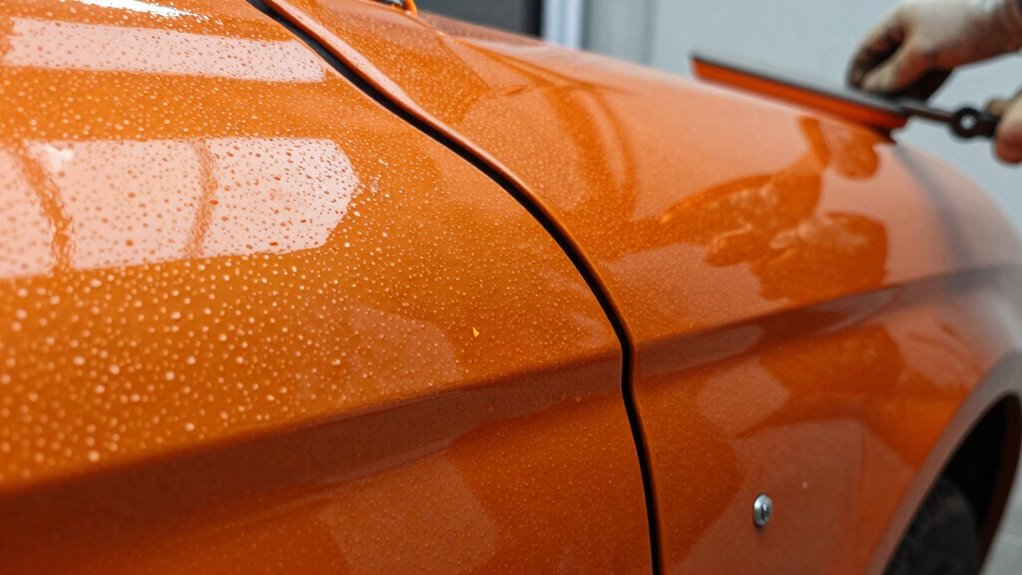
Thoroughly clean, sand, and prime your car’s surface for a smooth, even paint finish.
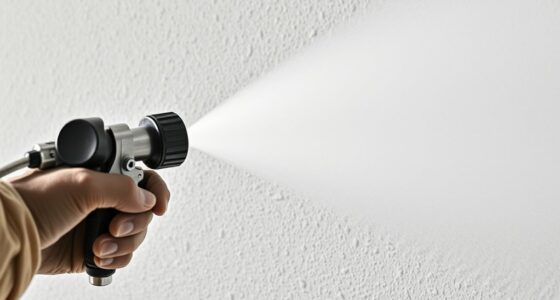
Next, mastering spray gun techniques is critical. The way you operate your spray gun directly impacts the finish quality. To minimize orange peel, maintain a consistent distance from the surface—usually about 6-8 inches—and keep your spray gun perpendicular to the panel. Move your hand smoothly and steadily, avoiding quick, jerky motions. Overlapping each pass by around 50% helps build an even coat. Adjust your spray gun’s fluid and air pressure settings according to the manufacturer’s specifications—too much pressure can cause paint to atomize poorly, leading to uneven textures, while too little may result in thin, uneven coverage. Also, keep the gun moving at a steady pace; lingering in one spot or moving too fast can cause runs or dry spots, both of which contribute to orange peel.
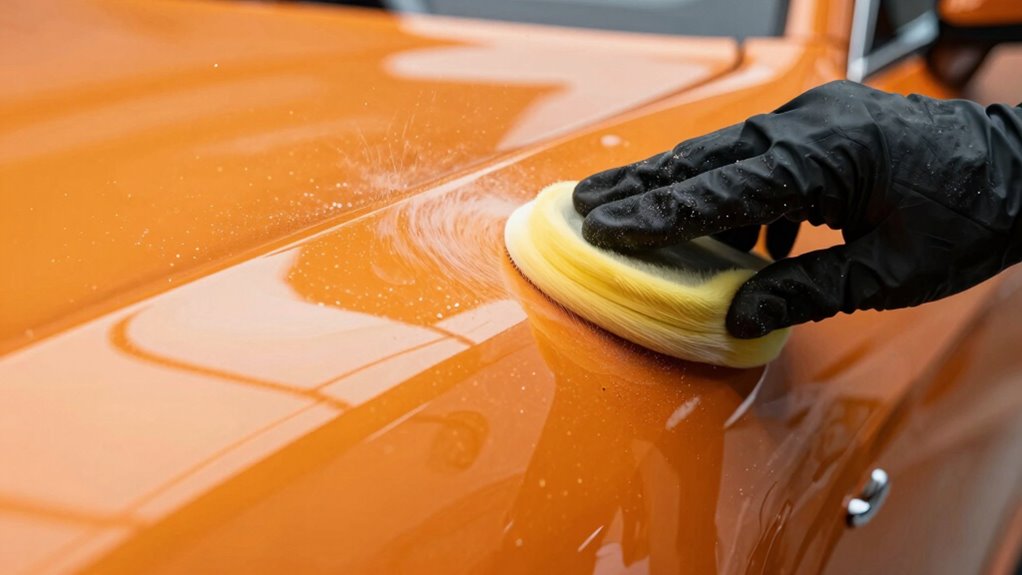
If you notice the orange peel forming during your spray session, don’t panic. Sometimes, it’s a matter of adjusting your spray gun settings or technique on the fly. After the paint has dried, if the surface still feels rough or uneven, a light wet sanding with very fine-grit paper followed by polishing can help smooth out the imperfections. But prevention is always better than correction. By focusing on thorough paint preparation and mastering your spray gun techniques, you markedly reduce the chances of orange peel and achieve a sleek, professional-looking finish.
Additionally, understanding how paint viscosity affects spray application can help you fine-tune your process, resulting in a smoother surface. In the end, fixing orange peel isn’t about switching paint brands or types; it’s about perfecting your application process. Pay attention to every step, from prepping the surface to controlling your spray gun, and you’ll see your efforts rewarded with a smooth, glossy finish that truly stands out.
Frequently Asked Questions
Can Orange Peel Be Fixed Without Repainting the Entire Surface?
Yes, you can fix orange peel without repainting the entire surface. Start by lightly sanding the affected area with fine-grit sandpaper to smooth the surface. Then, use paint additives designed to improve flow and leveling, and employ proper spray techniques to apply a thin, even coat. This method helps eliminate the orange peel effect, giving your surface a smooth finish without needing a full repaint.
What Tools Are Best for Smoothing Orange Peel Texture?
Did you know that proper sanding can reduce orange peel texture by up to 80%? To smooth out this finish, use high-grit sandpaper like 1500-2000 grit for gentle abrasion. A dual-action (DA) sander or sanding block offers better control, while microfiber or foam sanding pads help prevent scratches. Focus on even, light strokes, and always follow the original paint flow for a seamless finish.
How Long Should I Wait Before Sanding After Applying Paint?
You should wait at least 24 hours for the drying time before sanding after applying paint. This guarantees the paint is sufficiently cured, avoiding smudges or damage. Use light sanding techniques with fine-grit sandpaper to smooth out any imperfections without removing too much paint. Rushing the process can ruin your finish, so patience is key. Always check the manufacturer’s recommendations for specific drying times based on your paint type.
Are There Specific Paint Types Less Prone to Orange Peel?
You’re in the driver’s seat when it comes to choosing paint types less prone to orange peel. Look for paints with self-leveling properties and consider using paint additives designed to improve flow and reduce surface imperfections. Mastering spray techniques, like maintaining consistent distance and speed, also helps. These steps can make your finish smoother, so you get a professional look without the extra fuss. Keep experimenting, and you’ll get it just right.
Does Humidity Affect the Formation of Orange Peel in Paint?
Humidity impact definitely affects paint drying, which in turn influences orange peel formation. When humidity is high, your paint dries more slowly, giving it extra time to level out and reduce orange peel. Conversely, low humidity speeds up drying, increasing the chance of a rough surface. To minimize orange peel, control humidity levels during application and drying, ensuring ideal conditions for smooth, even paint.
Conclusion
Remember, fixing orange peel often isn’t about the paint itself but the prep work. Proper surface preparation can save you time and money, ensuring a smooth finish that lasts. Did you know that improper prep is responsible for over 60% of paint failures? By paying attention to detail and addressing the root causes, you can achieve professional-looking results. Don’t settle for less—your perfect finish is just a few careful steps away.