Envision yourself as an artist on the cusp of crafting a masterpiece. Your canvas is set, your palette is arranged, but you’re lacking one crucial piece of equipment – the reliable Homerite 5.5 Airless Paint Sprayer. This formidable device is key to applying even and sleek layers of paint, yet as with any instrument, it necessitates diligent upkeep and care to ensure it operates optimally.
In this article, I will guide you through the process of adding oil to your Homerite 5.5 Airless Paint Sprayer, a crucial step in ensuring its longevity and optimal performance. With just a few simple steps, you’ll be able to keep your sprayer running smoothly and efficiently, allowing you to focus on your art rather than worrying about equipment failure.
So, let’s dive in and learn how to give your Homerite 5.5 Airless Paint Sprayer the care it deserves.
Key Takeaways
- Regular maintenance is important for the longevity and performance of the Homerite 5.5 Airless Paint Sprayer.
- Proper oil maintenance is crucial for optimal performance and should be done regularly.
- The oil fill port should be located and cleaned before adding oil to prevent contamination.
- Dispose of oil waste properly to protect the environment and prevent harm to wildlife.
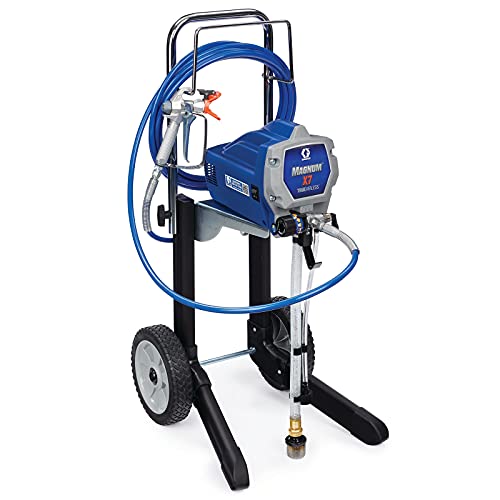
Graco Magnum 262805 X7 Cart Airless Paint Sprayer, Gray
CONTROL PAINT FLOW: Fully adjustable pressure to give you ultimate control of paint flow for any project size;...
As an affiliate, we earn on qualifying purchases.
Importance of Proper Maintenance for the Homerite 5.5 Airless Paint Sprayer
Proper maintenance is crucial for the longevity and optimal performance of your Homerite 5.5 Airless Paint Sprayer. Regular maintenance ensures smooth operation and prevents potential issues. By following a few simple steps, you can keep your sprayer in top condition.
One of the most important aspects of maintenance is cleaning the sprayer after each use. This prevents clogging and ensures optimal performance. Regularly inspecting the sprayer for signs of wear or damage is also crucial. Addressing common issues, such as uneven spray patterns or loss of pressure, can be done through proper maintenance.
To perform routine maintenance, gather the necessary tools and materials. This will help you keep your paint sprayer working efficiently.

VEVOR Stand Airless Paint Sprayer, 650W, 3000PSI High Pressure Airless Sprayer with Cart, Cleaning Brush, Hose, Extension Rod, Nozzles, Electric Spray Paint Machine for House Exterior and Interior
Efficient Coating: The 650W motor, 0.31 GPM flow, and 3000 PSI pressure deliver spraying speeds 5x faster than...
As an affiliate, we earn on qualifying purchases.
Gather the Necessary Tools and Materials
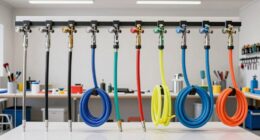
First, gather all the essential tools and materials you’ll need for maintaining your Homerite 5.5 Airless Paint Sprayer. This includes a set of brushes and a special elixir that brings life to dull surfaces.
To keep your sprayer running smoothly, regular maintenance is crucial. This involves proper cleaning techniques to prevent clogs and maintain efficiency.
Here are three key items you’ll need for maintenance:
-
A clean cloth or sponge to wipe off any excess paint or debris.
-
A bucket of warm soapy water to thoroughly clean the sprayer and remove any remaining paint residue.
-
A lubricating oil specifically designed for airless paint sprayers to keep the internal components working properly.
Once you have gathered all the necessary tools and materials, it’s time to locate the oil fill port on the sprayer and ensure it is properly filled.

VEVOR 750W Stand Airless Paint Sprayer, 3000PSI High Efficiency Electric Airless Sprayer, Fine and Even Painting Effect, Handheld Paint Sprayers for Home Interior and Exterior Furniture and Fences
Efficient Painting: Our stand airless paint sprayer is equipped with a powerful 750W motor, capable of delivering up...
As an affiliate, we earn on qualifying purchases.
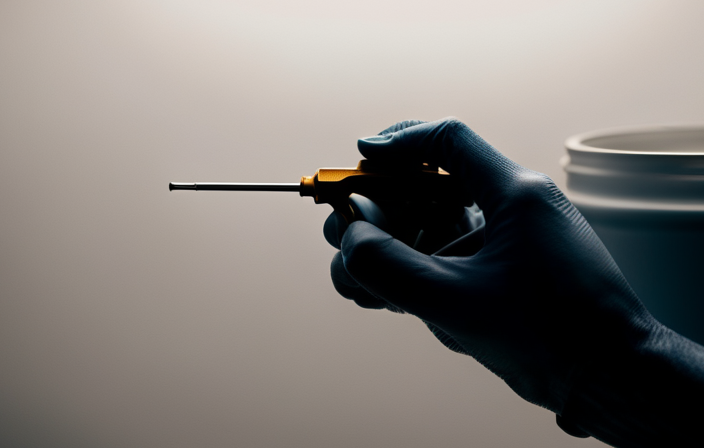
Locate the Oil Fill Port on the Sprayer
After gathering all the necessary tools and materials, it’s time to locate the oil fill port on the sprayer. The oil fill port is typically located on the top or side of the sprayer, near the motor. It may have a cap or a screw-on lid that needs to be removed in order to access it.
Before adding oil, it’s important to clean the area around the fill port to prevent any dirt or debris from contaminating the oil. A soft cloth or brush can be used for this purpose.
Additionally, it’s helpful to refer to the user manual for specific cleaning techniques and troubleshooting tips. Once the oil fill port is located and cleaned, it’s time to prepare the oil for adding to the sprayer.

Wagner Spraytech 2435698 Control Pro 130 Paint Sprayer with T2 Gun, High Efficiency Airless Sprayer with Low Overspray, Yellow
WAGNER AIRLESS PAINT SPRAYER: The Control Pro 130 Power Tank applies coatings 3X faster than a roller with...
As an affiliate, we earn on qualifying purchases.
Prepare the Oil for Adding to the Sprayer
To prepare the oil for adding to the sprayer, there are a few steps you need to take. First, gather all the necessary supplies: the recommended oil for your sprayer, a clean container, and a funnel.
Next, ensure that the oil you are using is suitable for airless paint sprayers. Check the manufacturer’s instructions or consult with a professional if you are unsure. Using the wrong type of oil can damage your sprayer and affect its performance.
Once you have the correct oil, carefully pour it into the container through the funnel, taking your time to avoid any spills.
With the oil prepared, you are now ready to move on to the next step: opening the oil fill port and inserting the oil.
Open the Oil Fill Port and Insert the Oil
Now it’s time for you to open up the oil fill port and smoothly insert the prepared oil into the sprayer. Proper oil maintenance is crucial for the optimal performance of your Homerite 5.5 airless paint sprayer. By regularly adding oil and keeping it at the recommended level, you ensure that the internal components are properly lubricated, preventing unnecessary wear and tear. This not only extends the lifespan of your sprayer but also enhances its efficiency and output. To add the oil, locate the oil fill port on the sprayer and remove the cap. Take the prepared oil and carefully pour it into the port, ensuring not to overfill. Once filled, securely close the oil fill port and wipe away any spills or drips. This step is essential to prevent oil leaks and maintain the smooth operation of your sprayer. In the subsequent section, we will discuss how to monitor the oil level and refill as needed to ensure continuous performance.
Monitor the Oil Level and Refill as Needed
Make sure you keep an eye on the oil level and top it up when necessary to ensure smooth and efficient operation. Proper monitoring of the oil level is crucial for the longevity and performance of your Homerite 5.5 airless paint sprayer. Here are three key reasons why oil maintenance is important:
-
Lubrication: The oil in the sprayer provides essential lubrication for the piston and other moving parts, reducing friction and preventing wear and tear.
-
Cooling: The oil also acts as a coolant, dissipating heat generated during operation. This helps prevent overheating and ensures the sprayer runs at optimal temperatures.
-
Seal protection: The oil forms a protective layer on the seals, preventing them from drying out or cracking. This helps maintain a tight seal, preventing leaks and maintaining consistent pressure.
By monitoring the oil level and topping it up as needed, you can ensure the smooth operation and longevity of your sprayer. Once you’ve finished using the sprayer, make sure to properly dispose of any oil waste to protect the environment.
Properly Dispose of any Oil Waste
When it’s time to get rid of any oil waste, make sure to properly dispose of it to protect the environment. Proper disposal of oil waste is crucial because it can have a significant environmental impact if not handled correctly.
Oil waste should never be poured down the drain or disposed of in regular trash. Instead, take it to a designated disposal facility or contact your local waste management agency for guidance on how to dispose of it safely.
Remember, oil can contaminate water sources and harm wildlife if not disposed of properly. So, let’s ensure we take the necessary steps to protect our environment.
Now, let’s move on to the next section and discuss how to regularly clean and inspect the sprayer for optimal performance.
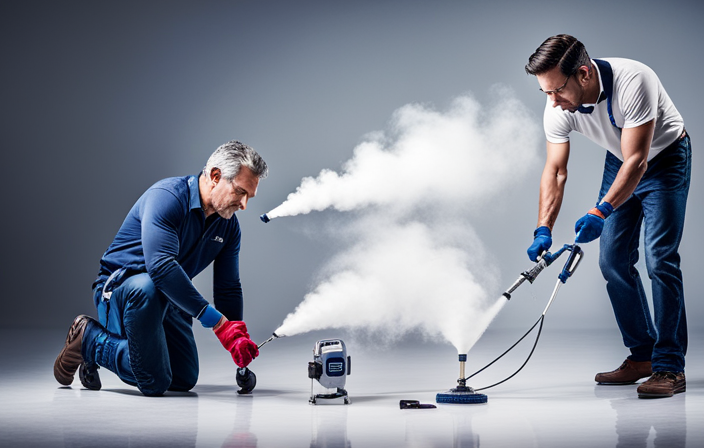
Regularly Clean and Inspect the Sprayer for Optimal Performance
To ensure optimal performance, it is essential to regularly clean and inspect your sprayer. Here are some important steps to follow:
- Thoroughly clean the sprayer’s filters after each use to prevent clogs and blockages.
- Soak the nozzle in a cleaning solution regularly to remove dried paint or debris.
- Inspect the hoses and connections for any signs of wear or damage, and replace them if necessary.
In addition to cleaning and inspecting, troubleshooting common issues is also important. Here are some tips:
- Check for any leaks and fix them promptly.
- Ensure proper pressure settings according to the sprayer’s manual.
- Familiarize yourself with the sprayer’s manual for troubleshooting tips.
By following these cleaning techniques and troubleshooting tips, you can keep your sprayer in excellent condition. Let’s now explore additional tips for maintaining your Homerite 5.5 airless paint sprayer.
Additional Tips for Maintaining Your Homerite 5.5 Airless Paint Sprayer
One key to keeping your Homerite 5.5 airless paint sprayer in top shape is to regularly check for signs of wear and tear. This will help you identify potential issues before they become bigger problems.
When it comes to airless paint sprayer troubleshooting, there are a few common issues you may encounter. One common problem is clogged spray tips, which can be easily fixed by cleaning or replacing the tip.
Another common issue is uneven spray patterns, which can be caused by a worn or damaged spray tip or a clogged filter. To solve this problem, try replacing the tip or cleaning the filter.
By addressing these common paint sprayer problems and solutions, you can ensure that your sprayer remains in optimal condition for long-lasting use.
Now, let’s move on to the next section about keeping your sprayer in top shape for long-lasting use.
Conclusion: Keeping Your Sprayer in Top Shape for Long-lasting Use
Make sure you regularly maintain your sprayer to keep it in top shape, ensuring you can effortlessly accomplish all your painting projects with ease. One of the most important steps in maintaining your Homerite 5.5 Airless Paint Sprayer is keeping it clean. After each use, make sure to thoroughly clean the sprayer by flushing it with water or a cleaning solution recommended by the manufacturer. This will prevent any paint residue from clogging the nozzle and affecting the sprayer’s performance. Additionally, regularly inspect the sprayer for any signs of wear or damage, and replace any worn-out parts to prolong the sprayer’s lifespan. By following these maintenance tips and incorporating them into your routine, you can enjoy the benefits of a well-functioning sprayer for years to come.
| Maintenance Tips | Frequency | Benefits |
|---|---|---|
| Clean the sprayer after each use | After every painting project | Prevents clogging and ensures optimal performance |
| Inspect for wear or damage | Regularly | Identifies potential issues early on |
| Replace worn-out parts | As needed | Extends the lifespan of the sprayer |
| Store in a clean and dry environment | Always | Prevents rust and damage |
| Follow manufacturer’s instructions | Always | Ensures proper usage and maintenance |
Remember, a well-maintained sprayer is a reliable tool that will help you achieve professional-looking results every time.
Frequently Asked Questions
Can I use any type of oil for the Homerite 5.5 Airless Paint Sprayer?
No, not just any type of oil can be used for the homerite 5.5 airless paint sprayer. It is important to use the specific type of oil recommended by the manufacturer for proper maintenance and optimal performance of the sprayer.
How often should I check the oil level and refill it?
Checking the oil level regularly is like nurturing a delicate plant – it ensures smooth operation and prevents any potential damage. To maintain optimal performance, I recommend checking and refilling the oil every 25 hours of usage or as per the manufacturer’s guidelines.
Are there any specific instructions for properly disposing of oil waste?
Proper oil disposal is crucial to minimize environmental impact. It is important to follow local regulations and guidelines when disposing of oil waste. Improper disposal can lead to pollution of water sources and harm to wildlife.
What are the signs that indicate the sprayer needs cleaning or inspection?
Signs of clogging in a paint sprayer include uneven spray patterns, reduced paint flow, and sputtering. Regular maintenance is important to prevent clogs and ensure optimal performance, prolonging the sprayer’s lifespan.
Are there any specific cleaning products or methods recommended for maintaining the sprayer?
To properly maintain your sprayer, it is crucial to use the right cleaning products and follow the best methods. I recommend using a mild detergent and warm water for cleaning, followed by a thorough rinse. Regular maintenance will ensure optimal performance and longevity.
Conclusion
Maintaining your Homerite 5.5 Airless Paint Sprayer may seem like a task, but adding oil is a necessary step for optimal performance. To begin, gather your tools and locate the oil fill port. Once found, prepare to add oil to the sprayer. Remember to dispose of any oil waste properly, as we must prioritize environmental safety while enhancing our surroundings. Happy sprayer maintenance, everyone!