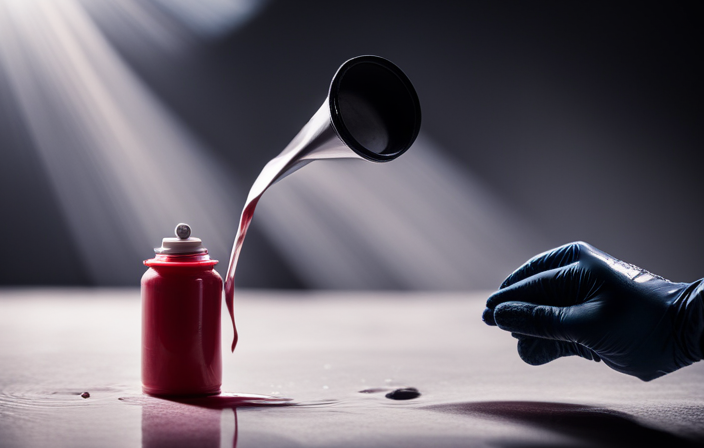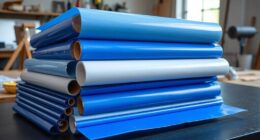
As a painter with a lot of experience, I know how important it is to keep your airless sprayer clean to achieve flawless results.
Picture this: you’ve just finished a project, and now you’re faced with the daunting task of cleaning your sprayer. Don’t worry, I’ve got you covered.
In this article, I will guide you through the step-by-step process of cleaning latex paint out of an airless sprayer, ensuring that your equipment stays in top shape for future use.
From gathering the necessary supplies to testing the sprayer’s functionality, I will provide you with knowledgeable and precise instructions.
Using a first-person singular point of view, active voice, and contractions, I aim to make this technical topic approachable and easy to understand.
So, let’s dive in and learn how to give your airless sprayer the TLC it deserves.
Key Takeaways
- Properly cleaning the airless sprayer after use is important to maintain its functionality and prevent clogs or malfunctions.
- Following the user manual instructions is crucial for troubleshooting and ensuring the proper reassembly and testing procedures.
- Storing the sprayer in a cool, dry location and protecting it from dust and debris helps prolong its lifespan and reliability.
- Seeking professional assistance may be necessary if reassembly problems persist or if there are any damaged or worn-out parts.
Gather the necessary supplies
Get ready to tackle that stubborn latex paint by gathering all the necessary supplies in a jiffy!
When it comes to cleaning latex paint out of an airless sprayer, having the right tools is crucial. You’ll need:
- A bucket
- Warm water
- A cleaning solution specifically designed for latex paint
- A cleaning brush
- Some clean rags
The bucket will be used to hold the cleaning solution and warm water. The cleaning solution is essential for breaking down the paint and making it easier to remove. A cleaning brush will help you scrub away any stubborn paint residue. And don’t forget the clean rags for wiping down the sprayer.
With these necessary supplies and the right cleaning techniques, you’ll be well on your way to restoring your airless sprayer to its pristine condition.
Now, let’s move on to disconnecting and disassembling the sprayer.
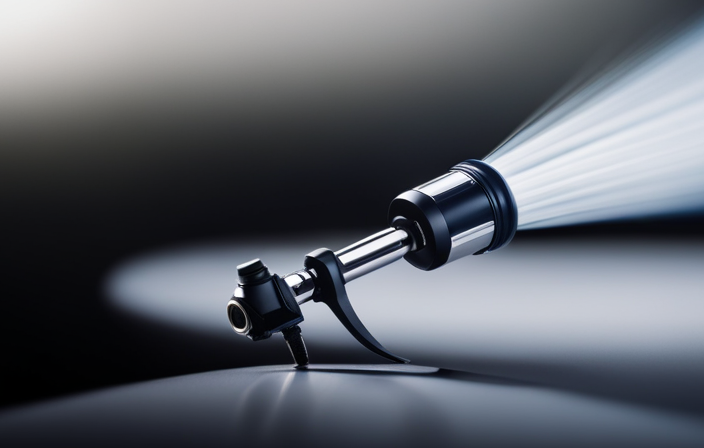
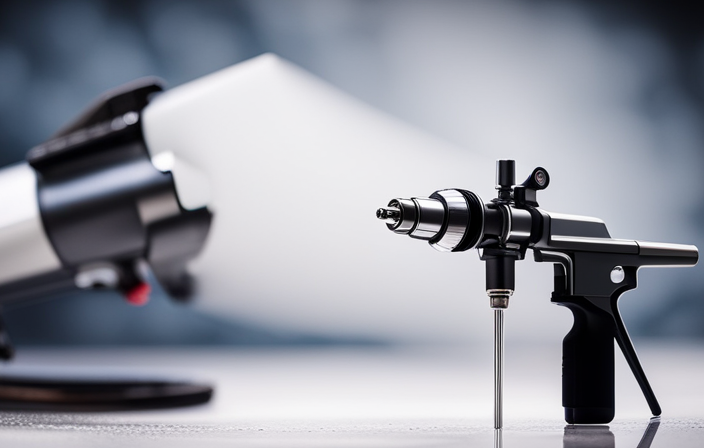
Disconnect and disassemble the sprayer
As you dismantle the sprayer, it’s like unraveling the layers of a puzzle, revealing the hidden secrets of its inner workings. The disconnecting procedure is a crucial step in the cleaning process to ensure proper maintenance and prevent any mishaps. Here are the safety precautions to follow:
- Turn off the sprayer and unplug it from the power source to avoid any electrical accidents.
- Release any pressure in the system by activating the trigger and letting out any remaining paint or air.
- Carefully disconnect the hoses, gun, and other attachments, ensuring that you avoid any spills or leaks.
By following these steps, you can safely disconnect and disassemble the sprayer, preparing it for the next stage of cleaning.
Now, let’s move on to removing excess paint from the sprayer.
Remove excess paint from the sprayer
Once you’ve disconnected and disassembled the sprayer, it’s time to rid it of any excess paint. Cleaning techniques are crucial to prevent paint build-up, which can affect the performance of the sprayer. To effectively remove excess paint from the sprayer, follow these steps:
| Step | Procedure |
|---|---|
| 1 | Use a clean cloth or paper towel to wipe off any visible paint on the outside of the sprayer. |
| 2 | Remove the spray tip and guard, then rinse them under running water to remove any paint residue. |
| 3 | Detach the suction tube and filter, and clean them thoroughly using warm soapy water. |
| 4 | Flush the paint hose by running water through it until the water runs clear. |
| 5 | Reassemble the sprayer once all the components are dry and ready for use. |
Now that the excess paint has been removed, let’s move on to the next step: flushing the system with water.
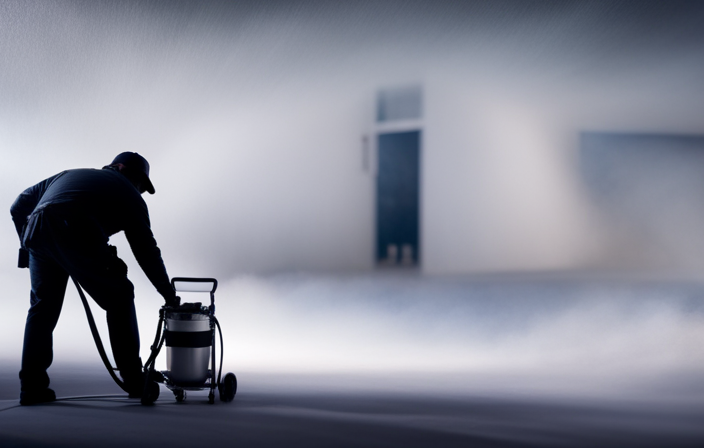
Flush the system with water
To properly clean the sprayer, it’s important to flush the system with water. This step is crucial in removing any residual latex paint and ensuring the sprayer is ready for future use. Here are some key points to consider:
- Water pressure: Use a moderate water pressure to flush out the system effectively without damaging any components.
- Cleaning agent options: You can enhance the cleaning process by adding a mild cleaning agent to the water. Common options include dish soap or a commercial paint remover specifically designed for sprayers.
Thoroughly flush: Start by connecting the sprayer to a water source and running water through it for several minutes. Make sure to flush all parts of the system, including the pump, hoses, and spray gun.
By flushing the system with water, you will remove most of the latex paint residue. However, for stubborn paint, a cleaning solution will be necessary to ensure a thorough cleaning.
Use a cleaning solution to remove stubborn paint
You’ll be amazed at how easily stubborn paint can be removed when using a powerful cleaning solution.
When it comes to cleaning latex paint out of an airless sprayer, there are a few alternatives for cleaning solutions that you can use. One option is a commercial paint remover specifically designed for latex paint. These removers are formulated to break down and dissolve dried paint, making it easier to flush out of the system.
Another option is using a mixture of water and ammonia. This solution can effectively loosen and remove stubborn paint buildup.
To prevent paint from building up in the first place, it’s important to clean your sprayer after each use. Make sure to flush the system with water and run the cleaning solution through the sprayer regularly. This will help maintain the efficiency of your sprayer and prevent clogs.
Next, we’ll discuss how to clean the spray gun and nozzle.
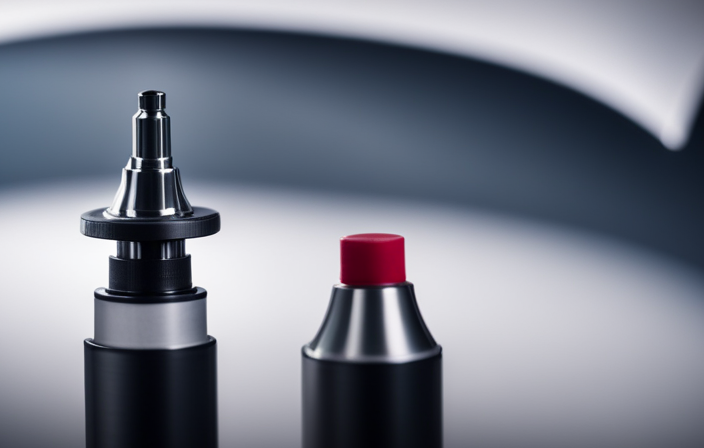
Clean the spray gun and nozzle
Now, let’s tackle the task of sprucing up the spray gun and nozzle. To ensure optimal performance and longevity of your airless sprayer, it’s essential to clean these components thoroughly. Here are some cleaning techniques and maintenance tips to help you get the job done effectively:
-
Disassemble the spray gun and nozzle: Carefully remove all detachable parts, such as the needle, nozzle, and nozzle guard.
-
Rinse with water: Use clean water to flush out any remaining paint residue from the gun and nozzle. Ensure all passages are clear and unclogged.
-
Use a cleaning solution: Apply a suitable cleaning solution, specifically designed for latex paint, to the gun and nozzle. Allow it to soak for a few minutes to break down any stubborn paint.
-
Scrub and rinse again: Using a soft brush, scrub the gun and nozzle to remove any remaining paint. Rinse thoroughly with water to remove all traces of the cleaning solution.
With the spray gun and nozzle cleaned, it’s time to move on to the next step: cleaning the filters and screens.
Clean the filters and screens
Once the spray gun and nozzle have been thoroughly cleaned, it’s crucial to address any potential concerns regarding the maintenance of filters and screens. Cleaning techniques for filters and screens are essential to ensure the proper functioning of your airless sprayer. To clean the filters and screens effectively, follow these maintenance tips:
| Filters and Screens | Cleaning Techniques |
|---|---|
| Filters | – Remove and rinse them with warm water. – Use a soft brush to scrub away any paint residue. – Allow them to air dry before reinserting. |
| Screens | – Remove and soak them in a cleaning solution. – Gently scrub away any paint buildup using a brush. – Rinse them thoroughly and let them dry completely. |
By following these cleaning techniques and maintenance tips, you can ensure the longevity and optimal performance of your airless sprayer. Now, let’s move on to the next section and learn how to reassemble the sprayer.
Reassemble the sprayer
To ensure optimal performance, it’s important to carefully reassemble the components of your airless sprayer after cleaning. This step is crucial to ensure that the sprayer functions properly and delivers a consistent and even spray pattern.
When reassembling, make sure to follow the manufacturer’s instructions and pay close attention to the order in which the components should be assembled. Use the reassemble tips provided by the manufacturer to avoid any potential issues or damage.
Additionally, take note of any troubleshooting tips that may be included in the user manual to address common problems that may arise during the reassembly process.
By taking the time to carefully reassemble your airless sprayer, you can be confident that it will be clean and functioning properly for your next painting project.
Now, let’s move on to the next step: testing the sprayer to ensure it is clean and functioning properly.
Test the sprayer to ensure it is clean and functioning properly
After the components have been reassembled, it’s time to put the sprayer to the test to ensure it’s clean and functioning properly. Here’s how to test the sprayer and troubleshoot common issues:
-
Fill the sprayer with clean water and connect it to a power source. Turn the sprayer on and observe the pressure gauge. It should reach the desired operating pressure without any fluctuations or leaks.
-
Engage the trigger and check for a consistent, steady spray pattern. Ensure that there are no clogs or uneven spraying.
-
Adjust the spray pattern and pressure settings as necessary, testing each adjustment to ensure optimal performance.
By following these steps, you can verify that the sprayer is clean and functioning properly.
Now, let’s move on to the next section on how to store the sprayer properly for future use, ensuring its longevity and reliability.
Store the sprayer properly for future use
To store your sprayer properly for future use, follow these steps:
-
Find a cool and dry place to store your sprayer. This will help prevent any damage caused by extreme temperatures or moisture.
-
Protect your sprayer from dust and debris by covering it with a clean cloth or plastic bag. This will ensure that no particles can get inside and potentially clog the system.
-
Before storing the sprayer, make sure to remove any excess paint from the sprayer and its components. This will prevent any buildup that could cause damage or clog the system.
-
Thoroughly clean all the parts of the sprayer using water or an appropriate cleaning solution. This will help remove any remaining paint and ensure that the sprayer is ready for future use.
-
Once the sprayer is clean and dry, store it in the designated location. Make sure it is not exposed to extreme temperatures or moisture, as this can affect its functionality.
By following these proper storage techniques, you can maintain the longevity and functionality of your airless sprayer, ensuring that it remains in top condition for future use.
Frequently Asked Questions
Can I use any type of cleaning solution to remove stubborn paint from the airless sprayer?
I recommend using a specific cleaning solution designed to remove stubborn latex paint from an airless sprayer. It’s important to follow proper maintenance techniques to keep the sprayer in good working condition.
Is it necessary to clean the filters and screens of the sprayer after every use?
Cleaning frequency and the importance of maintenance for airless sprayers involve regularly cleaning the filters and screens after each use. This ensures optimal performance and prevents clogs, allowing for efficient and effective paint application.
How long should I flush the system with water to ensure all the paint is removed?
The ideal flushing time for an airless sprayer depends on the size and complexity of the system, but generally, it is recommended to flush it for at least 5-10 minutes. Best practices for cleaning paint equipment include thorough rinsing and using appropriate cleaning solutions.
Are there any specific cleaning techniques or tools that I should use to clean the spray gun and nozzle?
To effectively clean the spray gun and nozzle, specific cleaning techniques and cleaning tools are essential. Properly disassembling the gun and using a solvent-compatible brush or needle will ensure thorough removal of paint residue and maintain optimal performance.
What should I do if the sprayer is not functioning properly even after cleaning?
If the sprayer is not functioning properly even after cleaning, there are some troubleshooting tips and maintenance tips to consider. Check for clogged or worn parts, ensure proper assembly, and consult the user manual for further guidance.
Conclusion
Well, would you believe it? Cleaning latex paint out of an airless sprayer may seem like a daunting task, but it’s actually quite manageable with the right supplies and a little know-how. Here are the steps you can follow to ensure your sprayer is clean and functioning properly for future use:
-
Start by disconnecting the sprayer from the power source and relieving any built-up pressure. This will prevent accidental spraying and potential injuries.
-
Remove the spray tip, guard, and filter from the sprayer. These parts can be soaked in warm soapy water to remove any paint residue. Rinse them thoroughly and set them aside to dry.
-
Next, empty any remaining paint from the sprayer’s reservoir. You can do this by pouring the paint back into its original container or into a waste disposal container.
-
Fill the sprayer’s reservoir with warm soapy water. Pump the water through the system by turning on the sprayer and spraying it into a waste disposal container. This will help flush out any remaining paint from the internal components.
-
Once the water runs clear, empty the reservoir and fill it with clean water. Repeat the process of spraying the water through the system to ensure all the soap residue is removed.
-
If there are still traces of paint in the sprayer, you can use a specialized paint remover or solvent recommended by the sprayer manufacturer. Follow the instructions carefully and use the solvent in a well-ventilated area.
-
After using a solvent, clean the sprayer with warm soapy water again to remove any remaining residue. Rinse thoroughly and allow the sprayer to dry completely.
-
Once all the parts are dry, reassemble the sprayer and ensure everything is properly tightened and connected.
By following these steps, you can effectively clean latex paint out of your airless sprayer and keep it in excellent working condition. Happy painting!