As I stood in my living room, gazing up at the antiquated popcorn ceiling, I was overwhelmed with the idea of painting it. It seemed like a daunting task, until I discovered how efficient an airless sprayer could be.
In this article, I’ll guide you through the process of transforming your popcorn ceiling with the help of a video tutorial.
To begin, we’ll gather all the necessary supplies and prepare the room for painting. I’ll show you how to cover and protect your furniture and floors, as well as mix and prepare the paint for optimal results.
Once everything is ready, we’ll set up the airless sprayer and dive into the painting process.
I’ll provide step-by-step instructions on how to apply multiple coats if needed, ensuring a smooth and even finish. And don’t worry, I’ll also walk you through the clean-up and maintenance of the sprayer, so you can enjoy your newly painted, popcorn-free ceiling for years to come.
Key Takeaways
- Proper maintenance of the airless sprayer is essential for future use.
- Thoroughly clean the sprayer after each use and remove leftover paint and debris.
- Regularly inspect the sprayer for wear or damage, and address leaks or clogs promptly.
- Check and replace filters regularly to ensure proper airflow.

HomeRight C800971 Super Finish Max, Includes 3 Brass Spray Tips, 3 Spray Patterns, Easy to Clean HVLP Paint Sprayer, Great for Furniture, Cabinets, Trim & More, Sprays Stains, Sealers & Latex Paints
- Versatile DIY Paint Sprayer: Ideal for furniture, cabinets, and more
- Multiple Spray Patterns: Horizontal, vertical, and round options
- Adjustable Material Flow: Control knob for output customization
As an affiliate, we earn on qualifying purchases.
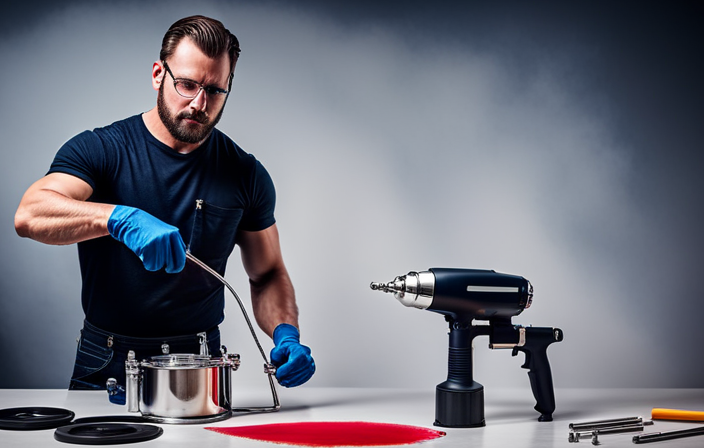
Gather Your Supplies
Before you begin painting, make sure you’ve gathered all the necessary supplies. These supplies are essential for achieving a professional-looking paint job on your popcorn ceiling.
The drop cloths will protect your floors and furniture from any accidental drips or spills.
Painter’s tape will ensure clean and straight lines along the edges of the ceiling.
And the high-quality airless sprayer will provide a smooth and even application of paint, saving you time and effort compared to alternative painting methods.
Once you have everything you need, you’re ready to move on to the next step of preparing the room for painting.
Prepare the Room
Get the room ready by clearing out furniture and covering the floors and walls to protect them from any potential mess. Here’s what you need to do:
-
Begin by removing all furniture and decorations from the room. This will give you more space to work and reduce the risk of accidentally damaging any items.
-
Cover the floors with drop cloths or plastic sheets to catch any paint drips or spills. Make sure to secure them with tape or weights to prevent them from moving around during the painting process.
-
Use painter’s tape to protect the edges of the walls, trim, and any other areas that you don’t want to paint. This will create clean lines and prevent any accidental paint splatters.
-
Before painting, it’s important to prepare the surface by repairing any damages, such as cracks or holes in the ceiling. Use spackling compound or joint compound to fill in these imperfections and sand them down until smooth.
Now that the room is prepared and the surface is ready, it’s time to move on to covering and protecting the furniture and floors.
Cover and Protect Furniture and Floors
Now, you’ll want to shield your beloved furniture and precious floors like a knight protecting its castle.
To protect your furniture, start by moving it out of the room if possible. If moving is not an option, cover it with plastic drop cloths or old sheets to prevent any paint splatters or drips from ruining the surface. Make sure to secure the covers with tape or clips to keep them in place.
As for your floors, use a combination of plastic drop cloths and canvas drop cloths to provide maximum protection. Plastic drop cloths are great for catching any spills, while canvas drop cloths are more durable and can withstand the weight of ladders and equipment. Lay them out and secure them with tape or weights to keep them from shifting.
With your furniture and floors properly covered and protected, you can now move on to mixing and preparing the paint.
Mix and Prepare the Paint
To ensure a smooth and successful painting process, it’s essential to blend and ready the paint mixture beforehand. Mixing paint is a crucial step in achieving the right consistency for your popcorn ceiling. You want the paint to be thick enough to adhere to the textured surface, but not so thick that it clogs the sprayer. Here’s a simple guide to help you achieve the perfect paint consistency:
| Paint Type | Water Ratio |
|---|---|
| Latex | 10% |
| Oil-based | 30% |
| Primer | 10-20% |
| Texture | As directed |
Start by pouring the paint into a clean container, then gradually add the appropriate amount of water based on the type of paint you’re using. Mix thoroughly until the paint reaches a smooth and even consistency. Once the paint is properly mixed, you’re ready to move on to the next step of setting up the airless sprayer.
Transitioning into the subsequent section about setting up the airless sprayer, it’s important to have the paint mixture well-prepared to ensure optimal results.
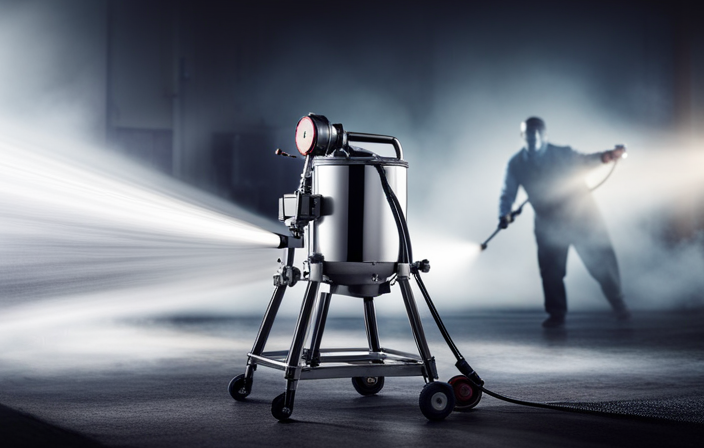
Set Up the Airless Sprayer
Once you’ve properly mixed the paint, it’s crucial to ensure that the airless sprayer is set up correctly for optimal results. Start by checking the airless sprayer for any signs of damage or wear, and make sure all the parts are clean and in good working condition.
It’s important to regularly maintain the airless sprayer to prevent any issues during the painting process. This includes cleaning the filters, inspecting the hoses for any clogs or leaks, and lubricating the moving parts.
If you encounter any problems with the airless sprayer, such as inconsistent spray pattern or low pressure, troubleshooting may be necessary. This can involve checking the nozzle size, adjusting the pressure settings, or clearing any obstructions in the system.
Once the airless sprayer is properly set up and maintained, you can move on to practicing your spraying technique for a smooth and even application of the paint.
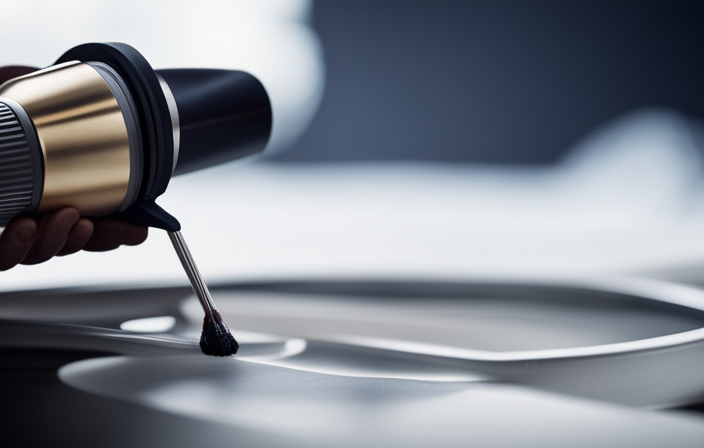
Practice Spraying Technique
Get ready to unleash your inner artist and let your spraying skills soar like a majestic eagle gliding through the sky.
To improve your spraying technique, there are a few key tips to keep in mind. First, maintain a consistent distance between the sprayer and the ceiling to ensure an even coat.
Second, move your arm in a smooth, sweeping motion, overlapping each pass by about 50%.
Finally, practice on a scrap piece of cardboard or an inconspicuous area of the ceiling to get a feel for the sprayer’s settings and adjust as needed.
If you encounter any spraying issues, such as clogging or uneven coverage, troubleshoot by checking the paint viscosity, cleaning the sprayer nozzle, or adjusting the pressure settings.
Now that you’ve honed your technique, it’s time to start painting the ceiling and bring new life to your space.
Start Painting the Ceiling
Now is the perfect moment to unleash your artistic prowess and transform your space by adding a fresh burst of color to the blank canvas above you. When it’s time to paint a popcorn ceiling with an airless sprayer, there are a few ceiling painting techniques you should keep in mind.
First, make sure to cover the floor and furniture with drop cloths to protect them from any paint splatters.
Next, start painting the ceiling by using long, even strokes with the sprayer. Remember to maintain a consistent distance from the ceiling to ensure an even coat of paint.
If you’re hesitant about painting your popcorn ceiling, there are alternative popcorn ceiling removal options available. These options can provide a smoother surface for painting, but they require additional time and effort.
However, if you’re ready to dive into painting, apply multiple coats if needed to achieve the desired coverage and finish.
Apply Multiple Coats if Needed
Applying multiple coats may be necessary to achieve the desired coverage and finish, especially if the previous color is significantly darker. When applying more coats, it’s important to allow each coat to dry completely before applying the next one. This ensures a smooth and even finish.
Before applying additional coats, it may also be necessary to lightly sand the surface to remove any imperfections or rough spots. Sanding helps to create a better surface for the paint to adhere to and improves the overall finish.
Once the desired coverage and finish are achieved, it’s time to move on to the next step, which involves cleaning up and maintaining the sprayer. This ensures that the sprayer remains in good working condition for future use.
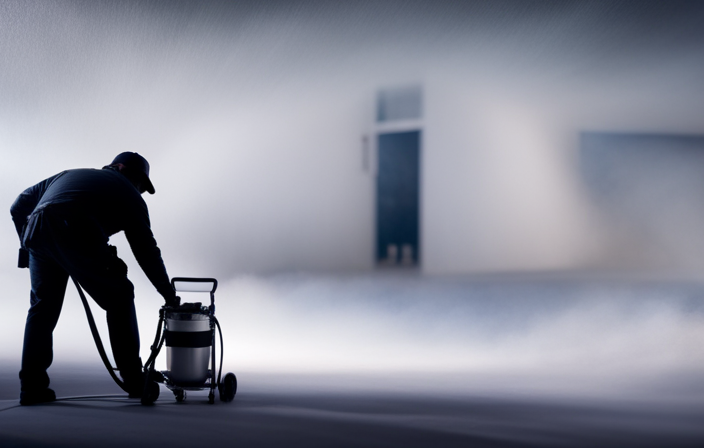
Clean Up and Maintenance of the Sprayer
After achieving the desired coverage and finish, it’s time to give some TLC to your trusty paint sprayer for future use. Proper sprayer maintenance is crucial to ensure its longevity and optimal performance.
Here are some sprayer maintenance tips to keep in mind. First, clean the sprayer thoroughly after each use. Remove any leftover paint and debris from the sprayer components, including the nozzle, hose, and gun.
Next, inspect the sprayer for any signs of wear or damage, such as leaks or clogs. Address these issues promptly to prevent further damage. Additionally, regularly check and replace the filters to maintain proper airflow.
Troubleshooting common sprayer issues, such as uneven spray patterns or loss of pressure, is also essential. By following these sprayer maintenance tips, you can enjoy your newly painted, popcorn-free ceiling for years to come.
Enjoy Your Newly Painted Popcorn-Free Ceiling
You’ll be amazed at the transformation of your newly painted, smooth-as-silk overhead surface! Not only will your ceiling look brand new, but it’ll also be much easier to maintain.
Here are a few tips for removing popcorn ceilings and some alternatives to consider:
-
Scrape it off: Use a scraper or putty knife to remove the popcorn texture. It may require some effort, but it’s an effective way to get rid of it.
-
Wet it down: If scraping doesn’t work, try wetting the popcorn texture with water and then scraping it off. This method can make the removal process easier.
-
Consider alternatives: If you don’t want to deal with the mess and hassle of removing popcorn ceilings, there are alternatives to consider. You can opt for a smooth ceiling finish, such as a skim coat or a textured finish. These options can give your ceiling a modern and clean look.
By following these tips and considering alternative finishes, you can enjoy a popcorn-free ceiling that’s easy to clean and maintain.
Frequently Asked Questions
How long does it typically take to paint a popcorn ceiling with an airless sprayer?
On average, it takes me about 2-3 hours to paint a popcorn ceiling with an airless sprayer. Here are some tips and tricks to speed up the process: cover furniture and floors, use a high-quality paint, and work in small sections for even coverage.
Can an airless sprayer be used to paint popcorn ceilings in older homes?
Yes, you can paint popcorn ceilings with a roller instead of an airless sprayer. However, using an airless sprayer has advantages such as faster application, even coverage, and reaching difficult areas more easily.
Is it necessary to remove all furniture from the room before painting the popcorn ceiling?
Yes, it is necessary to cover furniture before painting a popcorn ceiling. This will protect your furniture from any paint splatters or drips. Use drop cloths or plastic covers to ensure your furniture stays clean and undamaged during the painting process.
Can a different type of paint be used instead of the one recommended in the article?
Can a different type of paint be used for popcorn ceilings? While it is possible, it is important to consider the pros and cons. Some types may not adhere well, resulting in a shorter lifespan or an uneven finish.
Are there any specific safety precautions that should be taken when using an airless sprayer to paint a popcorn ceiling?
When using an airless sprayer to paint a popcorn ceiling, it is important to take specific safety precautions. Some best practices include wearing protective clothing, goggles, and a respirator to prevent inhalation of paint particles.
Conclusion
So there you have it, folks! Painting a popcorn ceiling with an airless sprayer is a game-changer. It’s quick, efficient, and it’ll leave your ceiling looking flawless. With just a few simple steps, you can transform your outdated popcorn ceiling into a smooth and modern masterpiece. Trust me, it’s like watching magic happen before your eyes! So grab your supplies, set up your sprayer, and get ready to say goodbye to that pesky popcorn texture. You won’t believe the stunning results!